Worm Guide
AYOUB’s complete guide to the Worm raid (Trial of the Devourer). From zero to hero !! This comprehensive guide will walk you through everything you need to know about the raid from preparation to mechanics, phases and attack patterns.
Welcome to the complete guide to the Worm raid, also known as the Trial of the Devourer.
This is a large-scale challenge that requires solid teamwork, communication, and careful preparation.
Overview
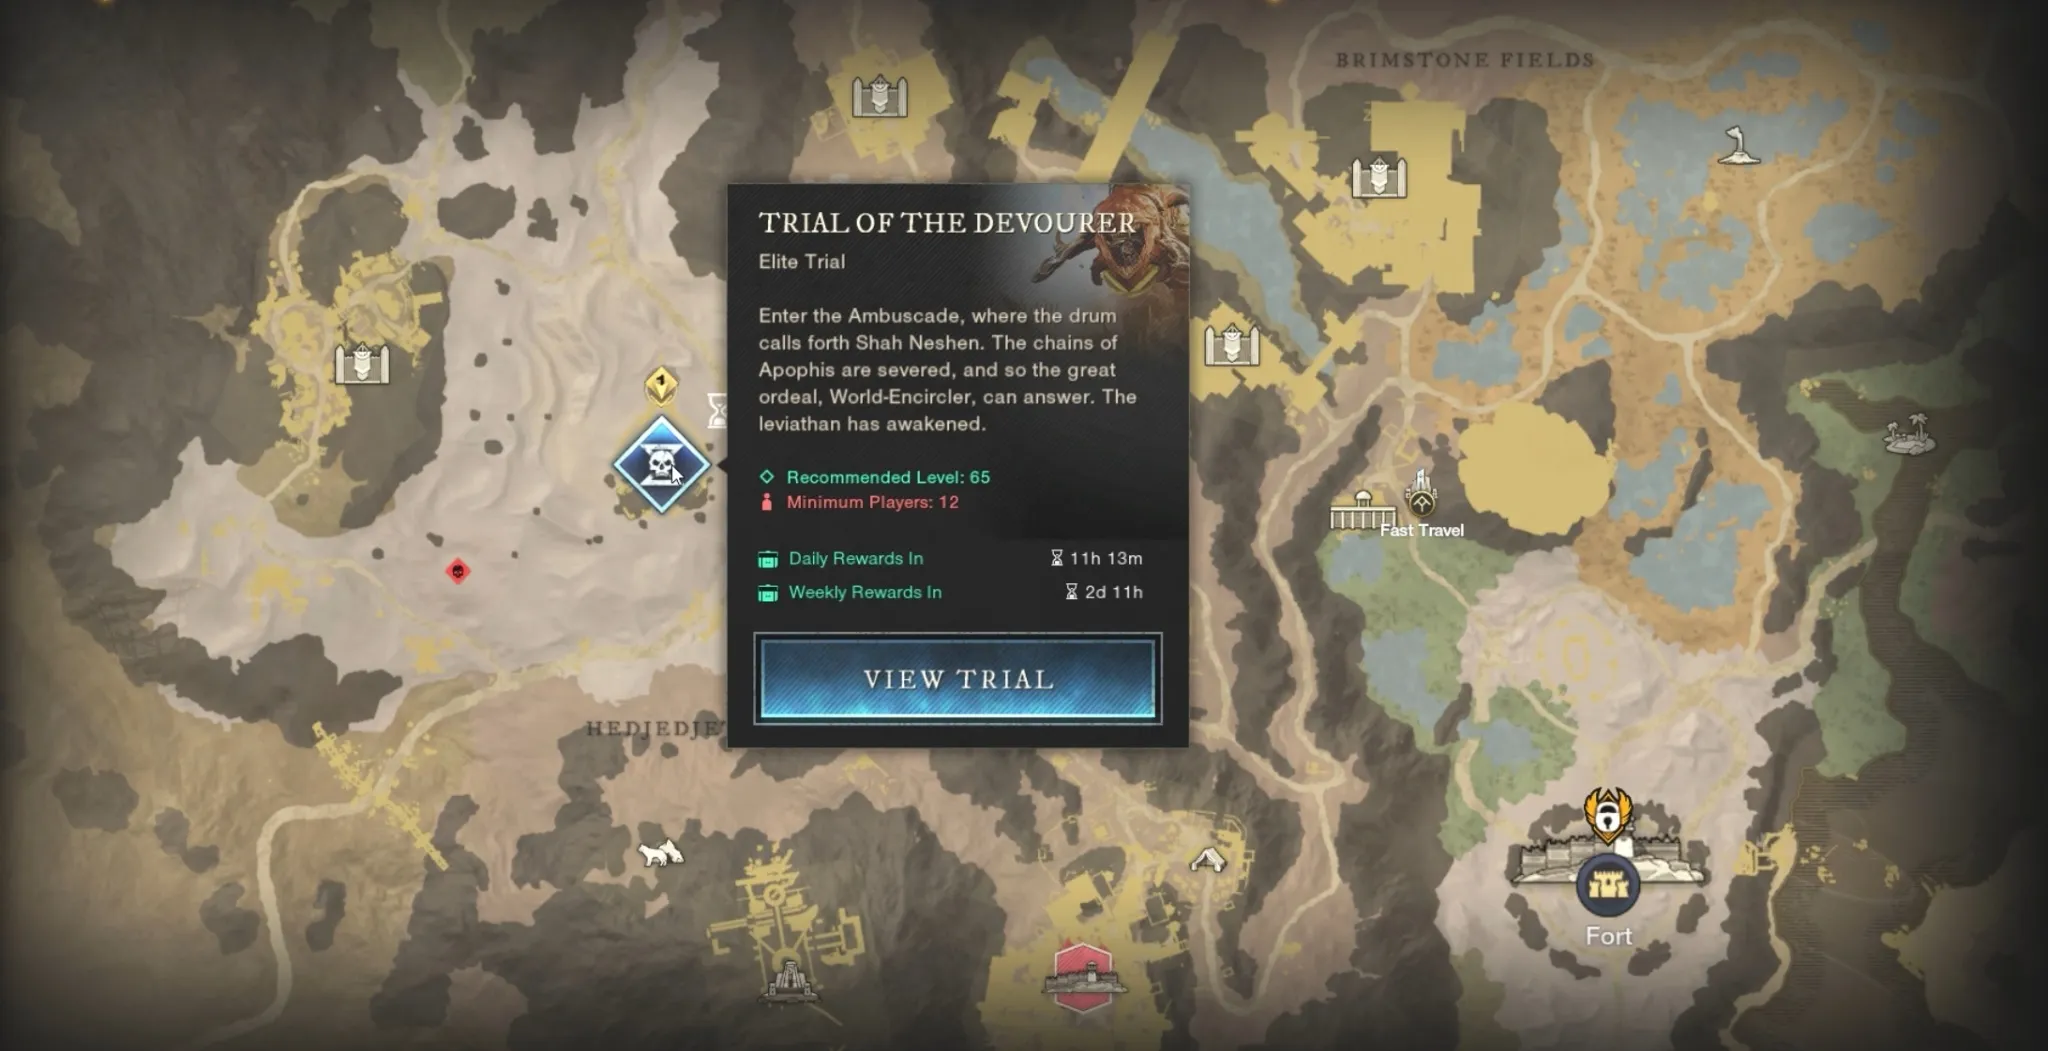
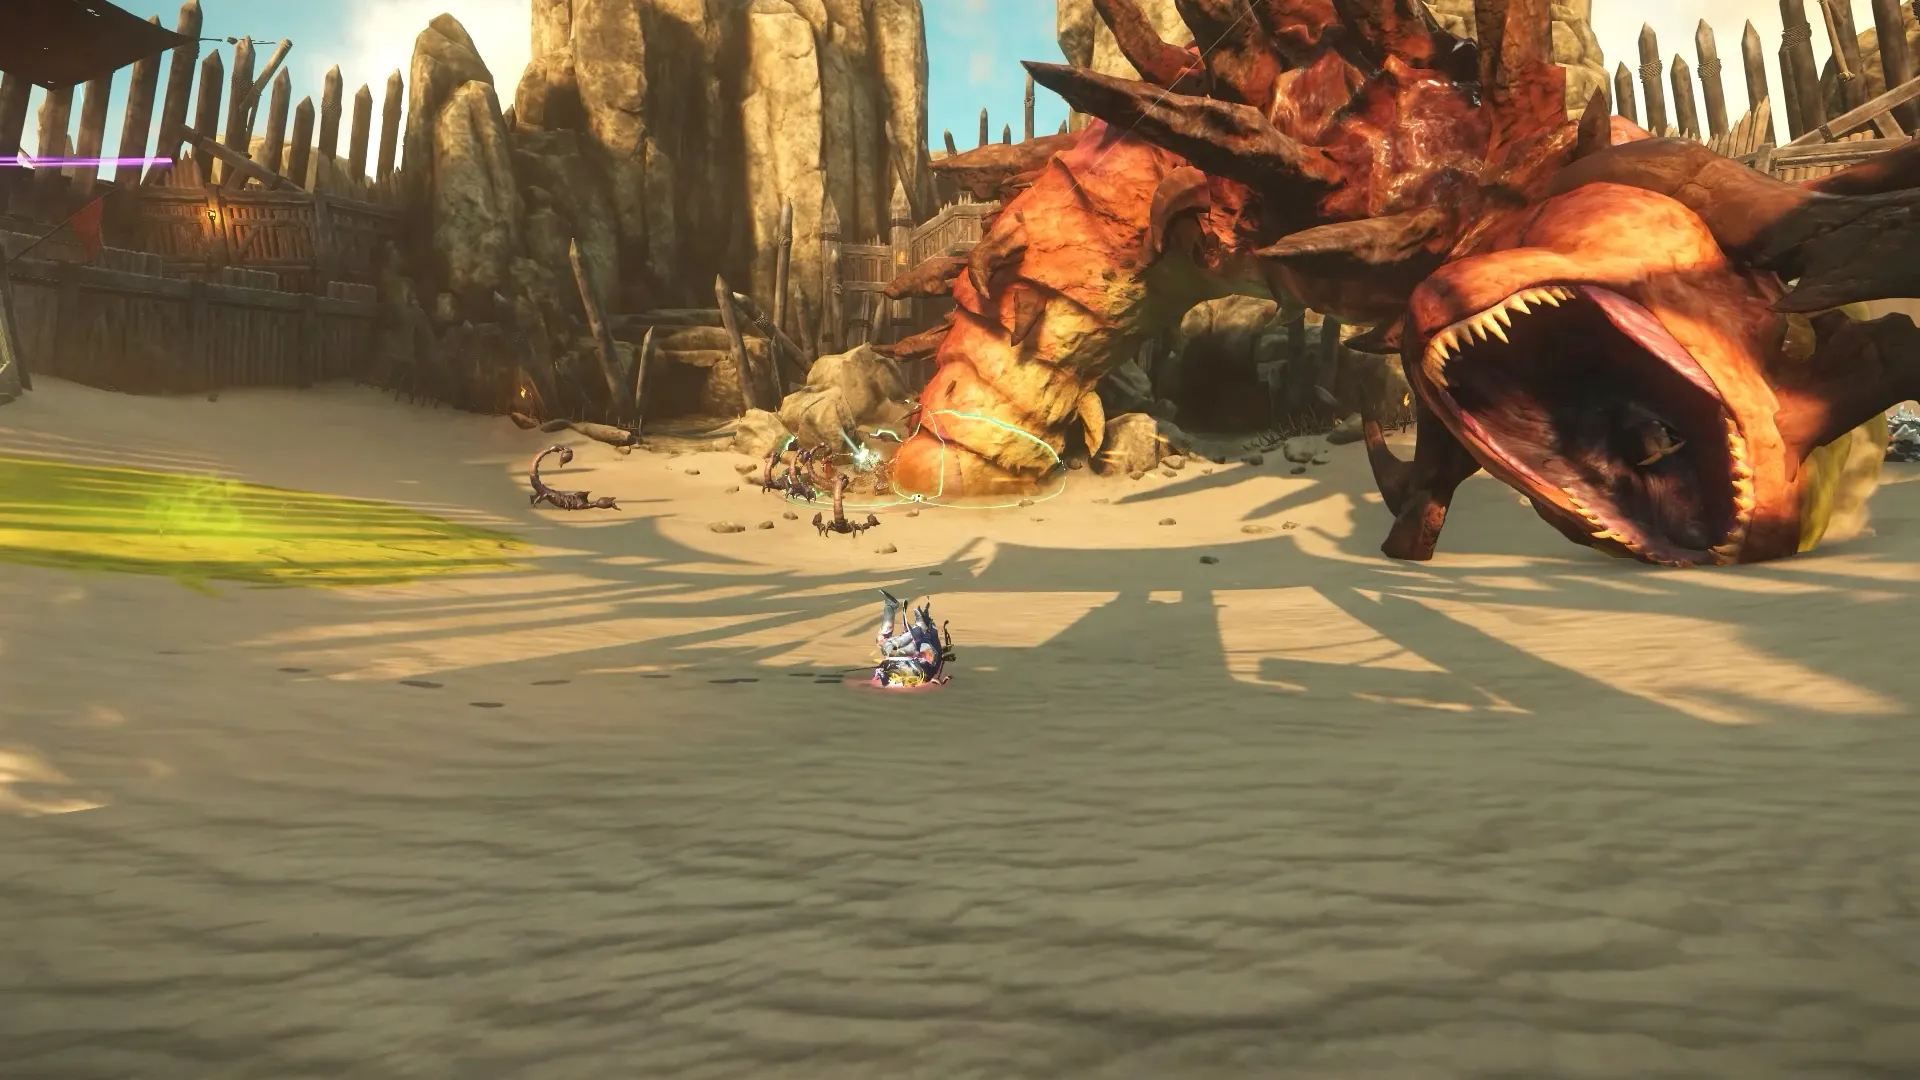
The Worm is a 20-player raid located in Brimstone Sands.
You can enter through the arena entrance near the Wormsign Obelisk Shrine or directly from the map under Elite Trials. Players do not need to be near the arena to join.
Although the minimum entry is 12 players, filling all 20 slots is strongly recommended for enough damage and survivability.
A designated Shot Caller should lead the group, and all players should use the same voice channel on their preferred platform (such as Discord) to ensure coordination.
Preparation
Before entering, make sure you pick up the repeatable quest from Phaedra Kanelos by the shrine.
Trophies
Place trophies in your houses for bonus damage against enemies:
- Minor: +3%
- Basic: +4%
- Major: +5%
For this raid, you’ll need:
- 3x Wildlife Trophies (for the Worm, a Beast-type boss)
- 3x Angry Earth Trophies (for adds)
With one in each house, you can reach +15% bonus damage for both enemy types.
Consumables
Essential items to bring:
- Angry Ward Potions for Melee players (10% less damage from Angry Earth)
- Beast Ward Potions for Ranged players (10% less damage from Beasts)
- Beast Coatings (+15% damage against Beasts)
- Powerful Honing Stones (+7% weapon damage)
- Powerful Incense (+50 to all afflictions)
- Attribute Food (based on your build)
- Acid Tinctures (to cleanse Acid Burn)
- Stalwart Heartrune of Firestorm (Raid Mechanic Acid Cleanser)
Use consumables before stepping down into the arena. Crossing the door puts you in combat. You can still step back inside to respec or change gear (This change was implemented in Season 8)
Lights
Light Mechanics
At the start, you face scorpions and a large enemy called Nephilim.
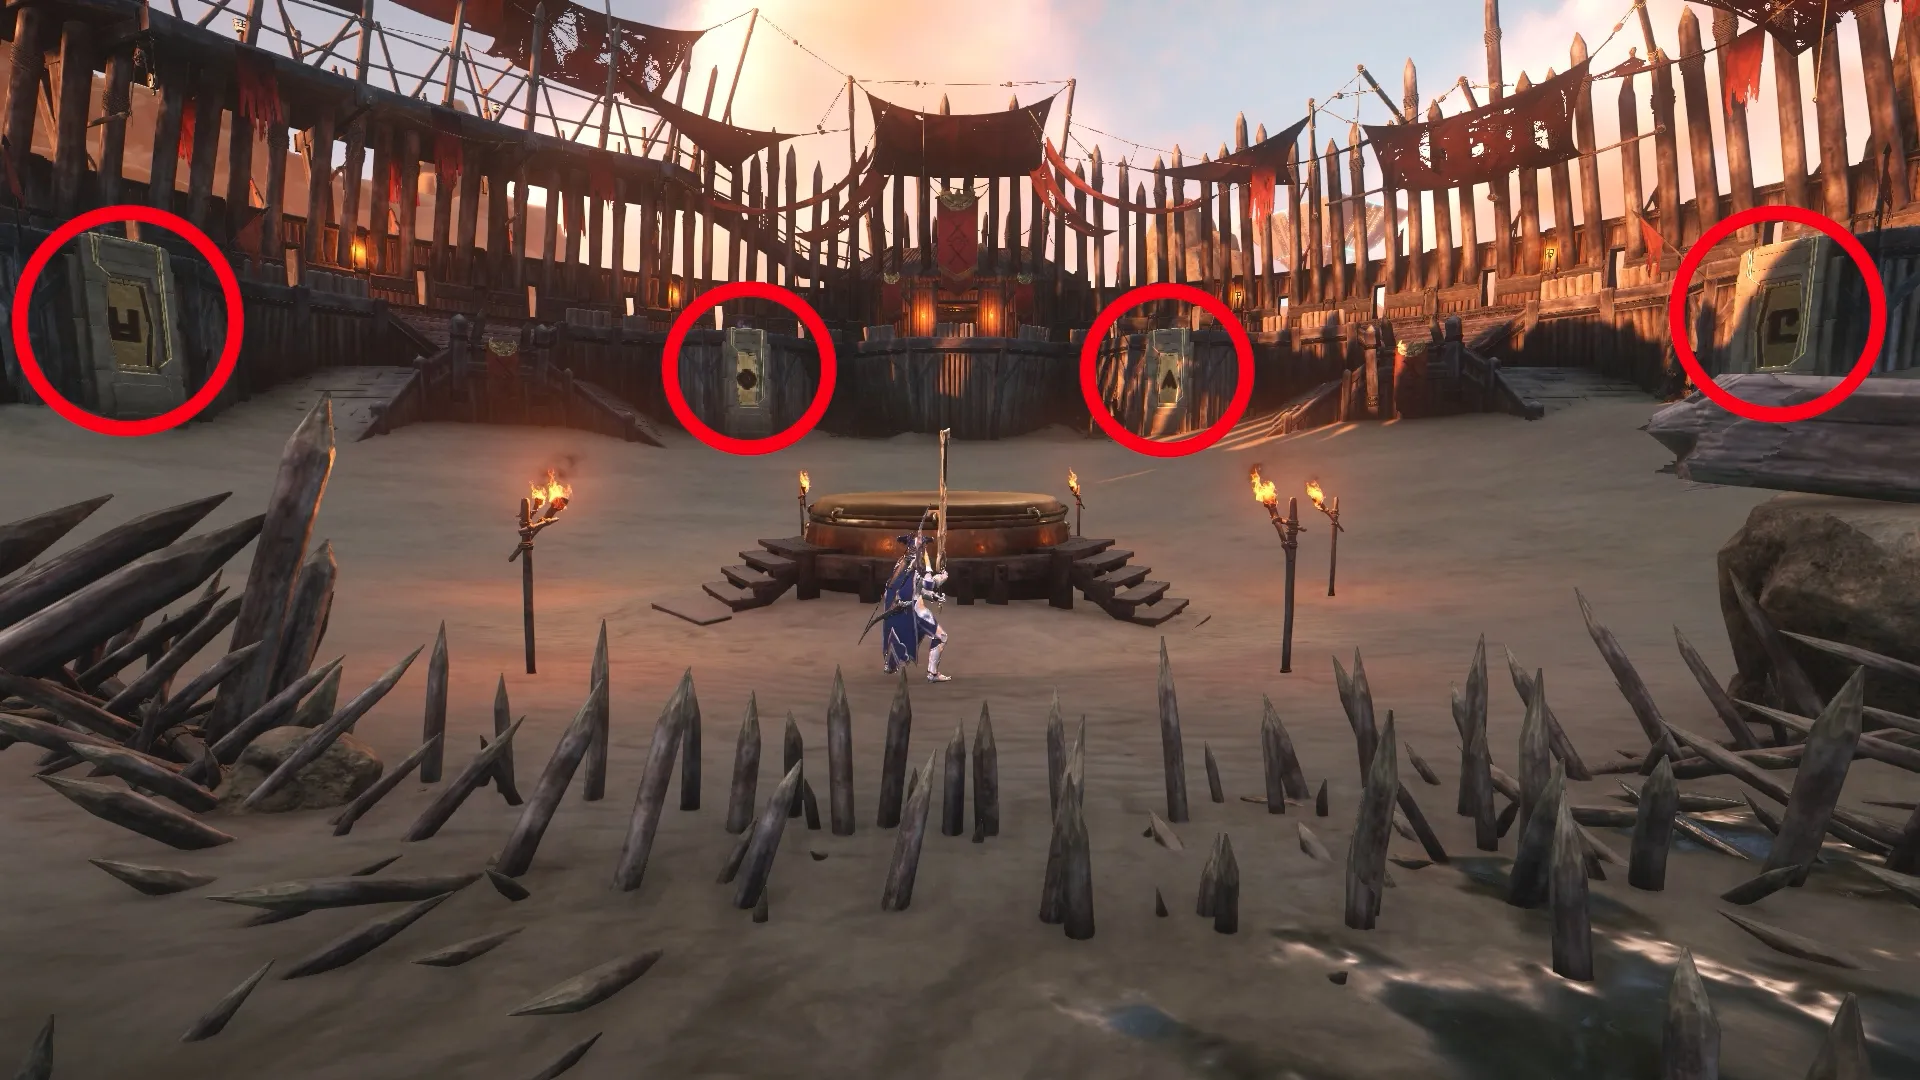
He has a stamina shield that introduces the Lights Mechanic:
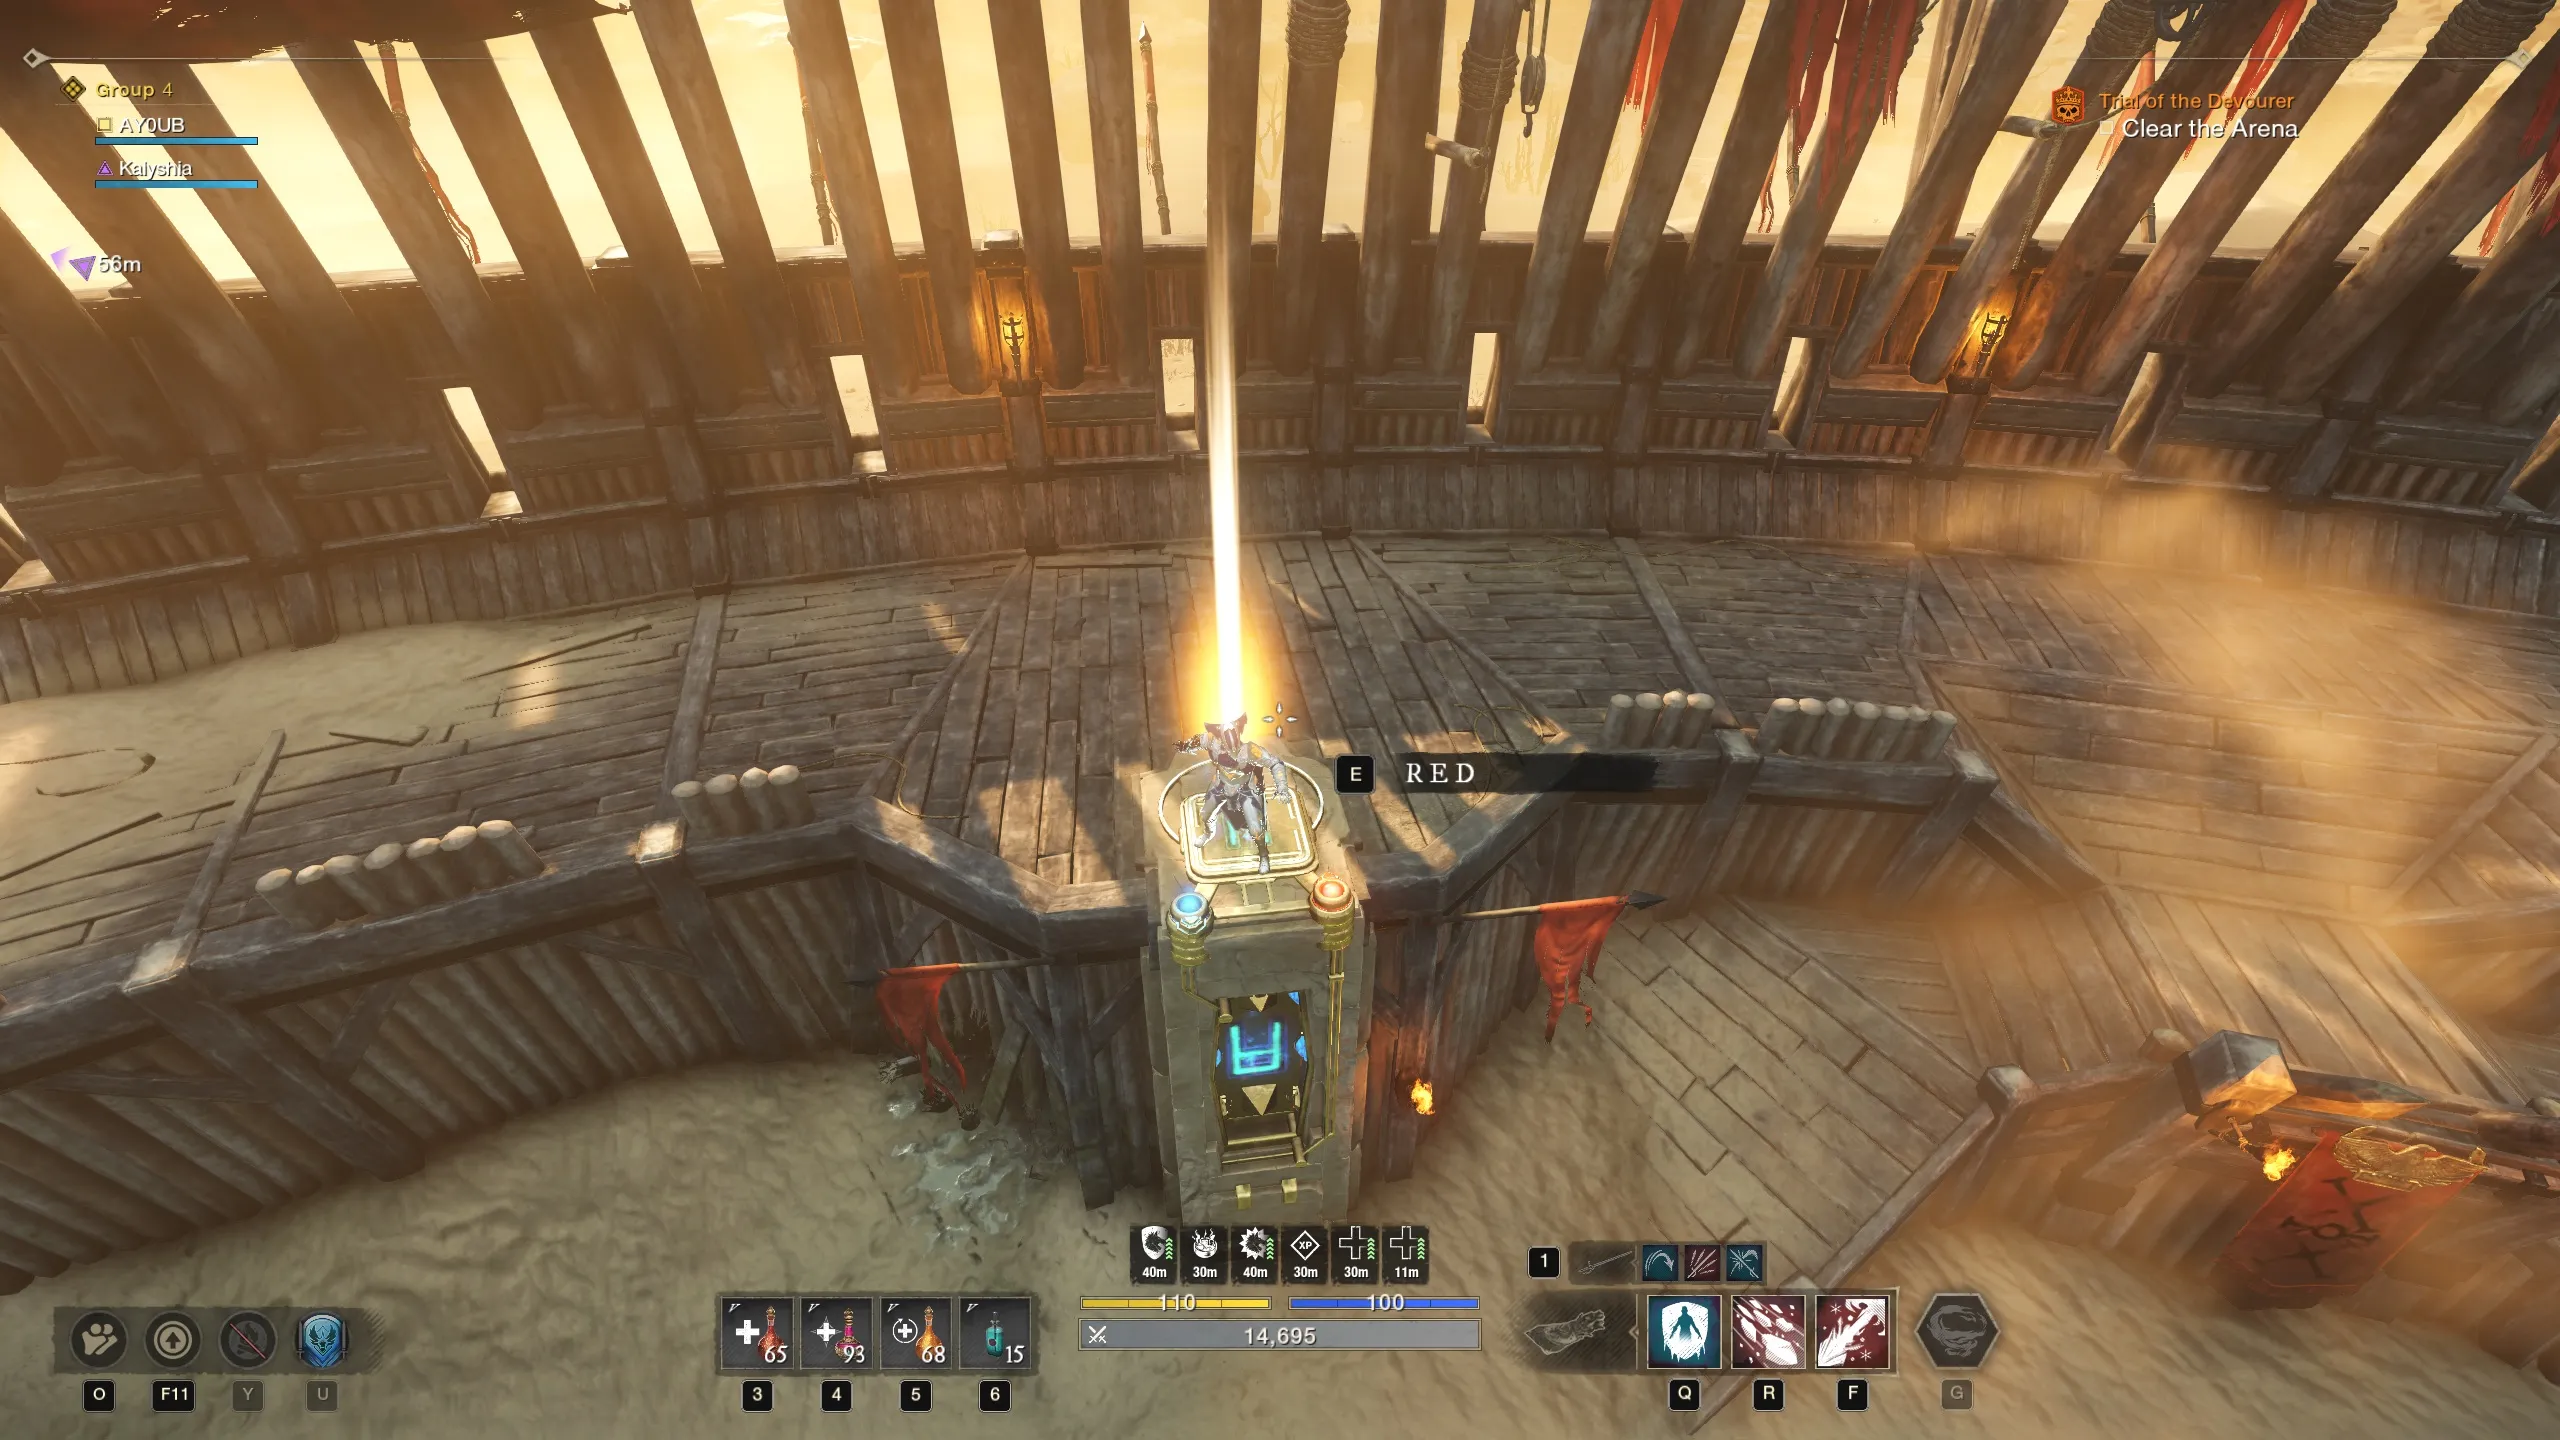
- Four players stand on platforms.
- Each platform hides a color (red or blue).
- The Shot Caller instructs the correct color for each platform.
- A wrong press makes the platform lethal for 3 seconds.
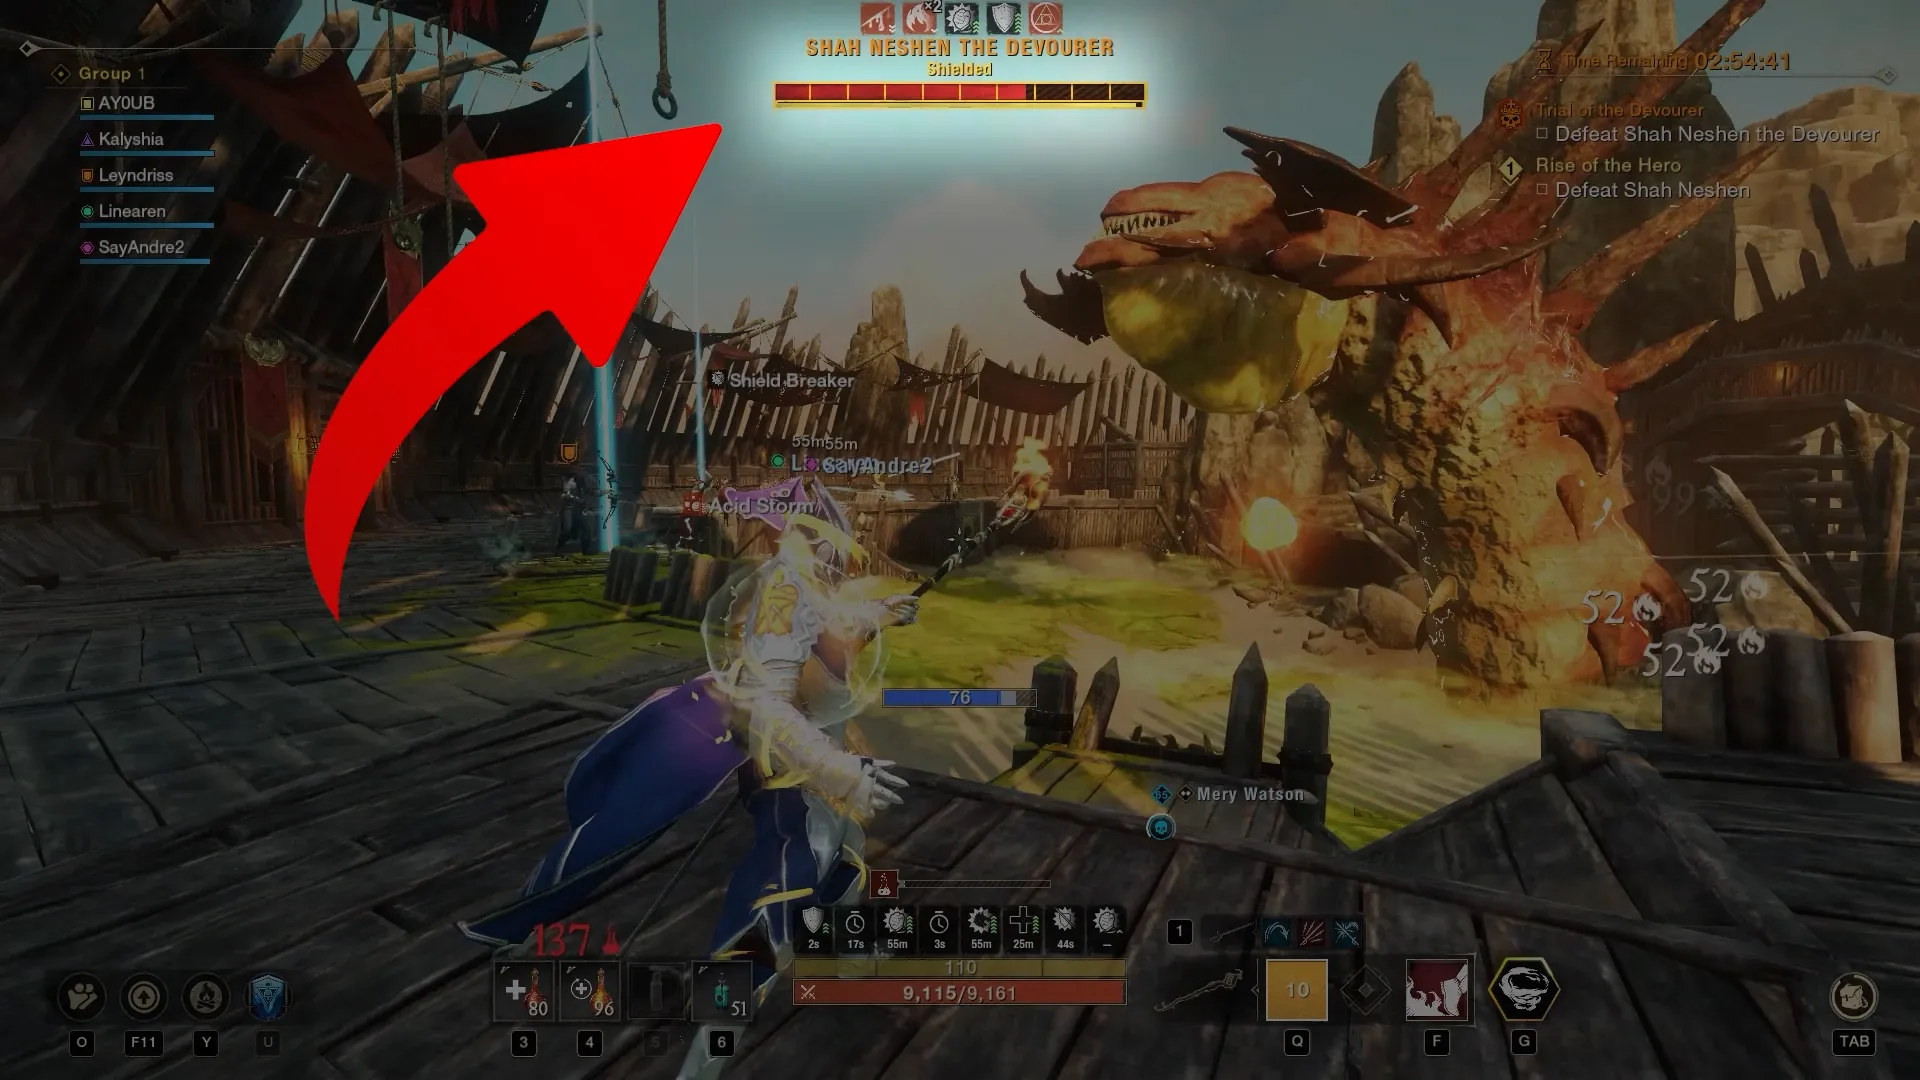
When done correctly, all players gain Storm Chaser, which is a Shield Breaker buff, allowing the players to break Nephilim’s stamina and defeat him.
After Nephilim dies, he drops a sword. Picking it up grants resistance to Siege damage and applies Rend stacks to the Worm. Limited charges and disappears after a few seconds. Only one player can interact at a time so don’t spam it.
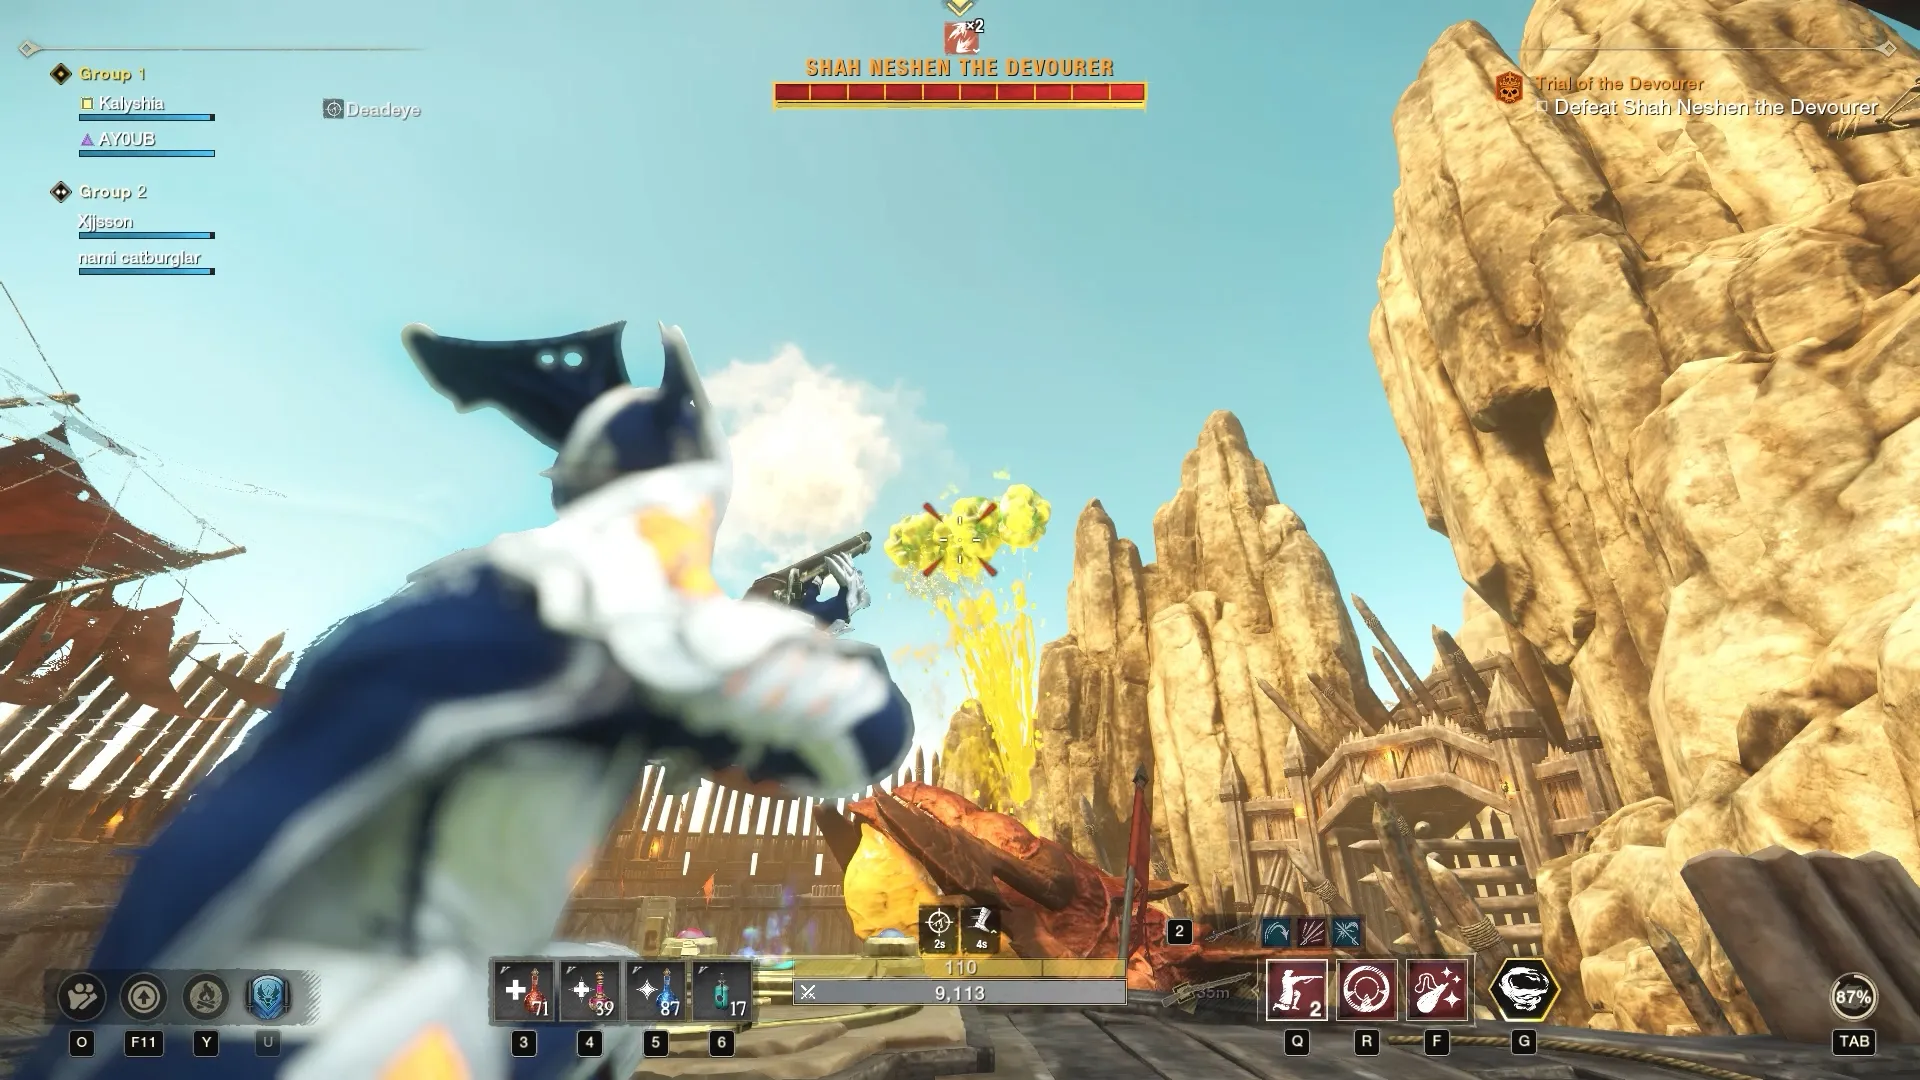
Finally, three players interact with the drum in the center to summon the boss: Shah Neshen the Devourer.
See Your Own Light
If you have specific in-game settings, you will be able to see your own lights without having to rely on someone to call them for you.
Settings -> Game -> Tilt-based Camera Zoom -> Enable
Settings -> Video -> Field of View (FOV) -> Max (70)
Attacks
Acid Balls

The Worm launches acid projectiles in the air. leaving them to land causes heavy area damage and leave behind acid circles. Ranged players must shoot them mid-air to destroy them before they land.
You can utilize the Musket to destroy them easily since the shots pass through them all if timed well.
Alternatively, you can use the Bow with Refreshing Penetrating Shot to destroy them all. Each one will be considered a kill when destroyed which will instantly refresh your ability. If you’re using this method, make sure the Bow player is the only person shooting, otherwise he will not get his Penetrating Shot refreshed if he doesn’t hit.
Acid Trail
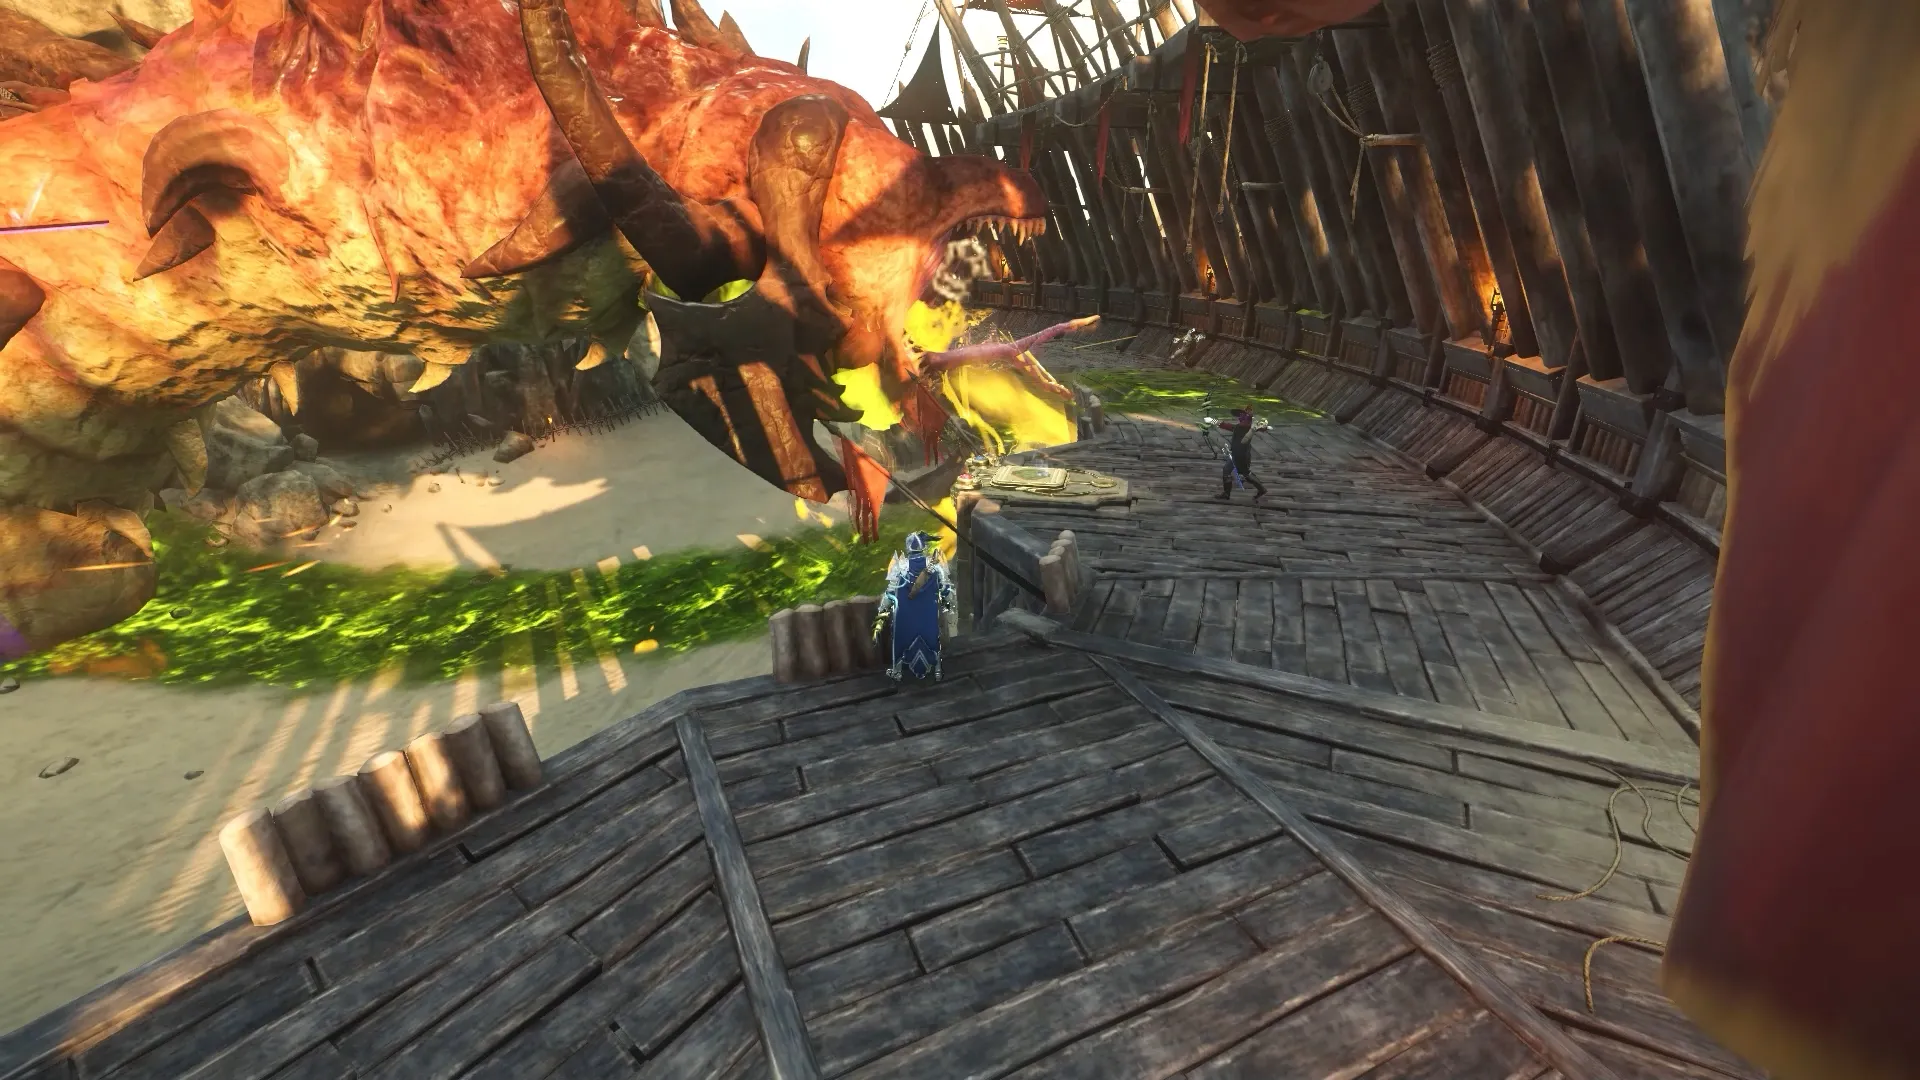
The boss will pick the player with aggro. You will see a red marker above his head along with a preview of an acid trail from the boss to the player.
The Worm then spews acid along the trail damaging and killing anyone in his path. The trail lingers behind for a few seconds so avoid walking into it. This is a slow attack which can be easily avoided
Acid Spits
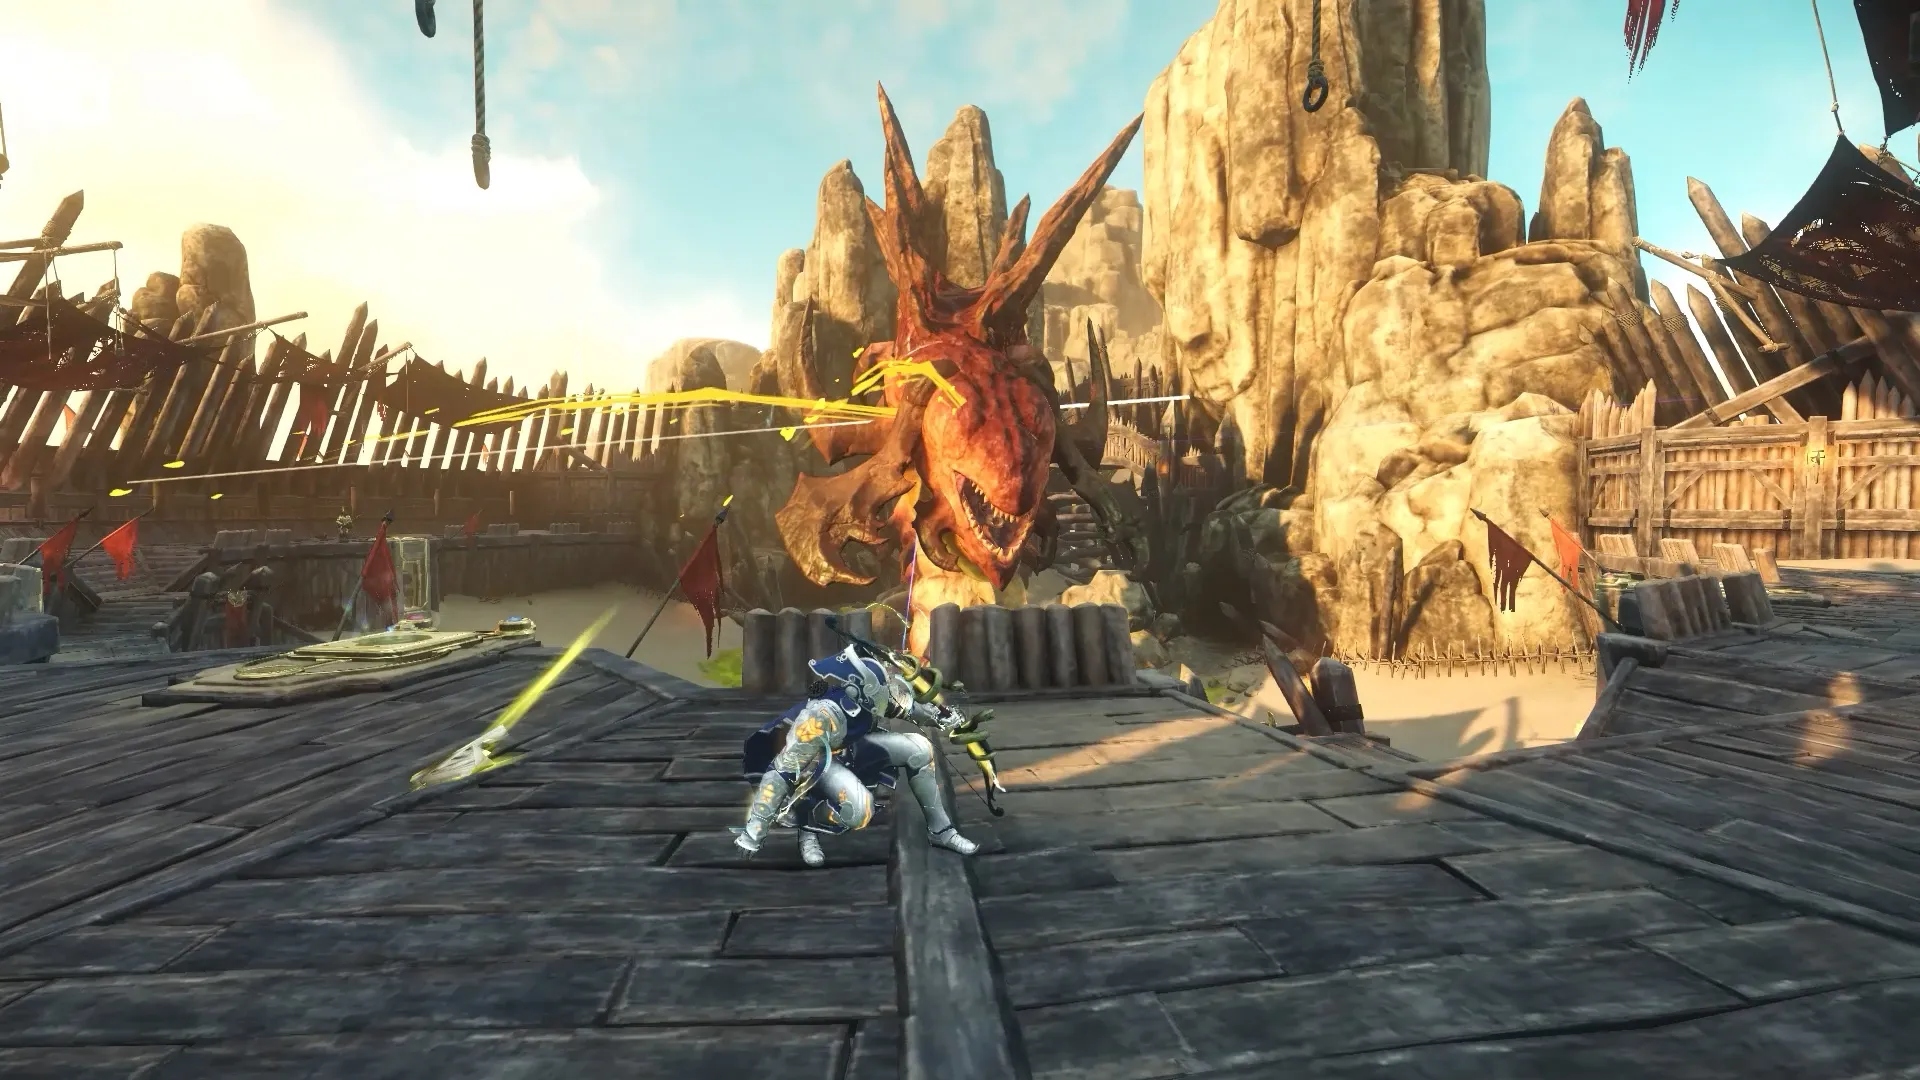
The Worm spits acid in three directions centered around the tank. Usually 3 times in a row but can also trigger only one. They cause considerable damage and increase acid infliction so dodge to avoid them.
Melee Bites
The boss performs two consecutive attacks, one on each side dealing massive damage (instant kill) and leaves behind an acid puddle.
Players need to block or dodge this attack and then cleanse themselves from the acid caused by the puddles under them.
Heavy Slam
The Worm slams its body down in a sweeping motion that covers a wide arc. Players on the platform on top are safe and players fighting closer to the body are safe from this attack.
Watch the animation and dodge in time to avoid being hit
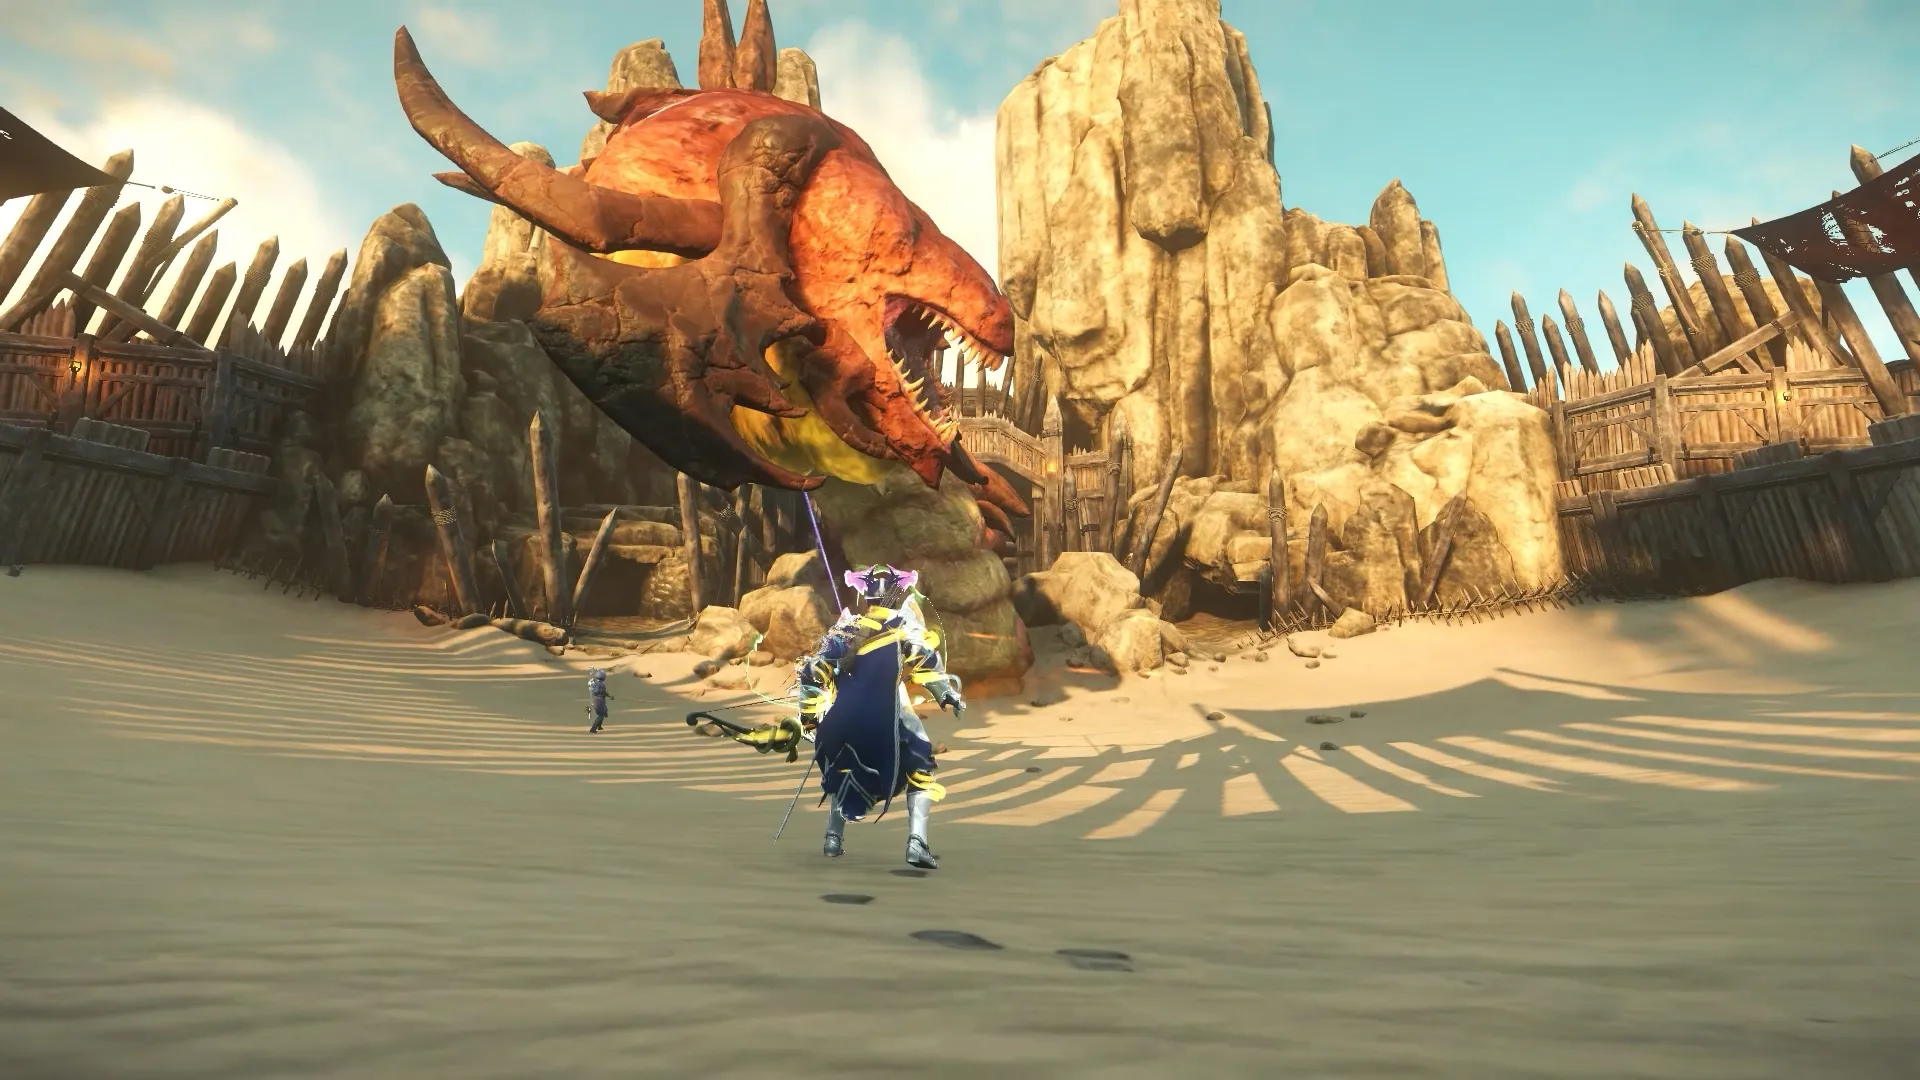
Boss Phases
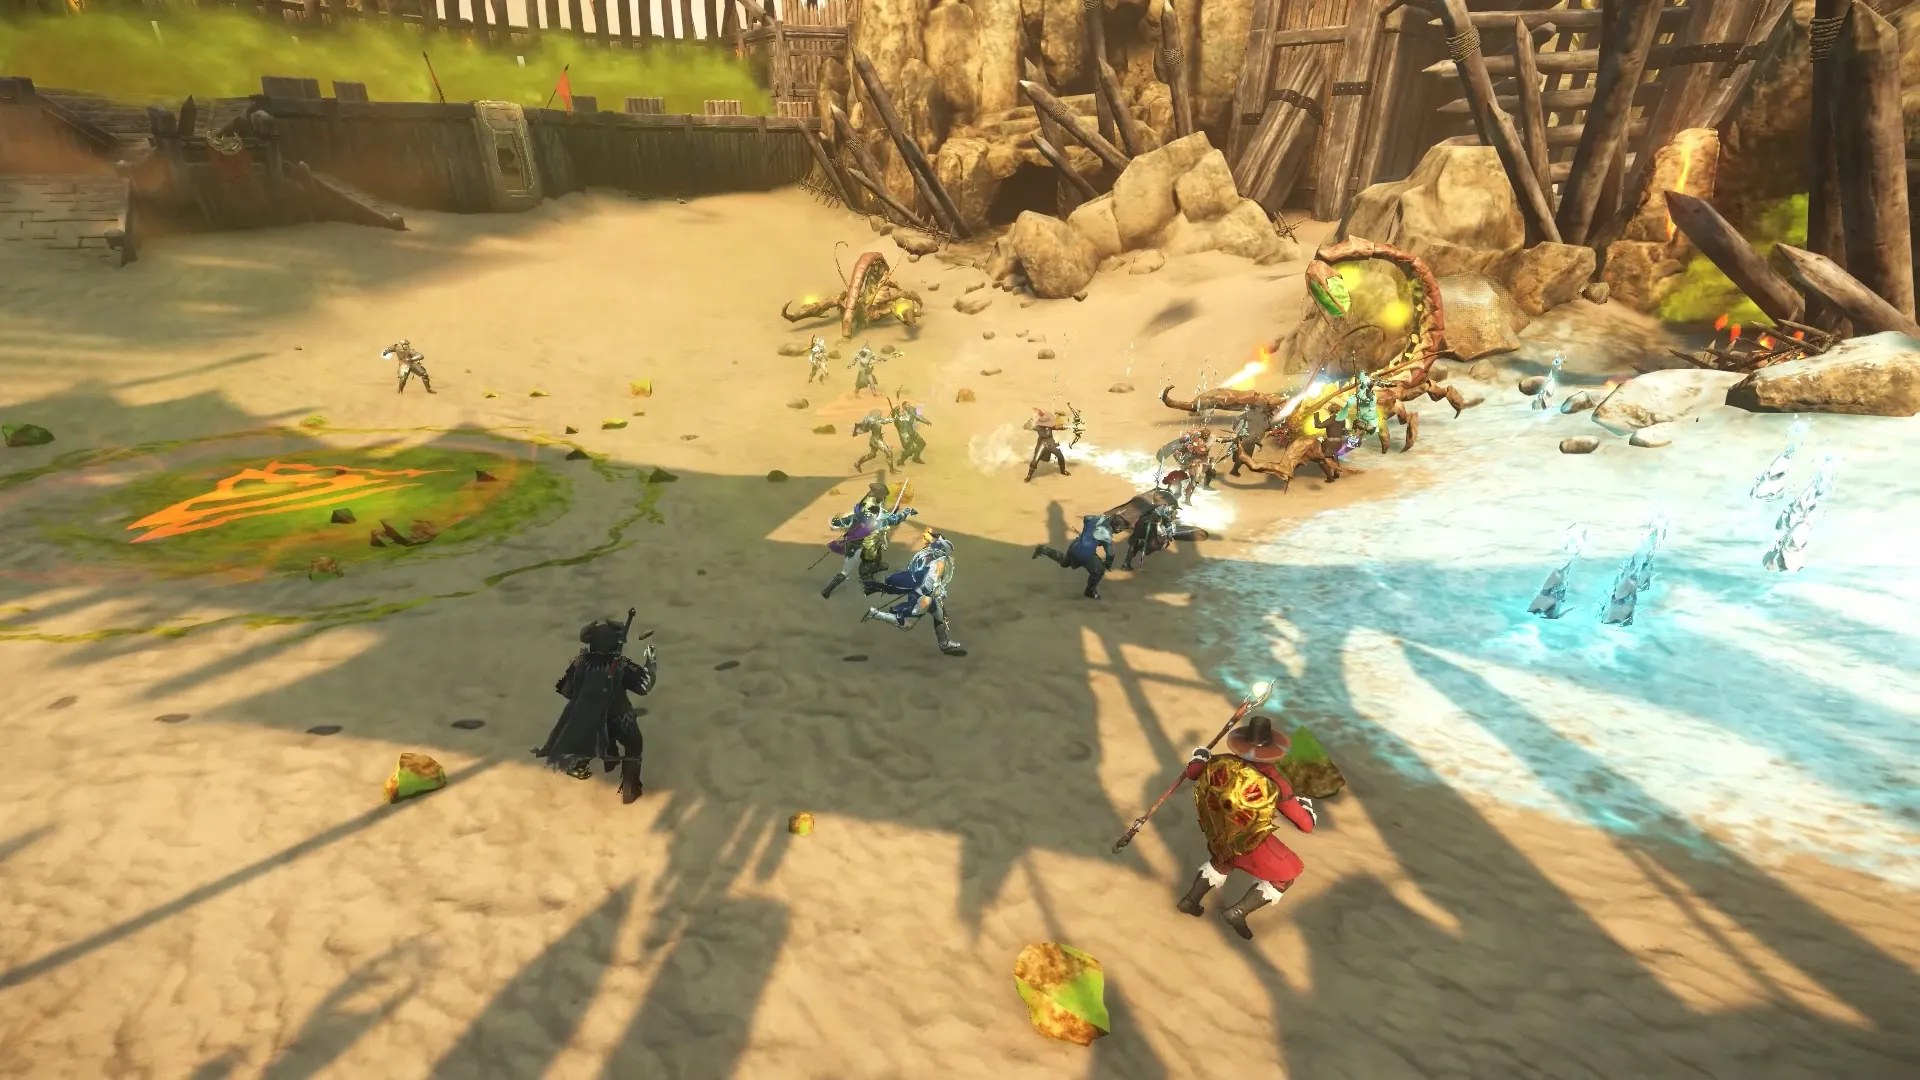
The Worm is mostly stationary in the arena center. Melee attack its midsection, while a Ranged light tank holds aggro from distance. Ranged DPS stay on the upper platform to handle mechanics.
Phase One
During this phase, adds spawn (Nephilim, scorpions, Angry Earth). Lights repeat their mechanic for Shield Breaker, and Melee clear adds.
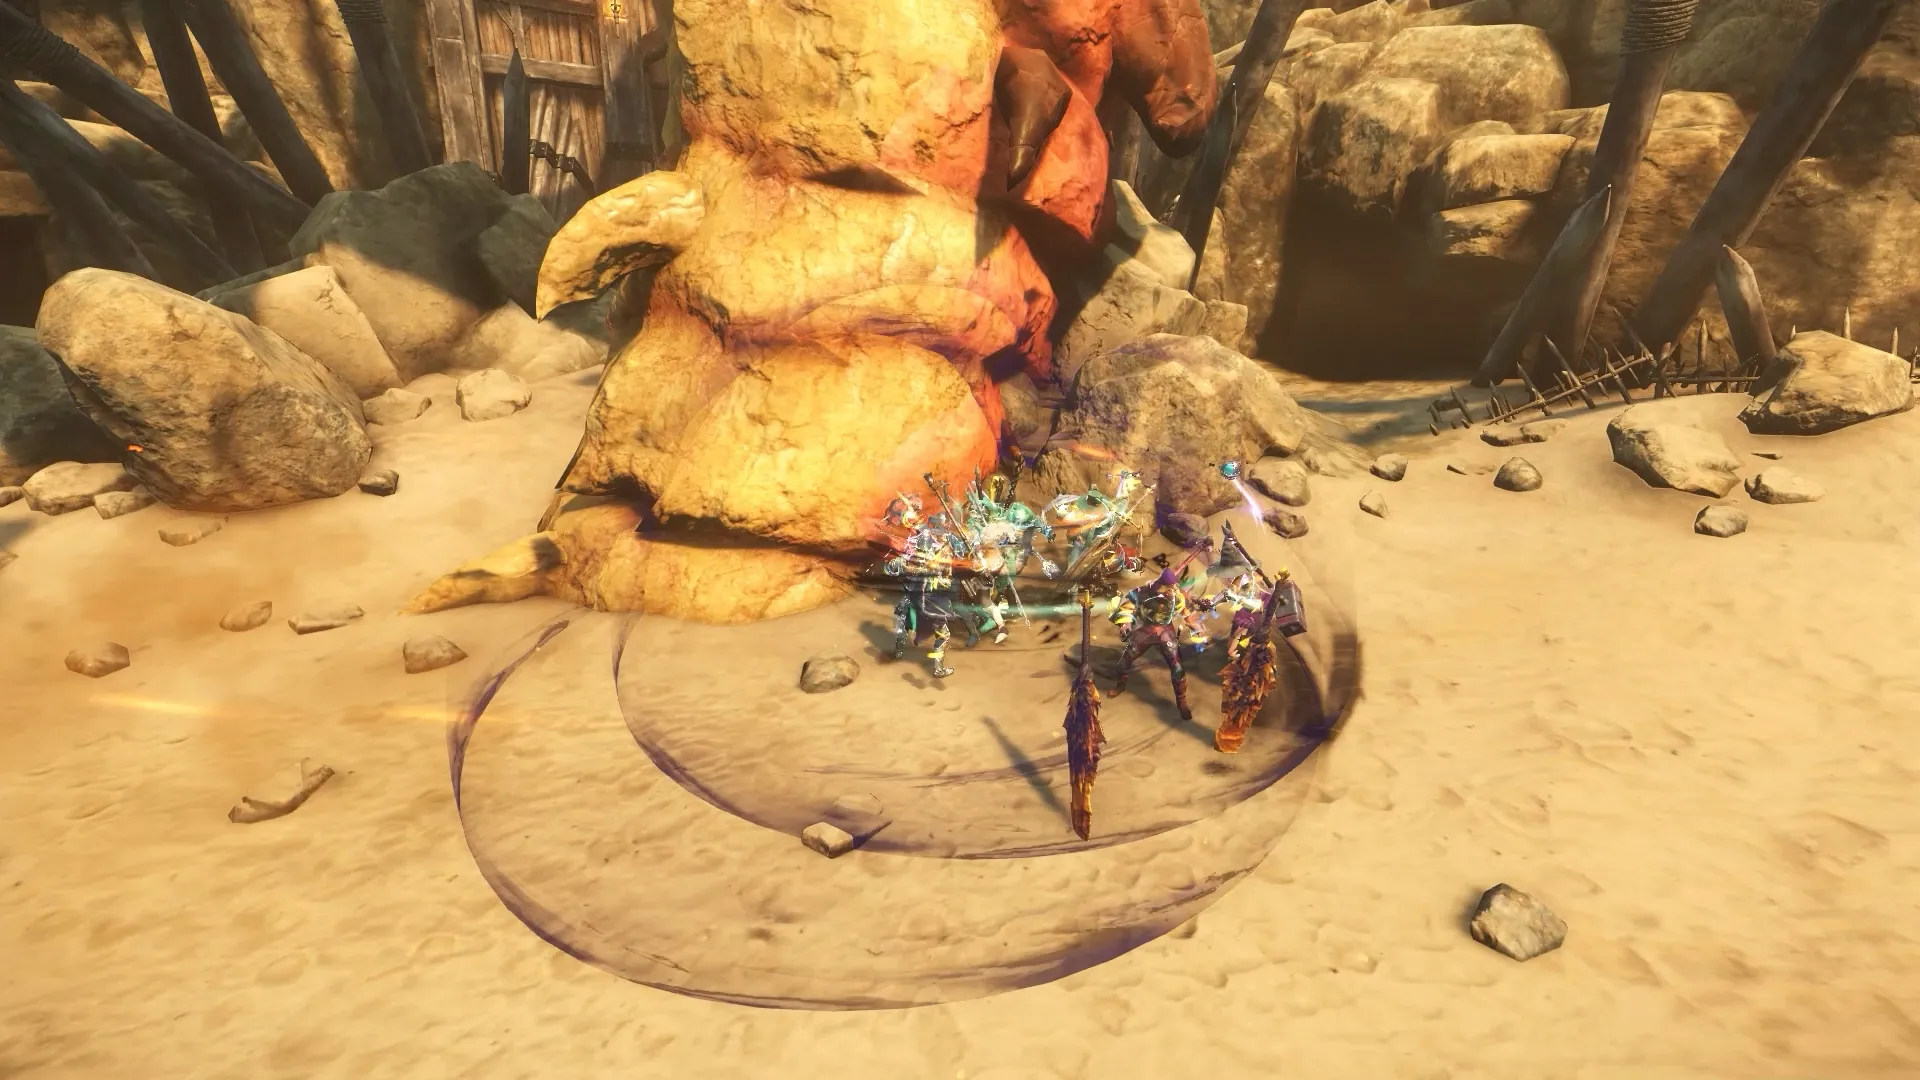
Scorpion Phase
Either the Worm finishes its attack rotation or this is forced every time you take 30% HP the Worm dives underground and scorpion phase starts.
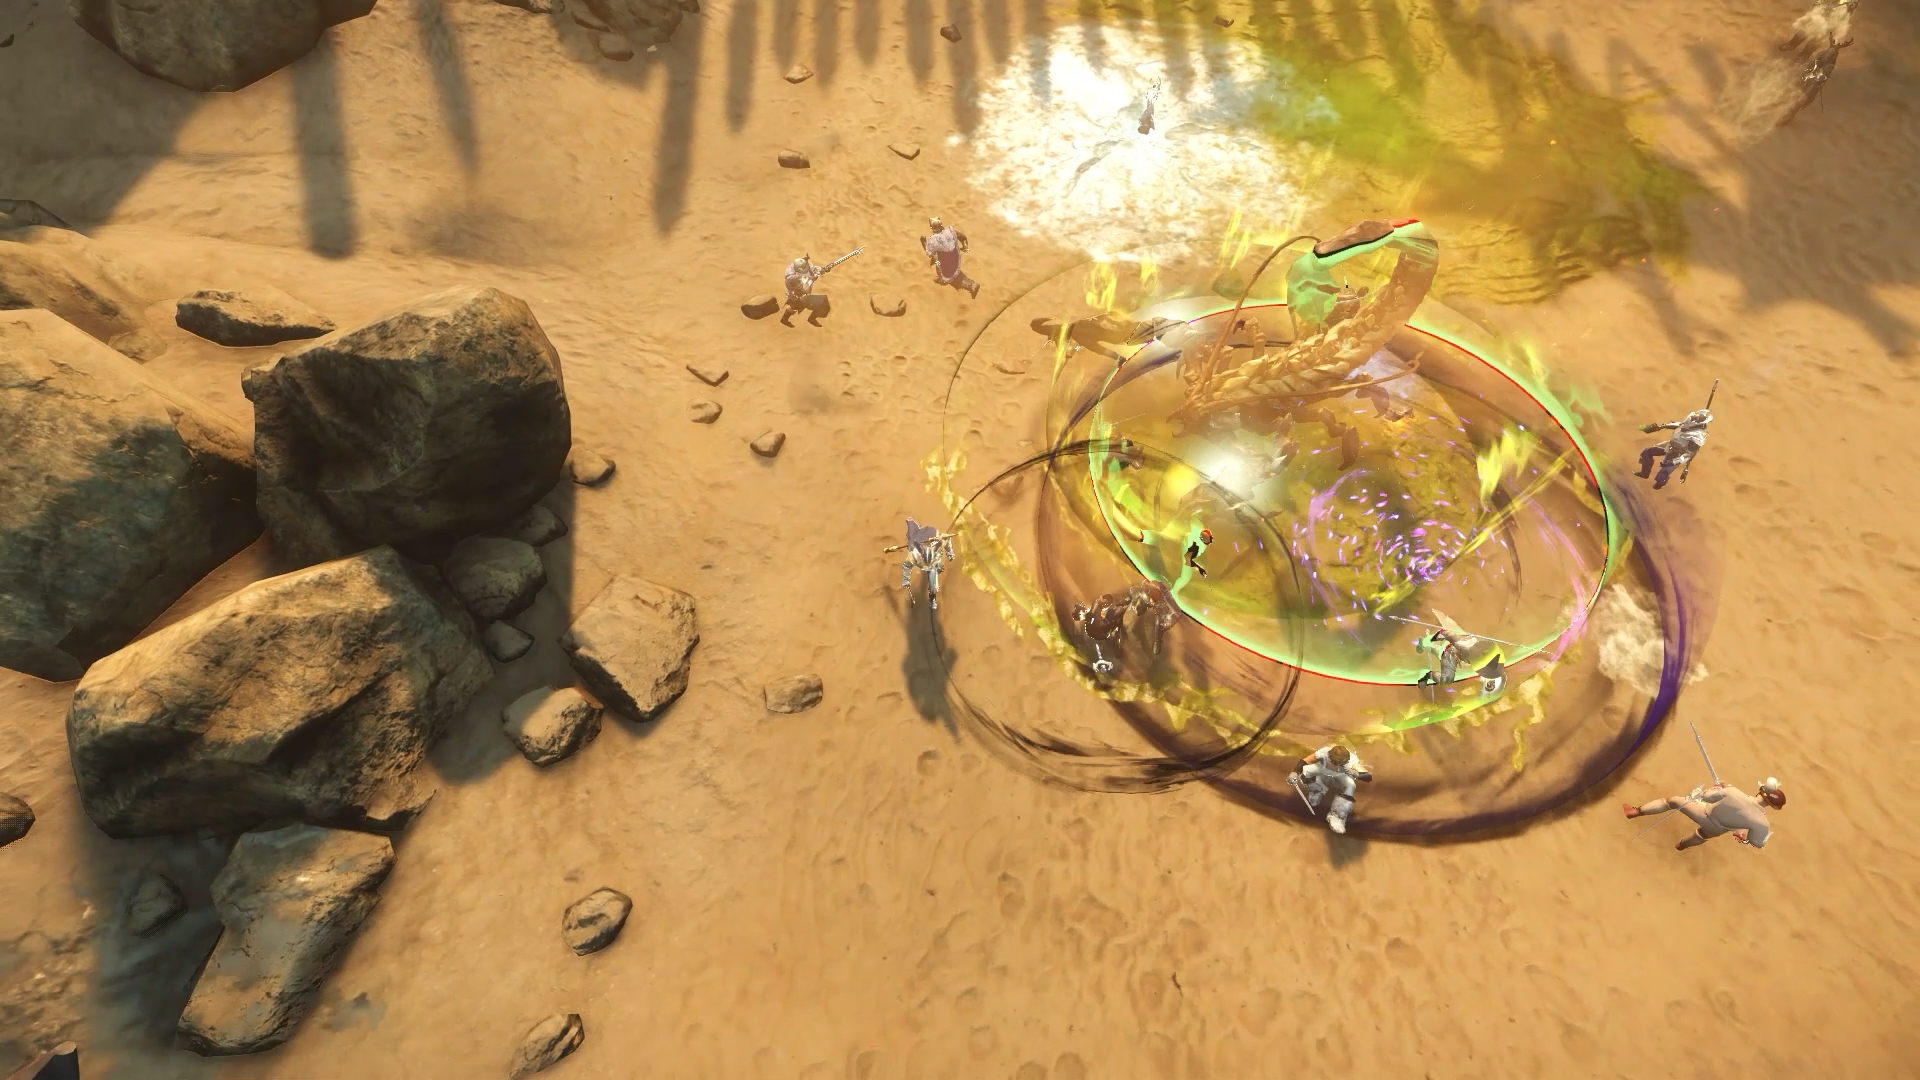
The upper platform is covered with lethal acid smoke and two giant scorpions spawn from the sides.
Until both scorpions are dead, the Worm will keep attacking from underground, you will see a green circle on the ground and the boss then lunges from it leaving behind a green circle that causes Acid Burn
When cleared, acid covers the lower arena and the upper platform’s acid becomes weaker.
Stamina Phase
The Worm respawns with a stamina bar. Lights mechanic returns, players must Heavy Attack to break the stamina.
There are two ways to deal with this phase:
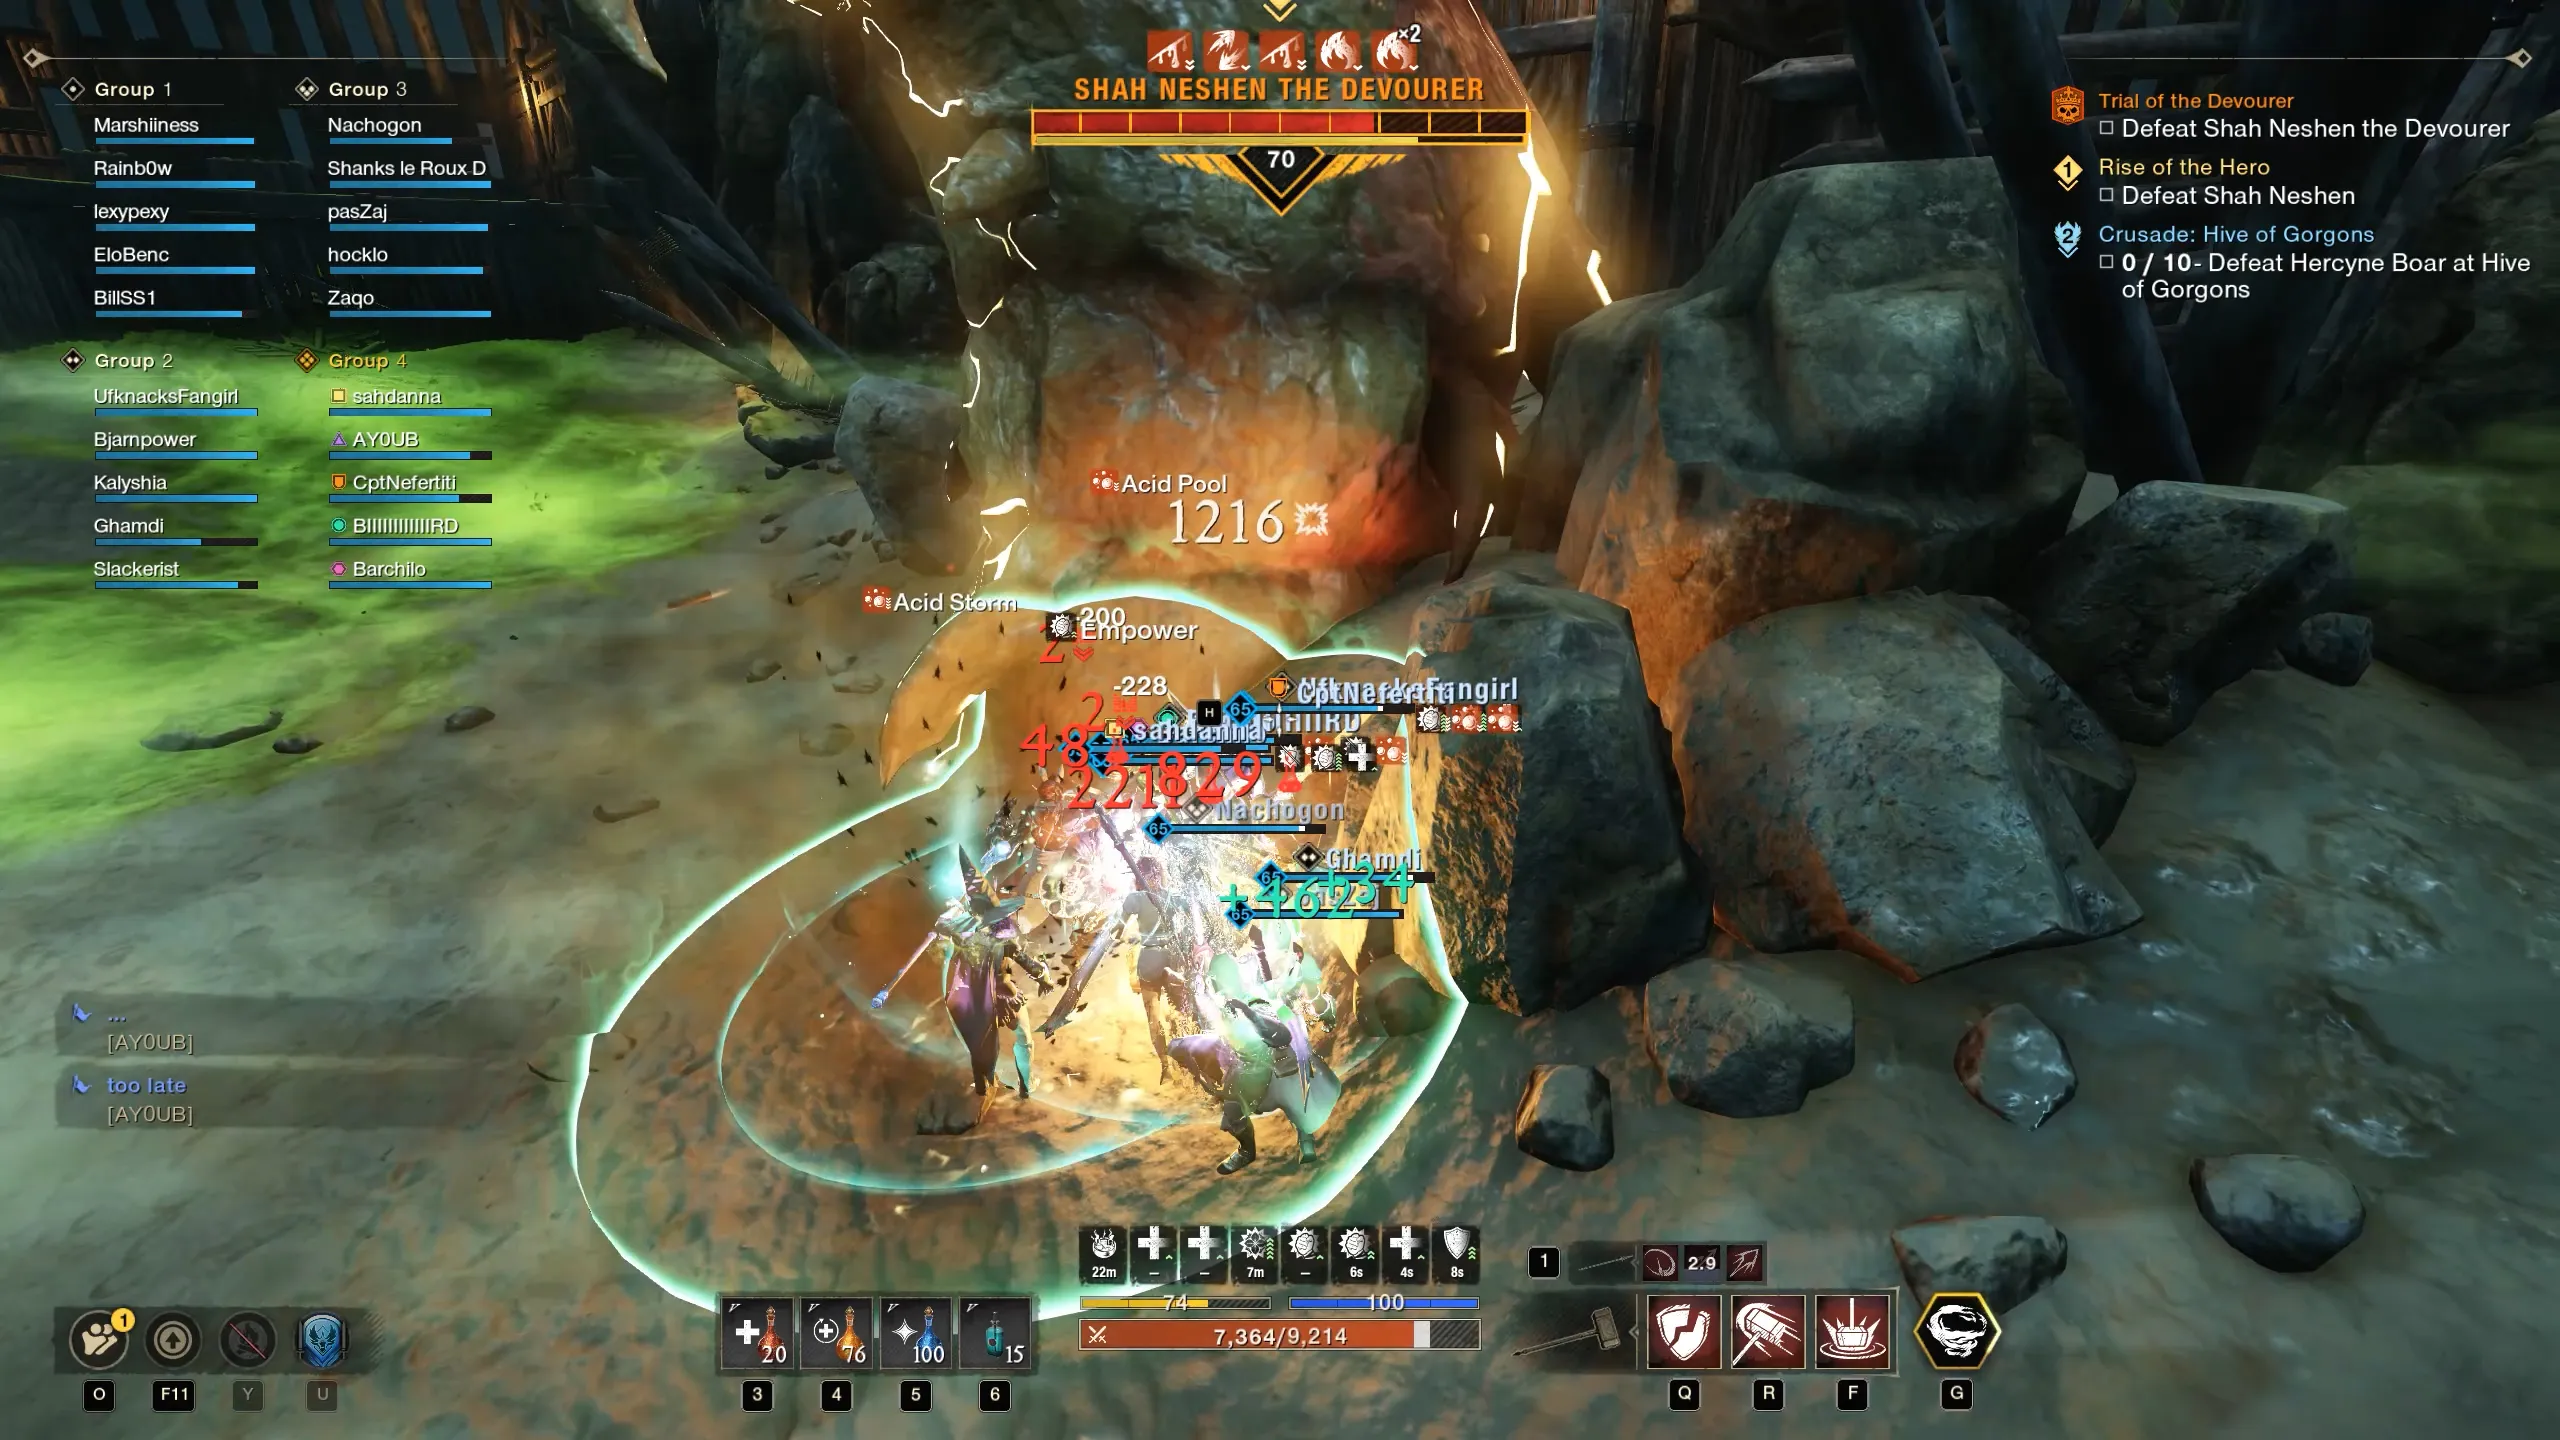
- Ranged Stamina Phase: All players go to the top of the arena and use their Ranged weapons to break the stamina. You will be afflicted with Acid Burn and should use an Acid Tincture or the Stalwart Heartrune of Firestorm to cleanse yourself. Be careful as getting hit with an Acid Spit while suffering from Acid Burn is an instant kill.
- Melee Stamina Phase: Only light players go top and the rest of the team goes Melee and stack on each other to break the stamina. The area downstairs is covered with lethal acid that quickly kills anyone so players need to stand in heals while using the Stalwart Heartrune of Firestorm in rotation to survive. This strategy is riskier but a lot faster.
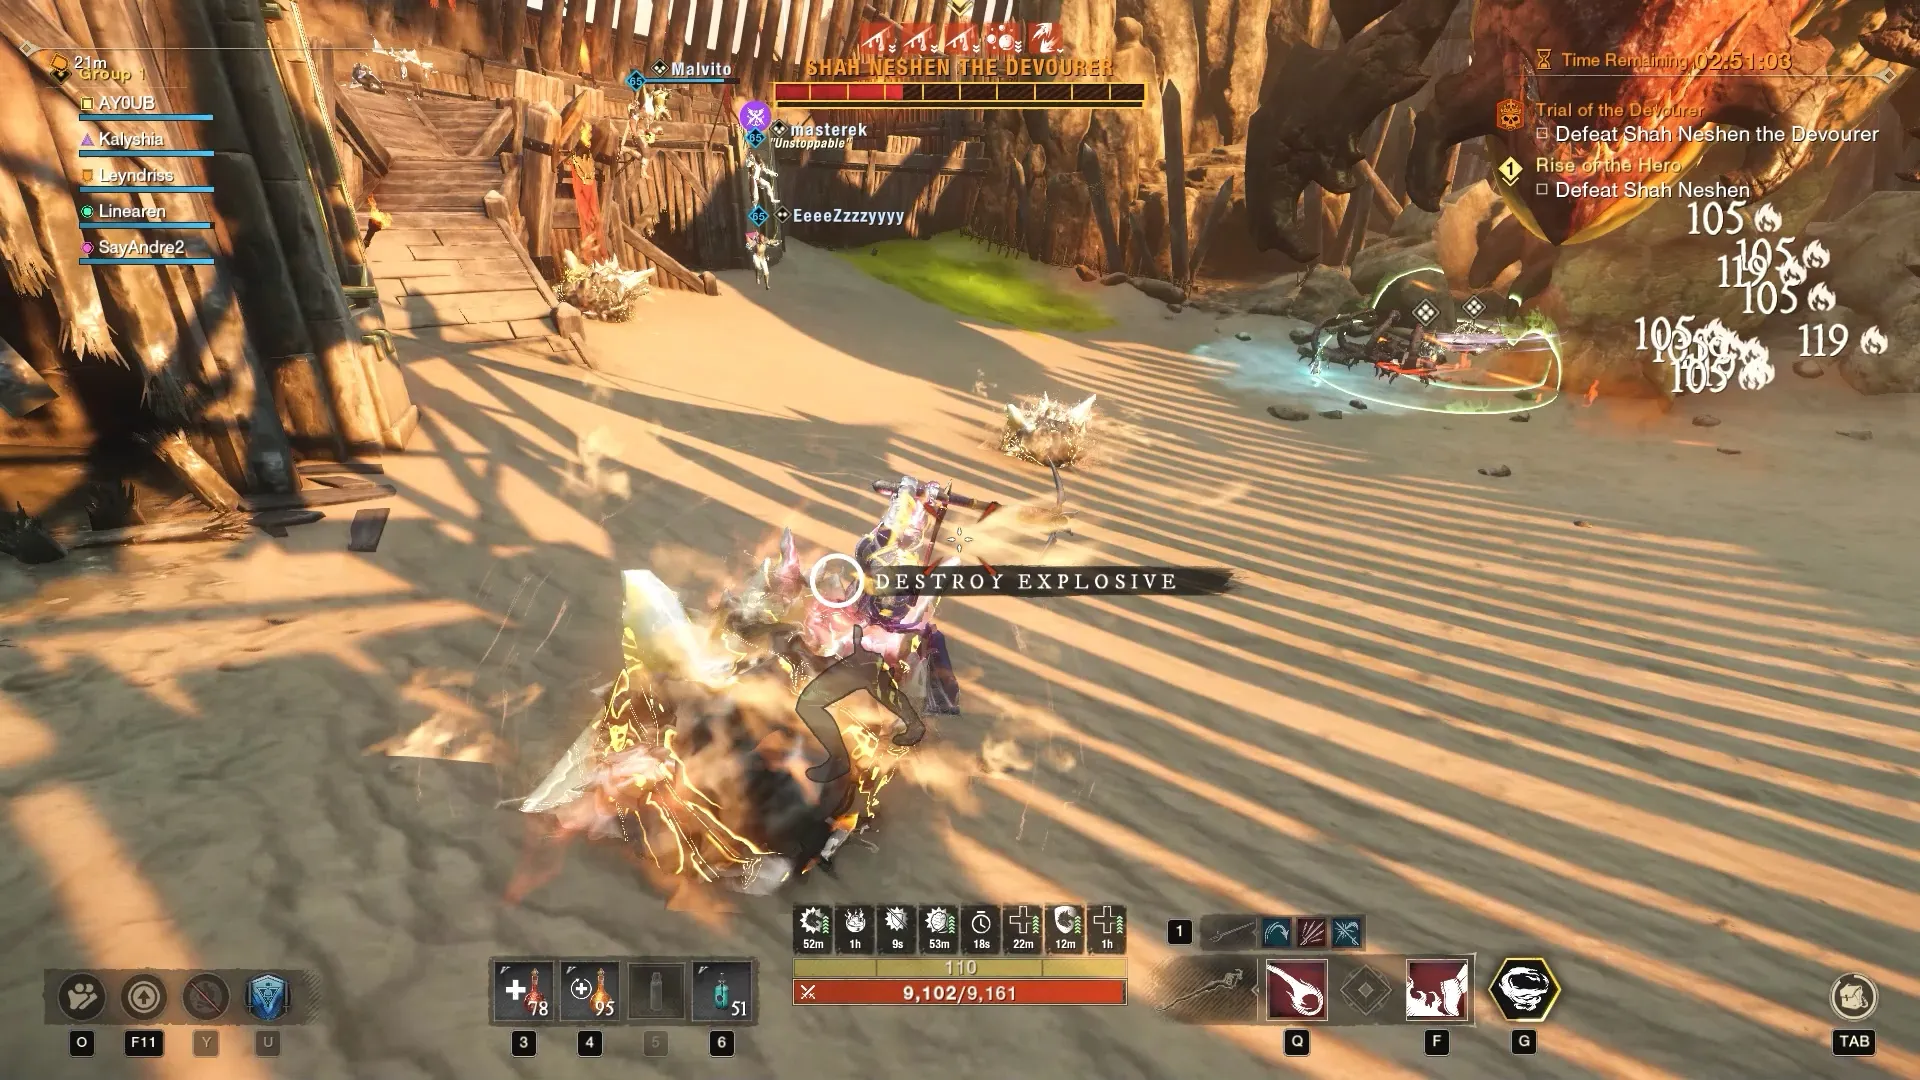
Mines Phase
Later, the Worm introduces Exploding Mines. Players must mine them quickly before they detonate. Failing to do so causes heavy raid-wide damage and stuns.
Make sure to have a pickaxe of at least Gear Score 600 to be able to destroy each mine with 2 hits.
This cycle of attacks and mechanics continues until the Worm is defeated.
Roles
- Shot Caller: Coordinates lights and mechanics.
- Light Players: Activate platforms for buffs, shoot Acid Balls, clear adds.
- Melee DPS: Damage the Worm and adds.
- Healers: Sustain raid and cleanse debuffs. (One is enough but having two is safer)
- Support DPS: Provide buffs and debuffs while dealing damage.
- Ranged Tank: Holds boss aggro at distance.
- Melee Tank: A more advanced group can use a Melee tank to benefit from the extra damage that Carnelians on armor provide to taunted foes. (Since a Ranged tank cannot taunt)
Reviving
Each player can be revived only once per raid.
A second death wipes you and you respawn on the starting platform until the boss is killed or the raid wipes.
There is a short AFK timer so remember to keep moving.
Rewards
As of Season 9, rewards include:
- 700–710 Gear Score items
- Minor Sandworm Spoils (daily)
- Major Sandworm Spoils (weekly, higher chance for raid loot)
- Up to 1 raid-only named item from minor chests and up to 2 from major, upgradable to 725 GS with some illegal perk combos.
- Guaranteed Devourer Heartrune and 500 Sandwurm Materia from the weekly chest.
That concludes the Worm raid guide.
Good luck, and may your group conquer Shah Neshen the Devourer!