Typhon Guide
Typhon: Boss Fight 2 - Full guide explaining mechanics and attack patterns
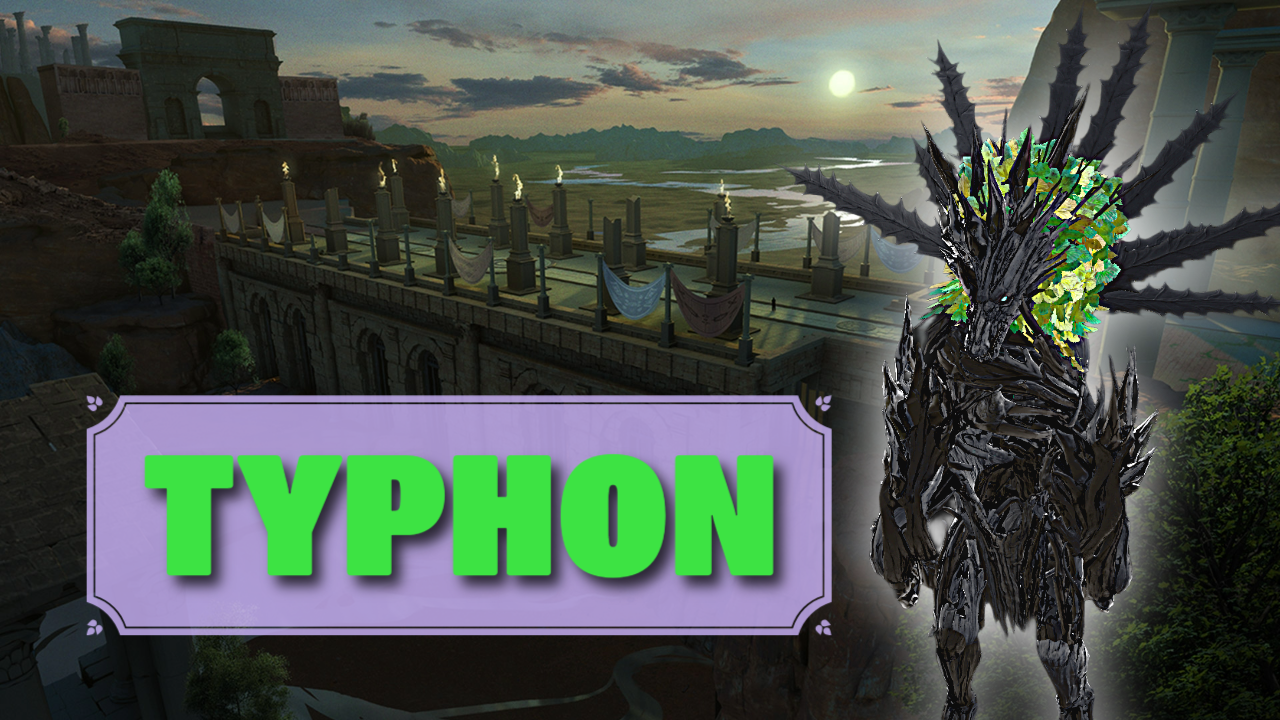
Typhon is the second boss in Hive of the Gorgons. The fight is a true DPS check, the faster your group can deal damage, the shorter and safer the fight becomes. If your team lacks damage or coordination, the encounter drags on and punishes heavily.
Typhon Boss Fight
Typhon is the second boss in the Hive of the Gorgon and serves as a true DPS check. With strong damage and coordination he goes down quickly, but if your team lacks power the fight drags on and becomes punishing.
Success depends on running a balanced comp with Rend, Weaken, and Empower, which greatly control the flow of the fight.
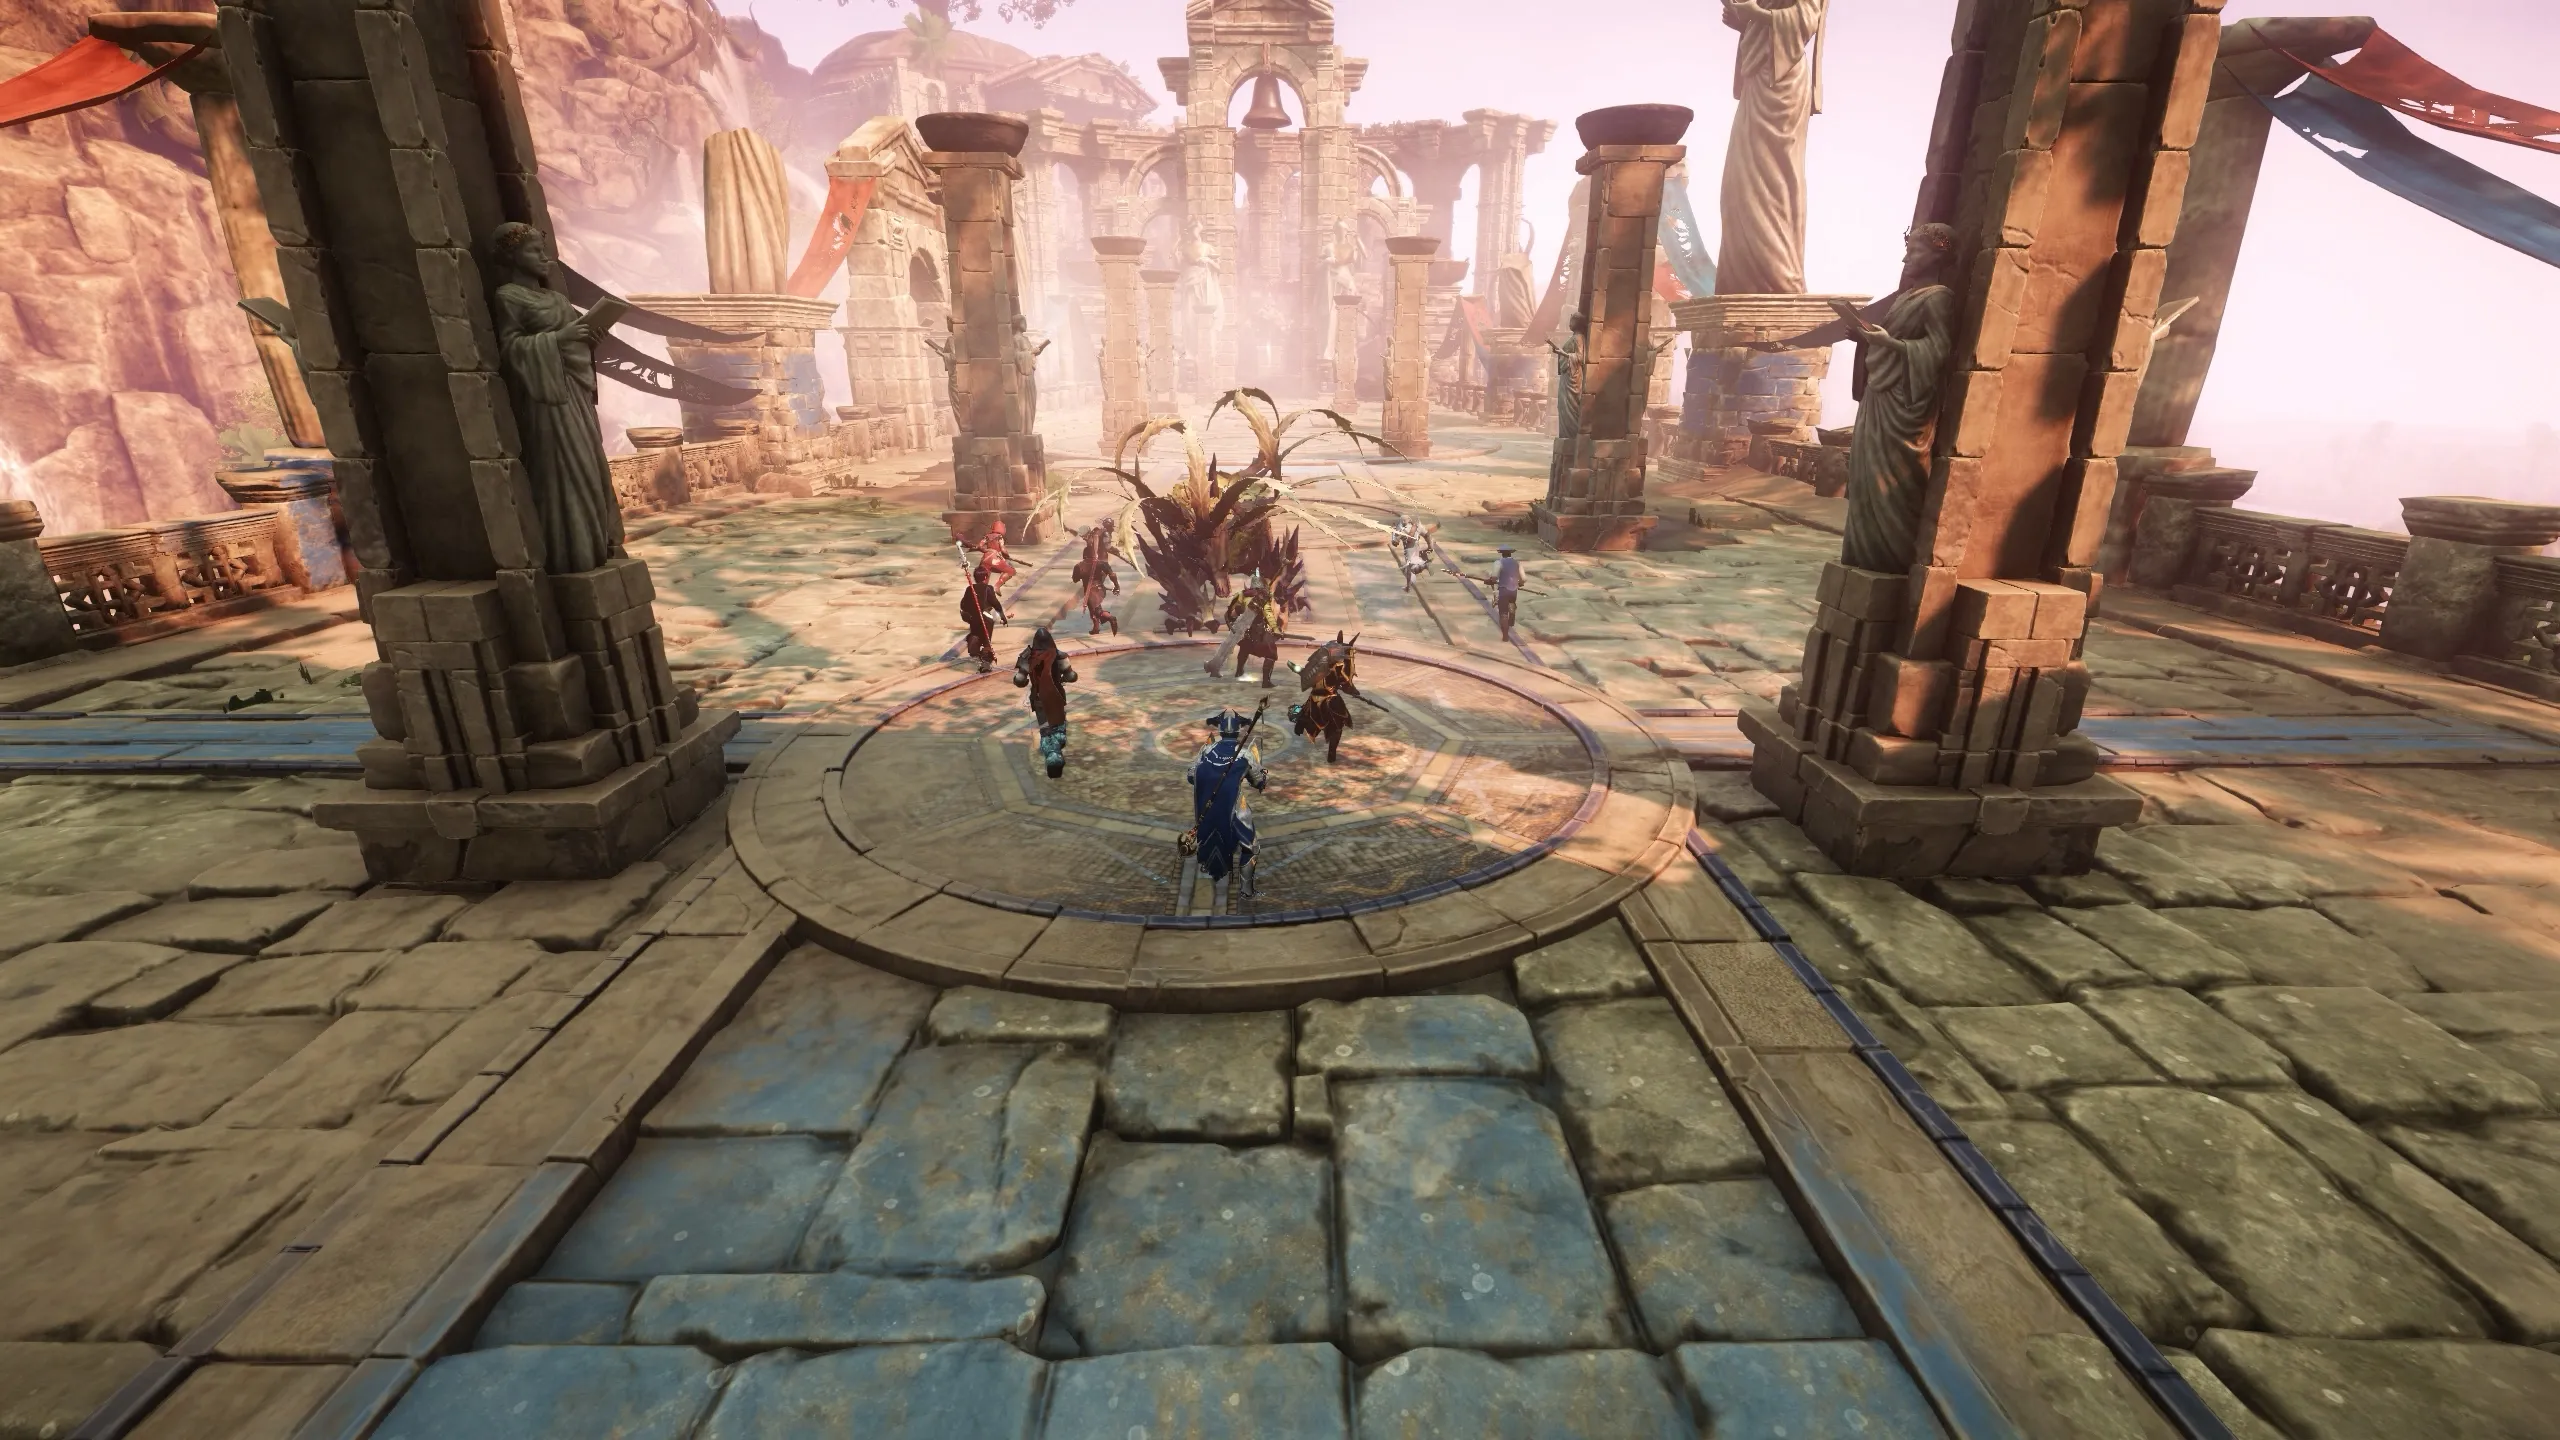
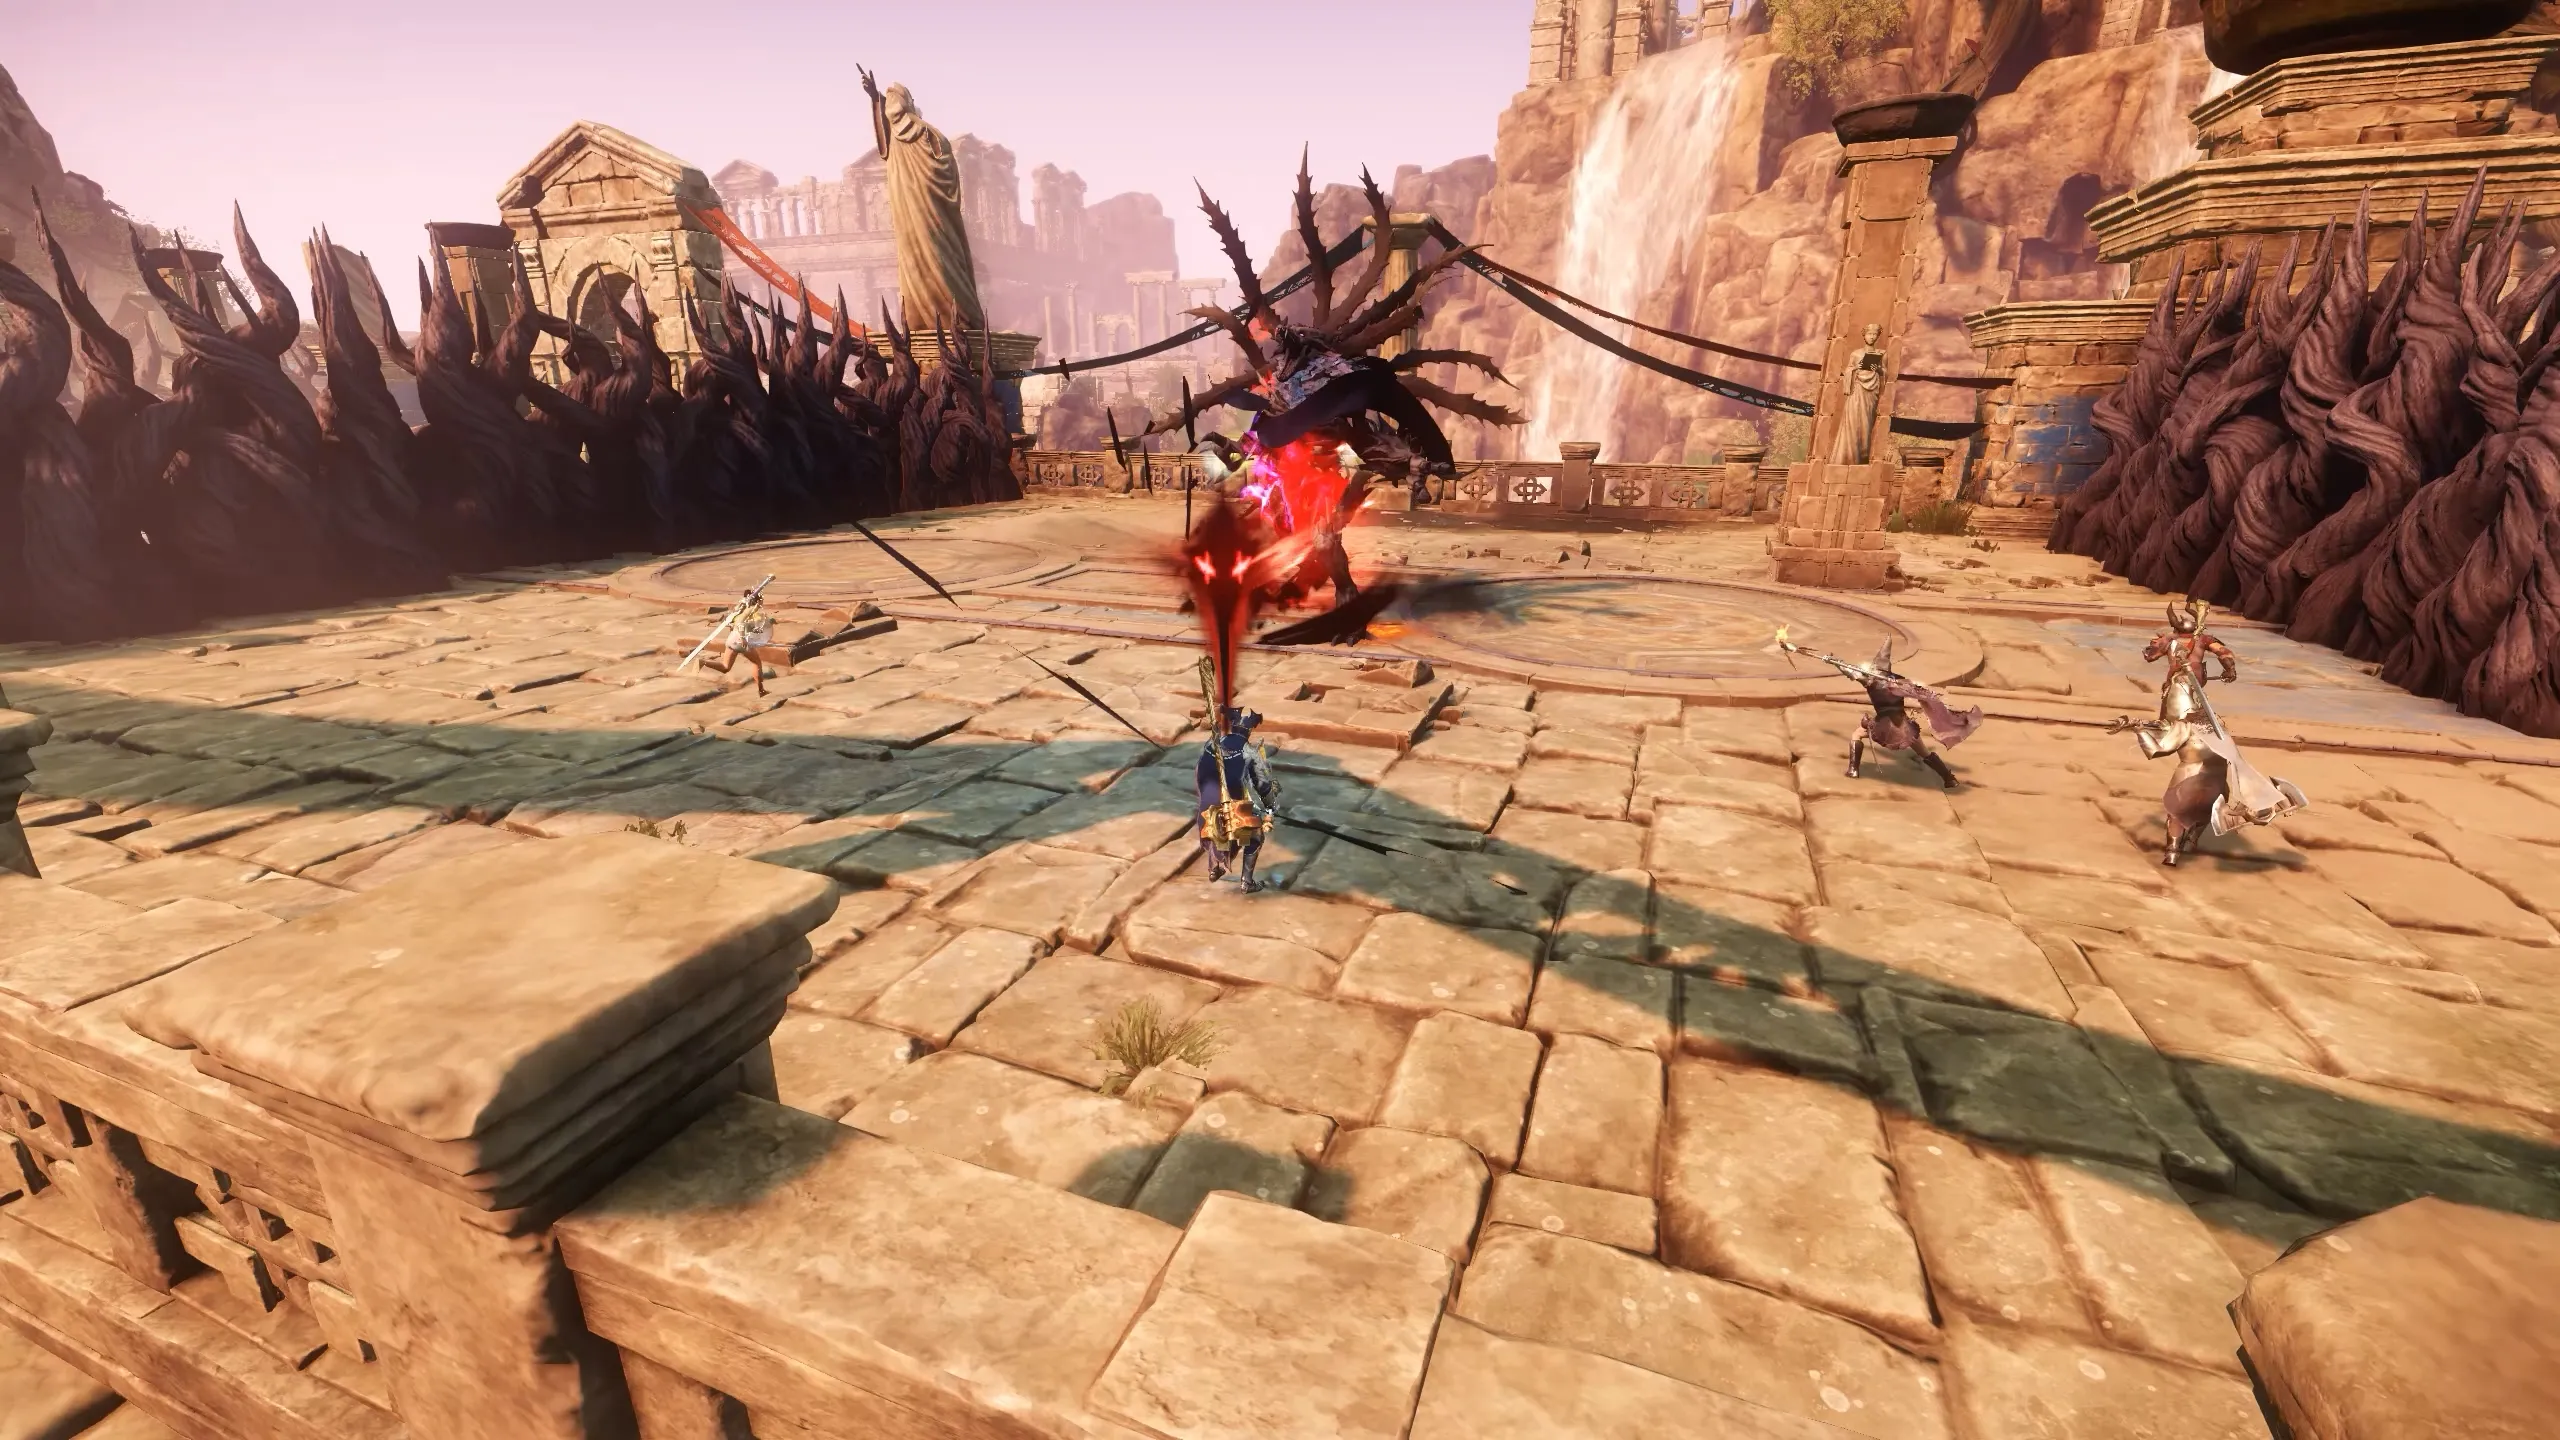
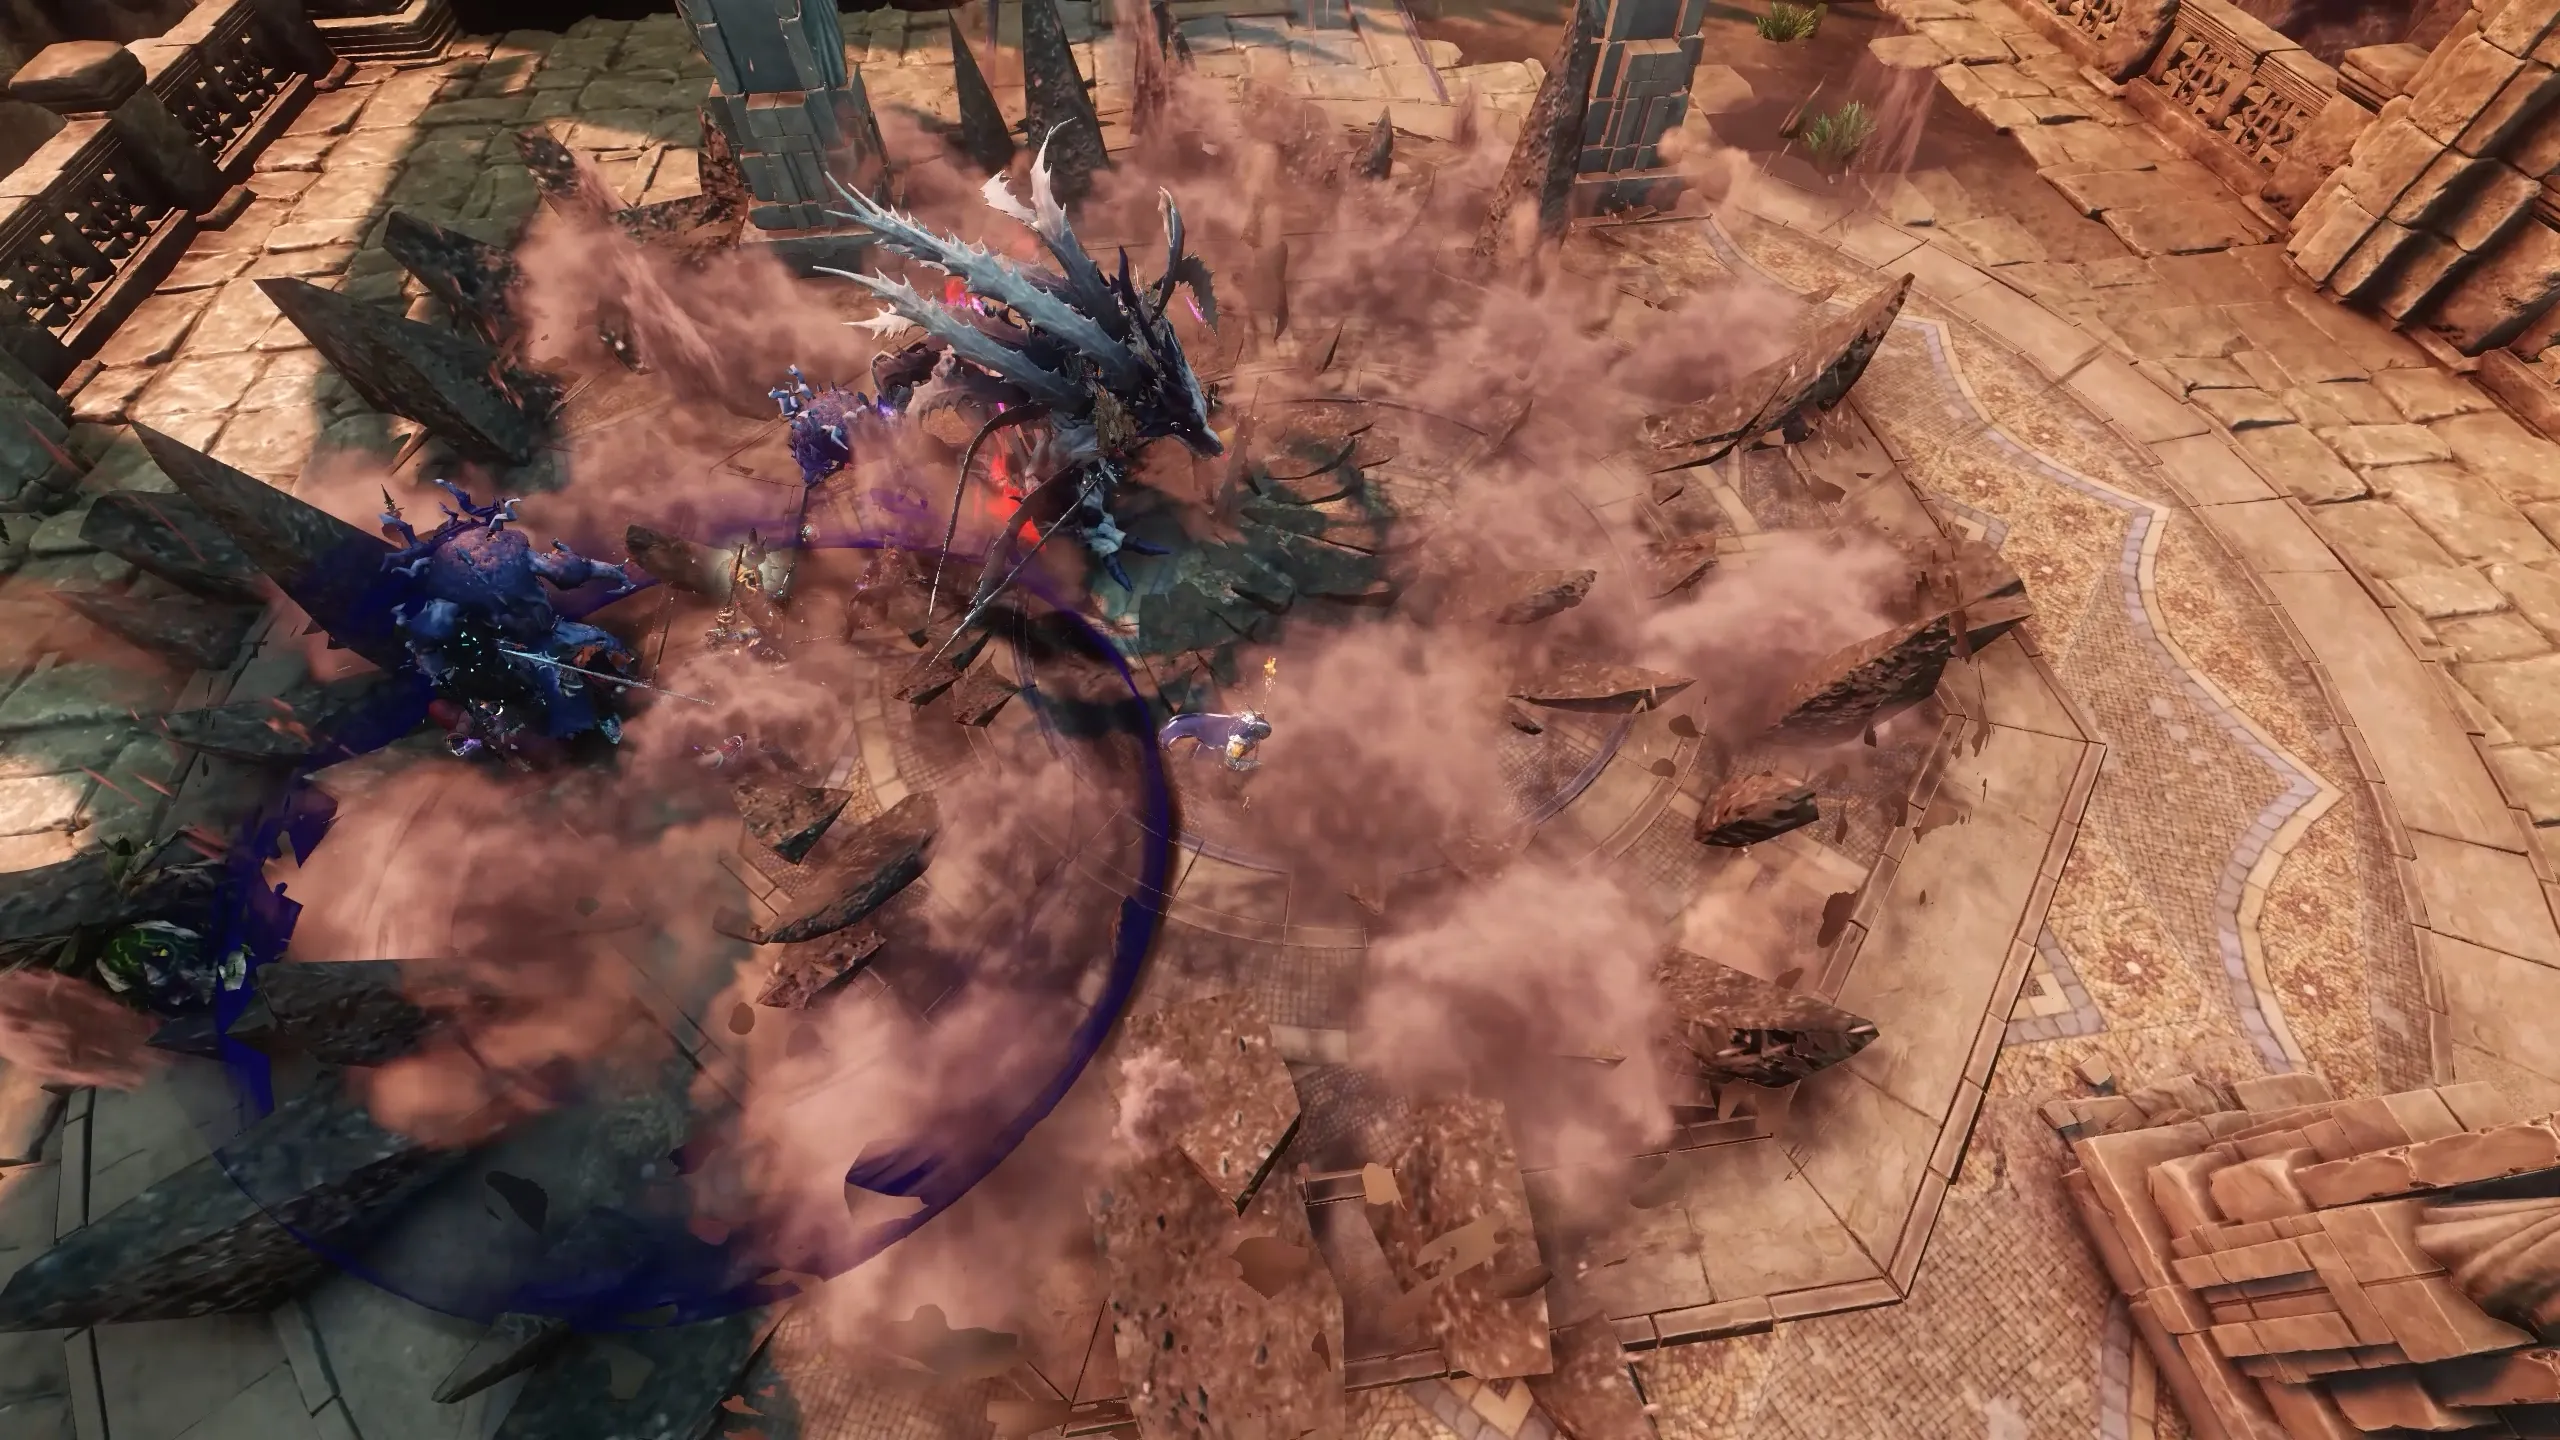
As soon as you approach, the entrance seals and the arena divides into three sections, starting a three-phase battle. Typhon is highly mobile, often turning or leaping, so the tank must hold aggro and keep him facing away from the group. Everyone else should stay behind him, but be ready to adjust as he moves.
Typhon’s attacks mix slash, thrust, strike, and nature damage, with slash being most common. Every attack applies an undispellable bleed, even on blocks, so dodging is the safest strategy. Luckily, Typhon pauses slightly between moves, giving chances to recover stamina.
Most base attacks are claw swipes at his front. Positioning behind him is generally safe, though his mobility means you’re never fully out of danger.
- Recommended protections:
- Slash Protection (main)
- Thrust Protection (secondary)
Vine Attacks
Typhon has three distinct vine-based attacks:
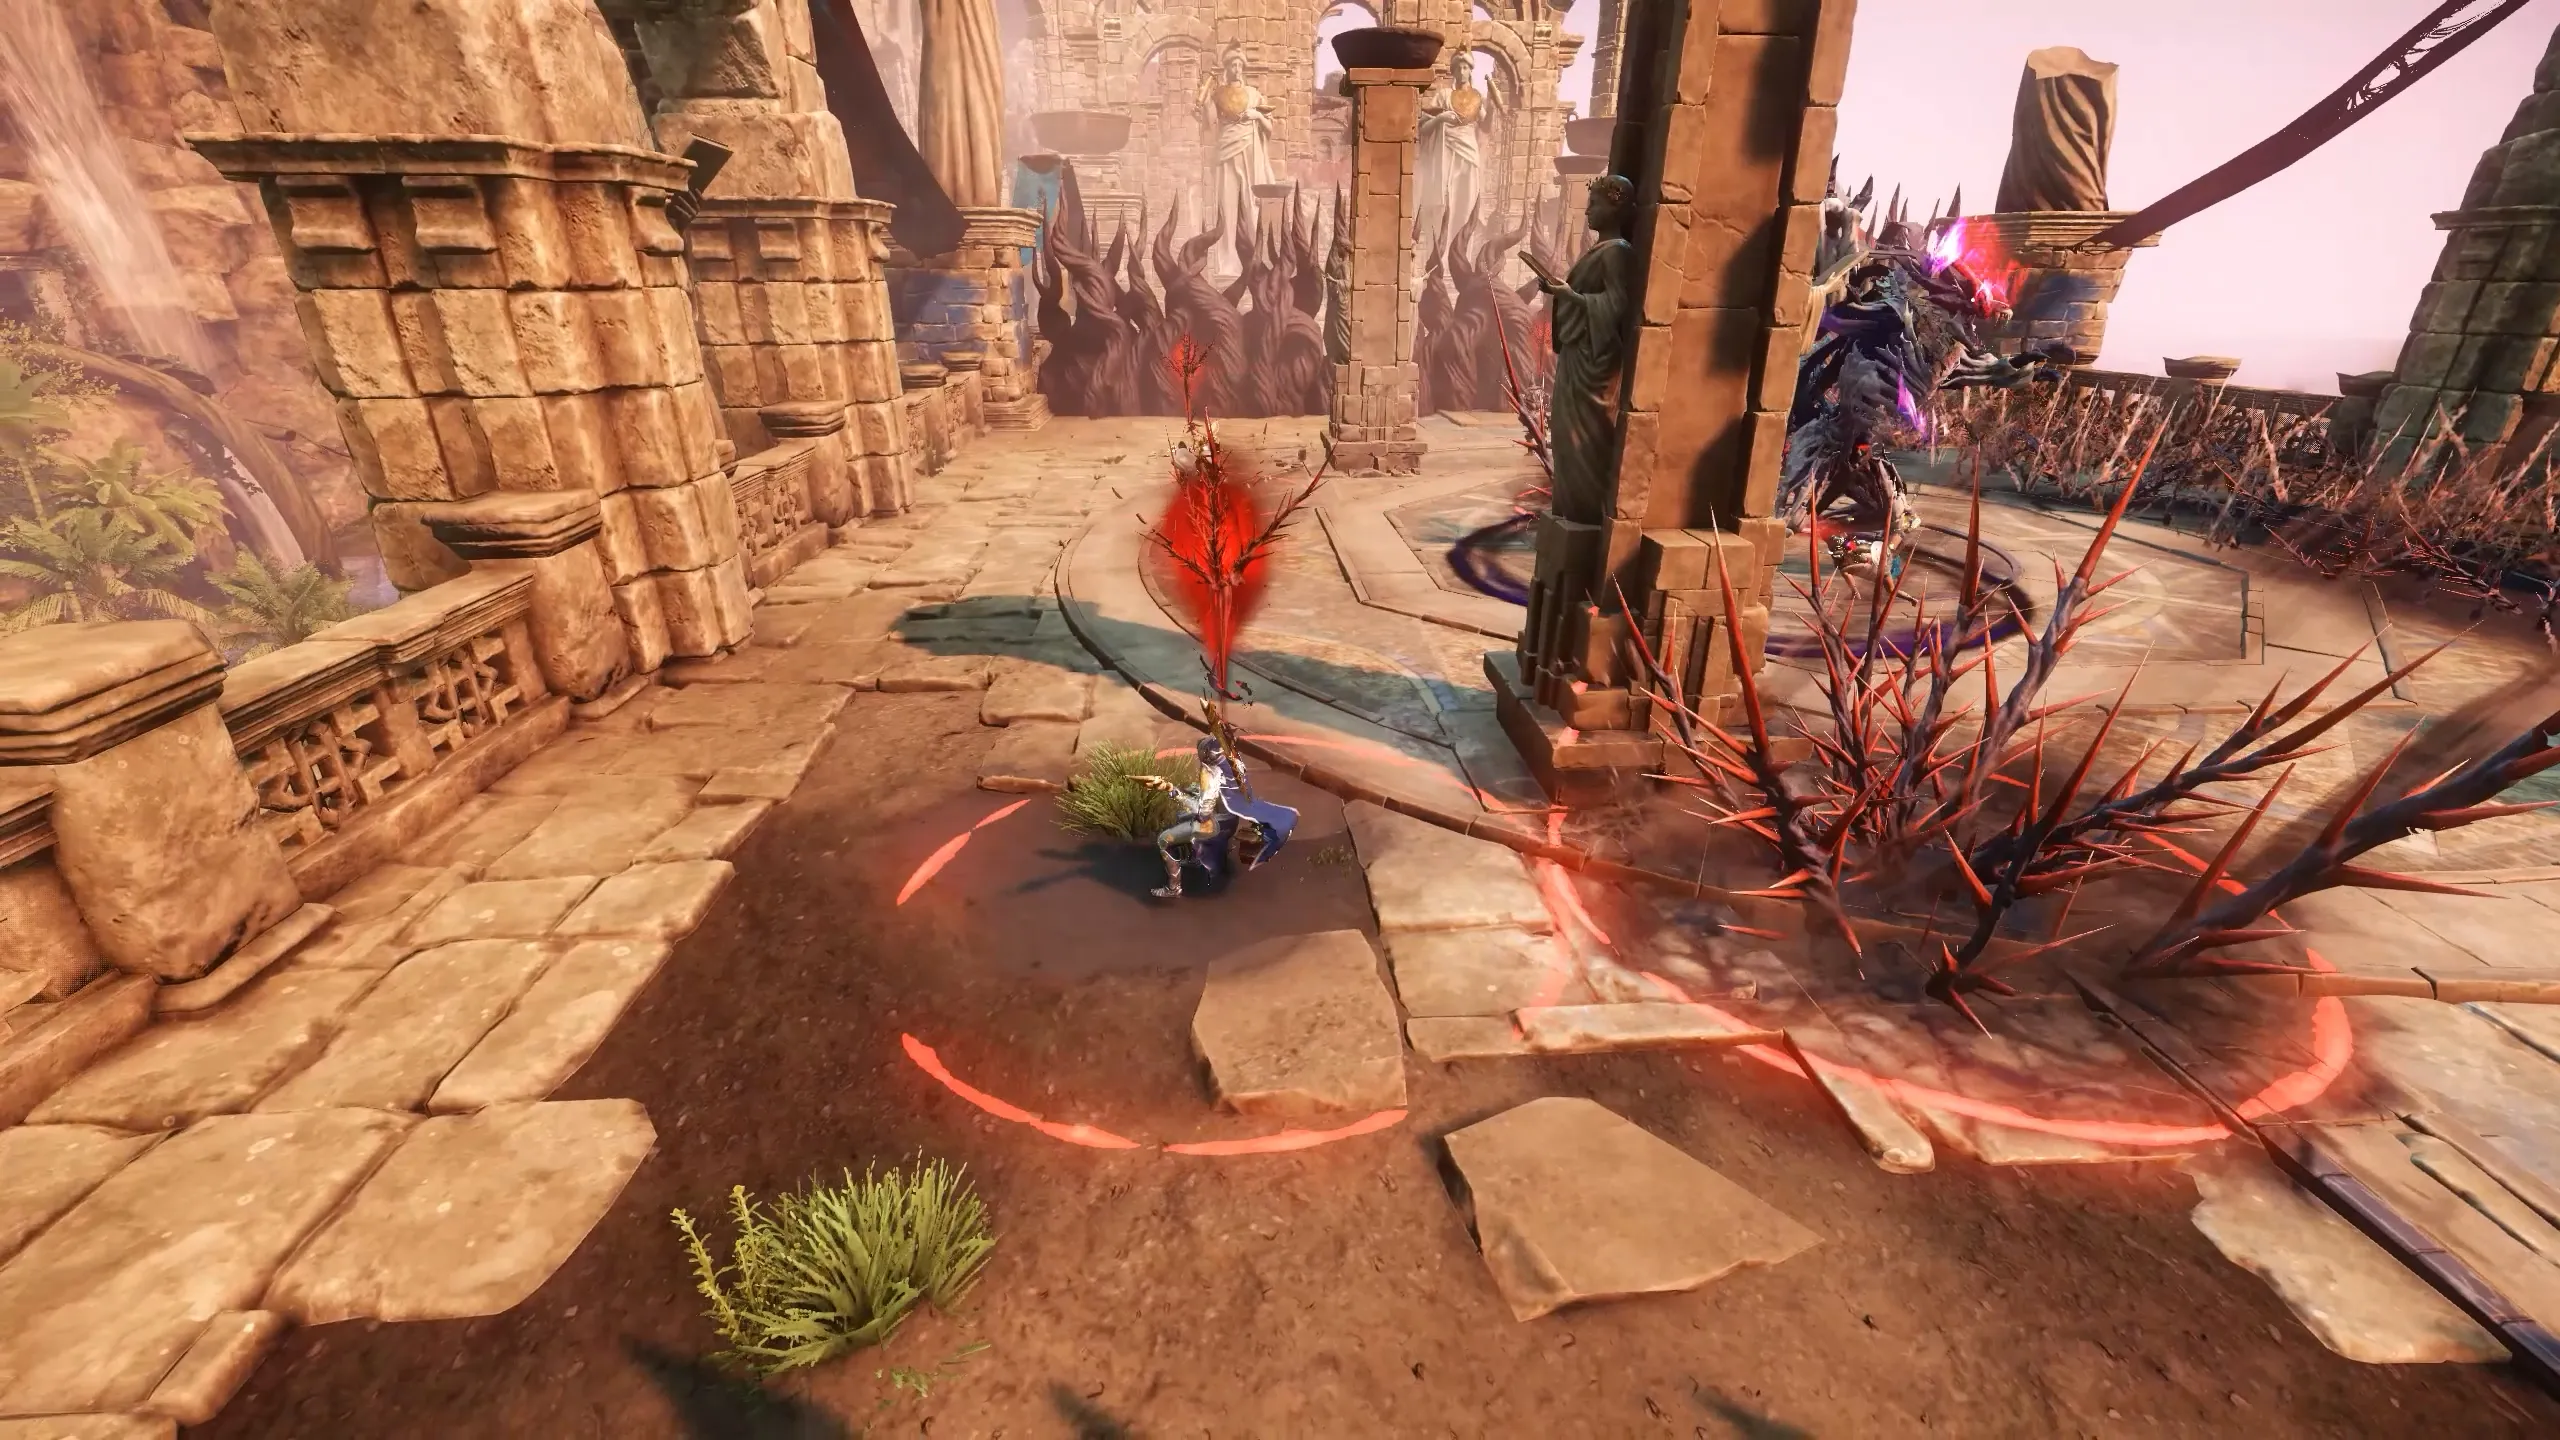
Arena Vines
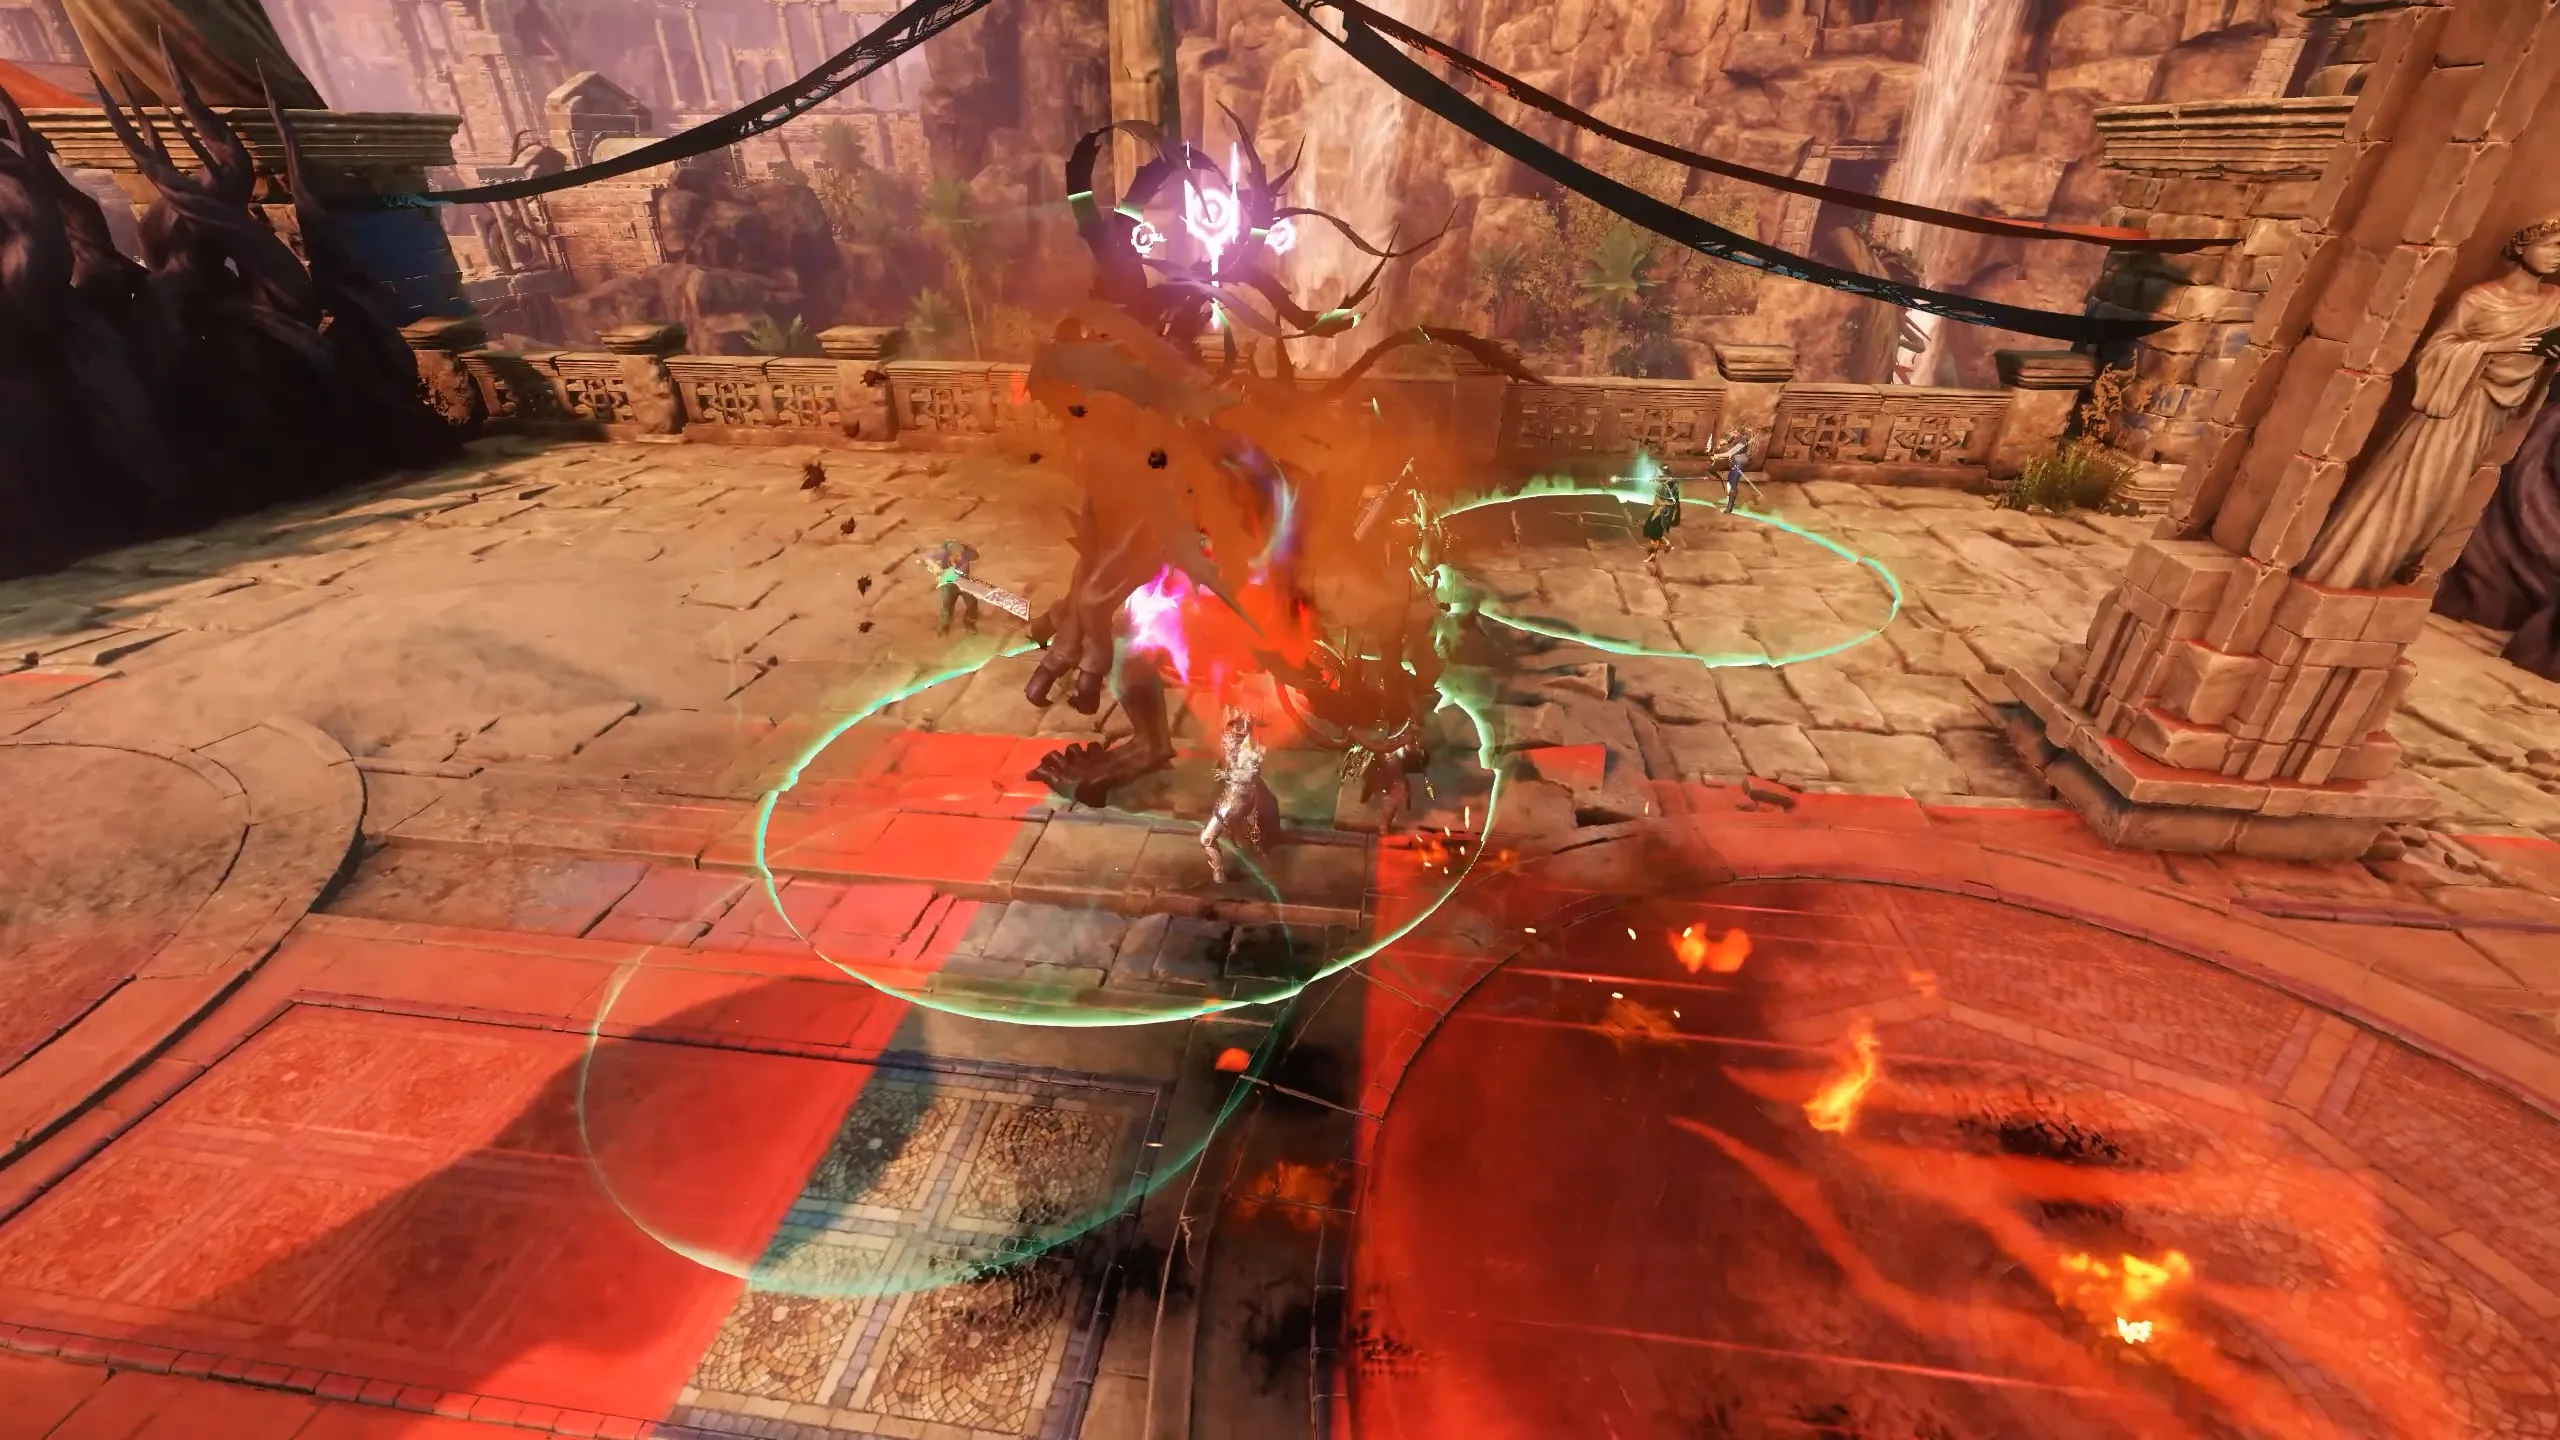
He howls, and vines begin growing at the edges of the arena. Shortly after, red warning lines appear across the floor. When these lines meet, that section of the arena erupts in nature and thrust-damaging spikes. This attack can affect the left, right, or center section randomly, so the tank should lure Typhon away from the active zone to ensure the team has space to safely attack.
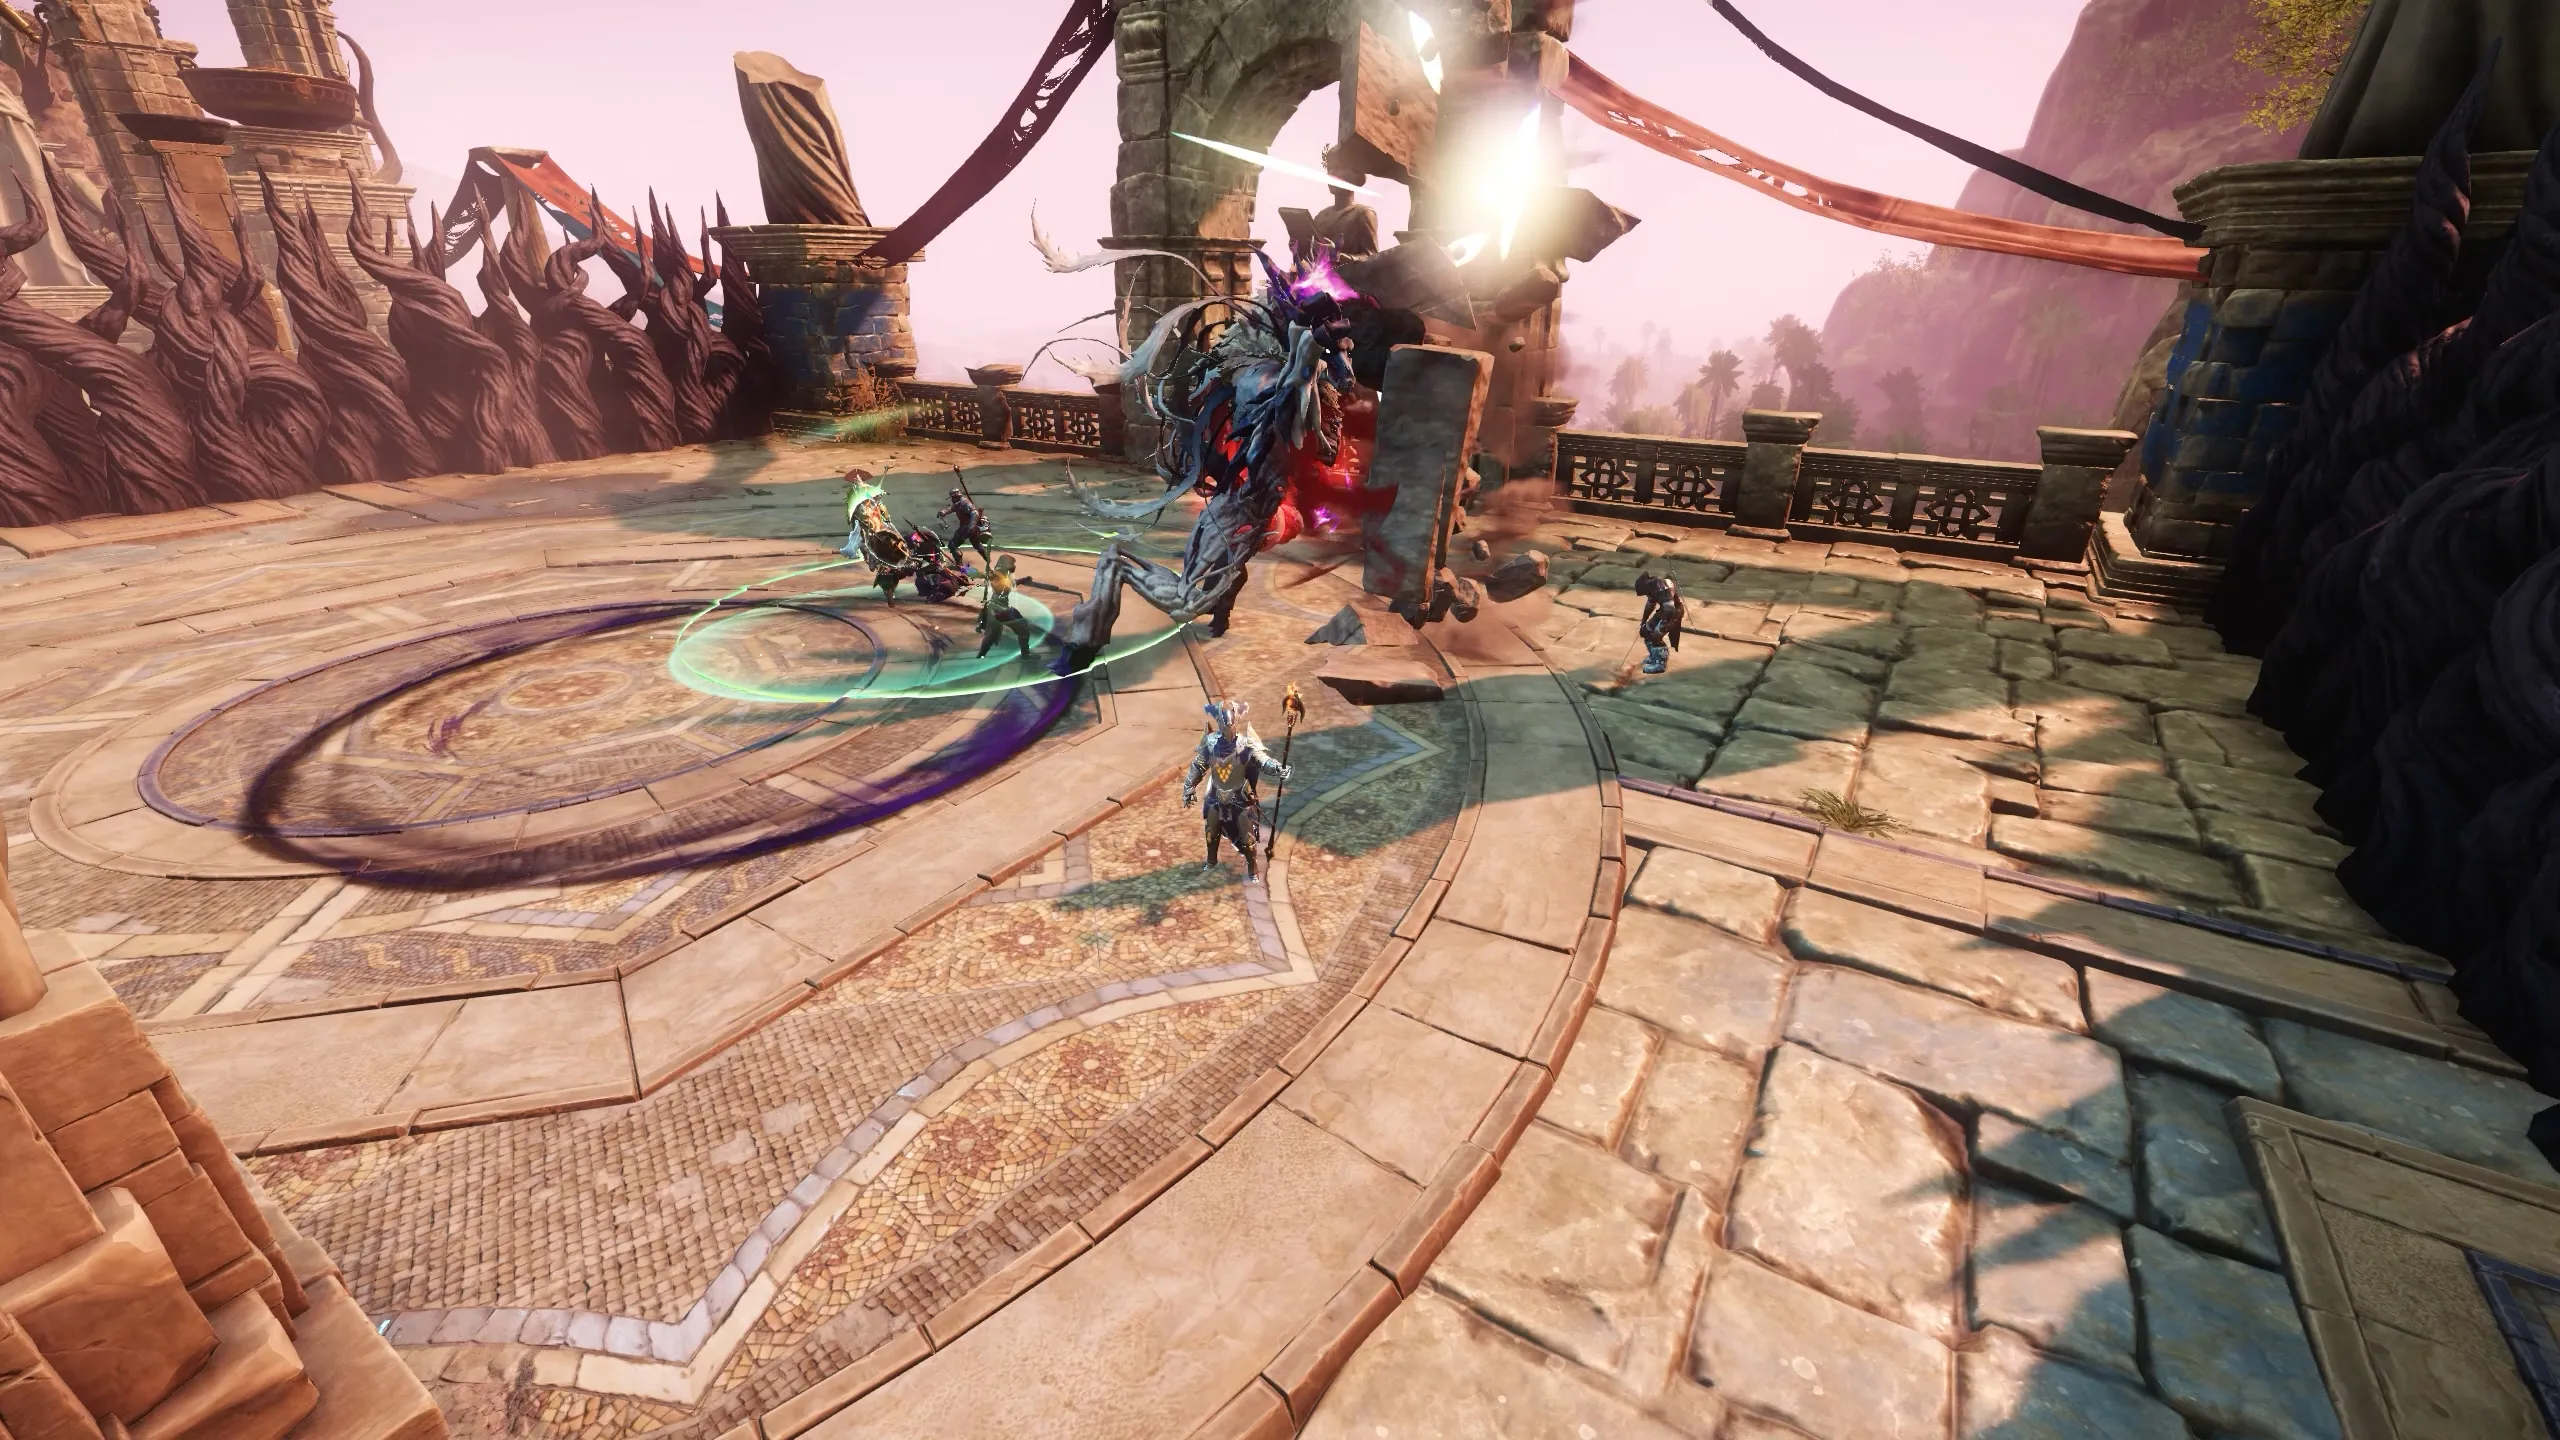
Grasping Thorns
Typhon leaps backward and slams the ground, sending vines crawling forward in a straight path. These vines trap players on contact, holding them in place with damaging spikes. You must destroy the vines to free yourself or a teammate who got caught in.
Red Circles
Two players are targeted with red circles under their feet. These circles tick three times, each tick triggering a damaging vine eruption from the ground. If you’re targeted, move away from your teammates immediately. A straight-line sprint is often enough to escape safely, but be careful not to panic-dodge and run out of stamina. Getting caught with grey stamina will leave you too slow to escape the tick.
Scent of Blood
Typhon jumps and slams the ground in front of him, damaging anyone in a rectangular area and spawning spikes. Watch for the wind-up and dodge before the impact.
Bite
A bite attack that damages anyone in front of him. It comes with a brief animation, giving you enough time to dodge. If it lands, it also applies a bleed effect.
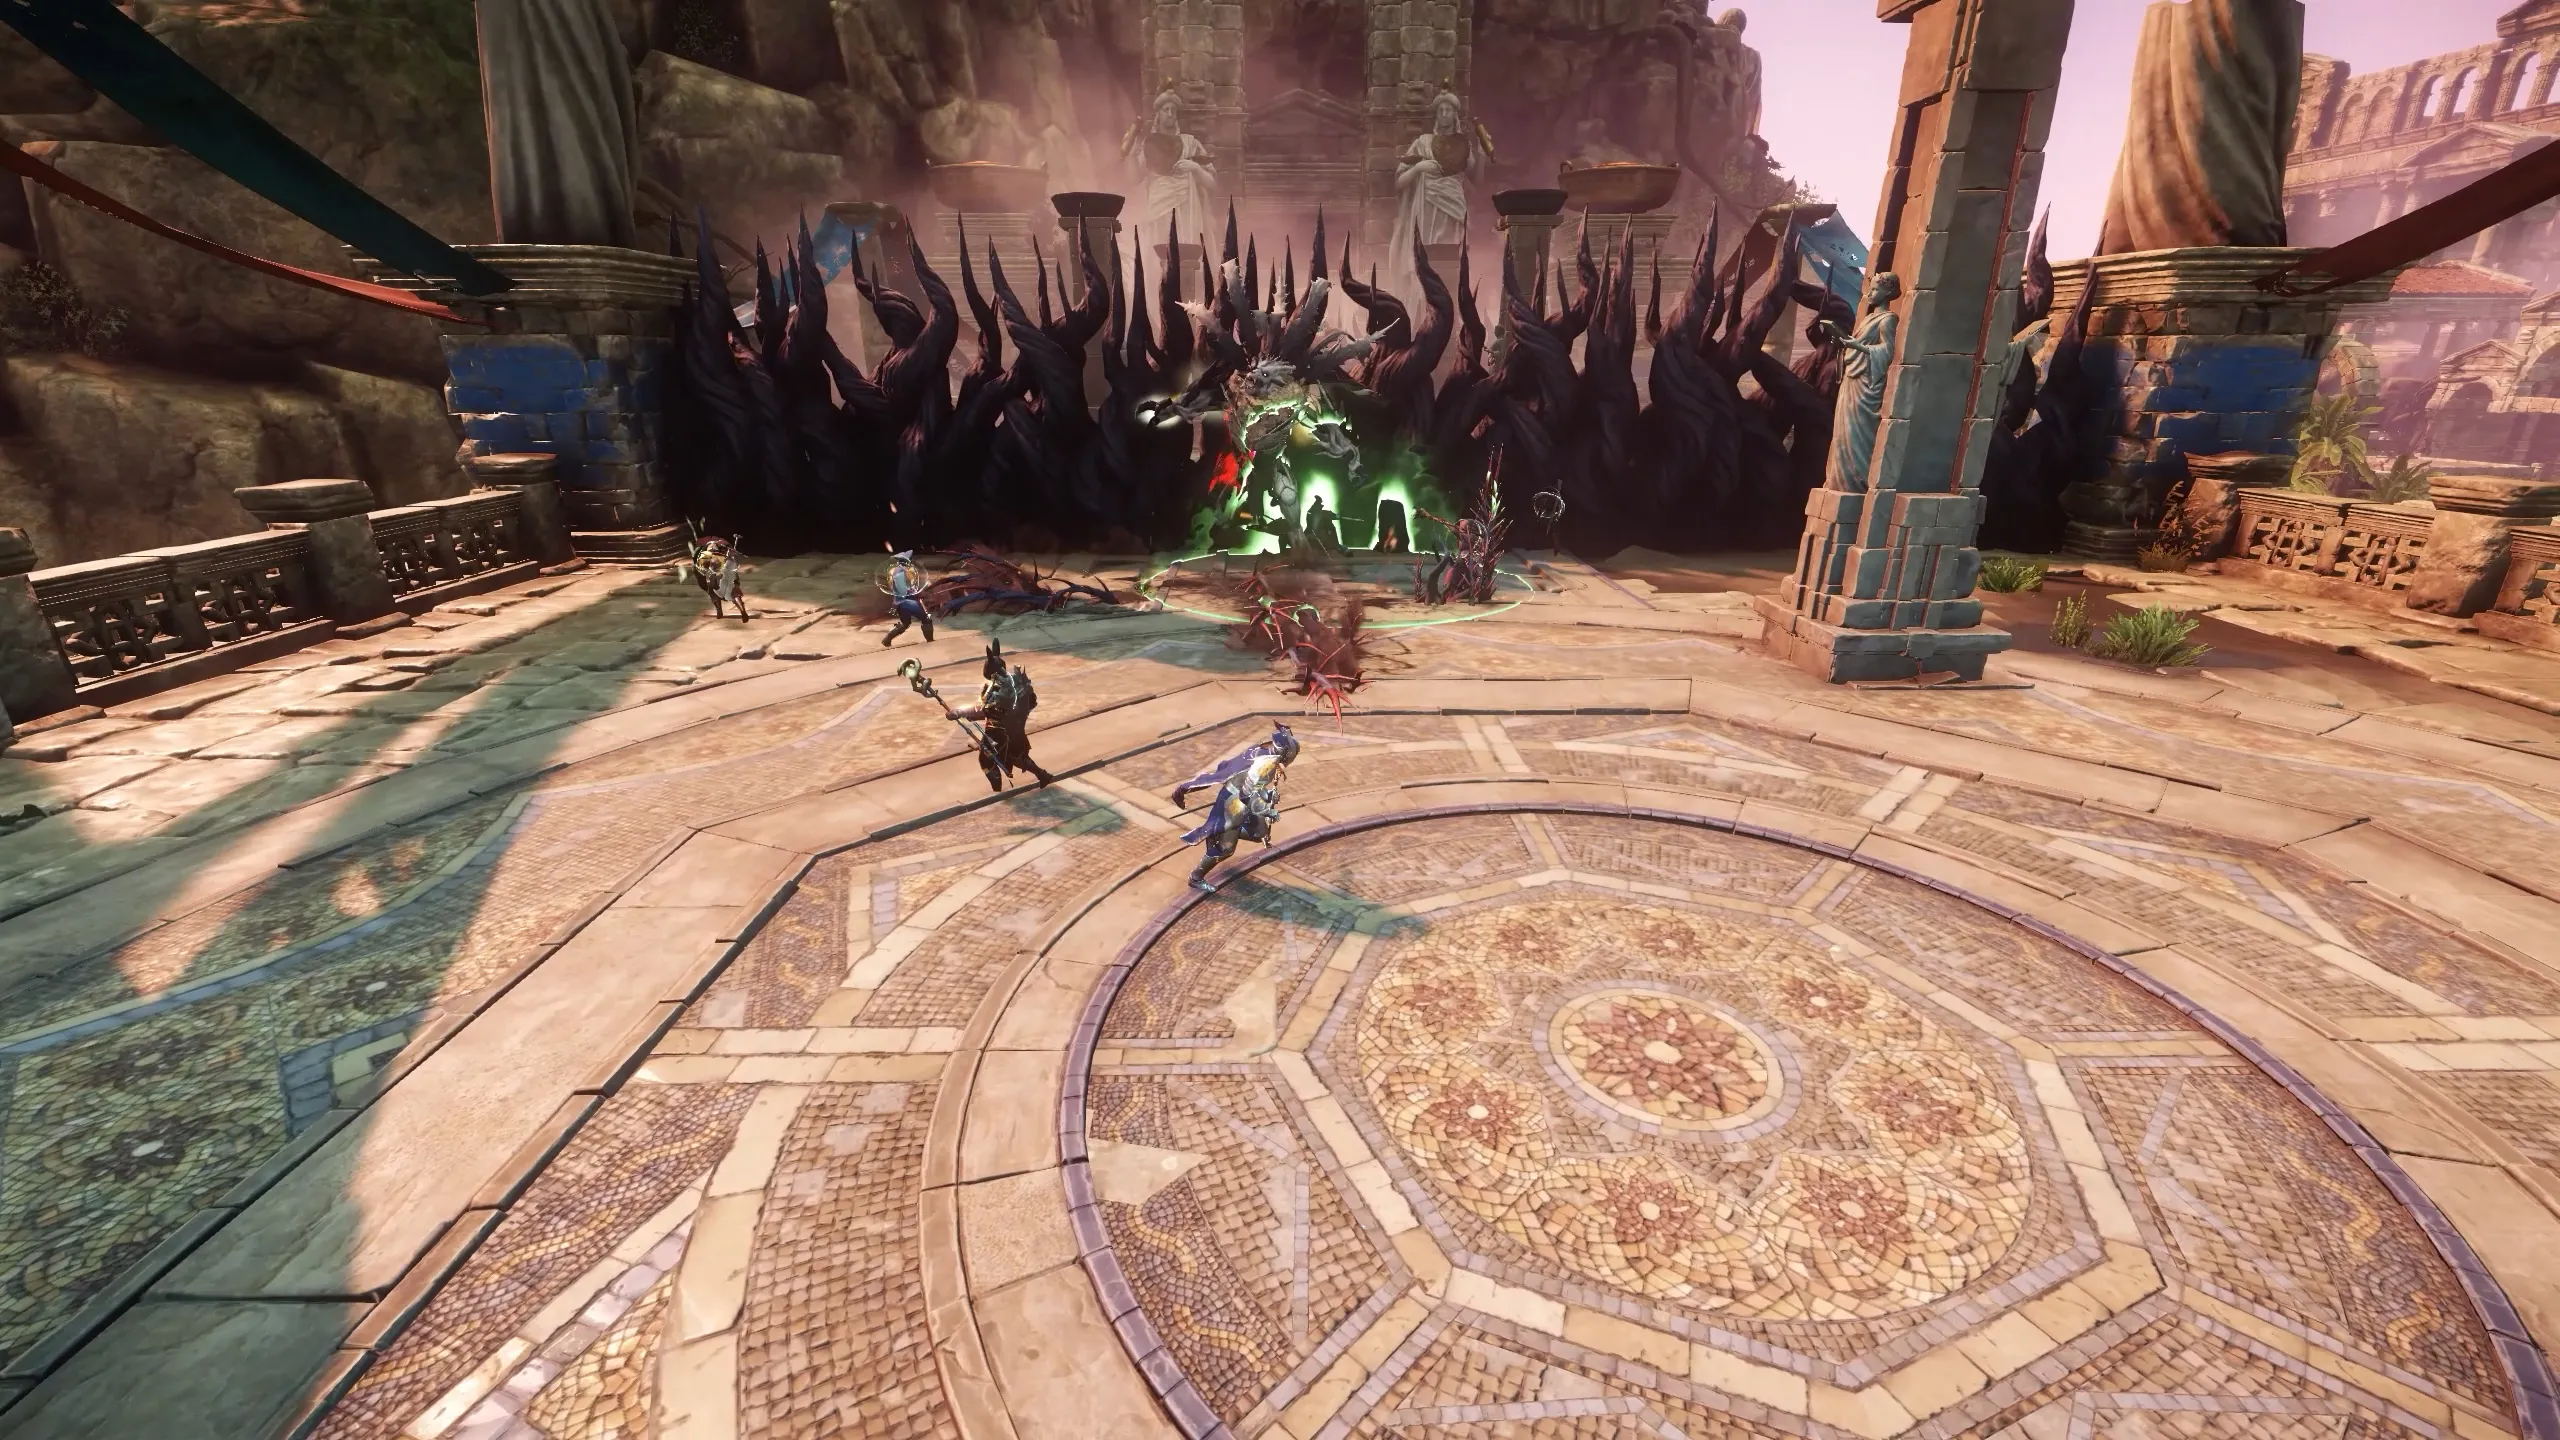
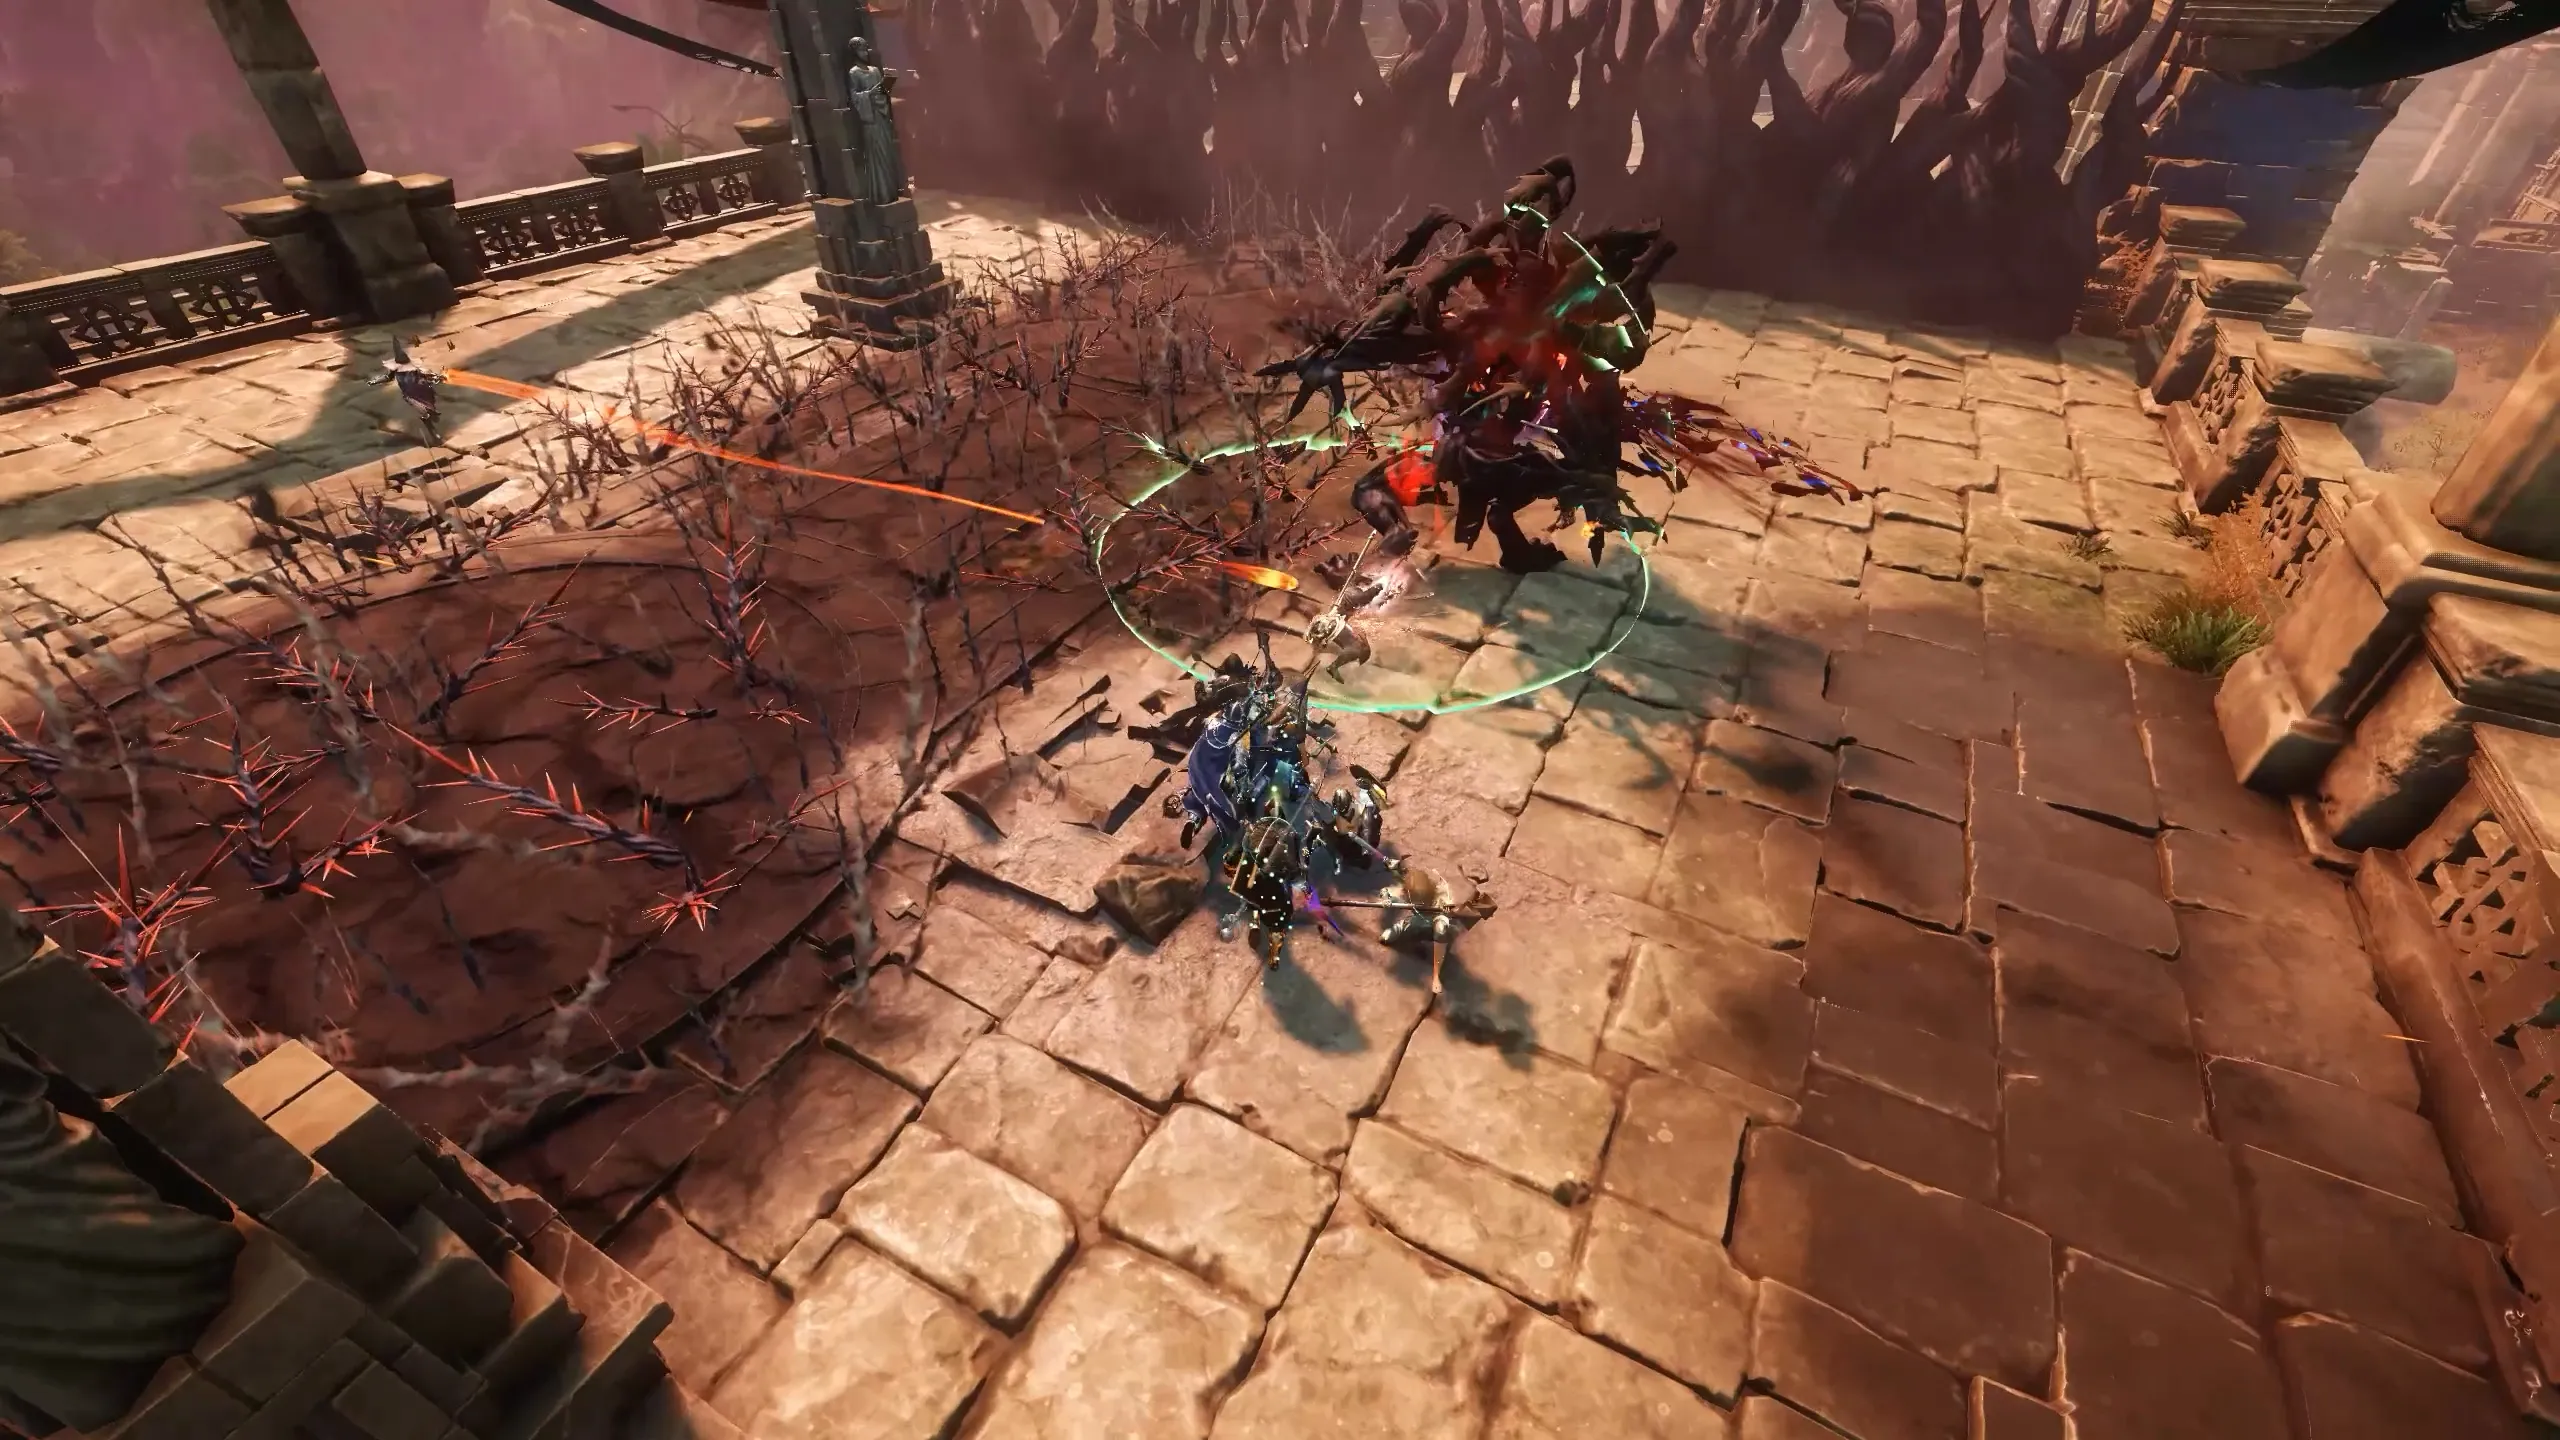
Summoning Enemies
After a short time, Typhon will spin in place and howl at the sky, summoning adds into the arena. These mobs include spiders, one corvid, and one wolf. They need to be cleared quickly, because after a short delay, Typhon will absorb any remaining adds and gain powerful buffs.
- Spiders are less of a threat but still slow and damage players.
- The real concern is the corvids and wolves.
Absorption Buffs:
- Corvids grant Empower, increasing Typhon’s damage by 30% per stack, up to 10 stacks.
- Wolves give the Howl buff, which causes Typhon to inflict nature damage over time based on a percentage of each player’s max HP, increasing with each stack.
Always focus the corvids first, since they are harder to pin down and grant the most dangerous buff if absorbed.
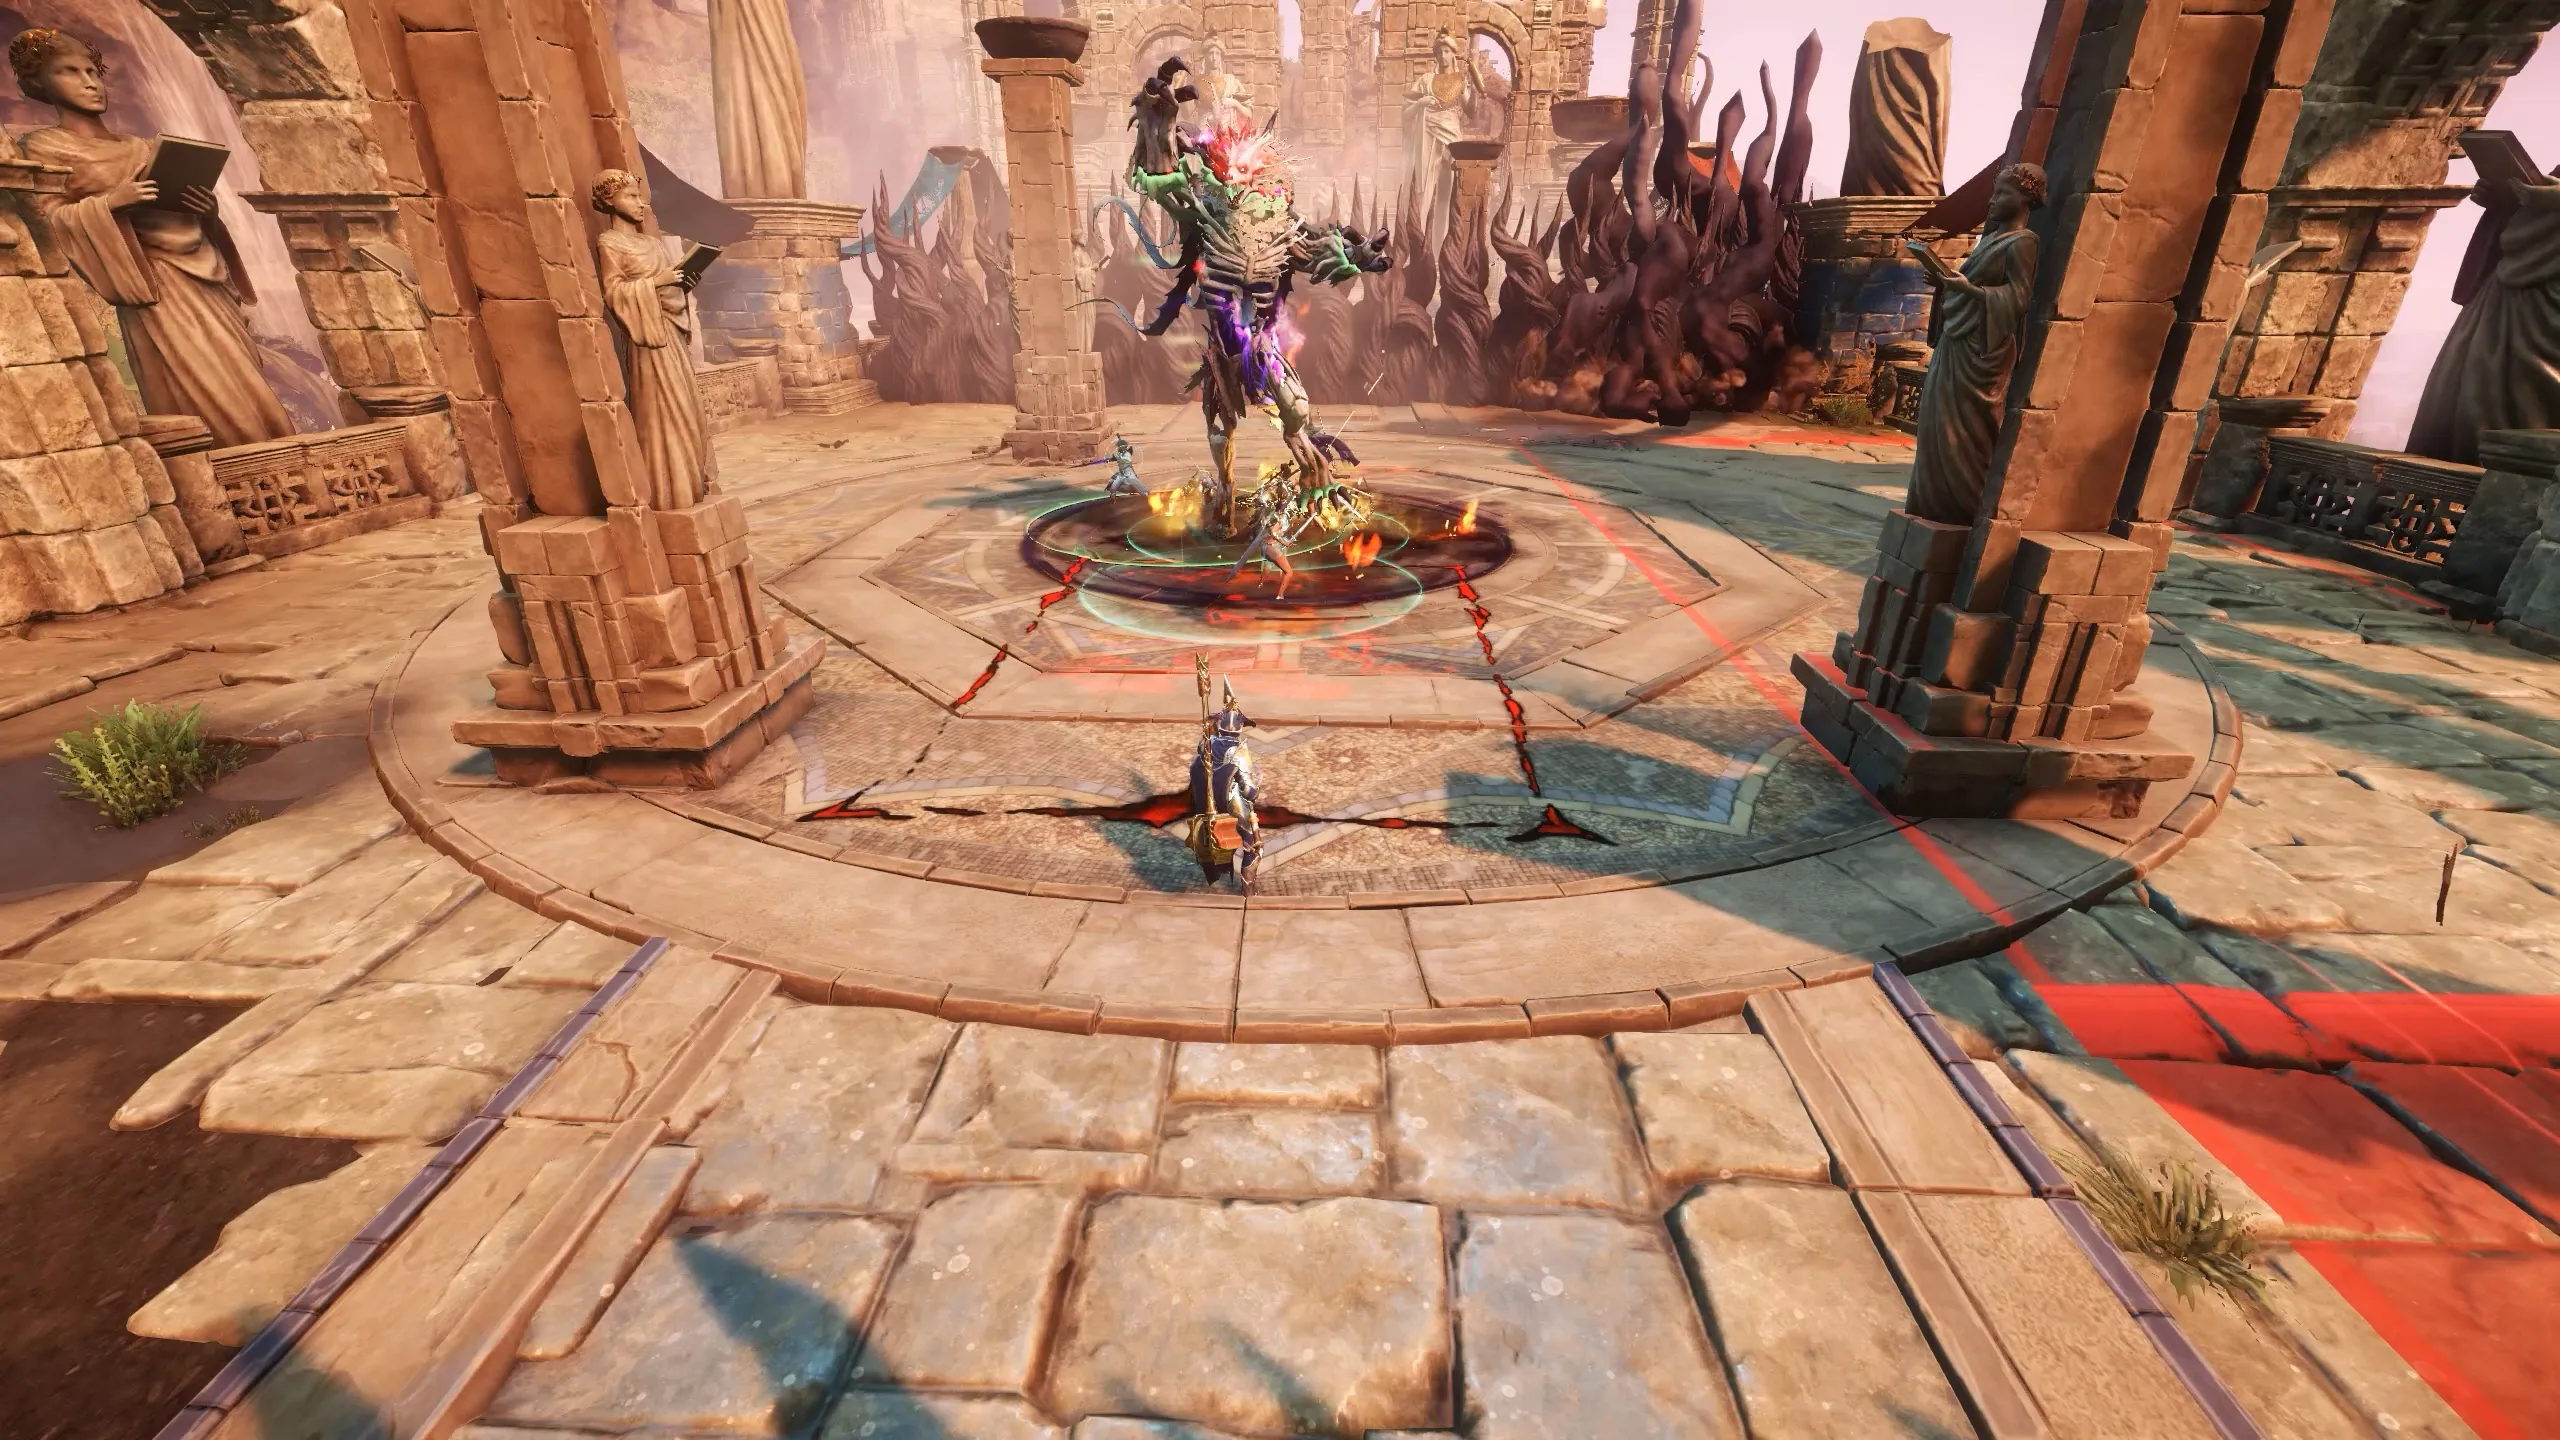
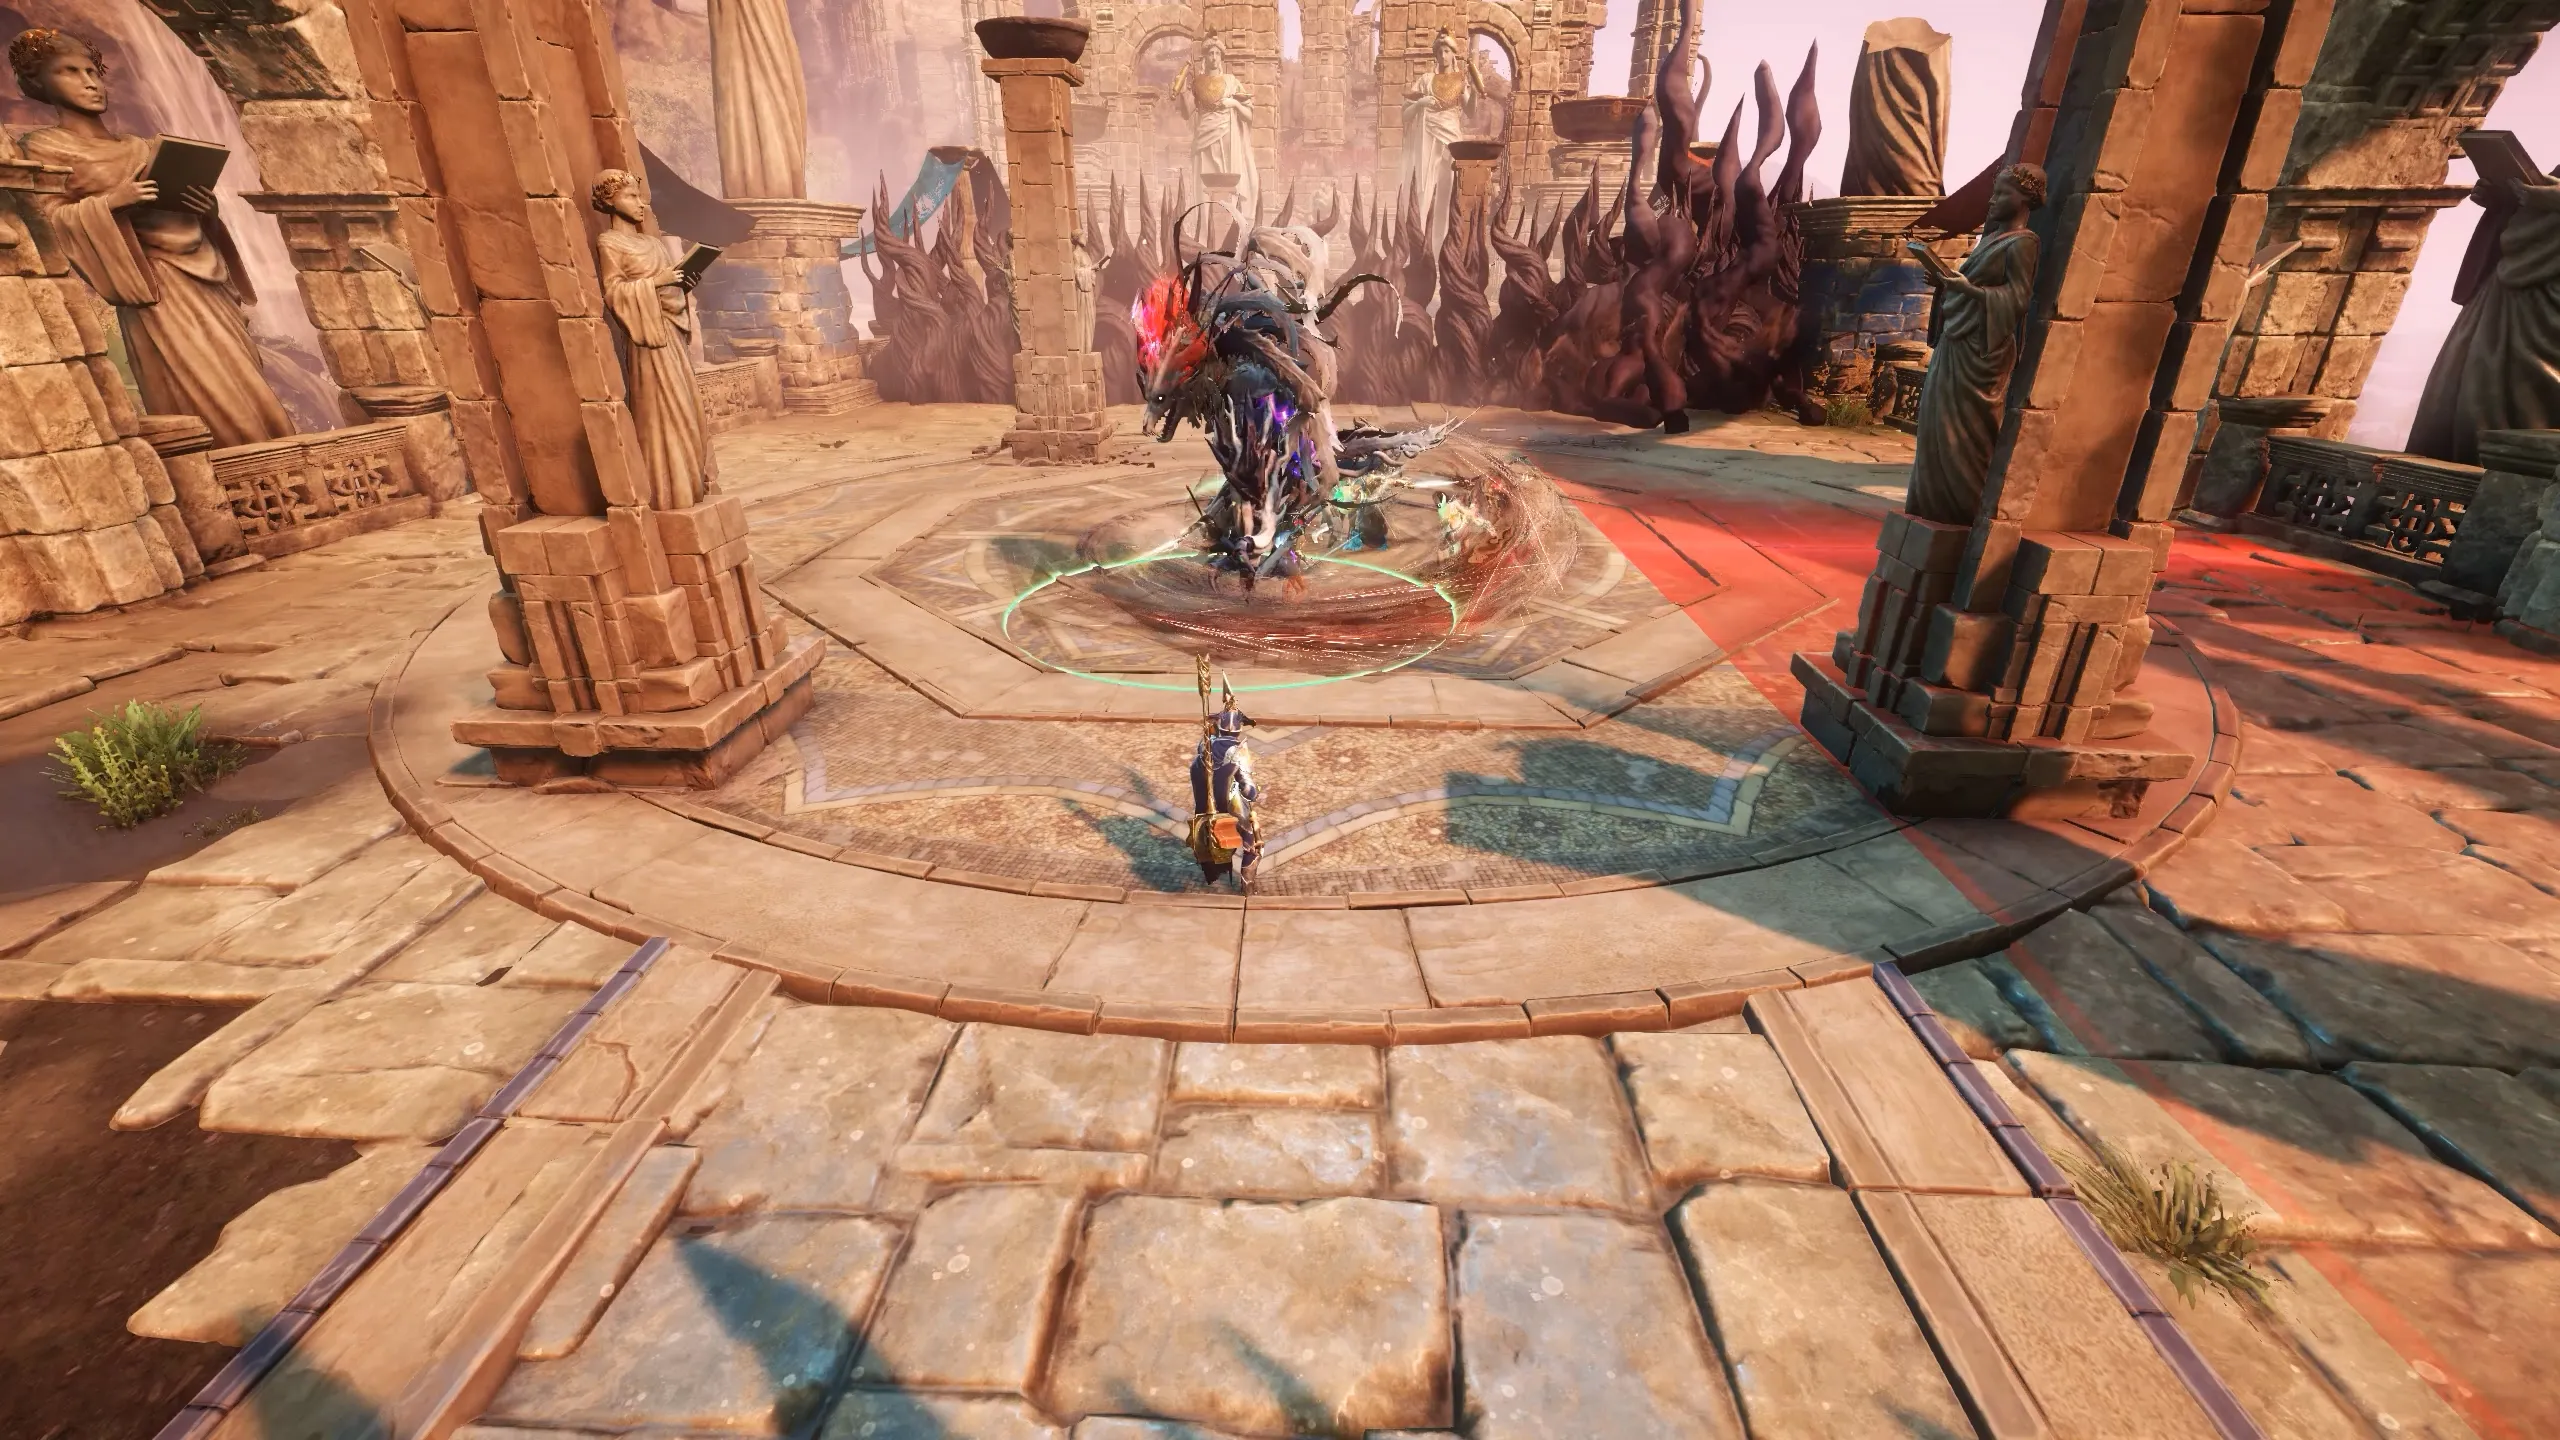
Picking Phase
After absorbing minions, Typhon moves to the center of the arena and enters his Sniffing for Blood phase.
- He selects a random player, marked with a large black eye icon above their head.
- A few seconds later, that player becomes stunned, and Typhon leaps toward them for a finishing blow.
- If successful, this attack results in an instant death. Any nearby players will also die.
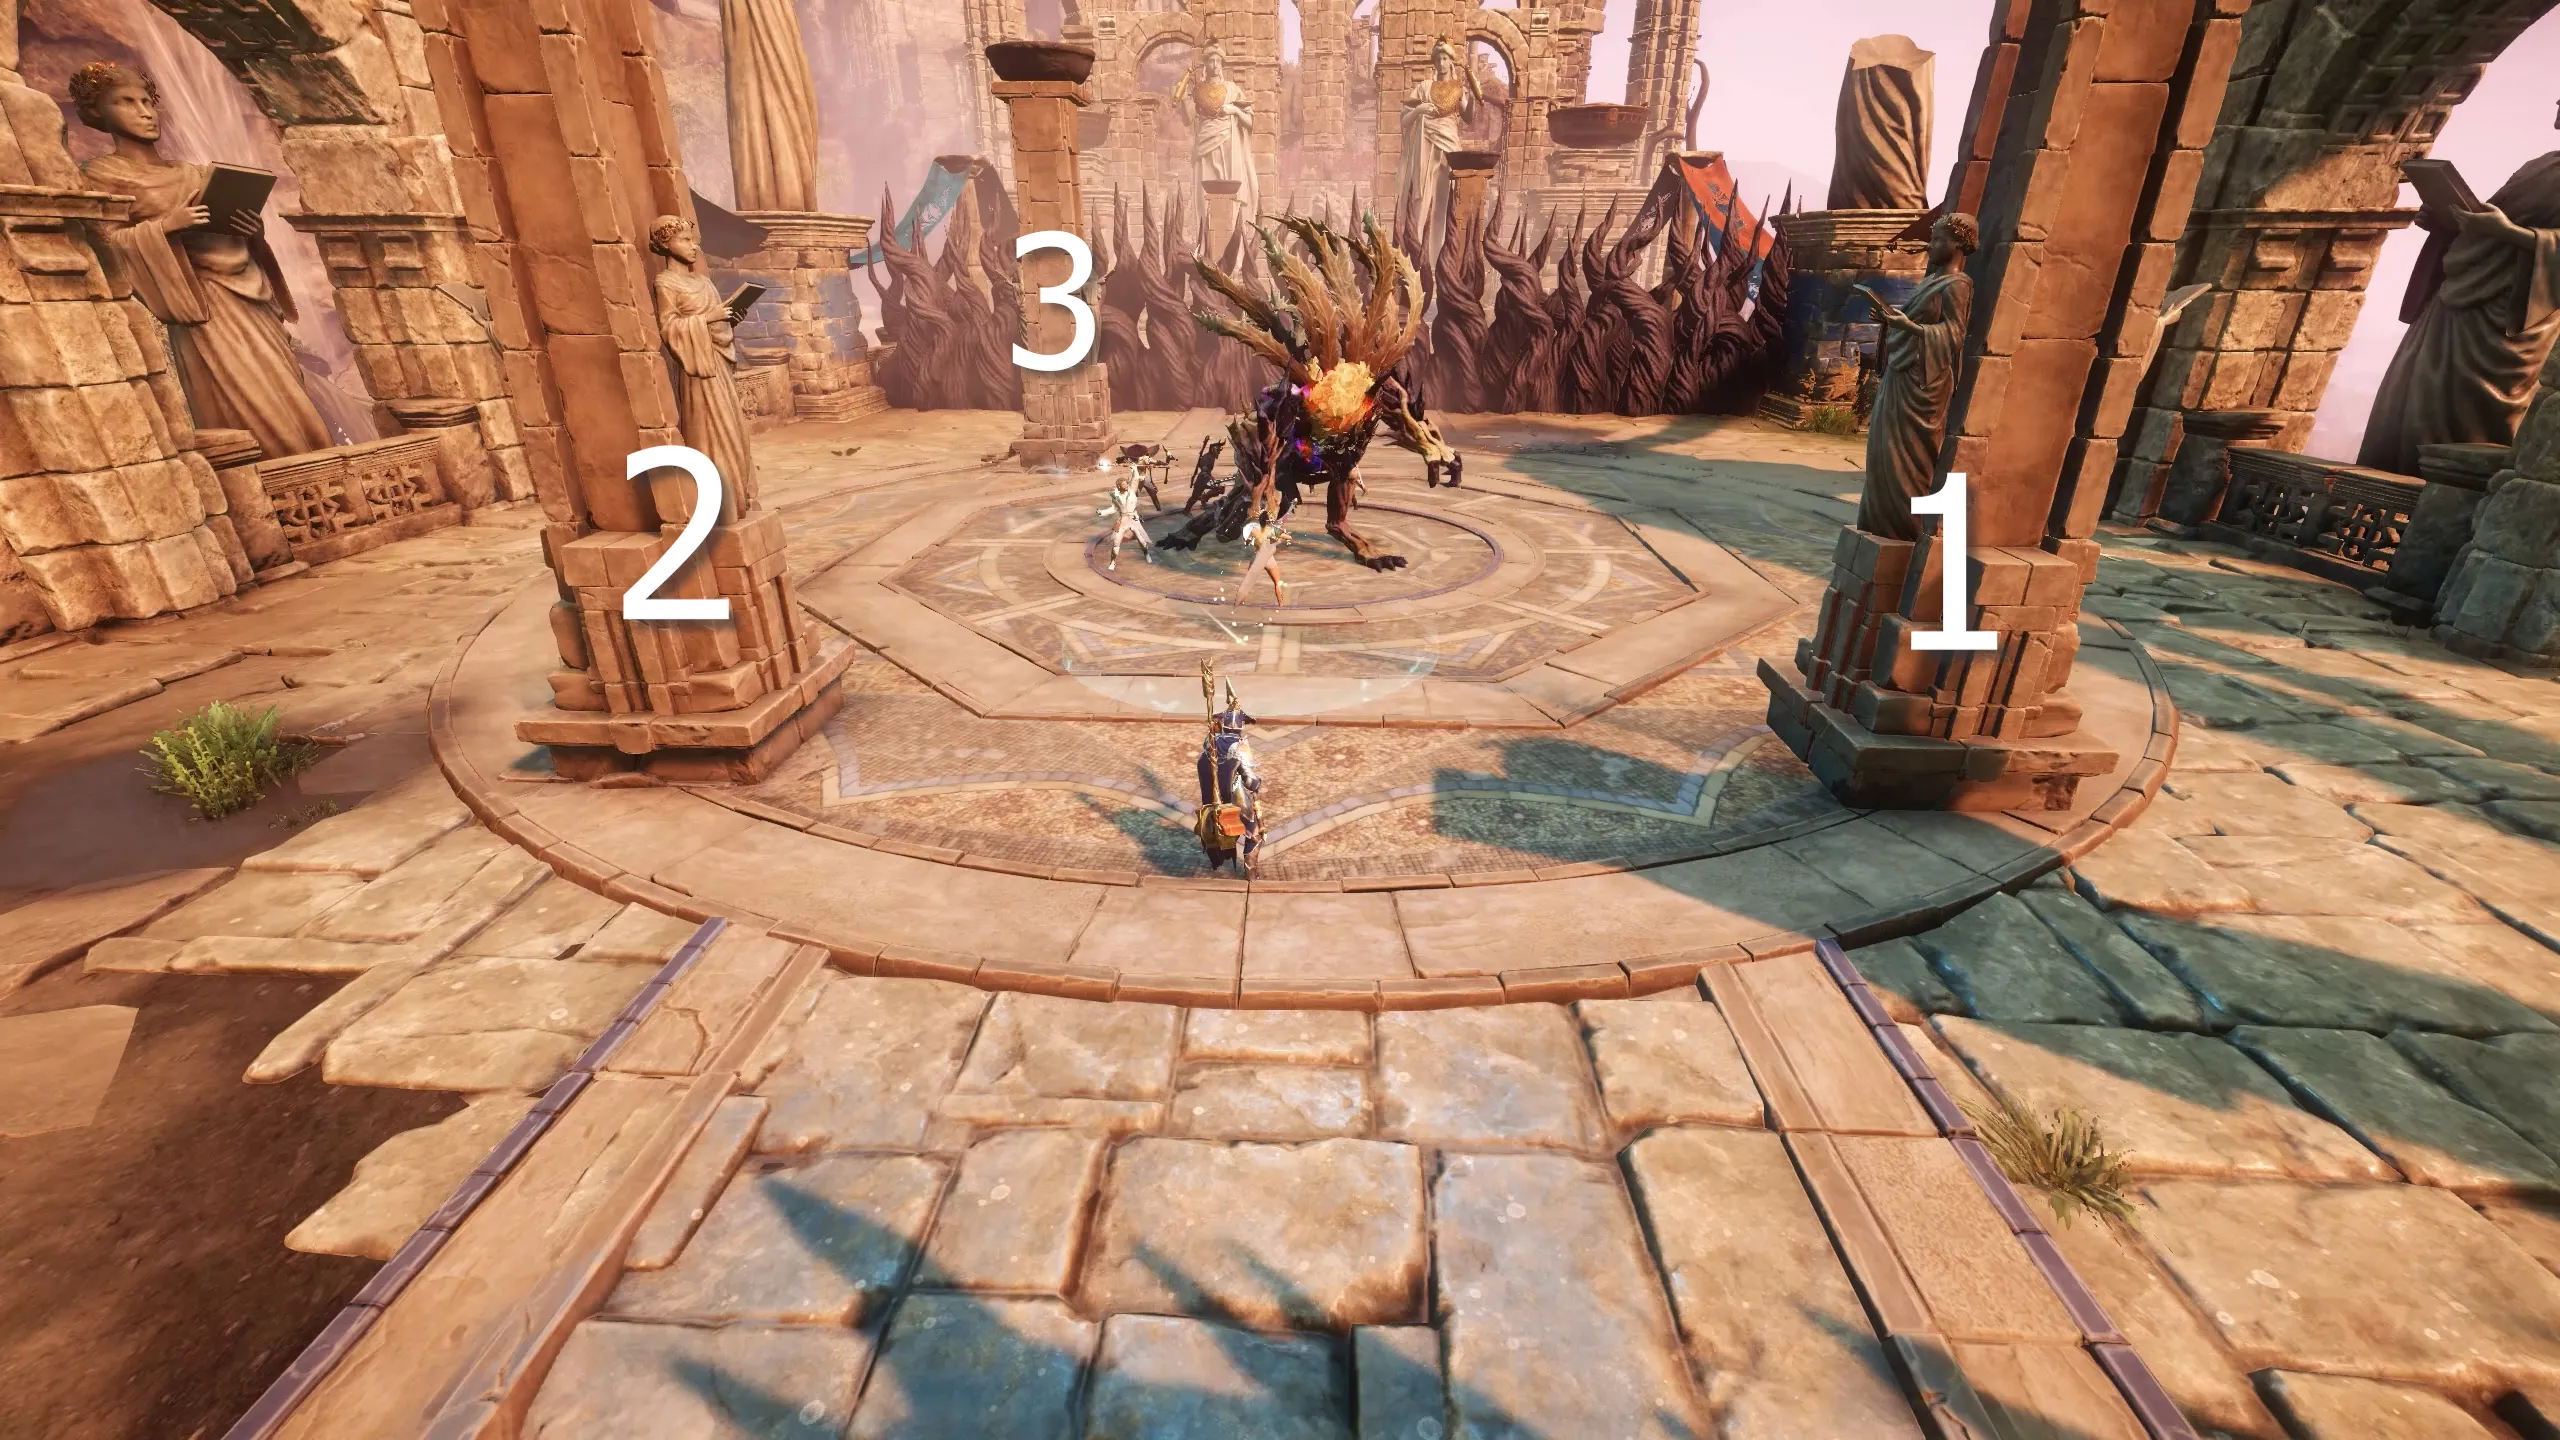
Counter:
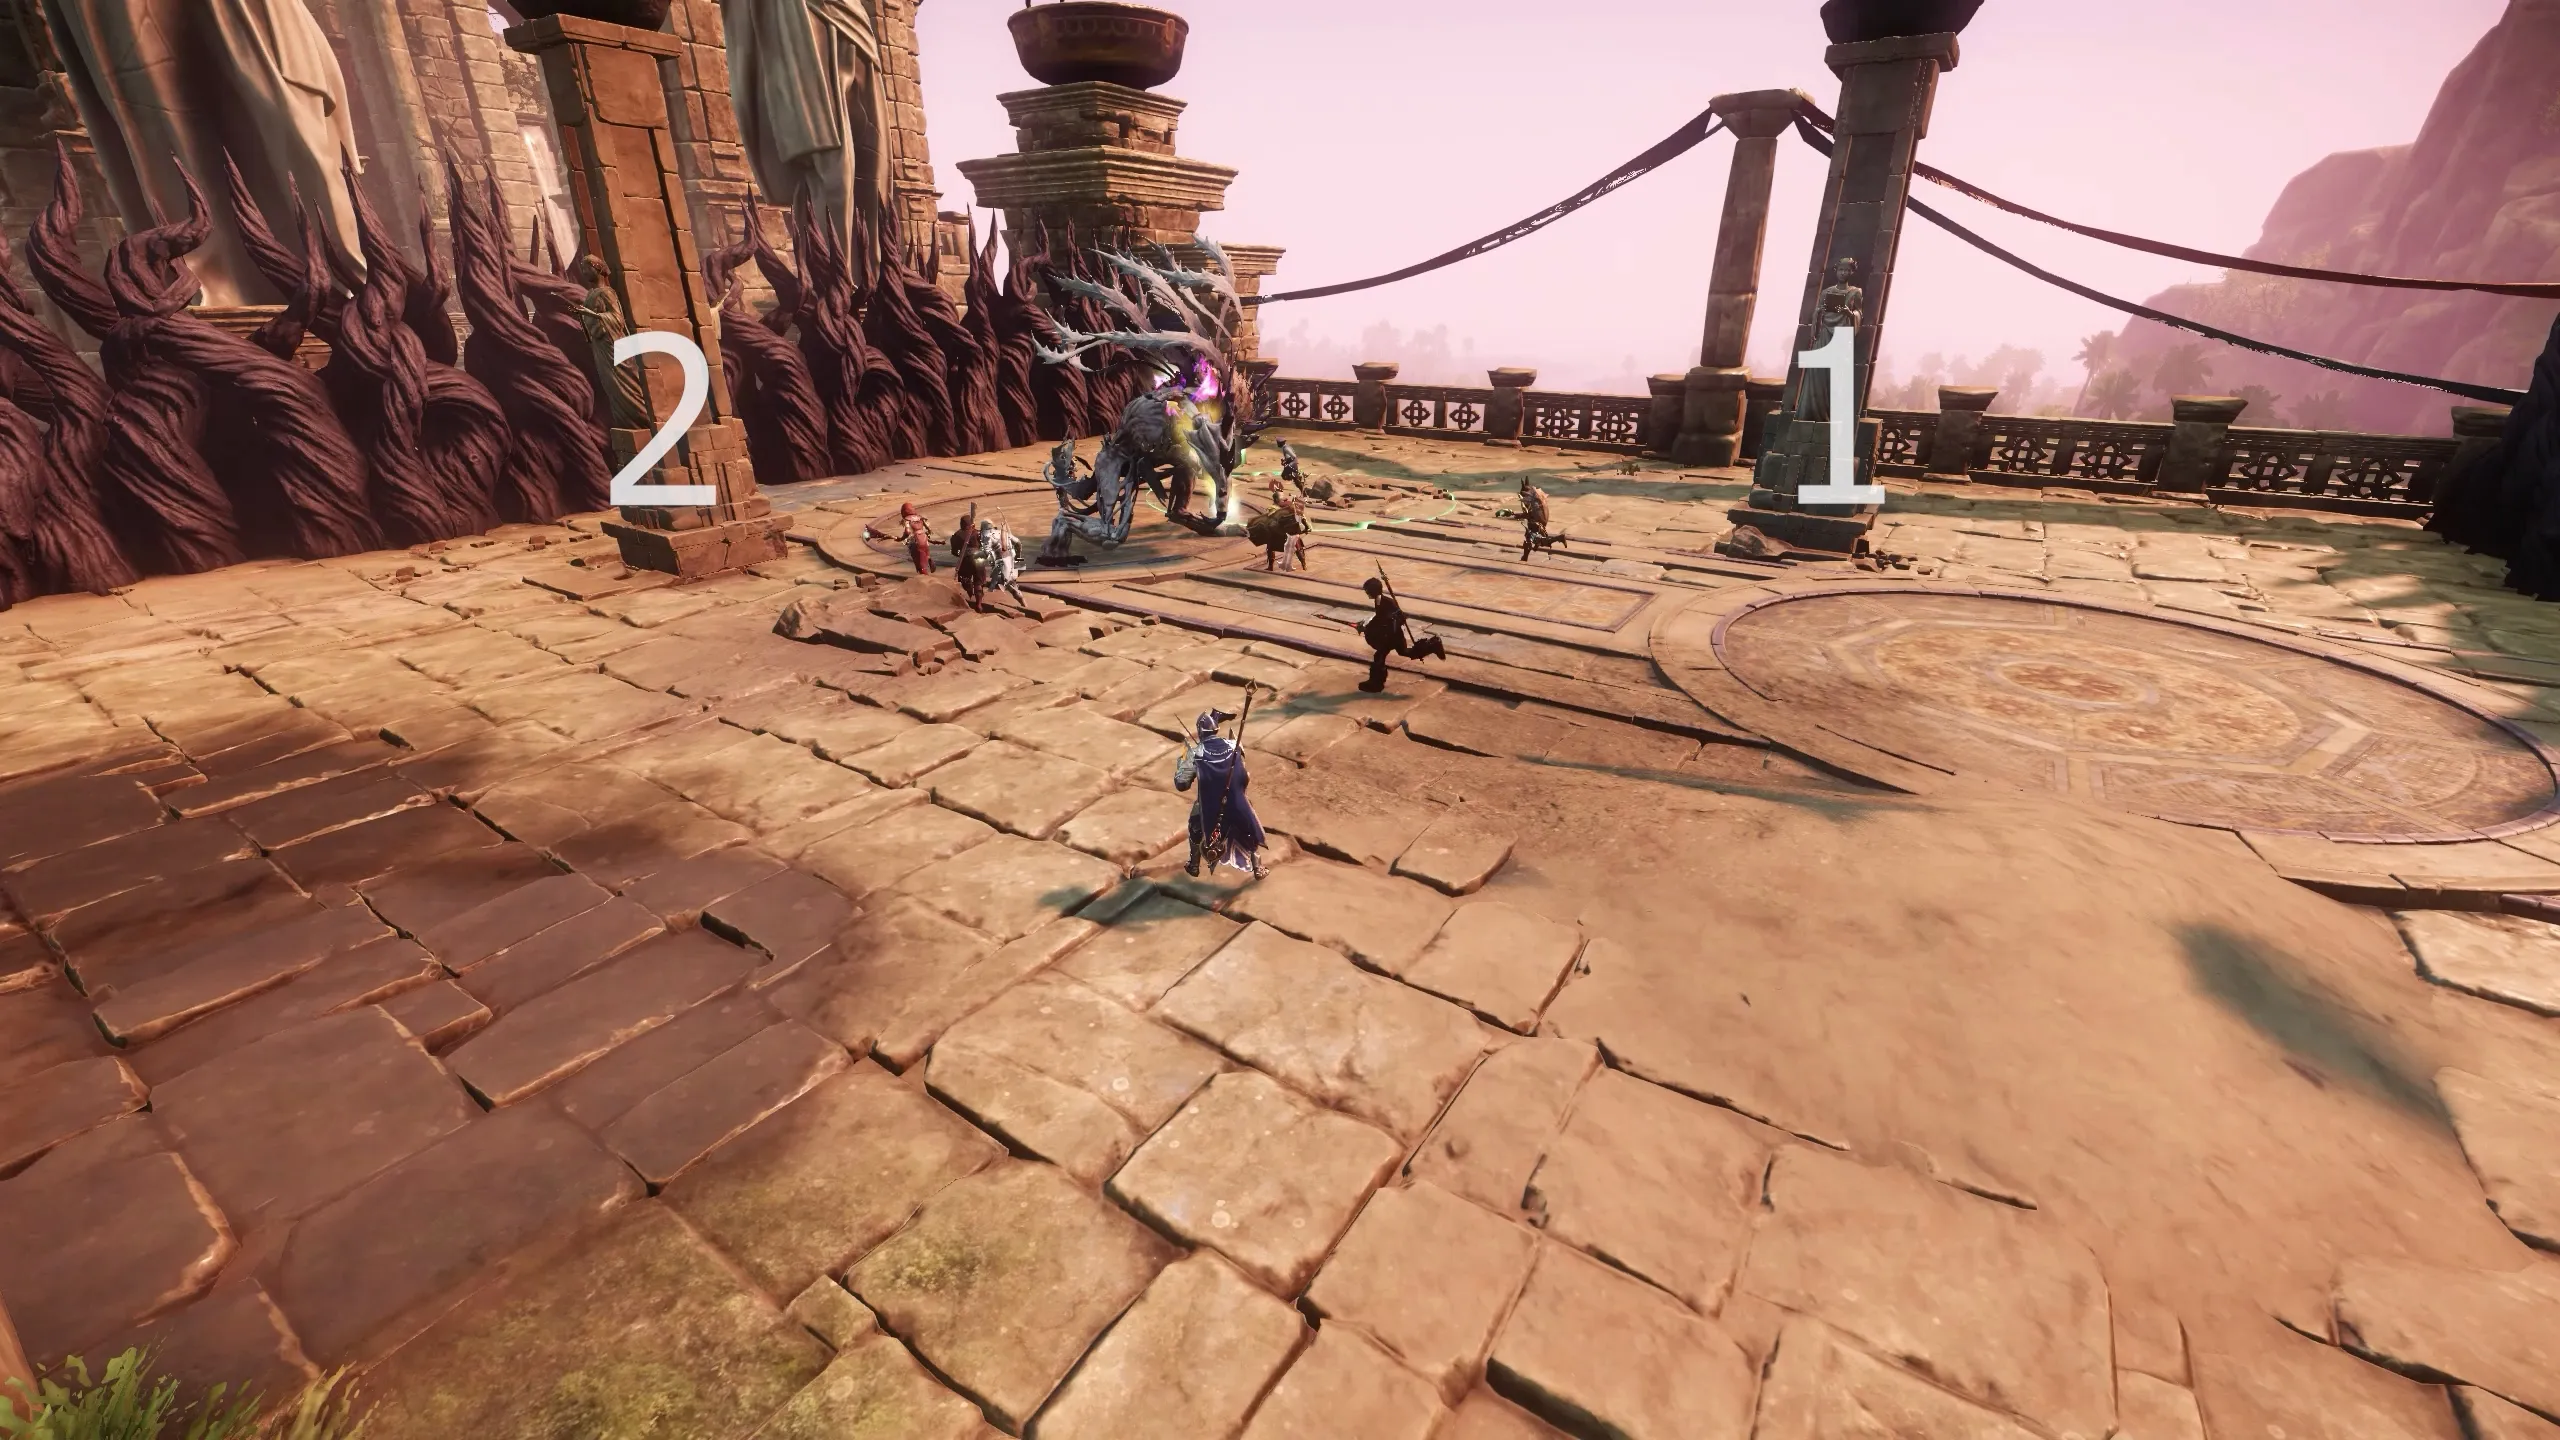
The marked player must hide behind one of the four pillars in the arena before the stun. Typhon will crash into the pillar instead, get himself briefly stunned, and the player will survive. This moment creates a safe damage window for the team to freely hit the boss. The used pillar is destroyed afterward.
With proper DPS, your team can reach the 70% HP threshold using only one or even none of the pillars.
Phase Two
Once Typhon hits 70% HP:
- He becomes invincible, howls, and knocks back all players.
- Any remaining mobs will be killed without being absorbed.
Blocking can prevent the knockback, but it cannot be dodged.
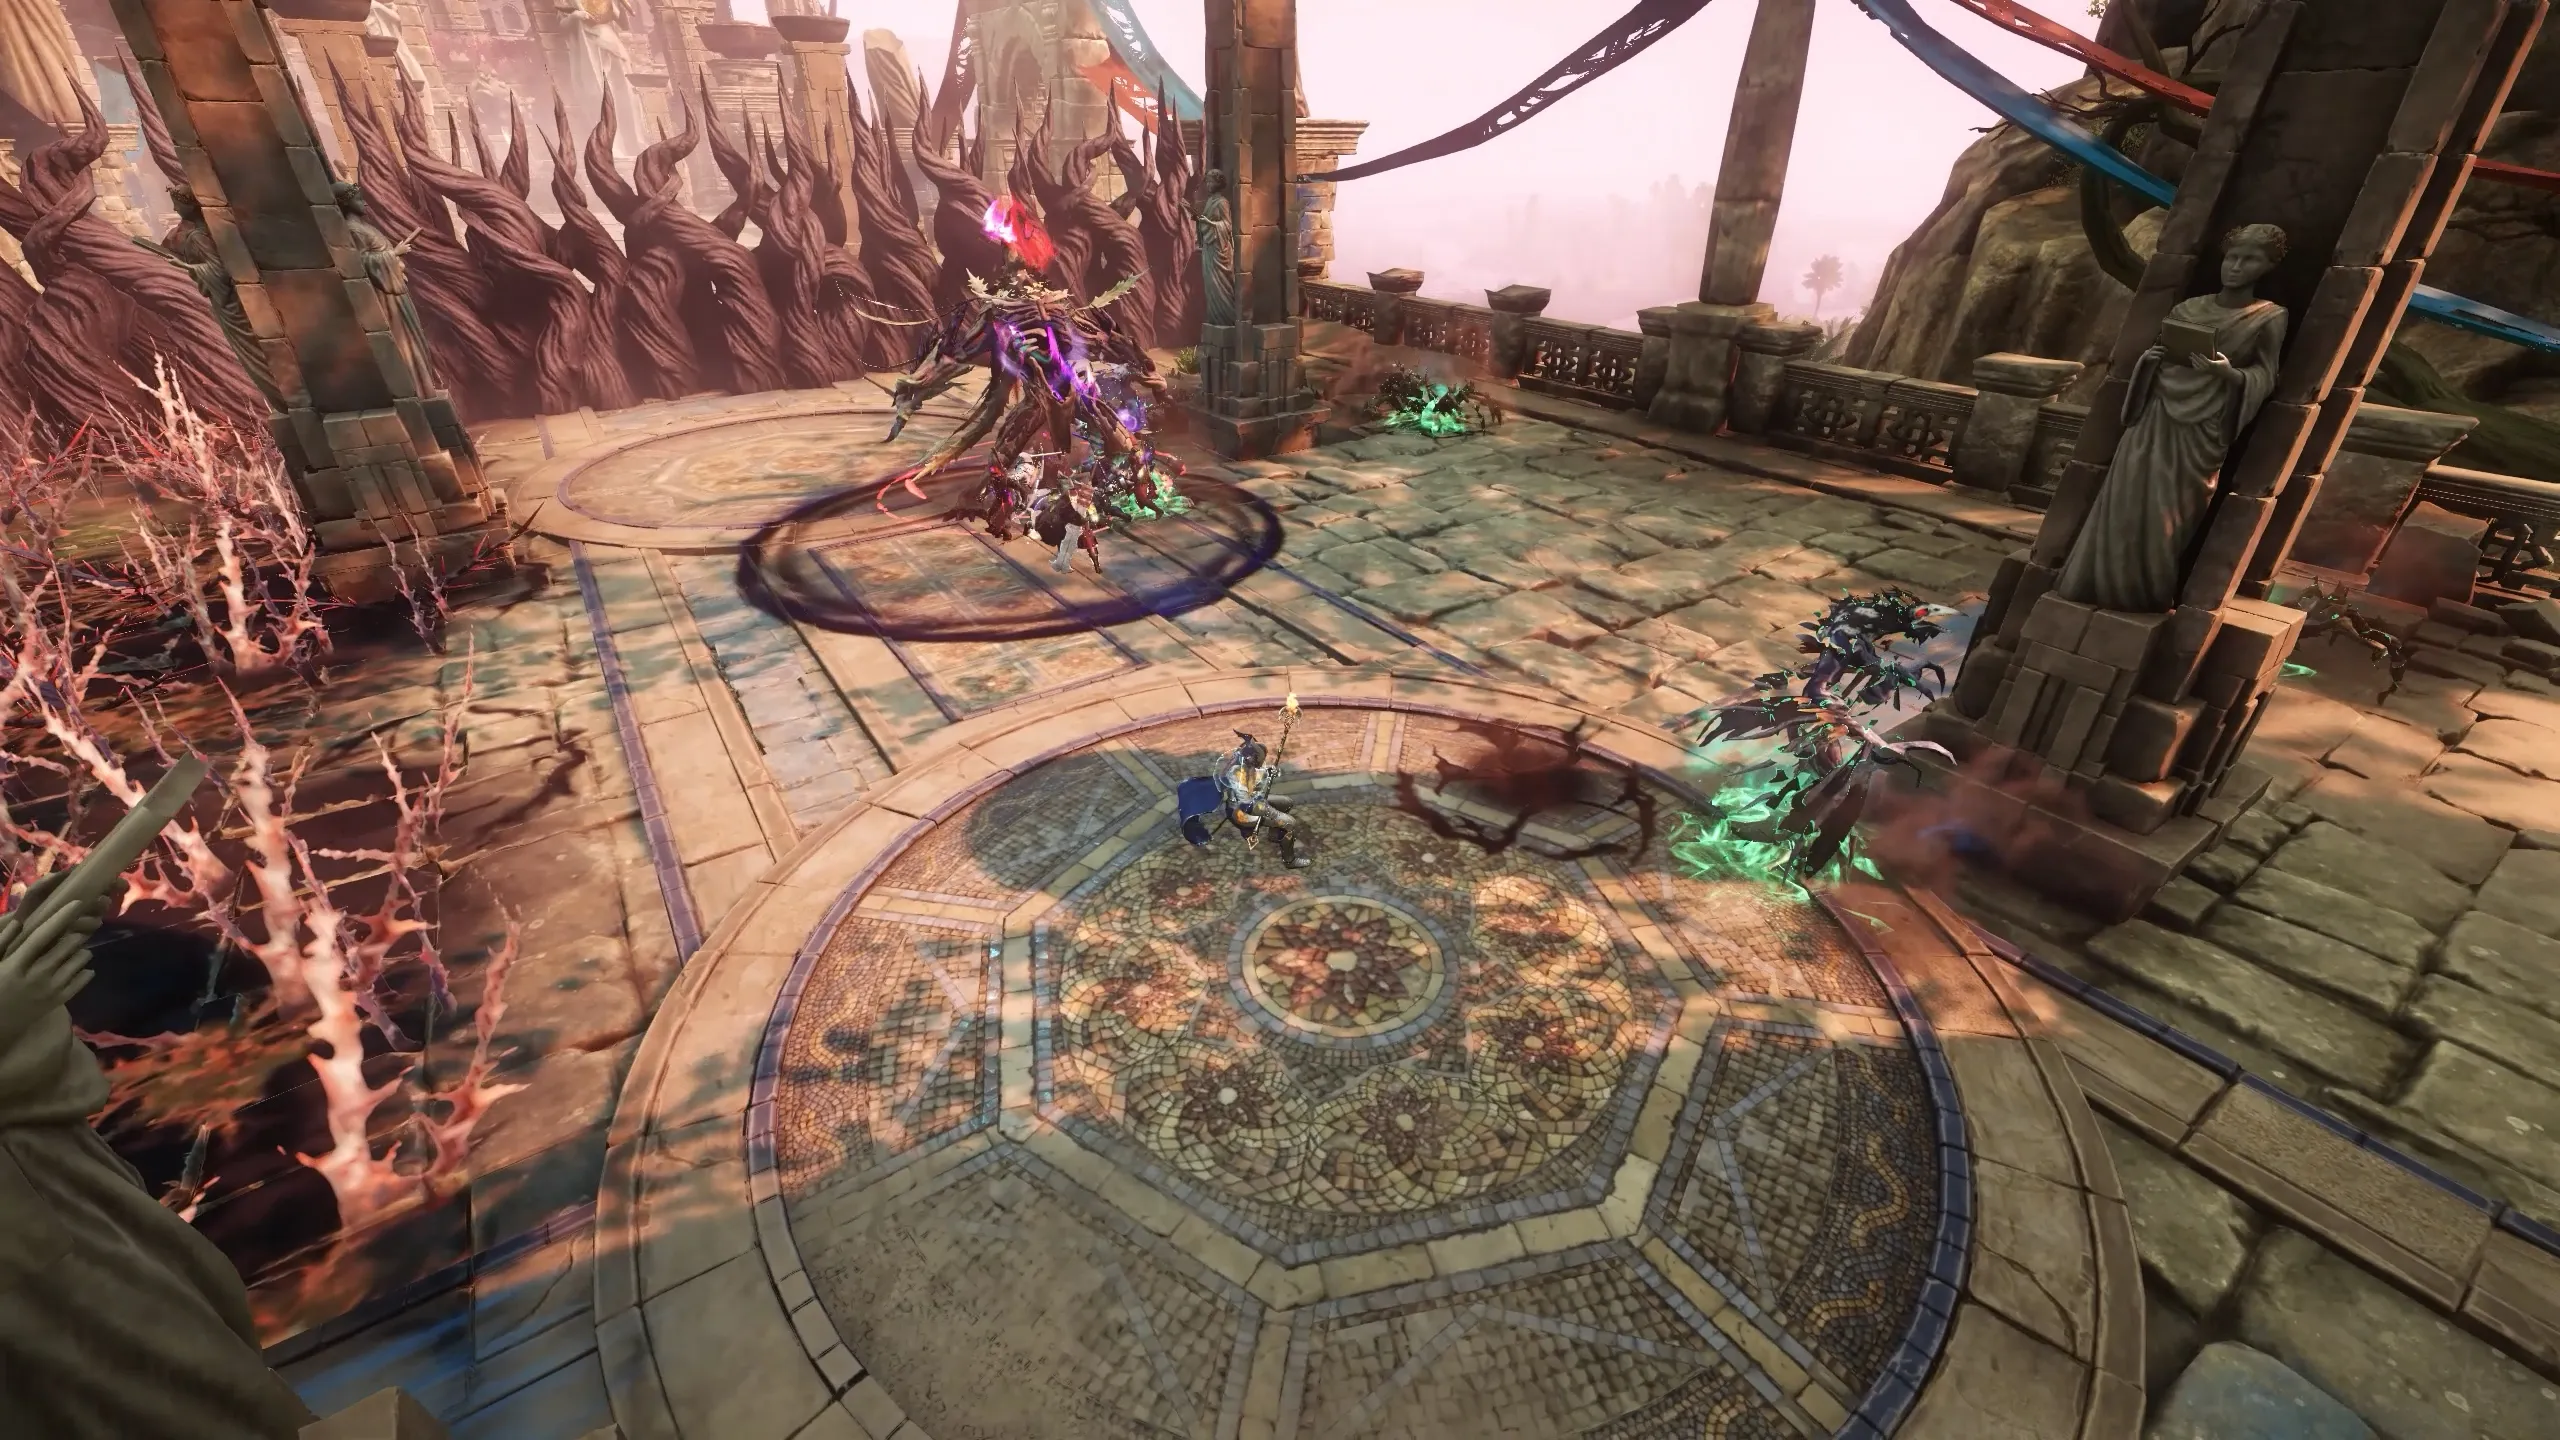
Phase Two Summons:
- One bird
- One wolf
- A third add (either)
Make sure to take out the corvids first, then the wolfs, to prevent stacking buffs on the boss.
The path forward opens as Typhon moves into Phase Two.
- Only three pillars remain.
- You must reduce his HP by 40% instead of 30%. (Phases at 30%)
- Attack patterns remain similar, but new threats are added:
- The red circle vine attack now targets three players instead of two.
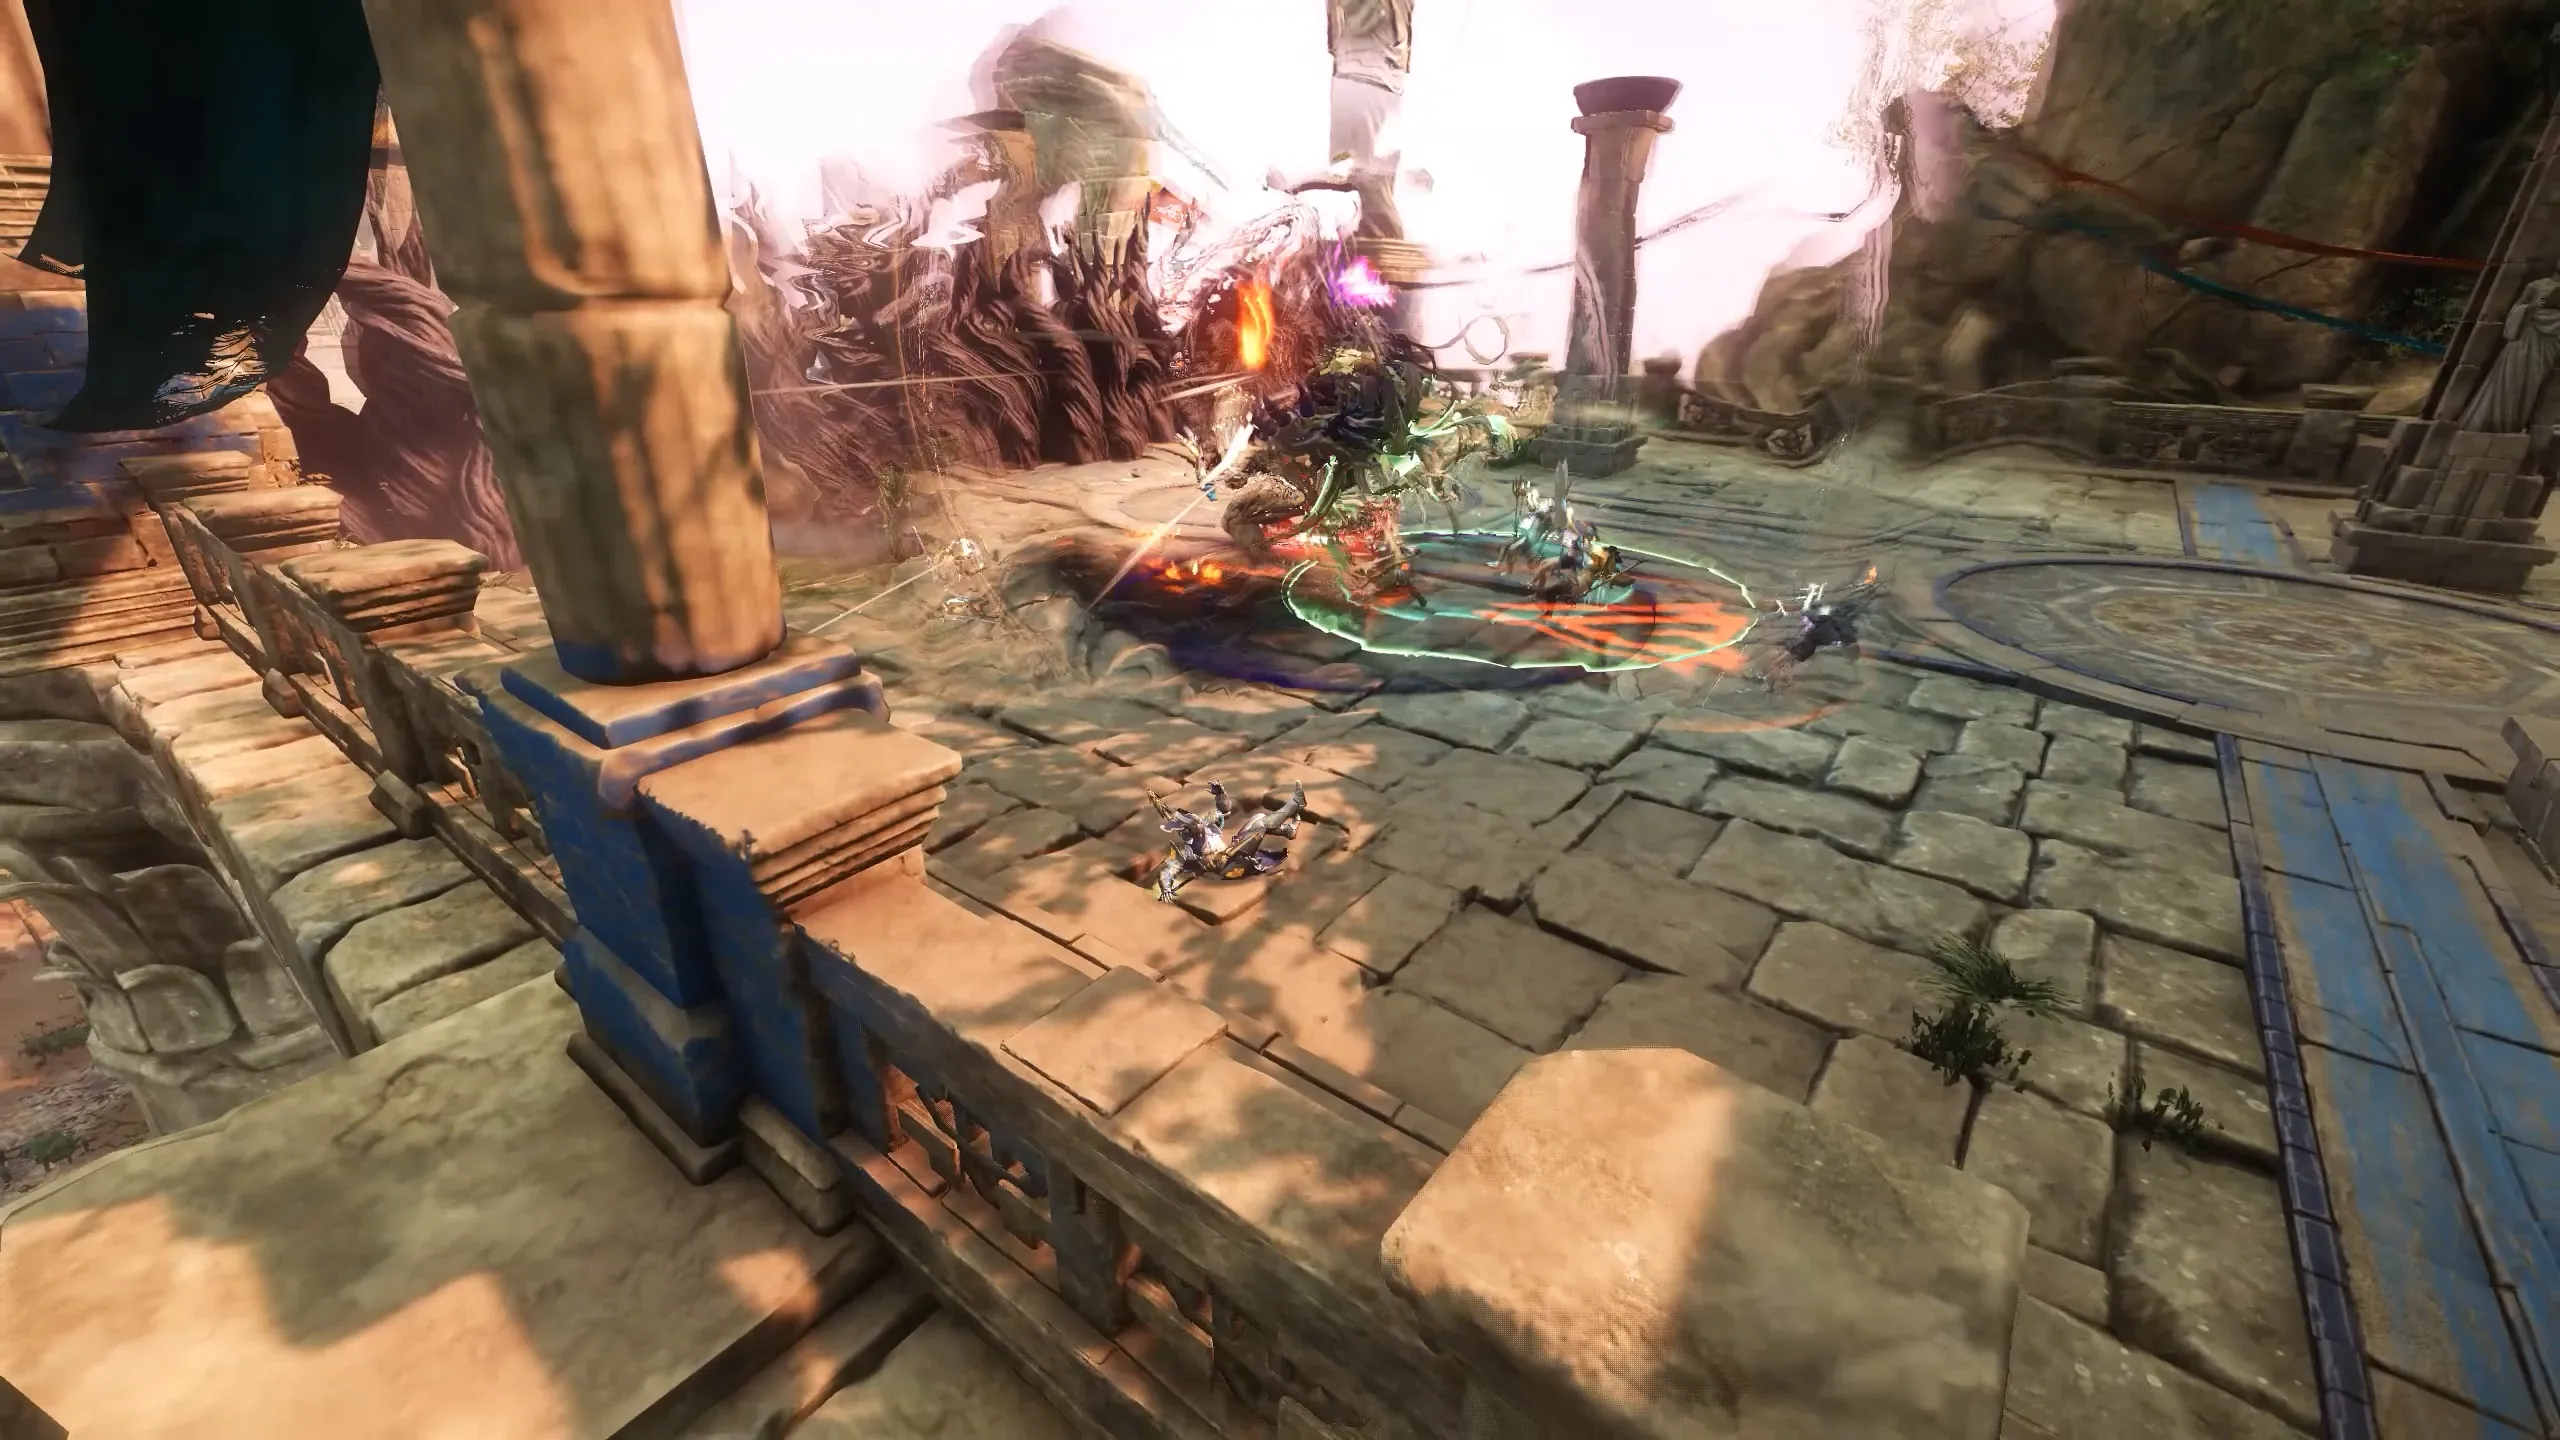
Ground Slam Wave
Typhon runs to the center of the arena, jumps, and lands with a shockwave that releases four waves of rocks in outward circular patterns. These deal strike damage. Dodge to avoid them, or block if needed.
Swipe Attack
Typhon charges one of his claws behind his back, then slashes forward. This attack targets the tank but hits everyone nearby. It becomes especially dangerous if Typhon has Howl stacks, as it grants him 30% lifesteal per stack for this attack.
Final Phase
After taking another 40% of his health, he phases out again in the same invincible fashion.
Now in the final section of the arena, you’re left with only two pillars and 30% HP to burn through. The mechanics escalate once more:
- The red circle vine attack now targets four players, making positioning even more crucial.
- Typhon now summons two corvids and two wolves when calling adds.
Aside from that, the fight continues much like the earlier phases, rotating through his full suite of attacks, until you either defeat him or fall. Hopefully your damage is enough to beat him before all the pillars are gone and you start losing teammates one by one.
Rewards
If your team is successful, Typhon will collapse, and your rewards will drop at his location.
- Typhon drops the TRSNA Warhammer artifact. It is not tied to the weekly loot and you can farm it. (Guaranteed on the 5th kill)
| Reward Type | Details |
|---|---|
| Named Hoplite Gear (Upgradable) | One piece, loot-biased to the armor weight you currently have equipped |
| Gorgon Gear | Random pieces up to GS 725 (Loot Biased) |
| Gorgon Eye | Guaranteed 1 per kill |
| Damaged Gorgon Eyes | 10 if you are still under the weekly cap |
These rewards are part of your weekly Gorgon raid loot. If you’ve already hit your cap, you won’t receive anything.
This concludes Typhon’s full battle. It’s a demanding DPS check, but with practice, coordination, and clean mechanics your team will make the fight smoother each run.