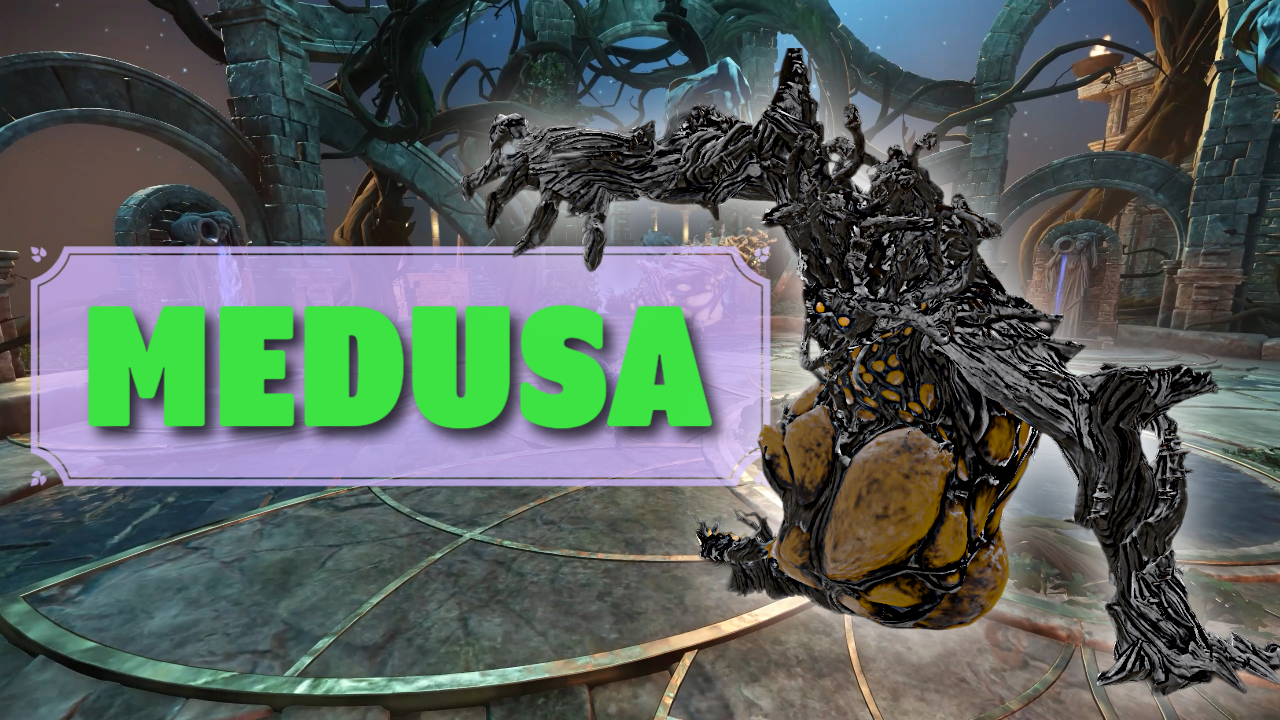
Medusa Guide
Medusa: Final Boss Fight - Full guide explaining mechanics and attack patterns
Medusa is the final boss in Hive of the Gorgons. The fight involves heavy nature damage, constant cleansing mechanics, and high coordination to manage eggs, flowers, and her deadly charge attacks.
Medusa Boss Fight
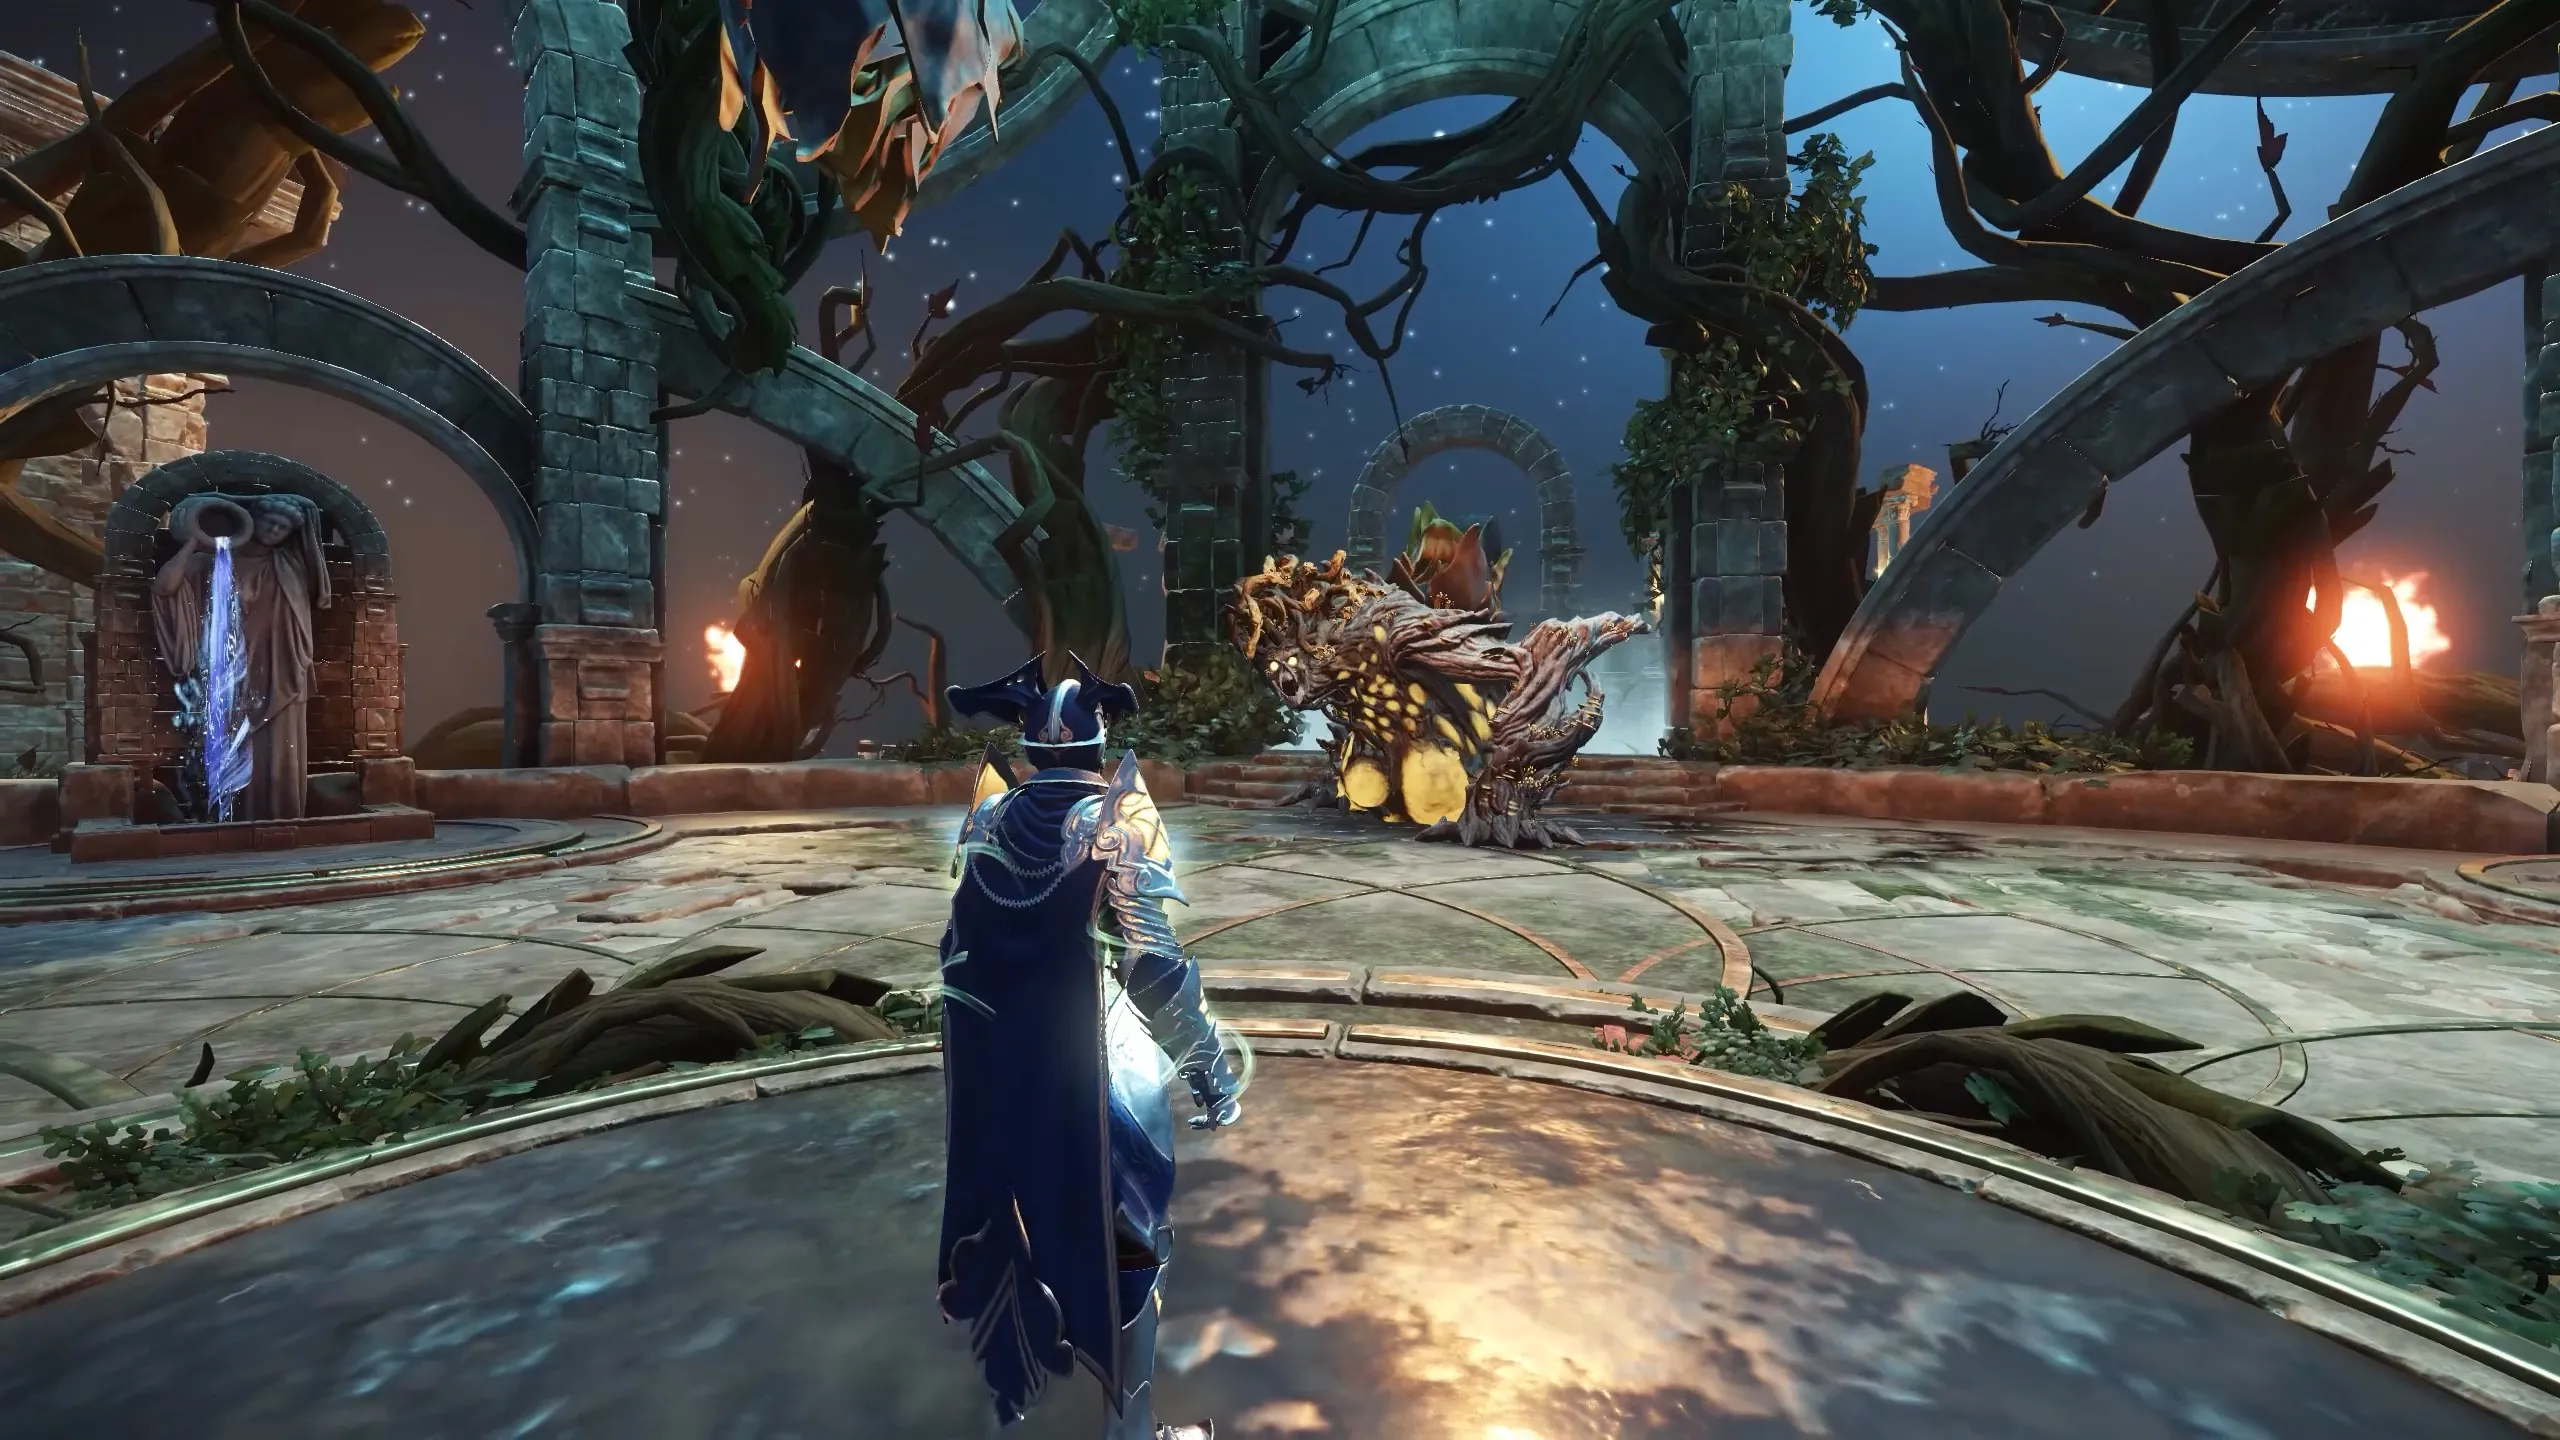
Medusa is the final boss of the Hive of the Gorgon raid. Once the two levers are activated, the central gate opens and you face Broodmother Medusa.
This fight involves heavy nature damage.
- Recommended protections:
- Equip Nature Protection amulets.
- Slot amber gems to boost mitigation.
Try to reach at least 40% nature protection.
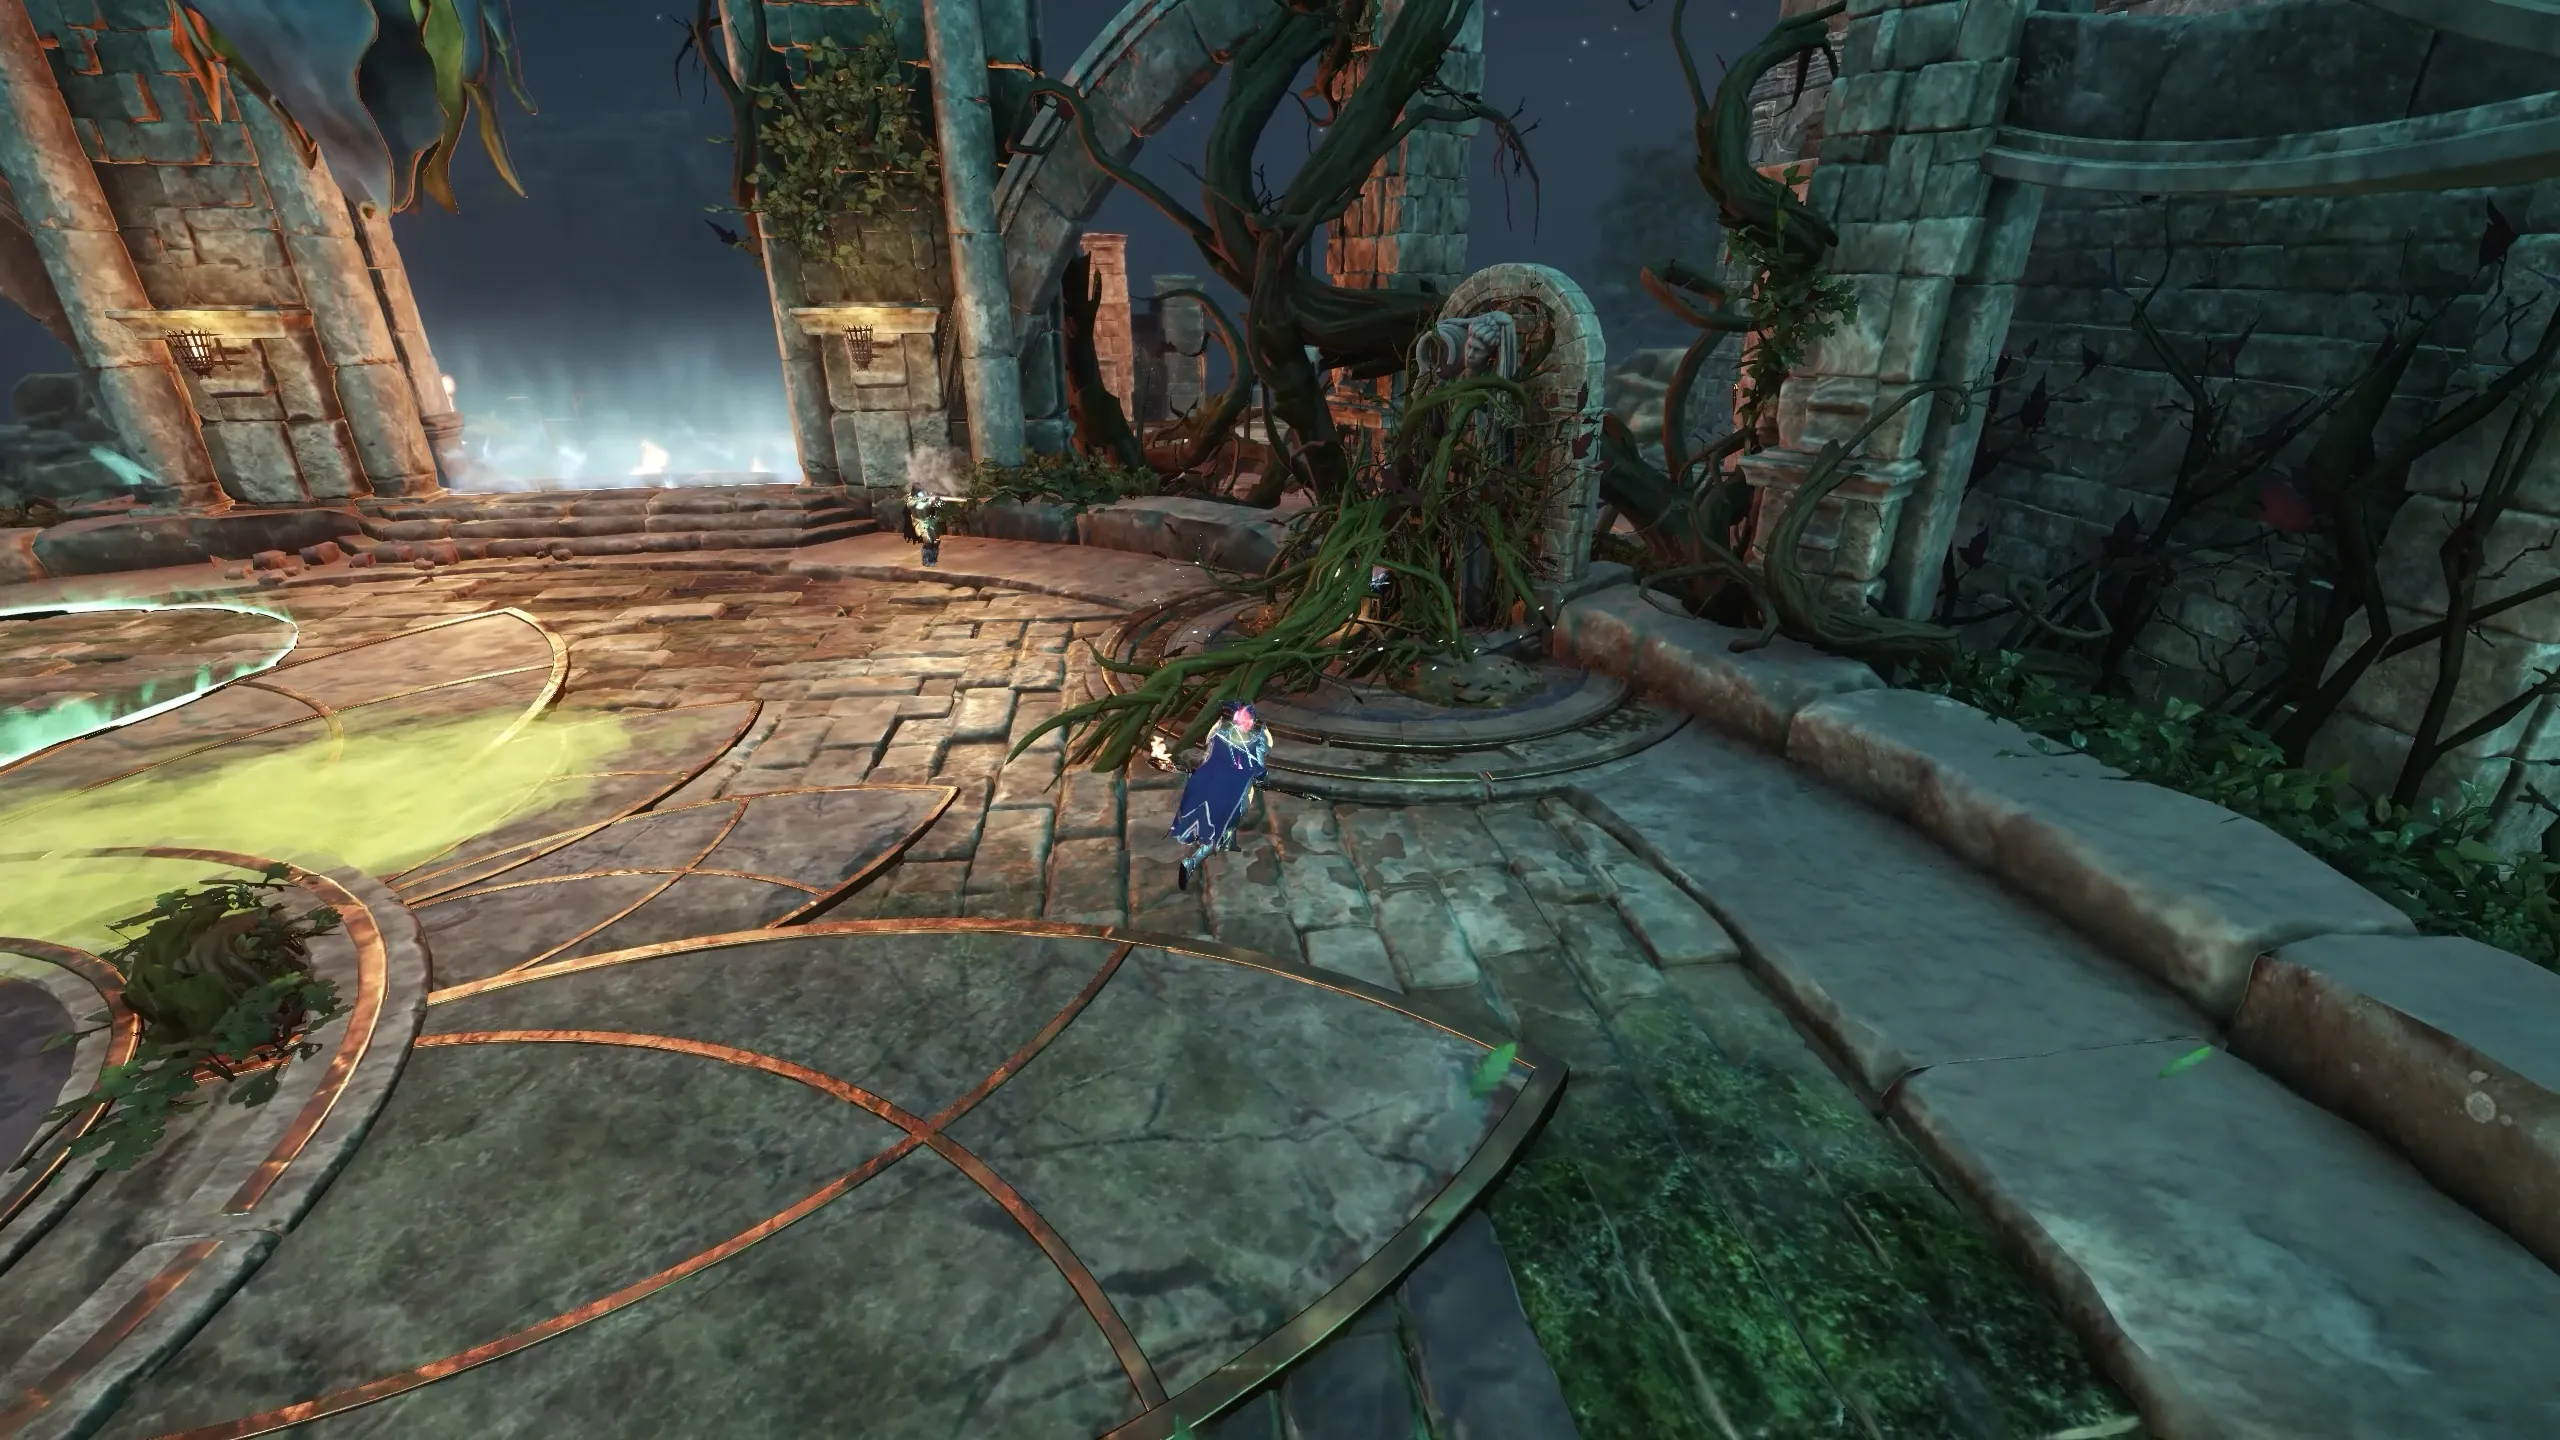
At the start, you see a large flower hanging from the ceiling. That’s Medusa curled up, waiting. In the arena corners are four cleansing fountains, critical for handling the mushroom infection mechanics throughout the fight.
For first clears, a ranged strategy is recommended. The fight is far safer and easier from distance until you’re experienced.
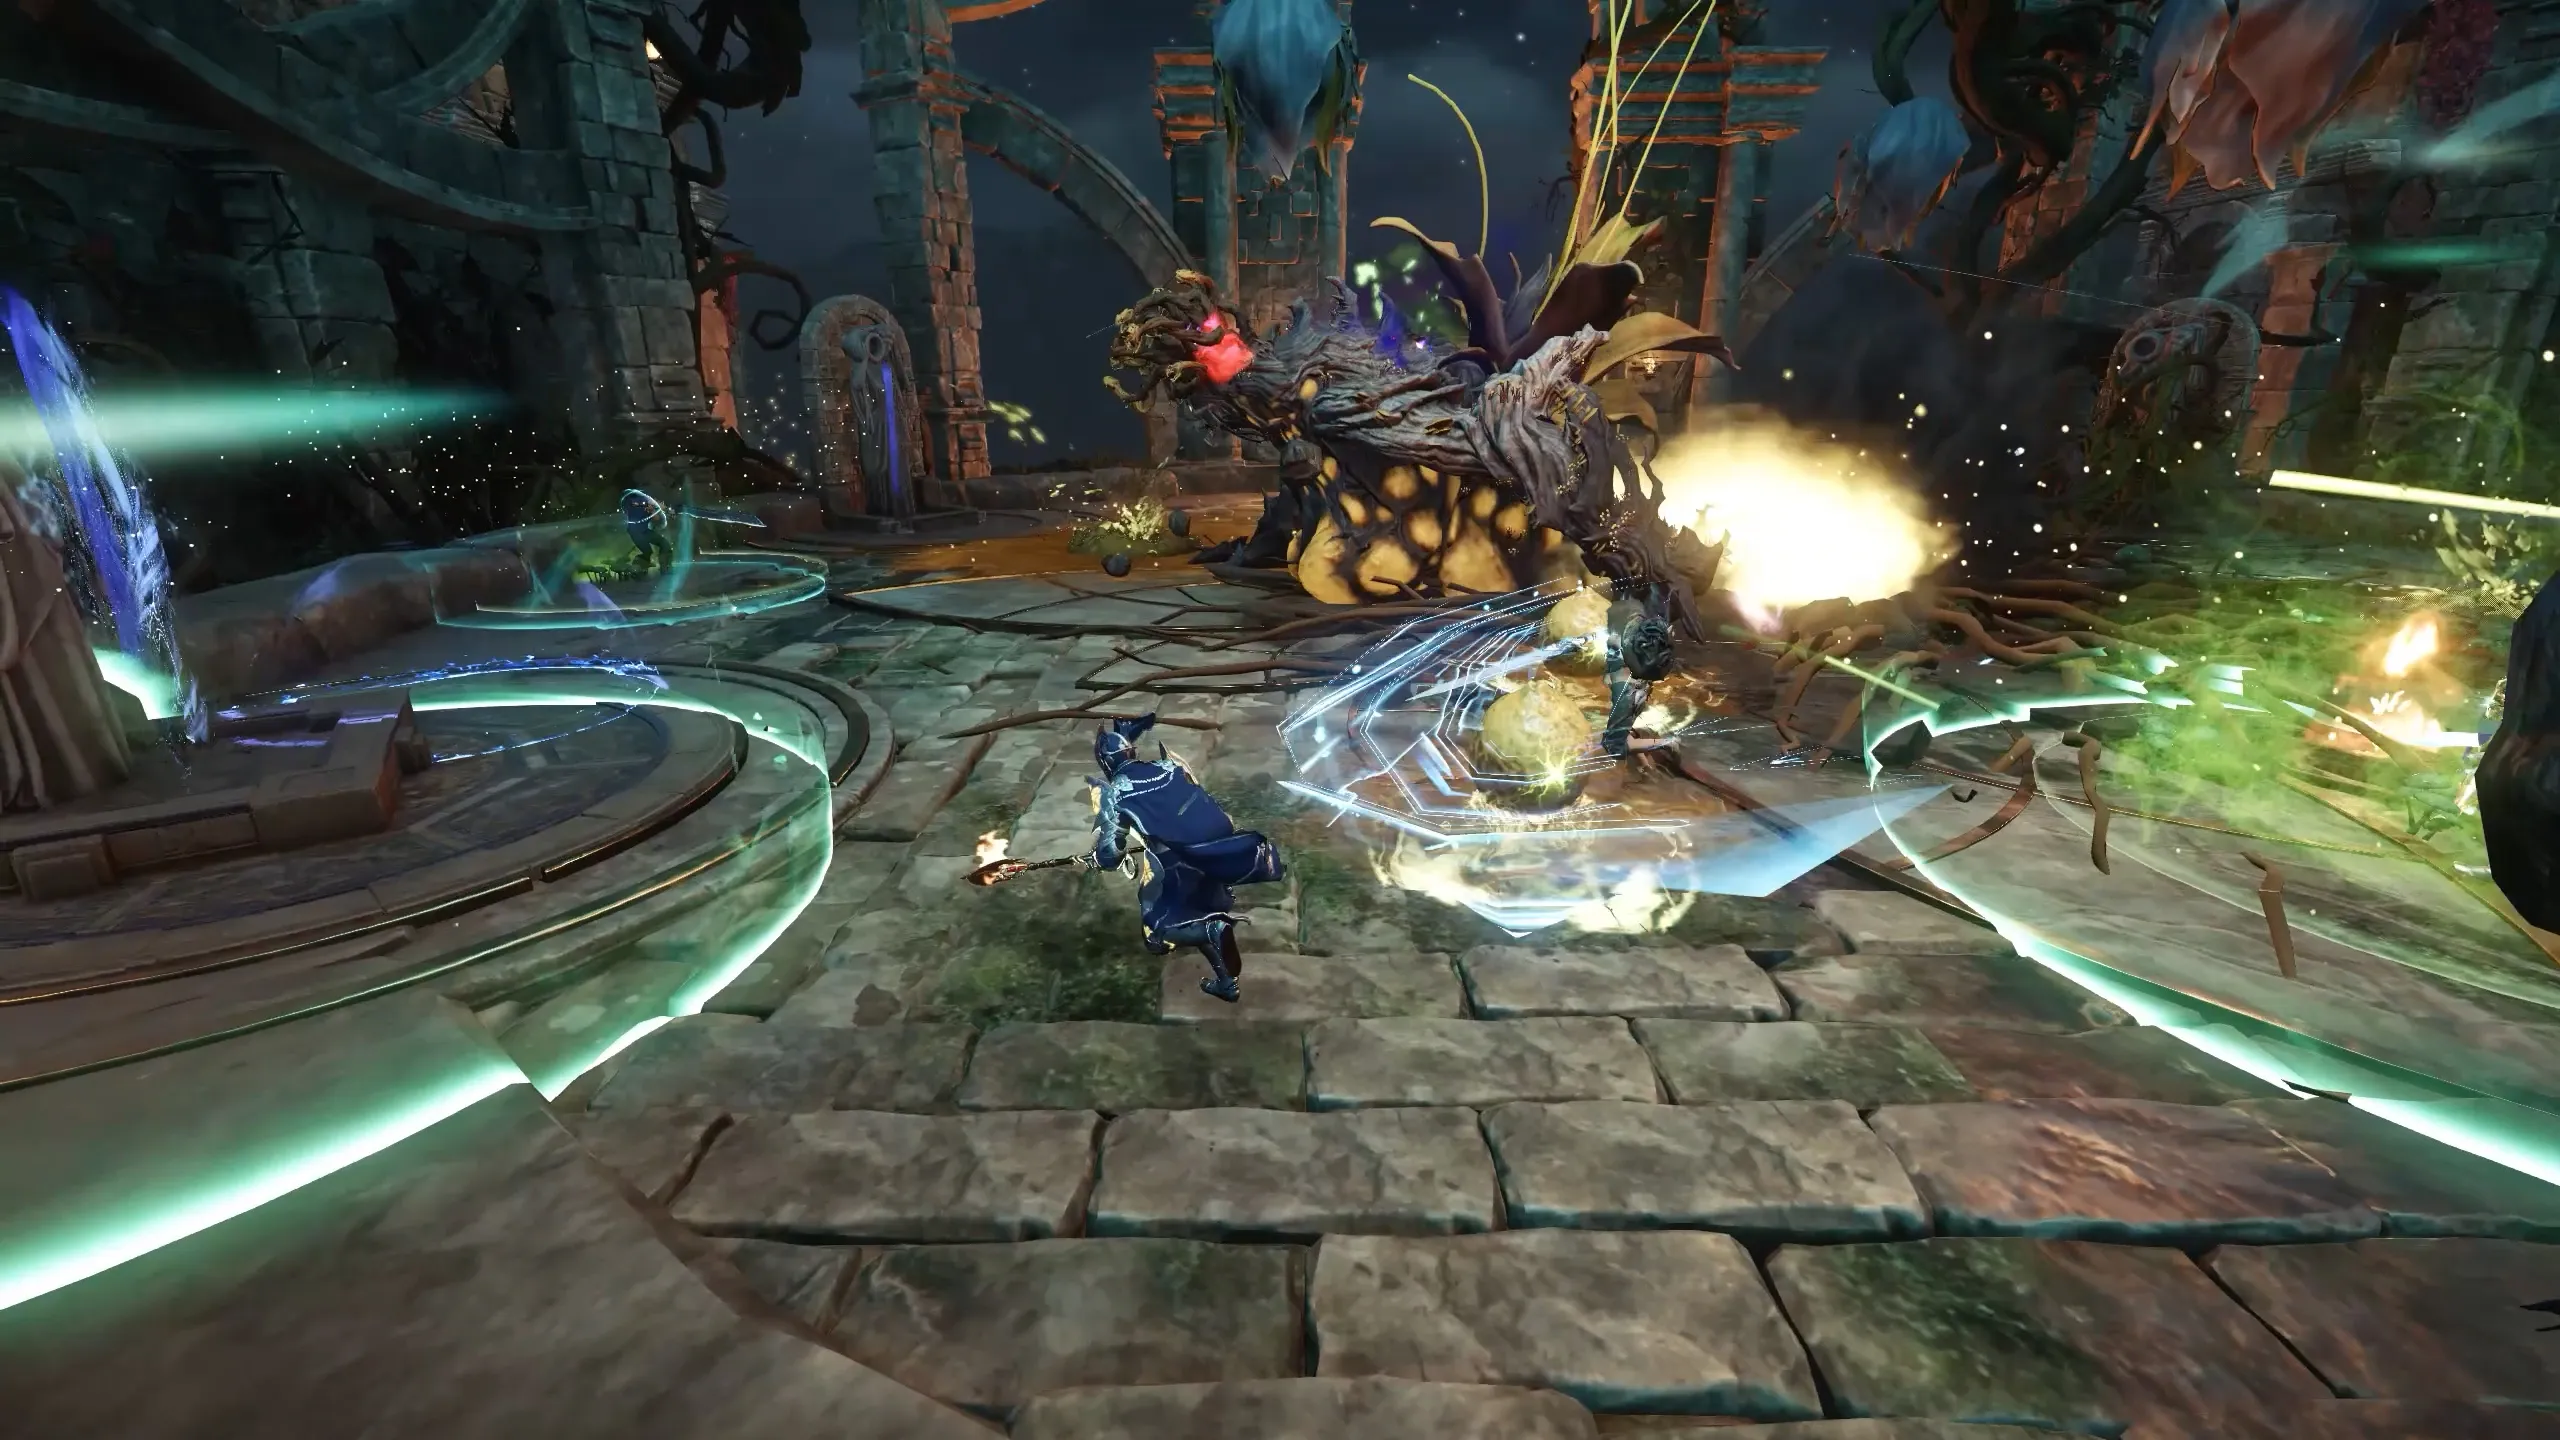
Ceiling Flowers
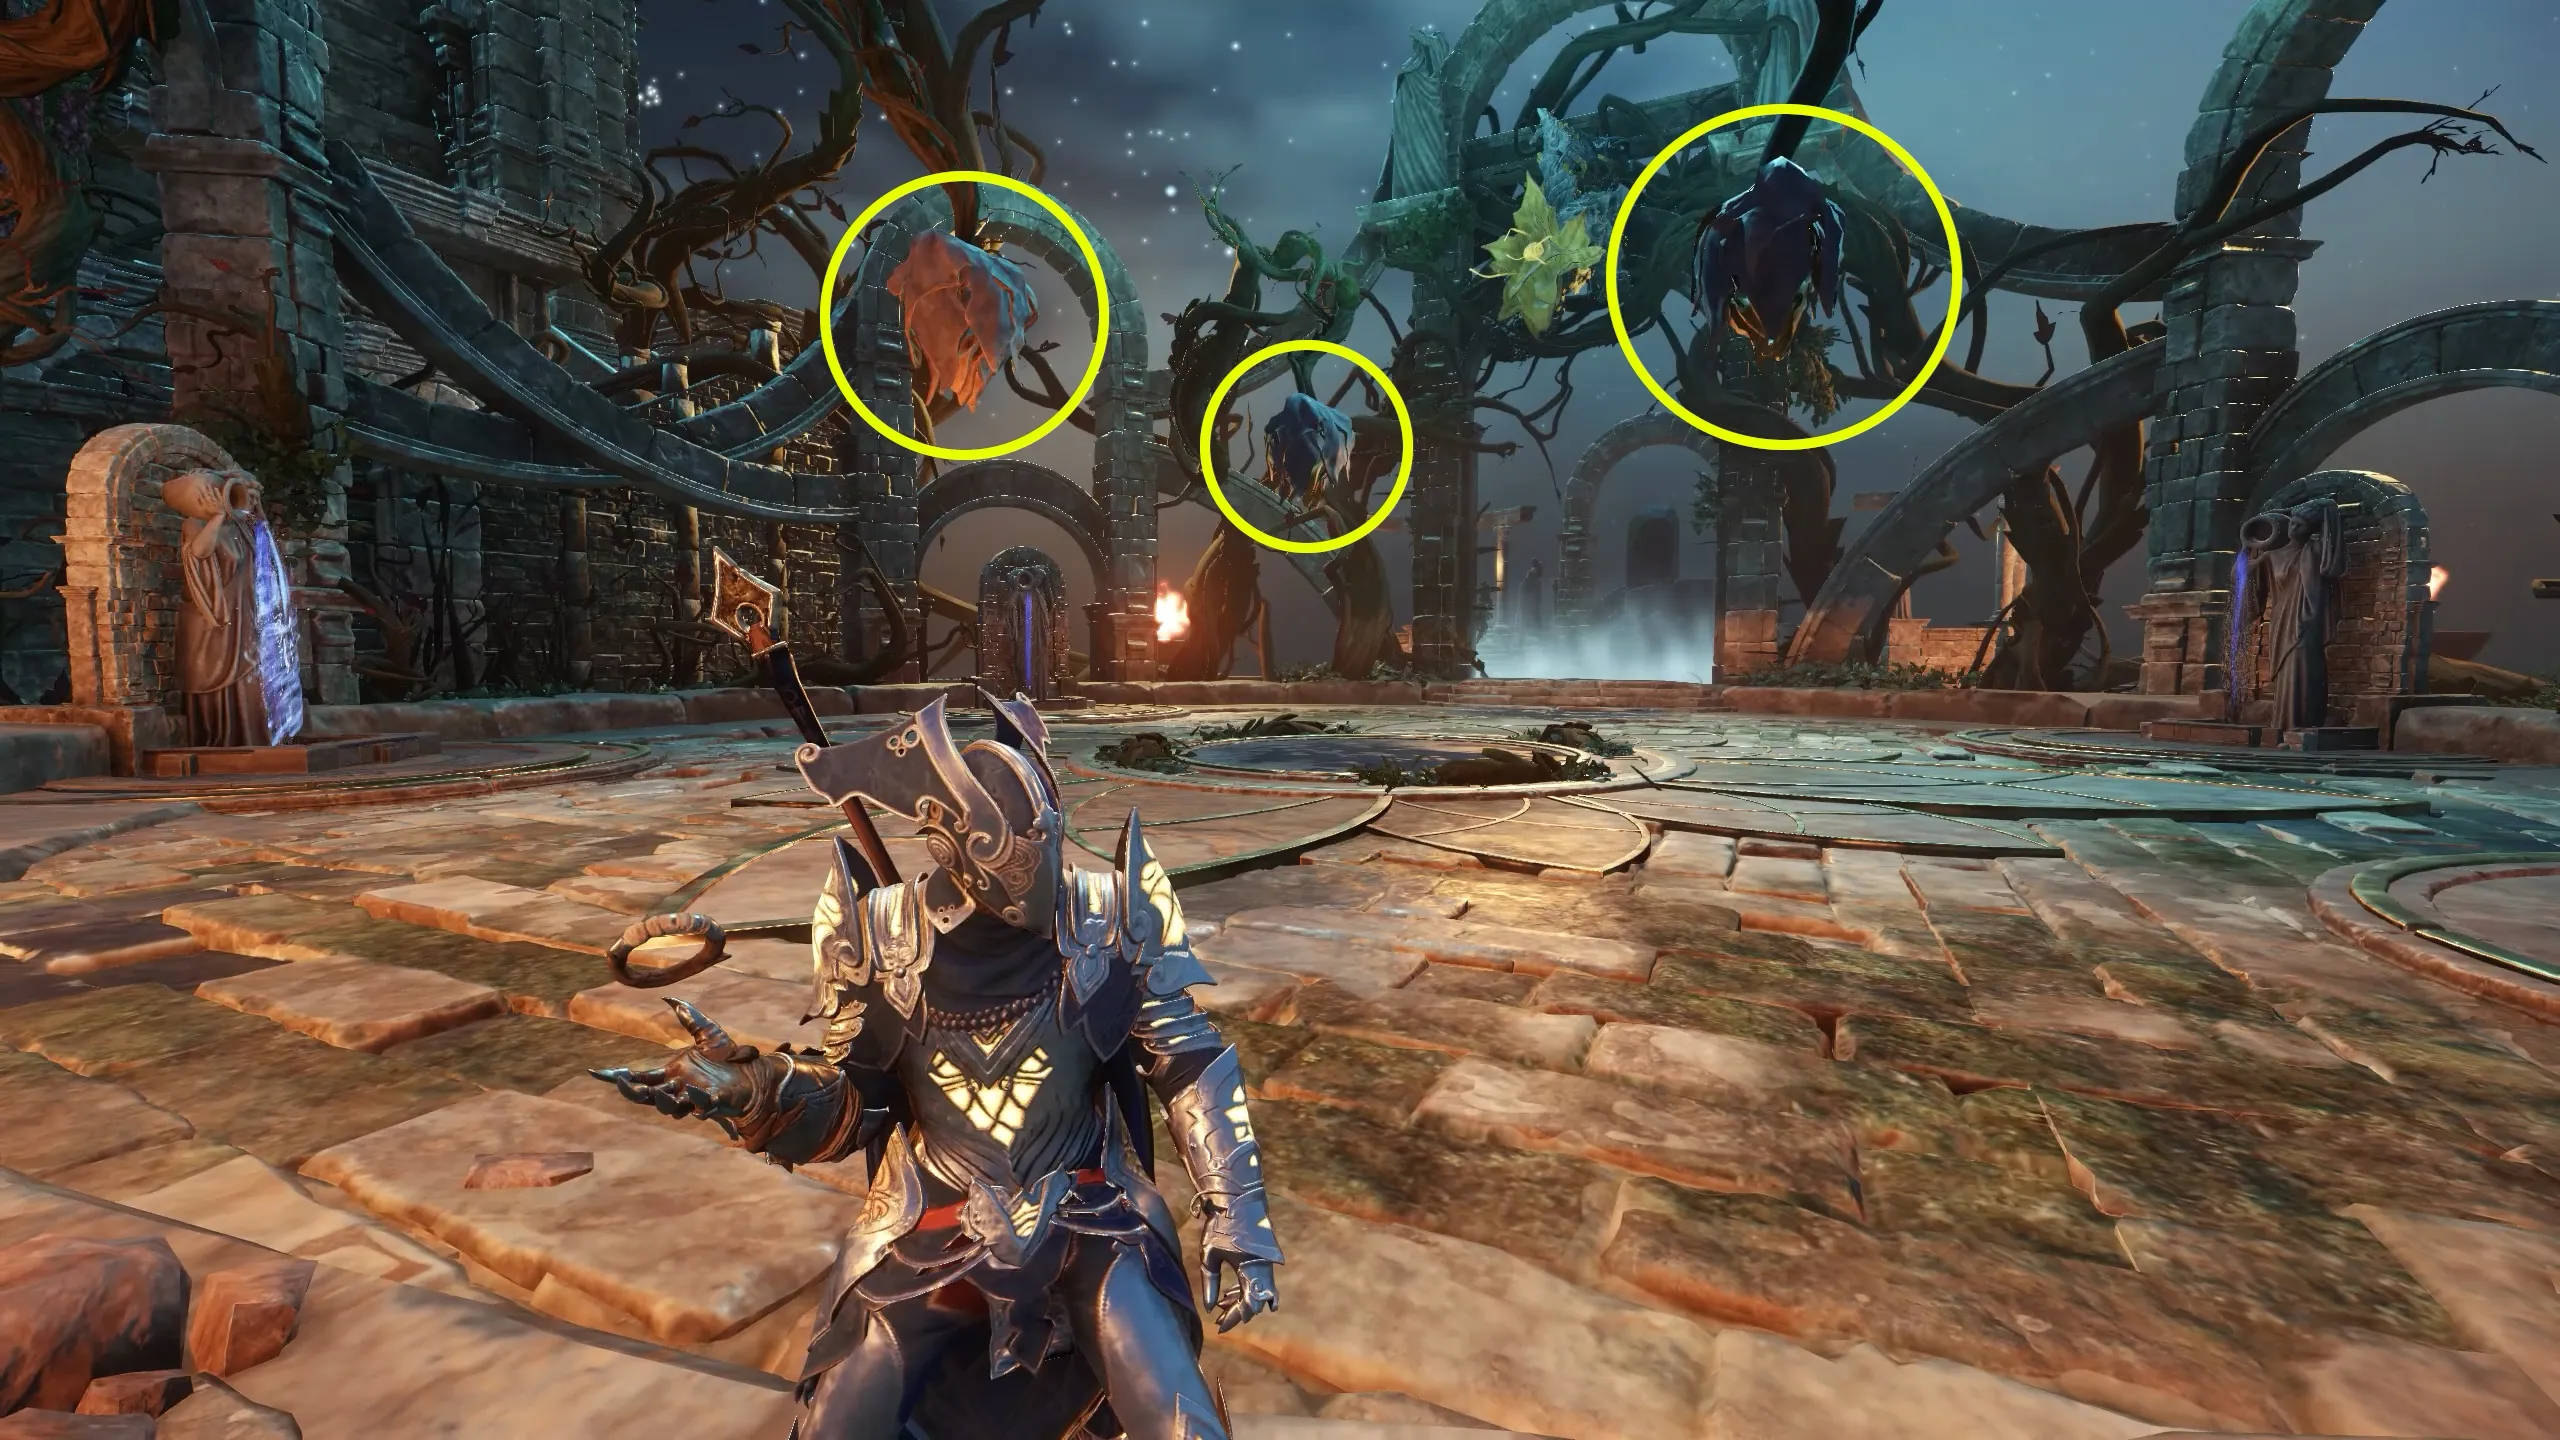
Three hanging flowers are dormant at first but will bloom multiple times, gaining health bars.
When active, flowers have their own health bars and launch one of two attacks:
- Three projectiles that land and spawn barbs on the floor. Touching a barb applies a bleed debuff that ticks rapidly.

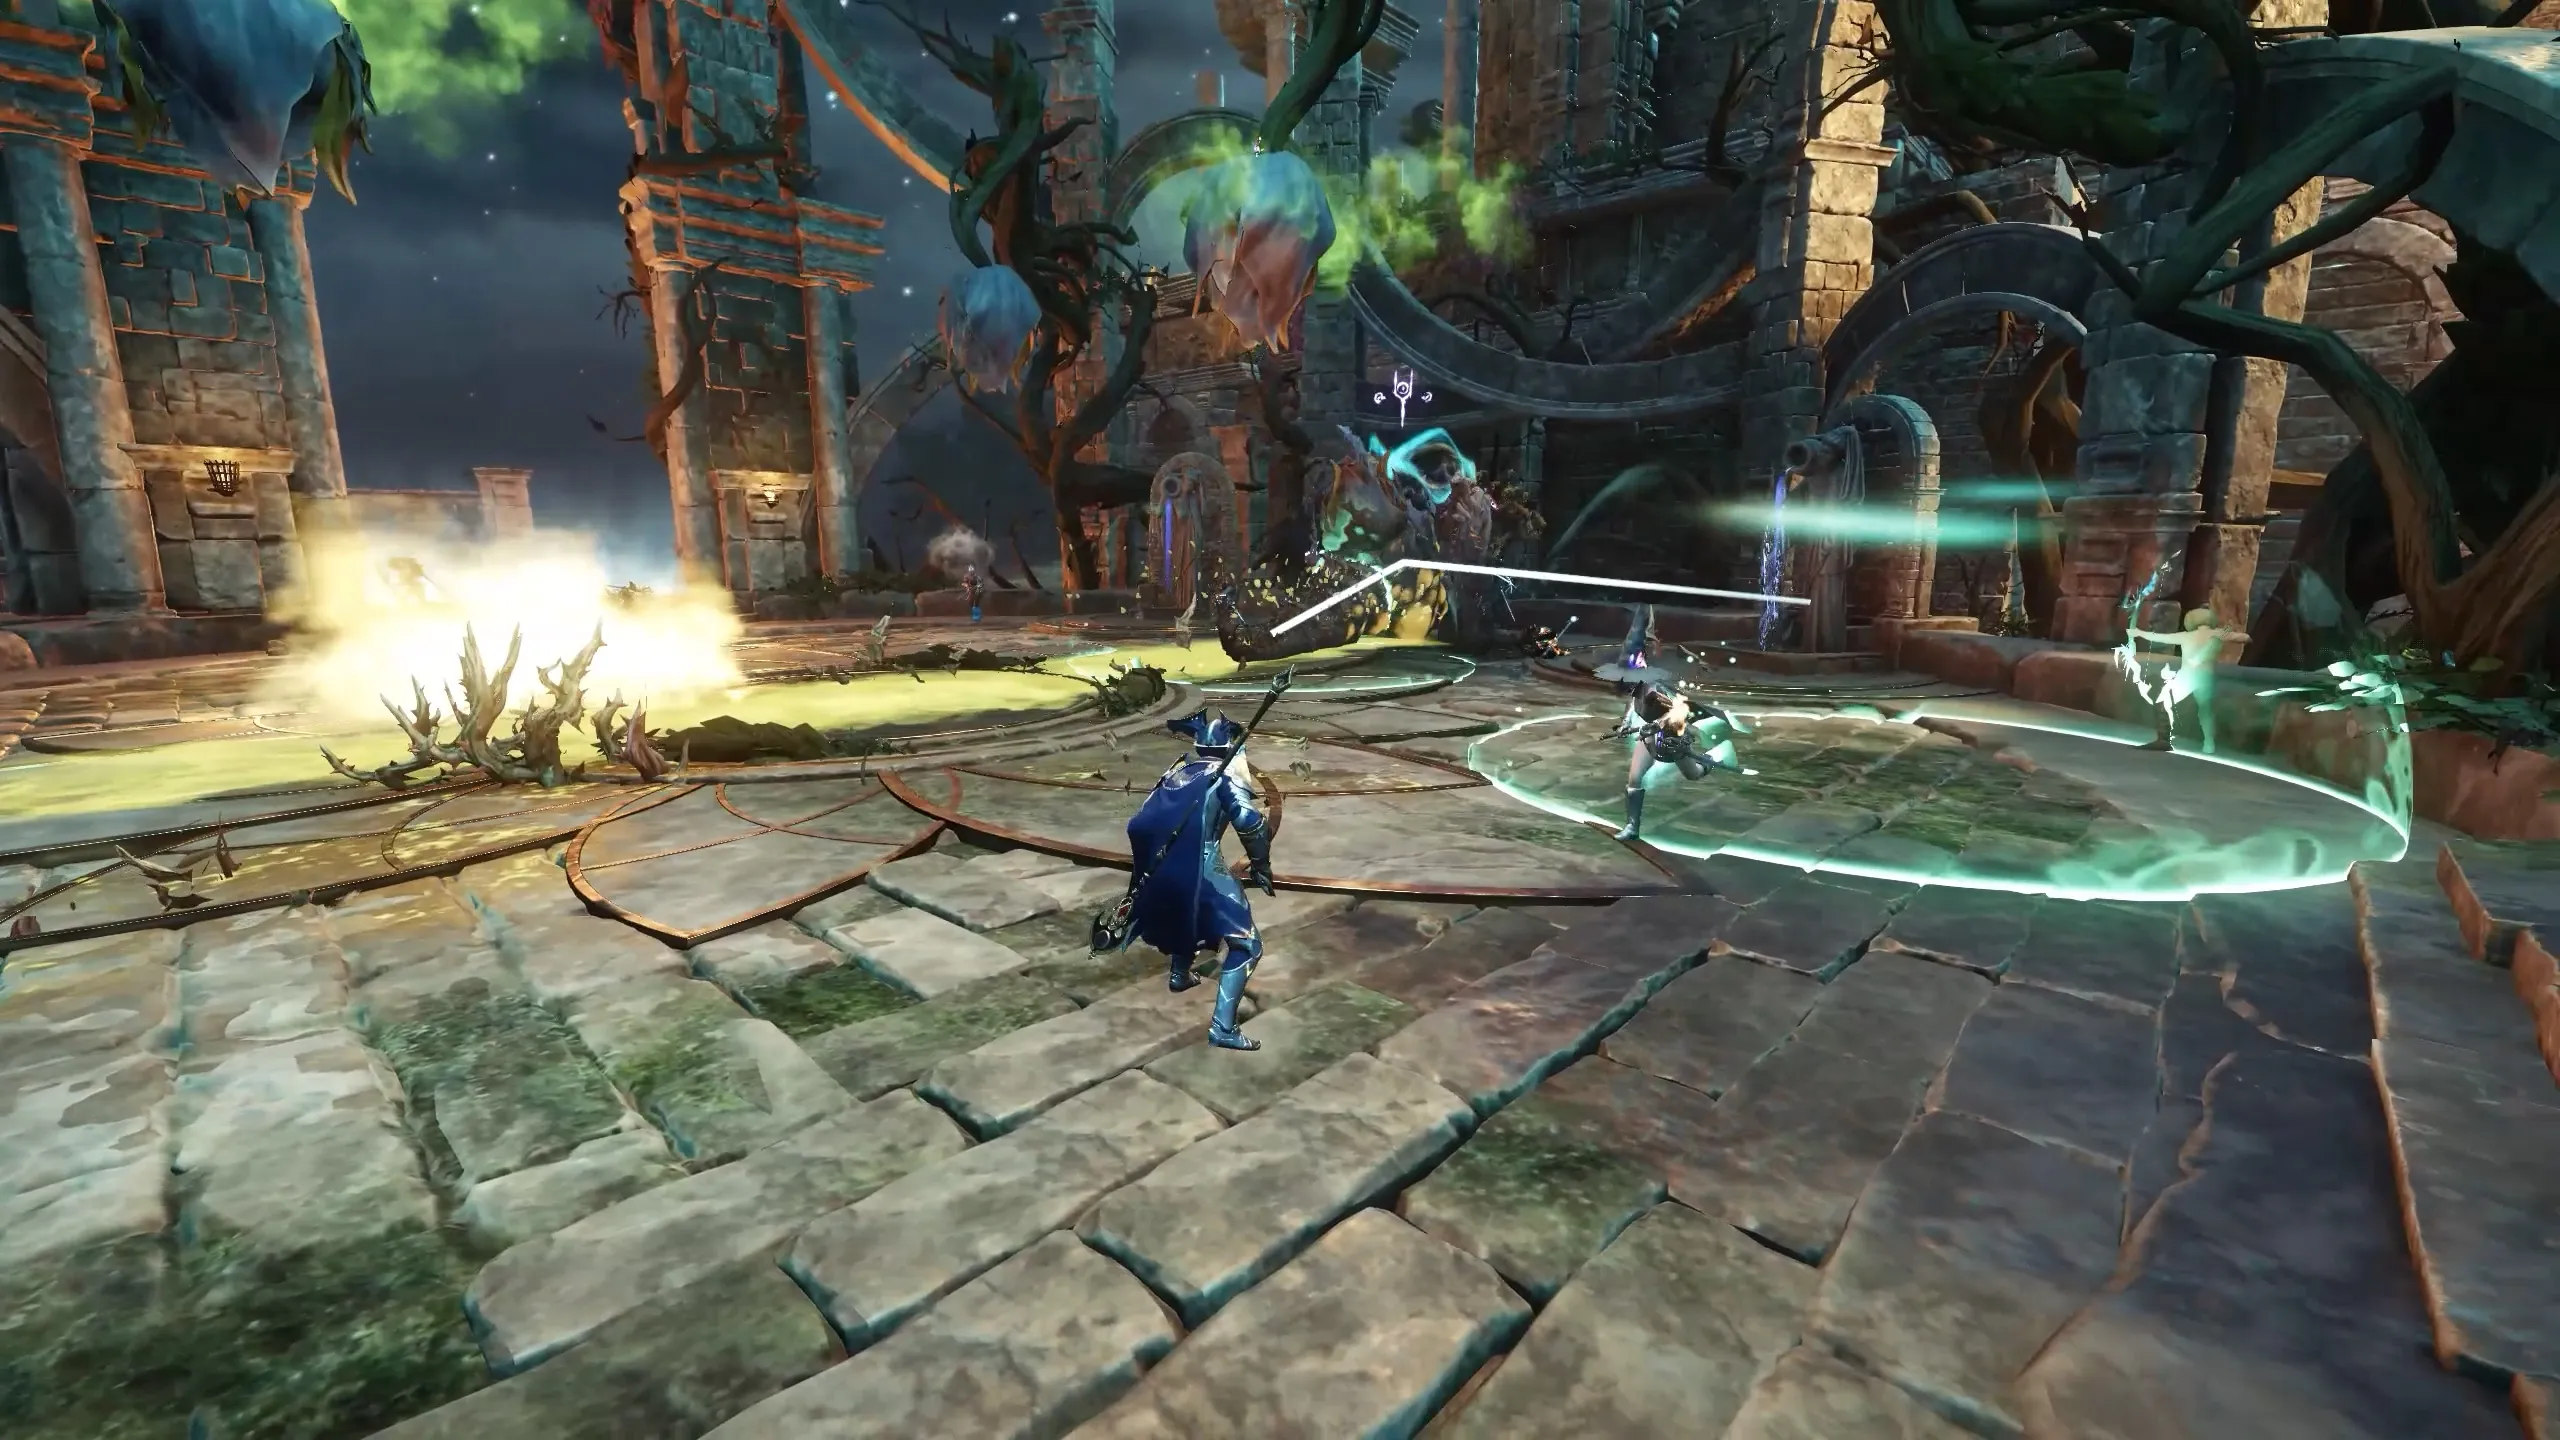
- White smoke that lingers in the arena. If you remain inside, you will fall asleep, taking 5% base nature damage per second for up to 60 seconds.
If a player falls asleep, they cannot free themselves. The only way to wake them is by throwing a cleanse splash from one of the arena’s fountains. Be ready to react quickly if a teammate is caught.
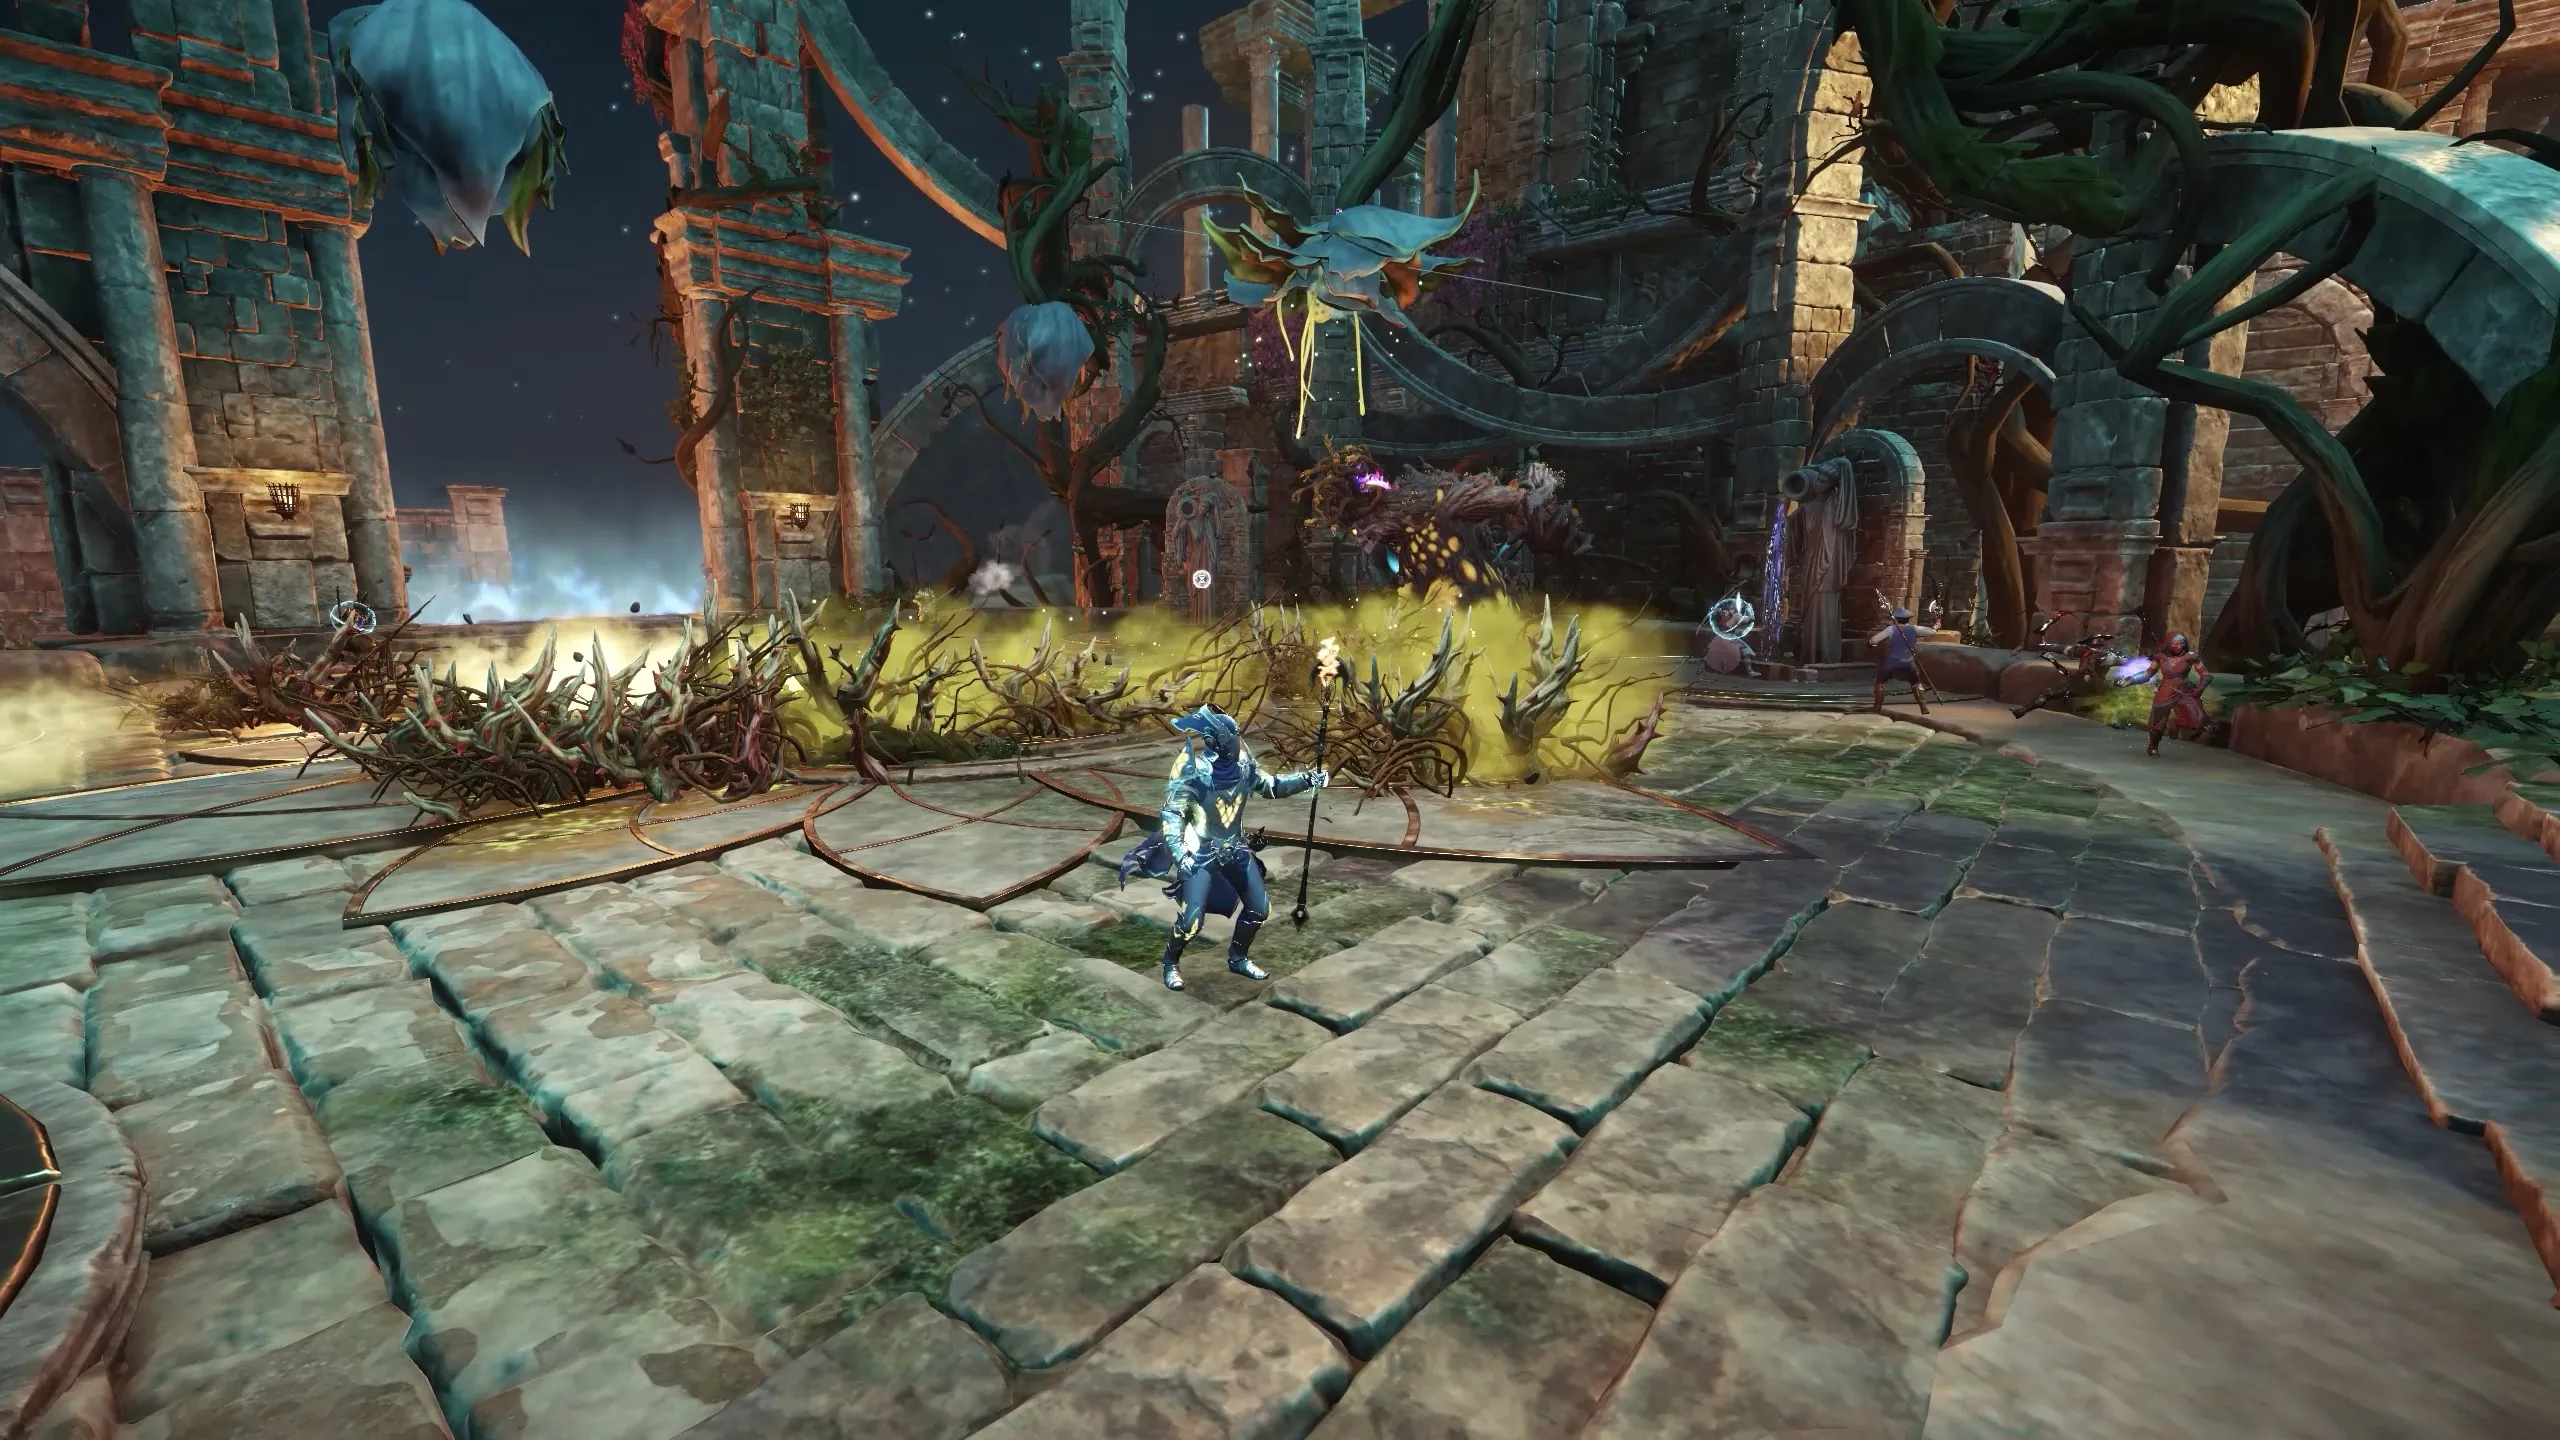
Ooze Puddles
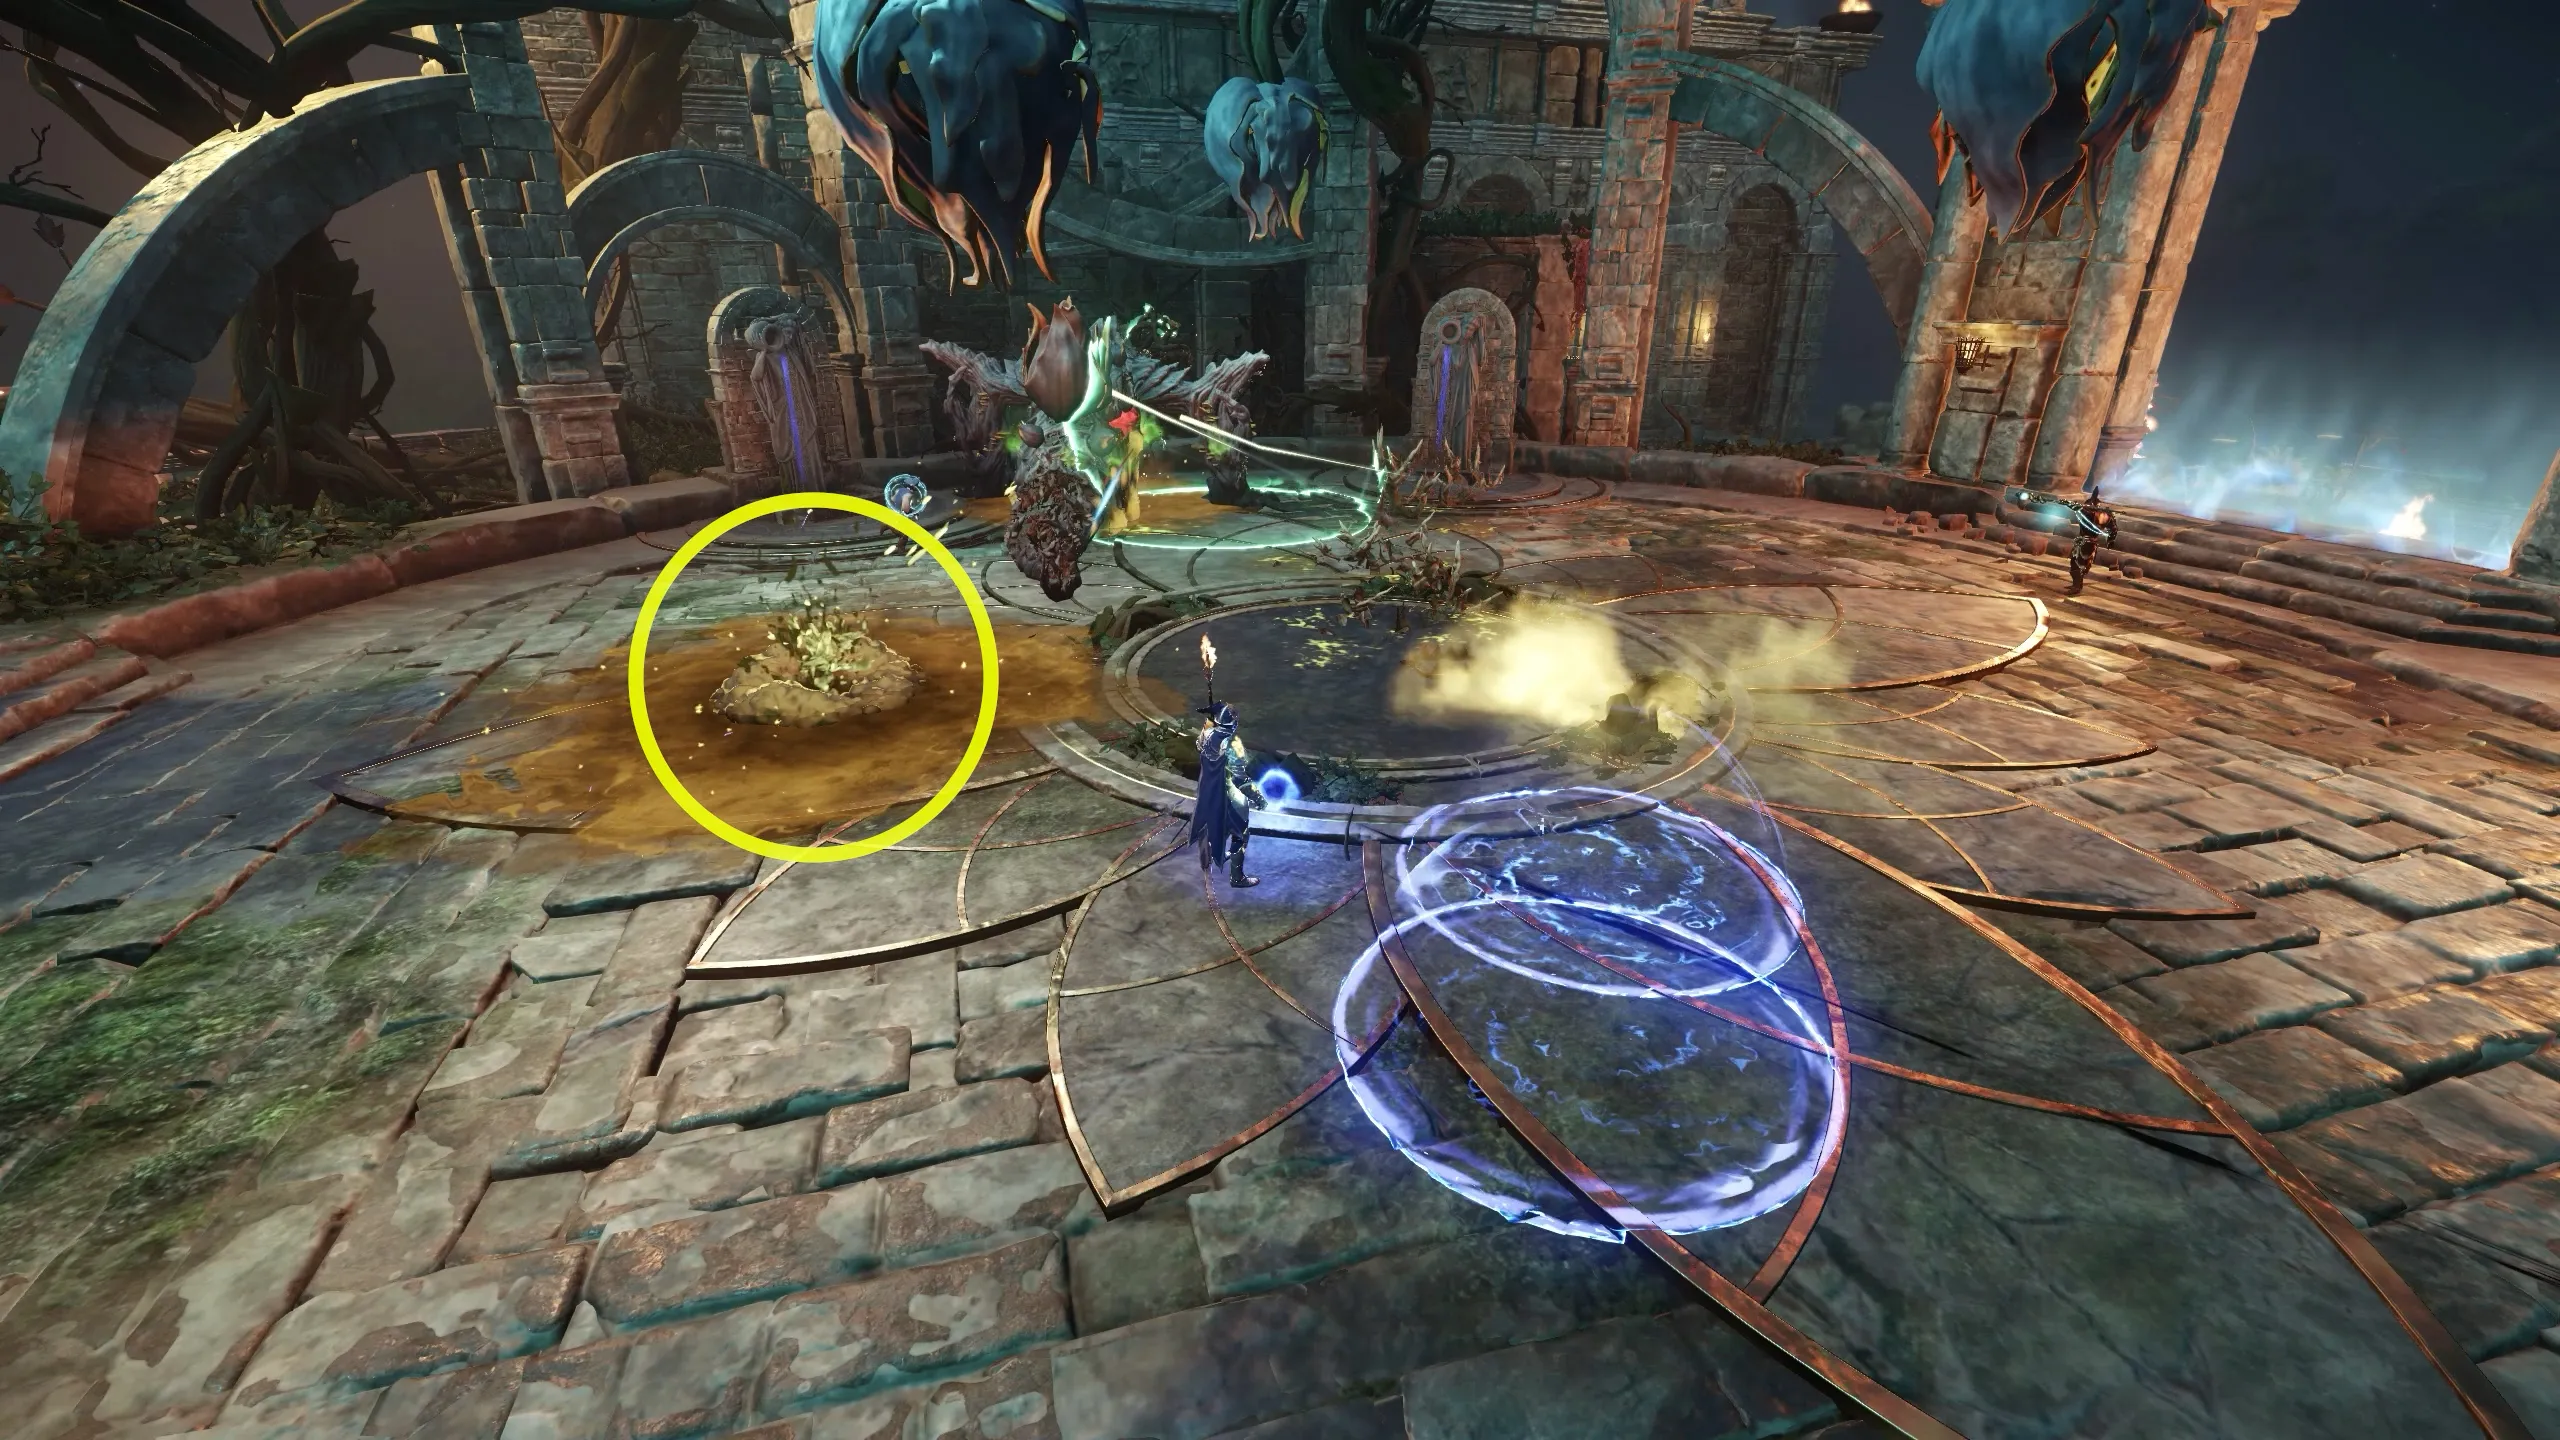
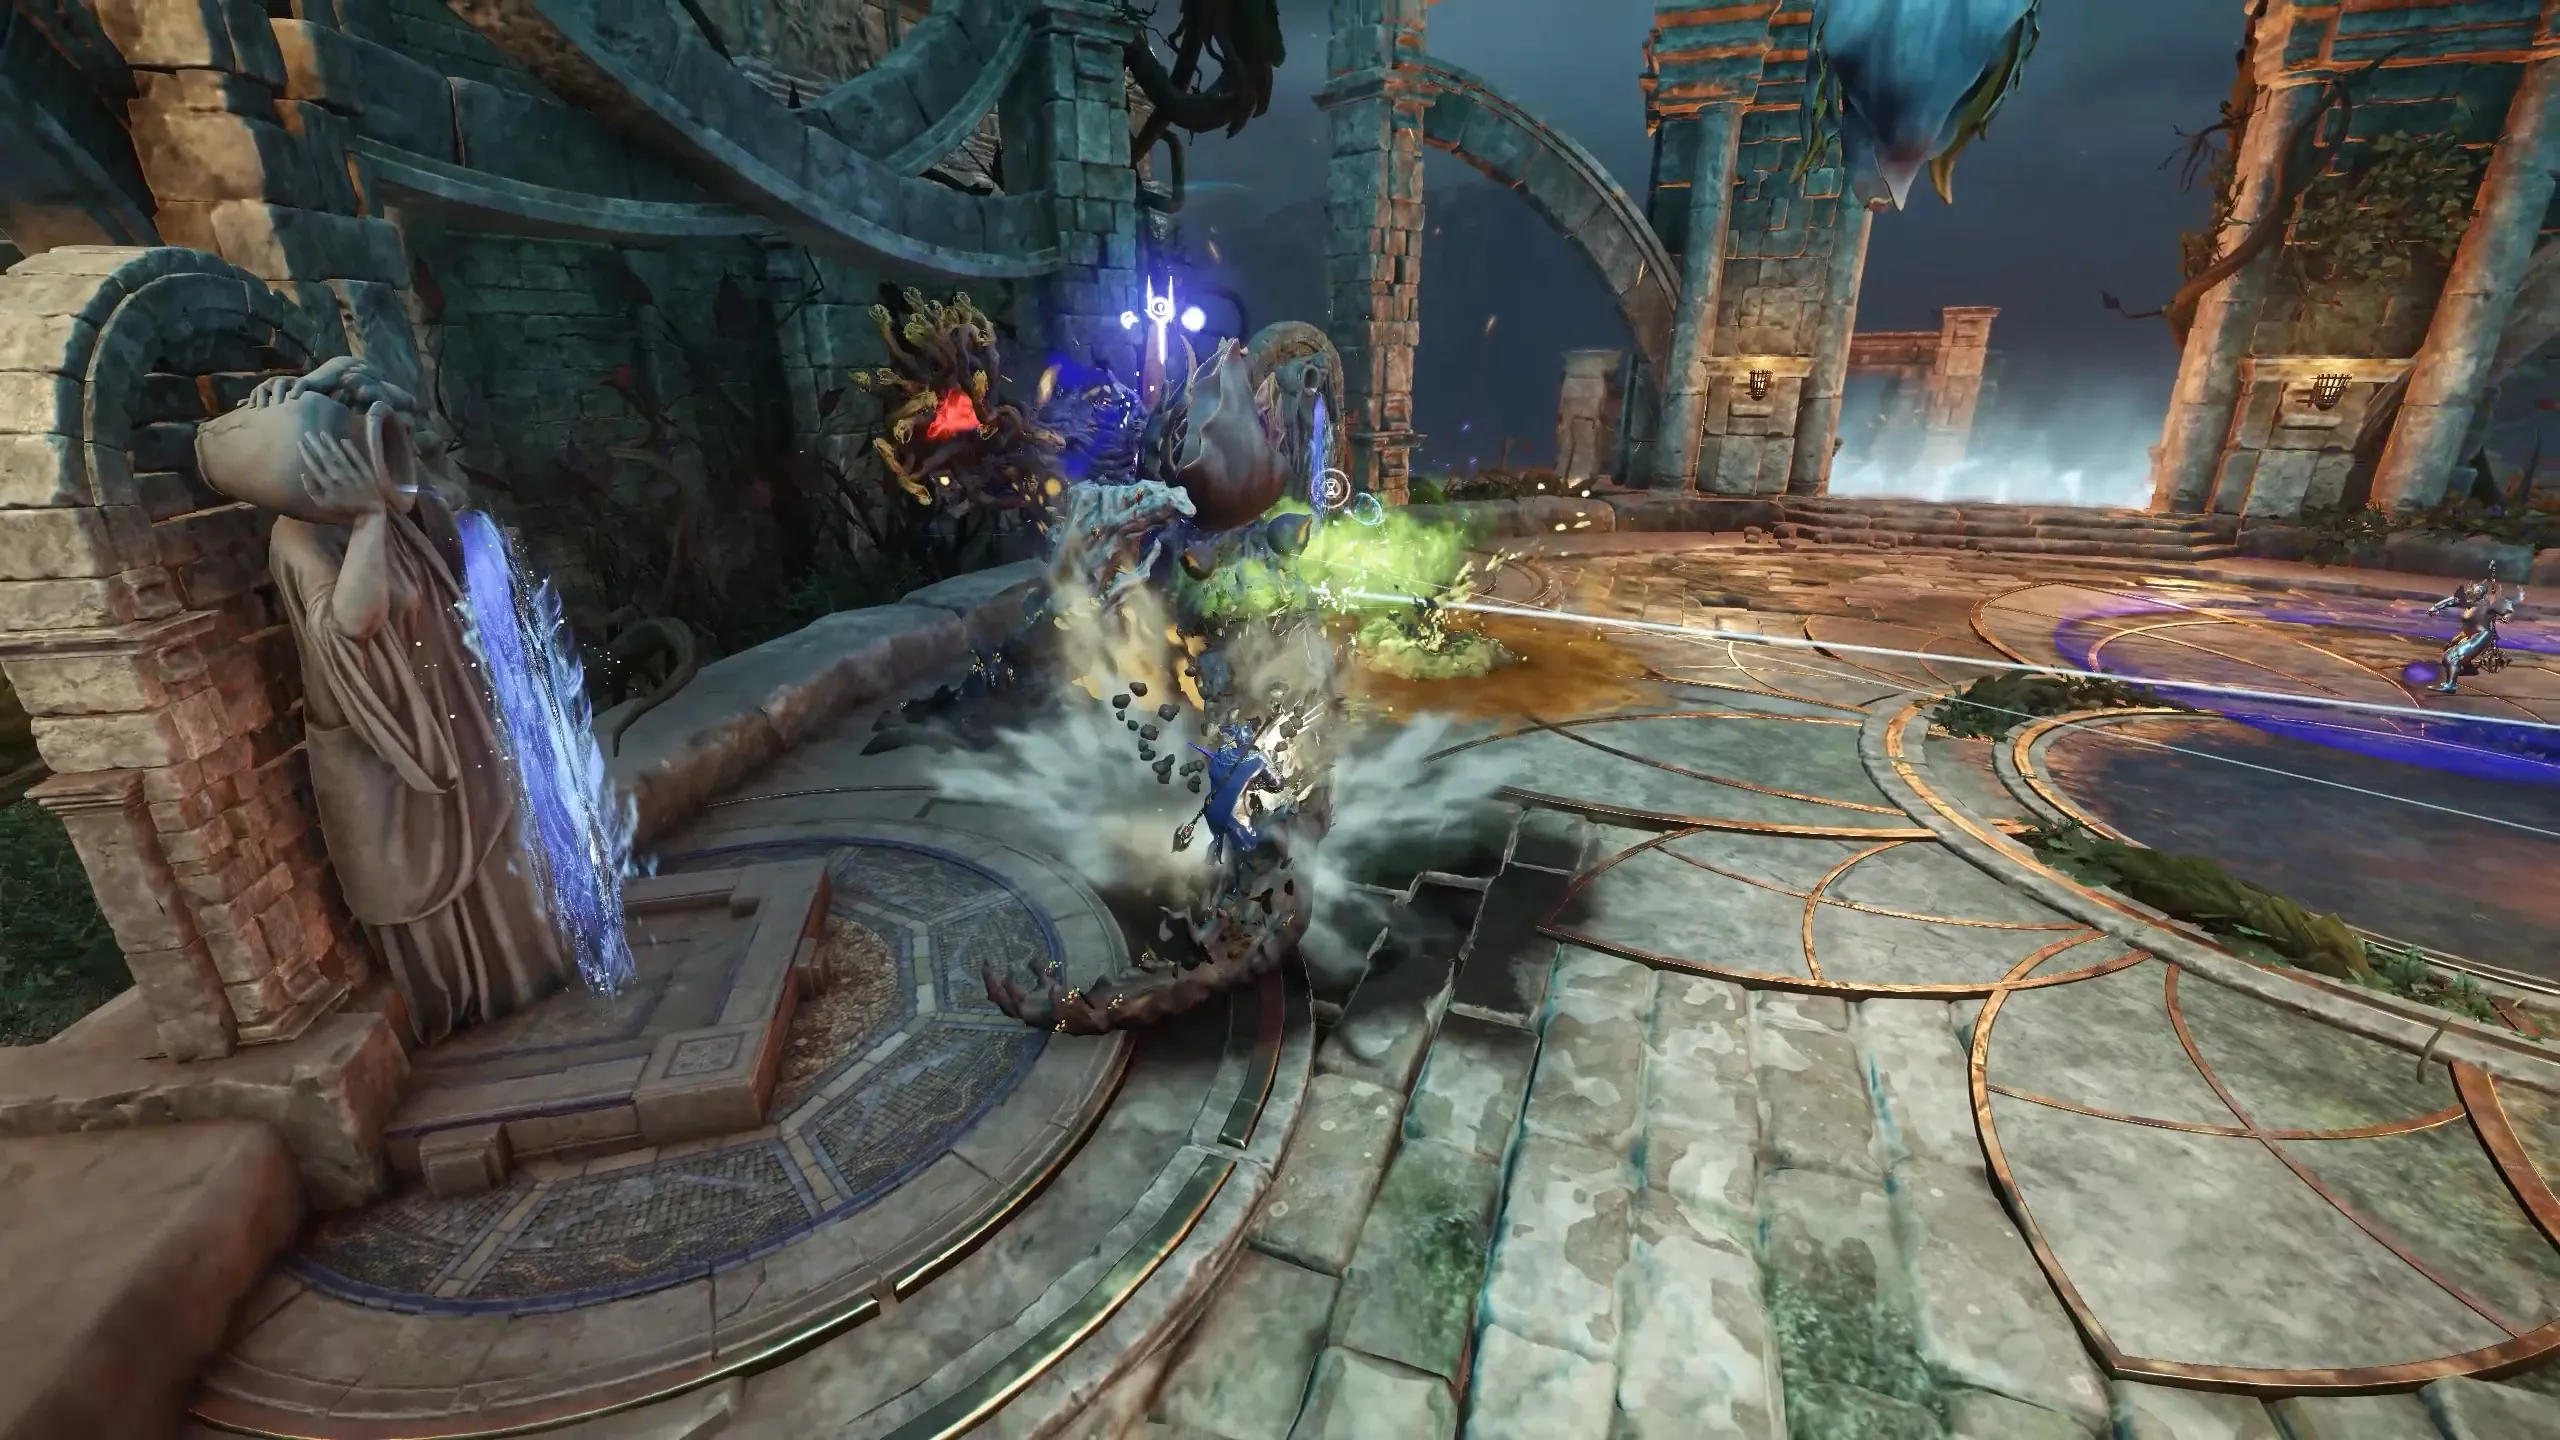
Throughout the fight, Medusa constantly spawns ooze puddles underneath and around herself as she moves and attacks. These puddles are the source of the mushroom infection mechanic.
Standing in an ooze puddle applies stacks of infection, each stack causing 0.5% base nature damage per second. Once you reach ten stacks, the infection becomes active, giving you the poison circle debuff that damages you and can spread to nearby teammates.
This mechanic makes cleansing a constant requirement. Most groups assign one dedicated player to manage fountain splashes and remove infection before it reaches dangerous levels.
⚠️ Never throw a cleanse at Medusa herself.
If hit, she charges forward, leaving an ooze trail and dealing lethal damage.
Landing Slam
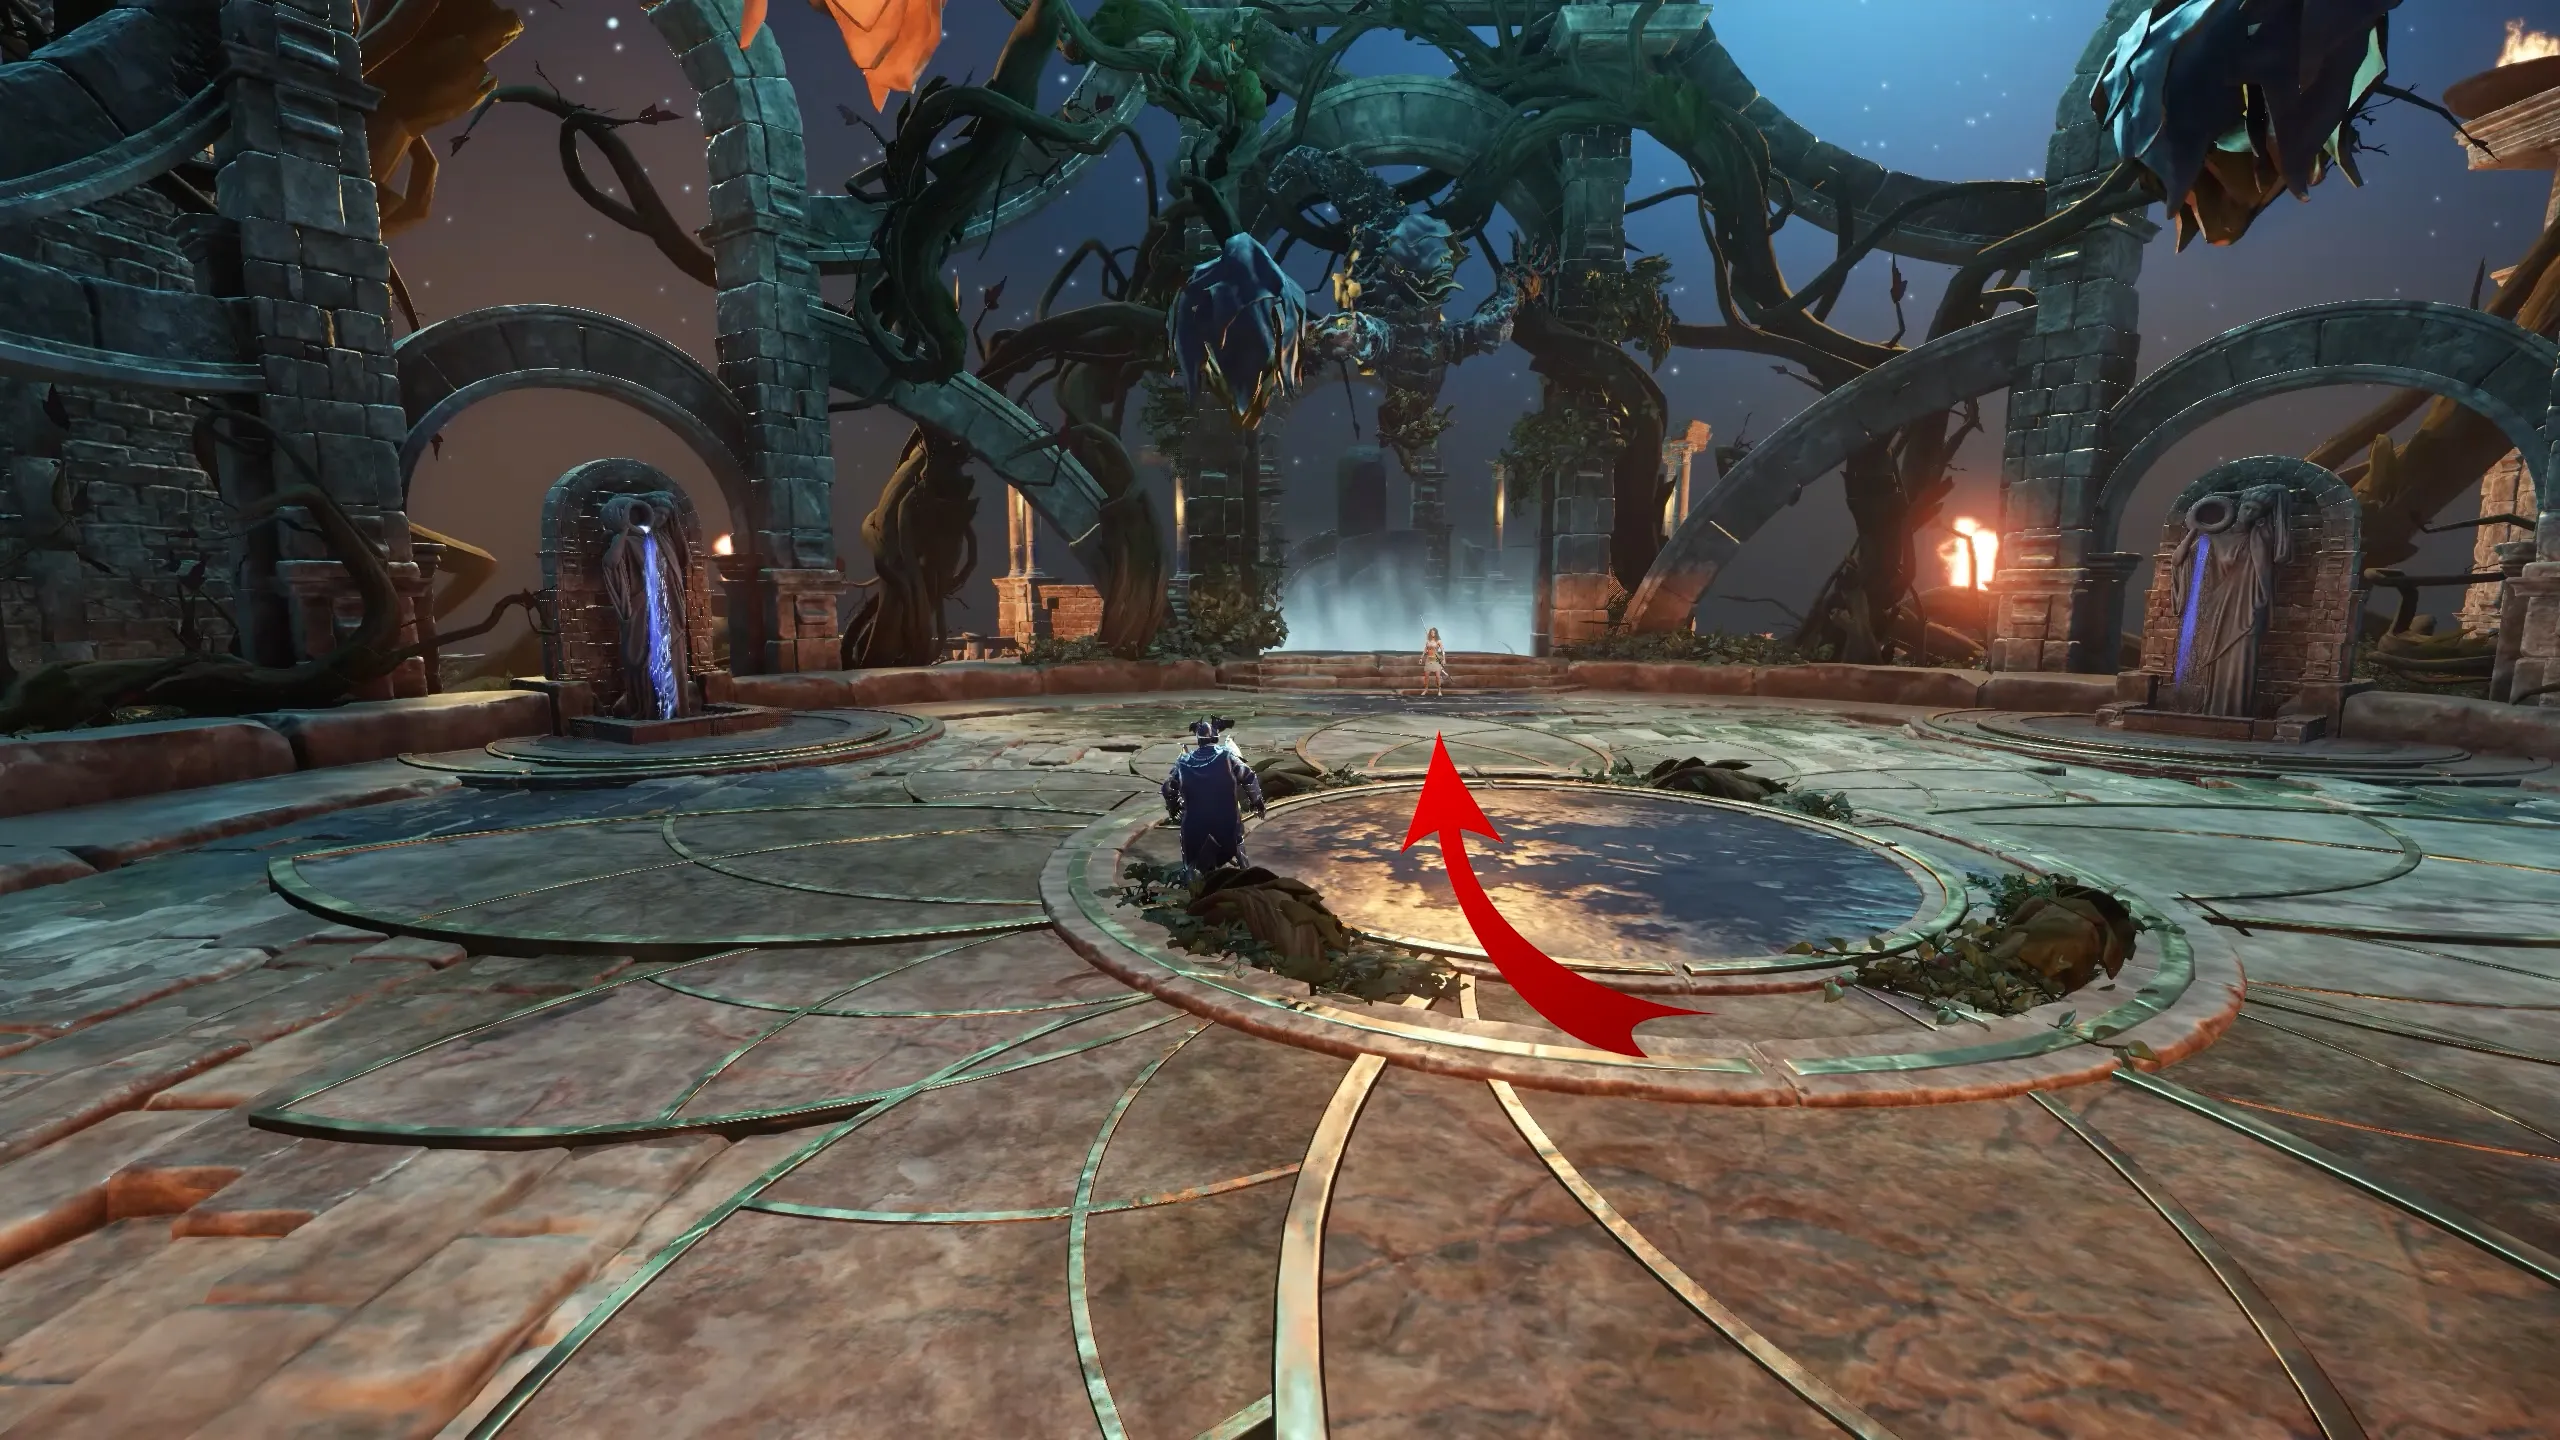
As you approach the center of the arena, Medusa uncoils and drops to the floor. This landing is not just an animation; it is lethal if she lands on your head.
Frontal Attacks
Hair Toss
A basic frontal aimed primarily at the tank. Keep to her sides or behind her to avoid getting hit.
Wide Hand Slashes
A set of wide frontal swipes that punish anyone in front of her. Tanks should hold position; everyone else stays off her front arc.
Triple Stomp
A three-hit frontal sequence. Avoid standing in front of her during the stomp chain to prevent unnecessary damage.
Back Flower
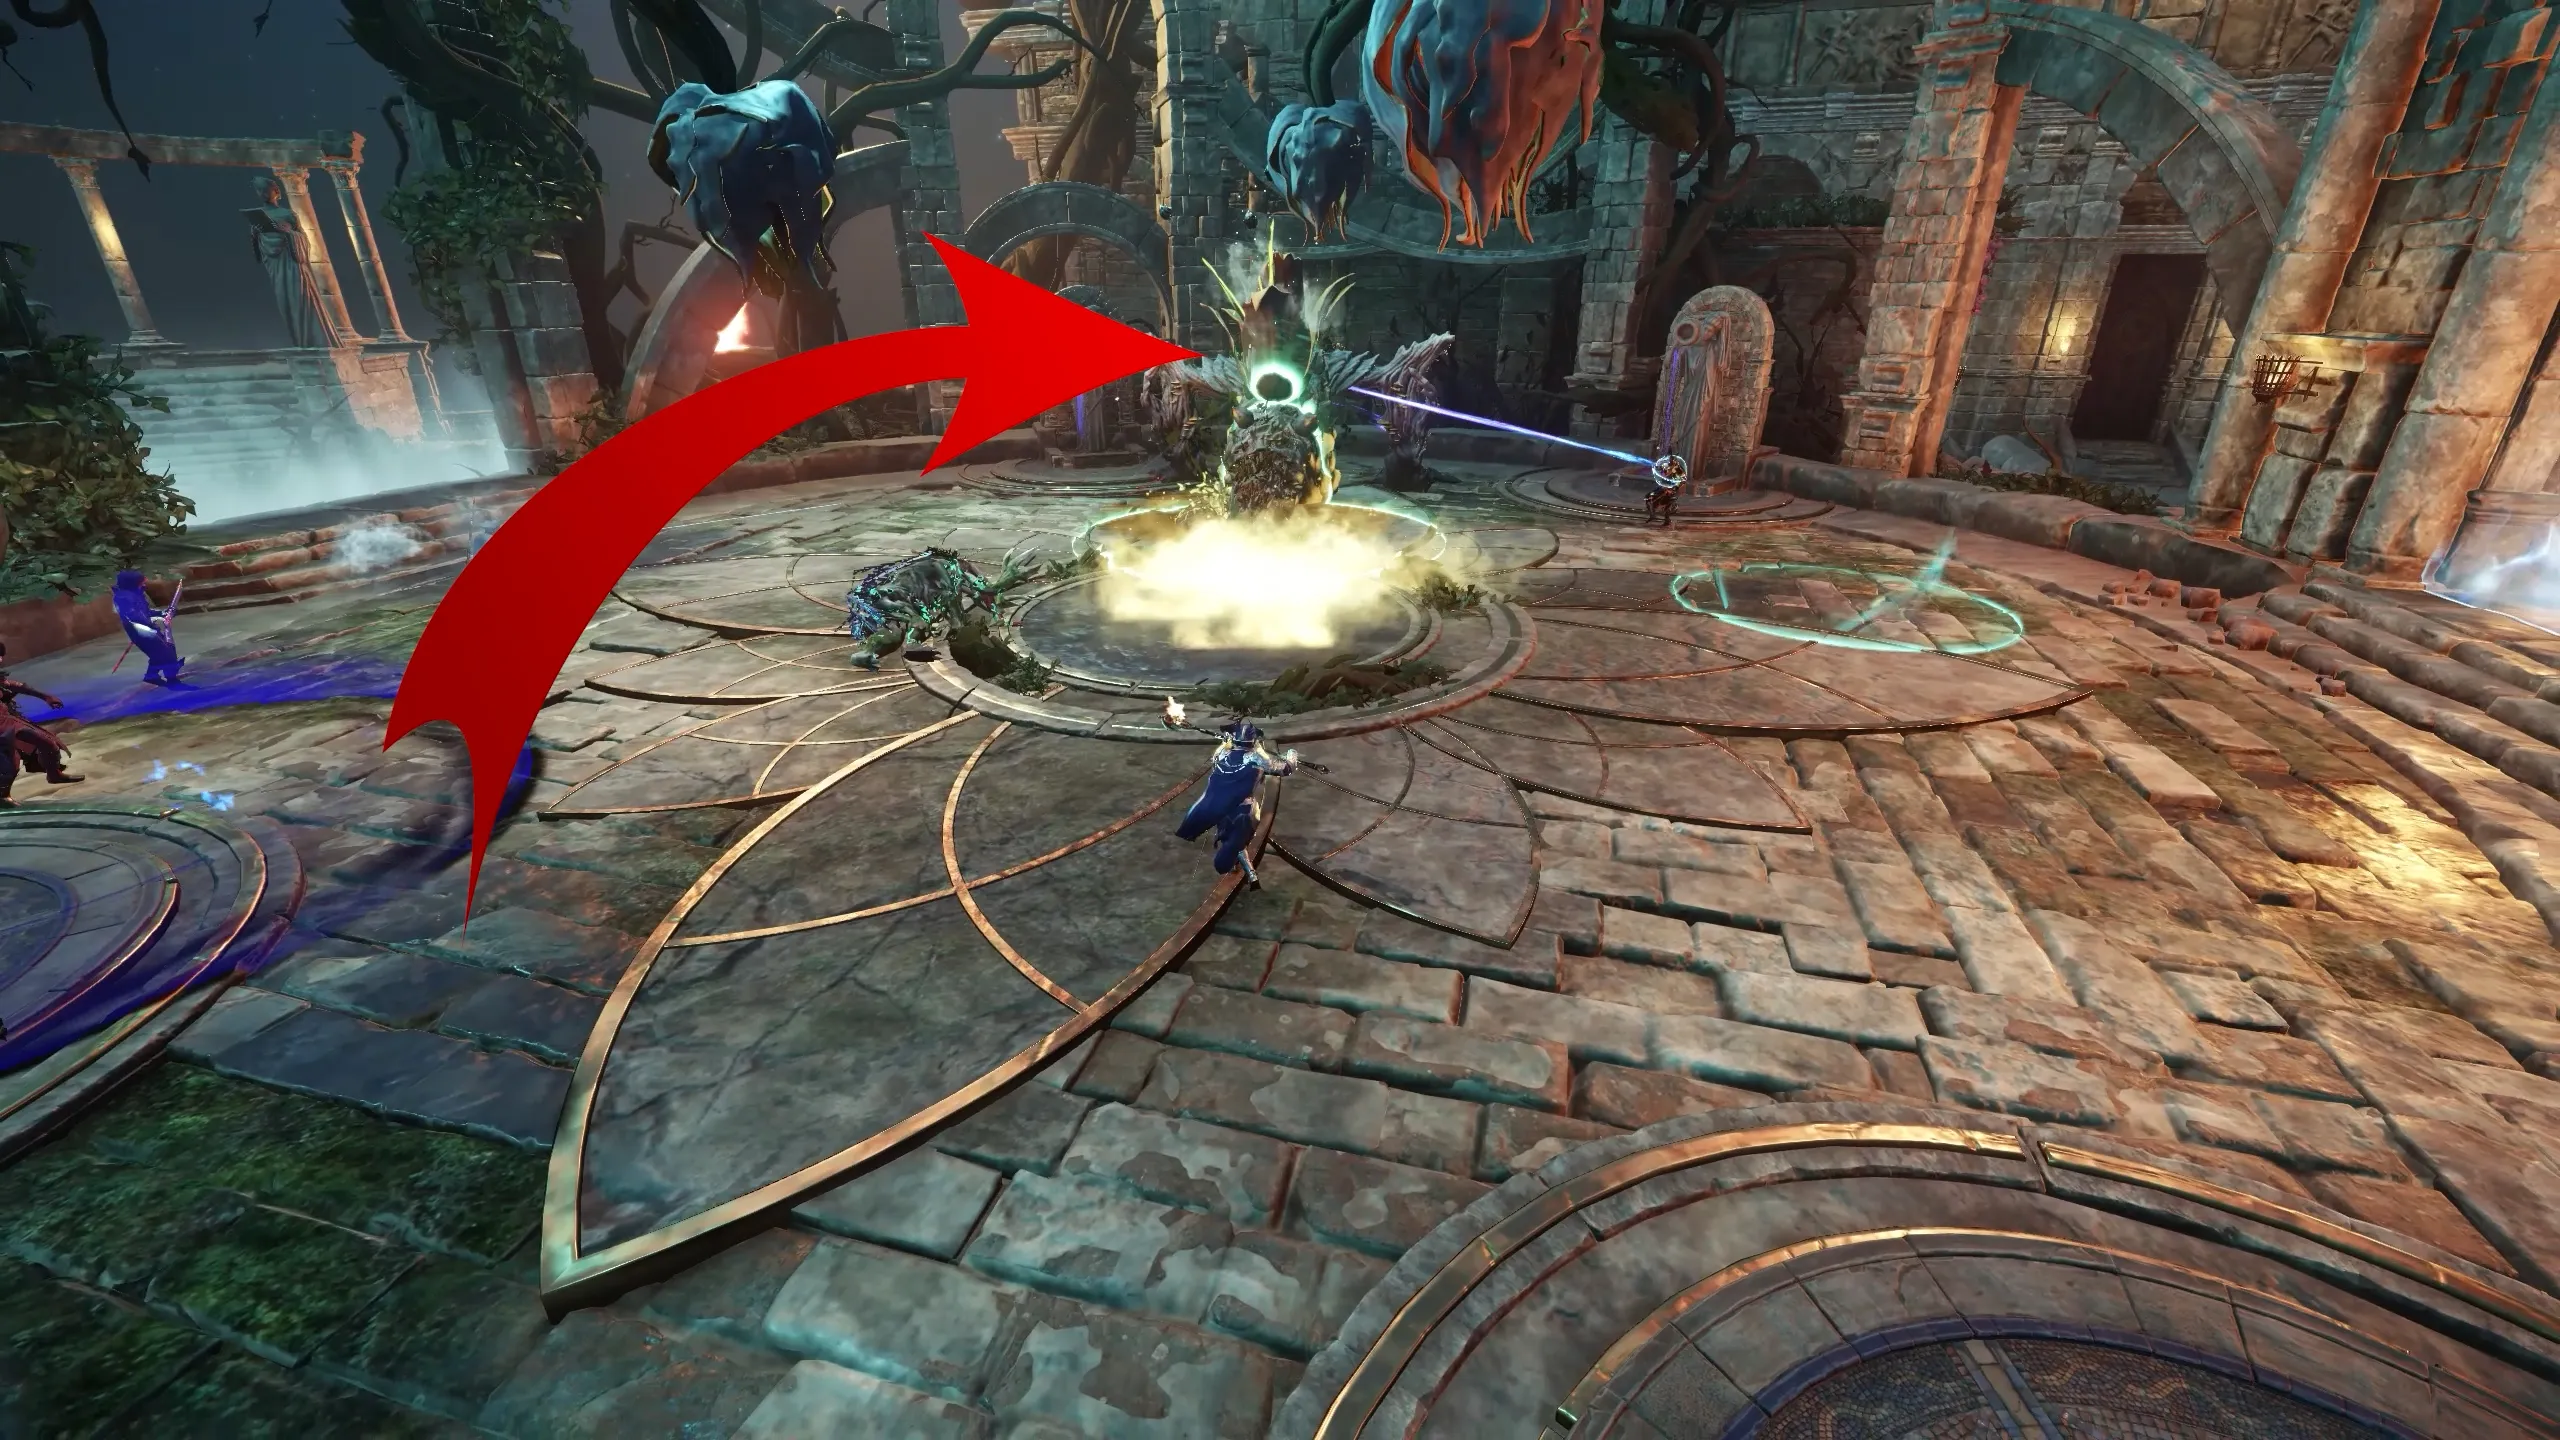
At certain moments, a flower blooms on Medusa’s back and gains its own health bar. While active it launches barb projectiles into the arena until destroyed.
Tail Attack
Medusa glances behind her, then slams her tail left and right, dealing damage and staggering anyone caught behind her.
Vine Pull
Vines spread out from under Medusa and drag in nearby players, dealing damage and applying a short stun. Be ready to reposition quickly.
Infecting Stomp

Medusa turns and stomps both hands into the ground, sending mushrooms across the arena and applying active mushroom infection to a random player. That player must be cleansed immediately, and everyone should avoid the slam area.
Egg Spawning
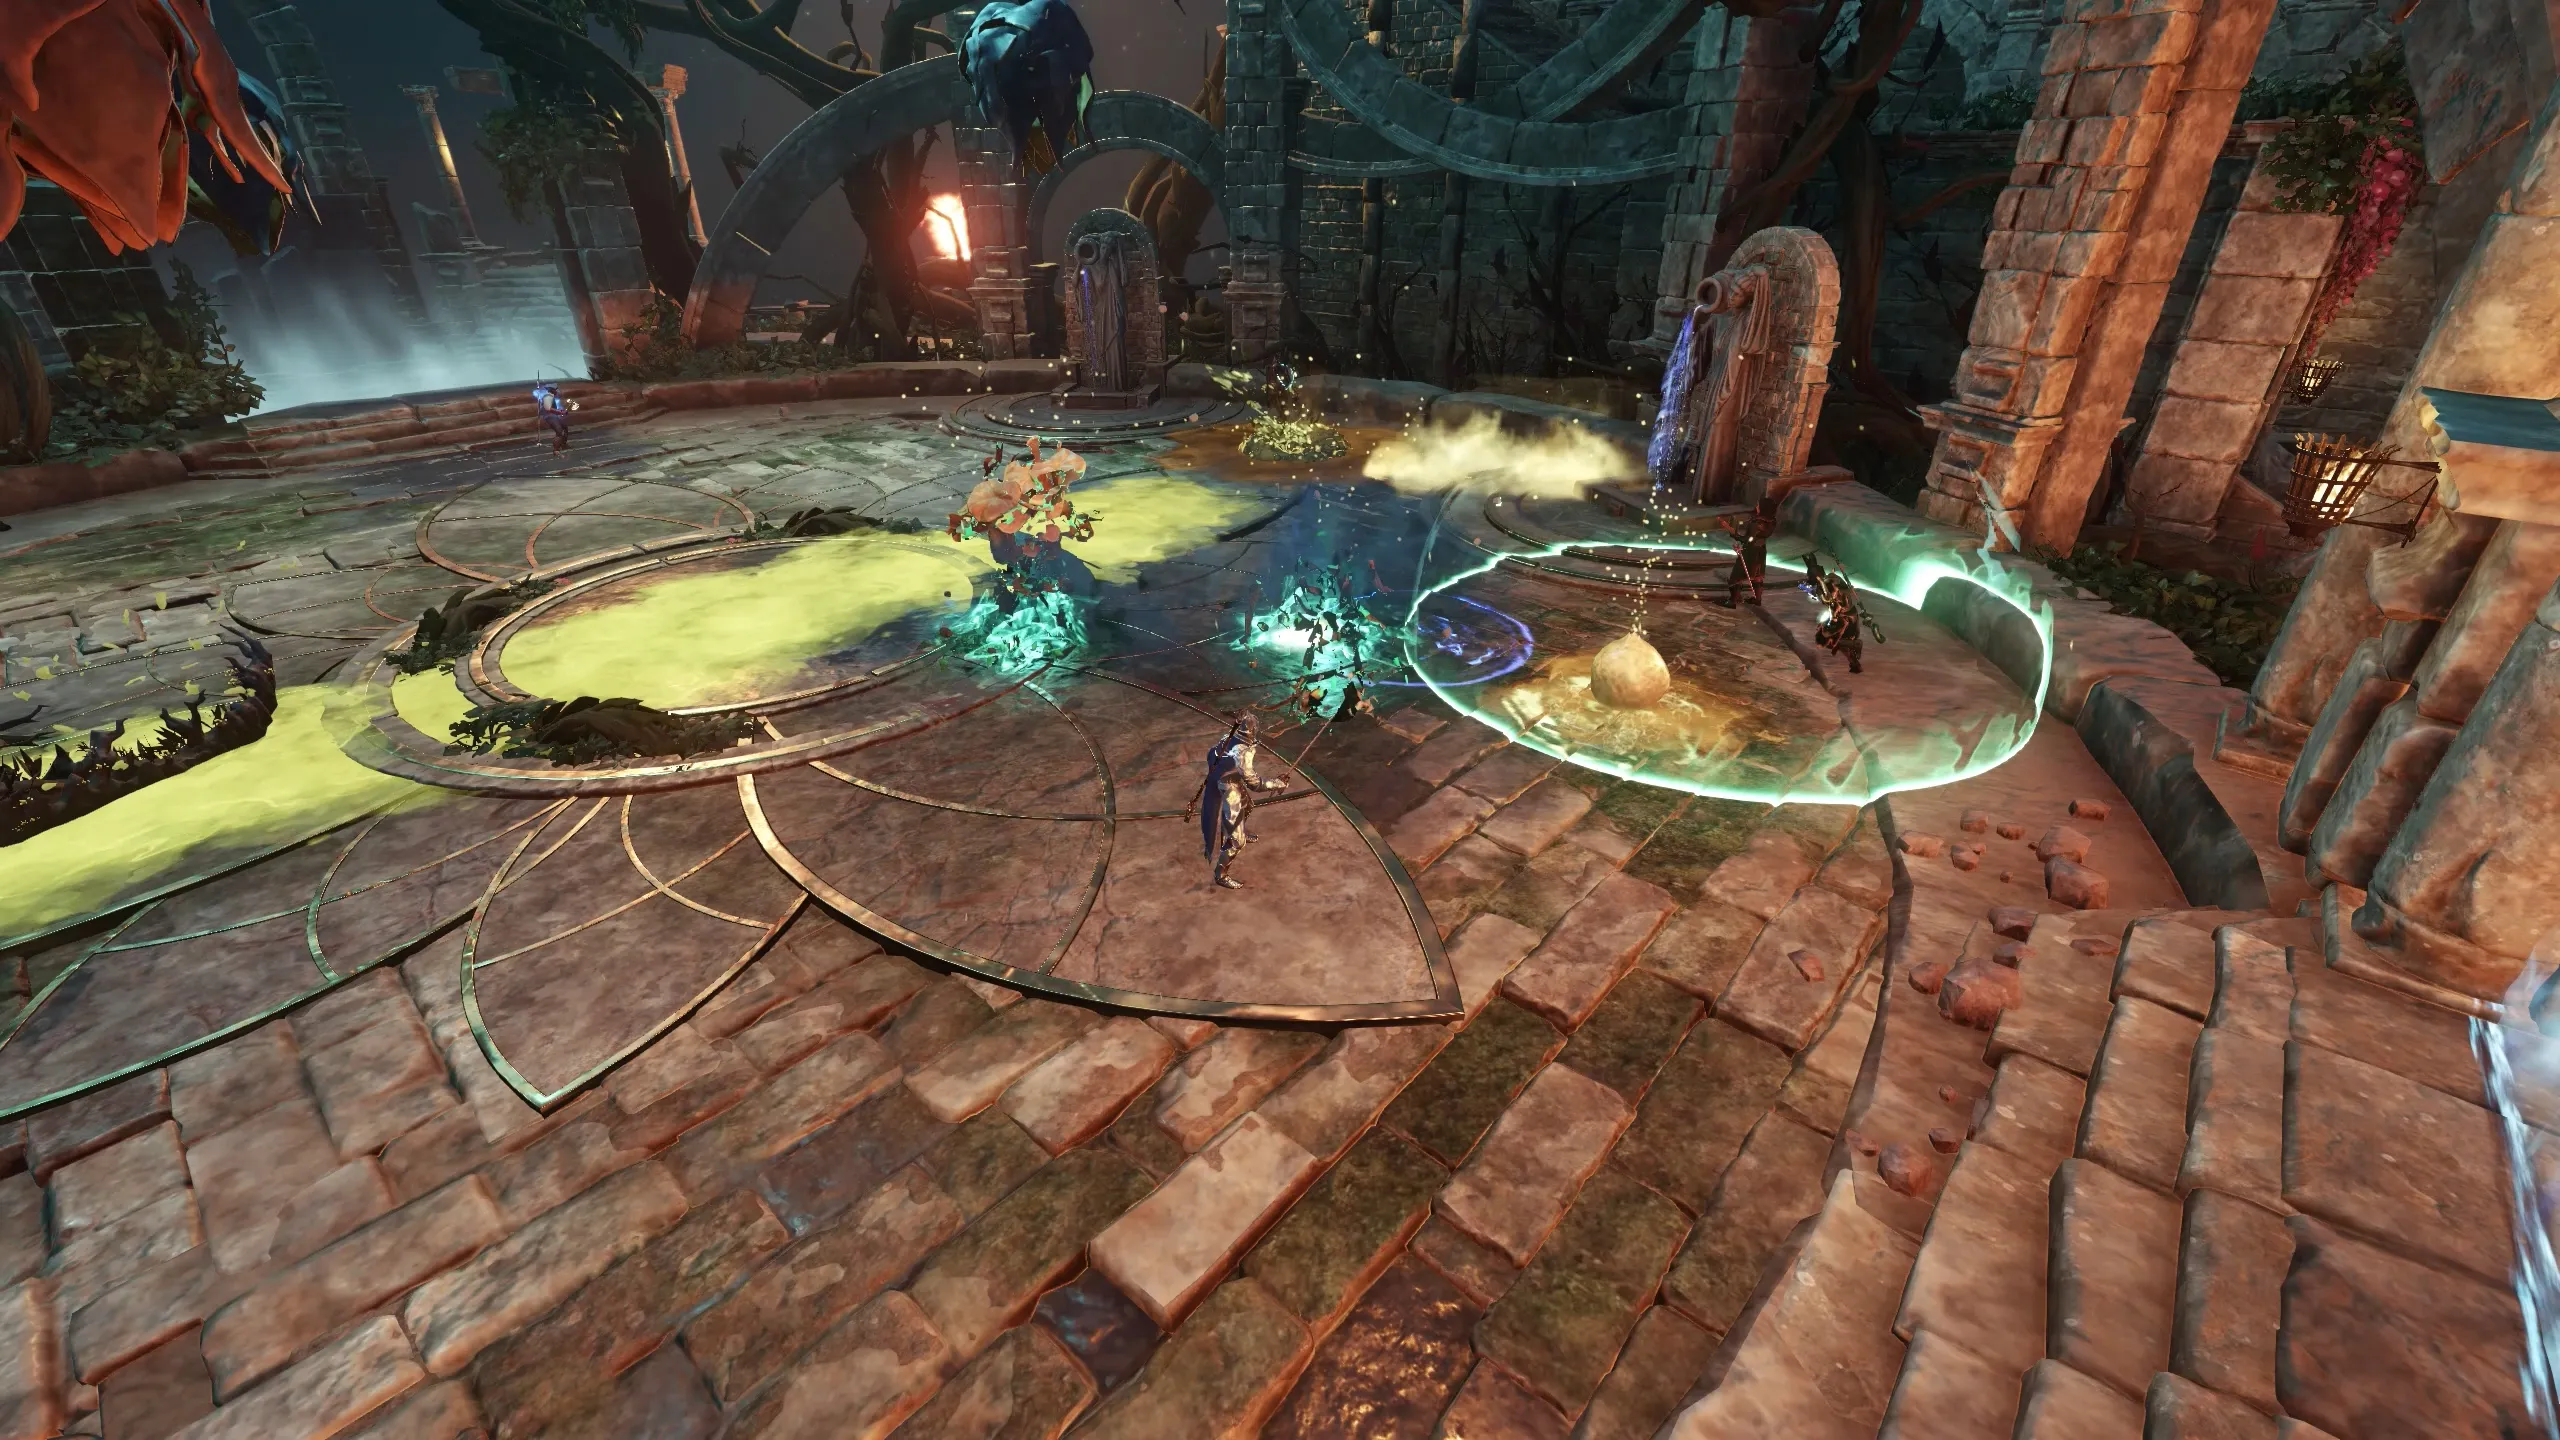
- After every few attacks, Medusa turns and vomits three large eggs into the arena.
- Eggs spawn at 50% HP and regenerate until they hatch.
- If they reach full health, they hatch into a random raid mob:
- Rats, spiders, corvids, reindeer, boars, wolves, elephants, or gorillas.
- Eggs are extremely tanky, but take +70% damage from slash and strike attacks.
- Greatswords and hatchets are ideal weapons for destroying them.
- Hatch behavior:
- Sometimes eggs hatch on impact.
- Other times they land unhatched, giving you a short window to destroy them.
- Strategies:
- Assign 1–2 players with proper weapons to dedicated egg duty (safer).
- Or let them hatch and deal with the mobs afterward (riskier).
Phase Change
At 40% HP, Medusa blocks all fountains and adds a charge attack similar to the cleanse-triggered version. She turns and rushes in a random direction, leaving an ooze trail, and continues to use this charge for the rest of the fight. Avoid hitting her with a cleanse during this phase, as it triggers an extra charge. To restore cleansing, damage the blocked fountains until they are cleared. From here on, one random fountain will periodically block and must be damaged again to reuse.
Fight Summary
Important points to manage Medusa:
- Cleanse regularly, avoid infection stacks.
- Destroy eggs fast with slash/strike weapons.
- Kill ceiling flowers as soon as they bloom.
- Avoid white smoke to prevent sleep.
- Handle charging attacks safely.
If your group executes these consistently, the fight becomes manageable.
Rewards
- Medusa drops the Elemental Band artifact. It is not tied to the weekly loot and you can farm it. (Guaranteed on the 5th kill)
When Medusa falls, the raid is complete. She drops:
| Reward Type | Details |
|---|---|
| Named Hoplite Weapon (Upgradable) | 1 drop (Loot Biased), usually with Distained Infliction + Keenly Jagged |
| Non-Named Gorgon Weapon | Up to GS 725, loot-biased to weapons equipped |
| Gorgon Eyes | 2 guaranteed |
| Damaged Gorgon Eyes | 20 guaranteed |
These rewards are part of your weekly Gorgon raid loot. If you’ve already hit your cap, you won’t receive anything.
This concludes the battle with Broodmother Medusa and the Hive of the Gorgons raid. It’s a complex fight with many overlapping mechanics, but with coordination and practice your group will master it and secure the final rewards.