Gorgon Guide
AYOUB’s complete guide to the Hive of the Gorgons raid. A fully comprehensive guide covering everything including enemies encountered, raid mechanics, puzzles and all three boss fights: Echidna, Typhon, and Broodmother Medusa.
Welcome to the complete guide for Hive of the Gorgons! This page covers everything you need to clear the raid: optimal preparation, route, puzzles, and every boss mechanic with practical strategies.
Overview
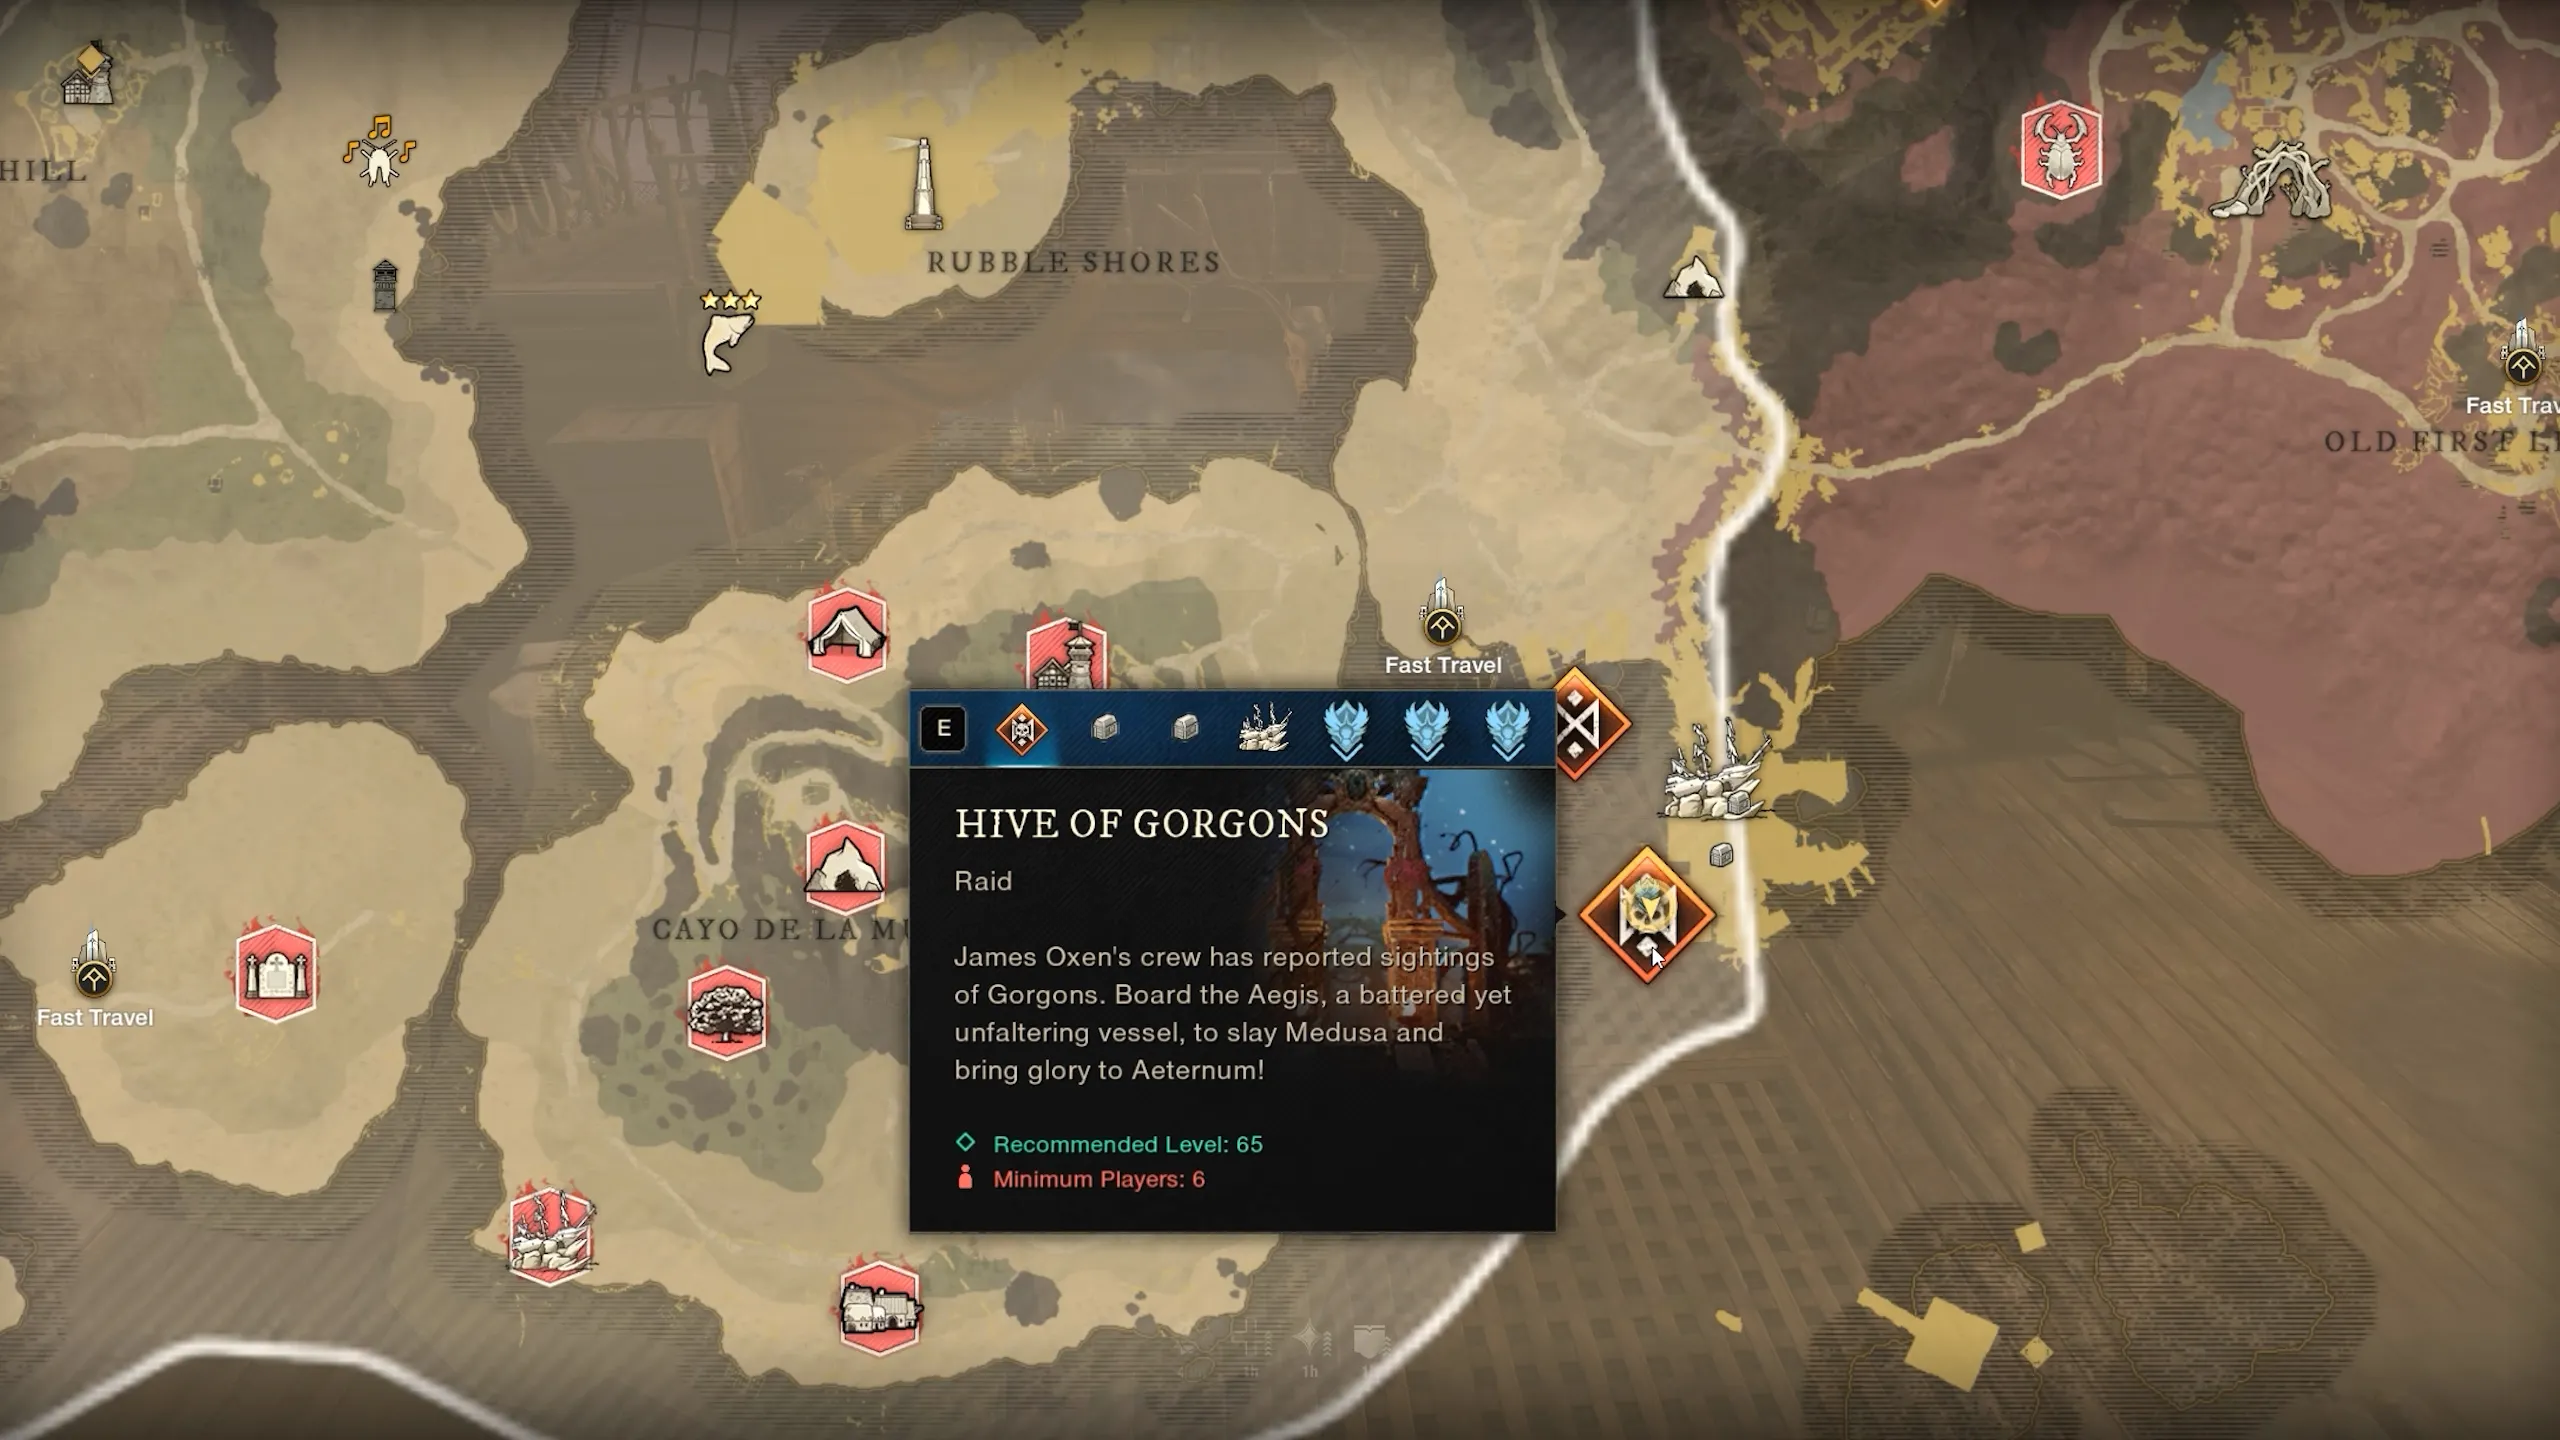
- Location: South of Cutlass Keys. Enter from the world or via Activities → Trials.
- Faction quests: Pick up to 3 from the Cutlass Keys Faction Vendor. Progress counts only on a full clear.
- Players: Minimum 6 to start; recommended 10 (1 tank, 1–2 healers, 7–8 DPS/support).
- Time: Target 25-45 min with a clean group; can extend beyond 60–120 min if you wipe a lot.
- Time Limit: 4-hours. If reached, you’re teleported out and the raid closes.
Preparation
Trophies & Consumables
All enemies are Angry Earth. You need:
- Trophies
- Ward potions
- Coatings
Amulets
| Encounter | Amulet |
|---|---|
| General | Thrust Protection |
| Echidna | Strike Protection |
| Typhon | Slash Protection |
| Medusa | Nature Protection |
Gems
| Encounter | Amulet |
|---|---|
| General | Full Onyx |
| Echidna | Full Onyx |
| Typhon | Full Onyx |
| Medusa | Amber → Try to reach 40% Nature Protection |
Boss Resilience & Caps
| Debuff | Boss Resistance | Effective Cap |
|---|---|---|
| Rend | 50% | 140% |
| Weaken | 66% | 147% |
| DoTs | 10% | reduced impact |
Want a deep-dive on the buff/debuff system? Check my separate guide.
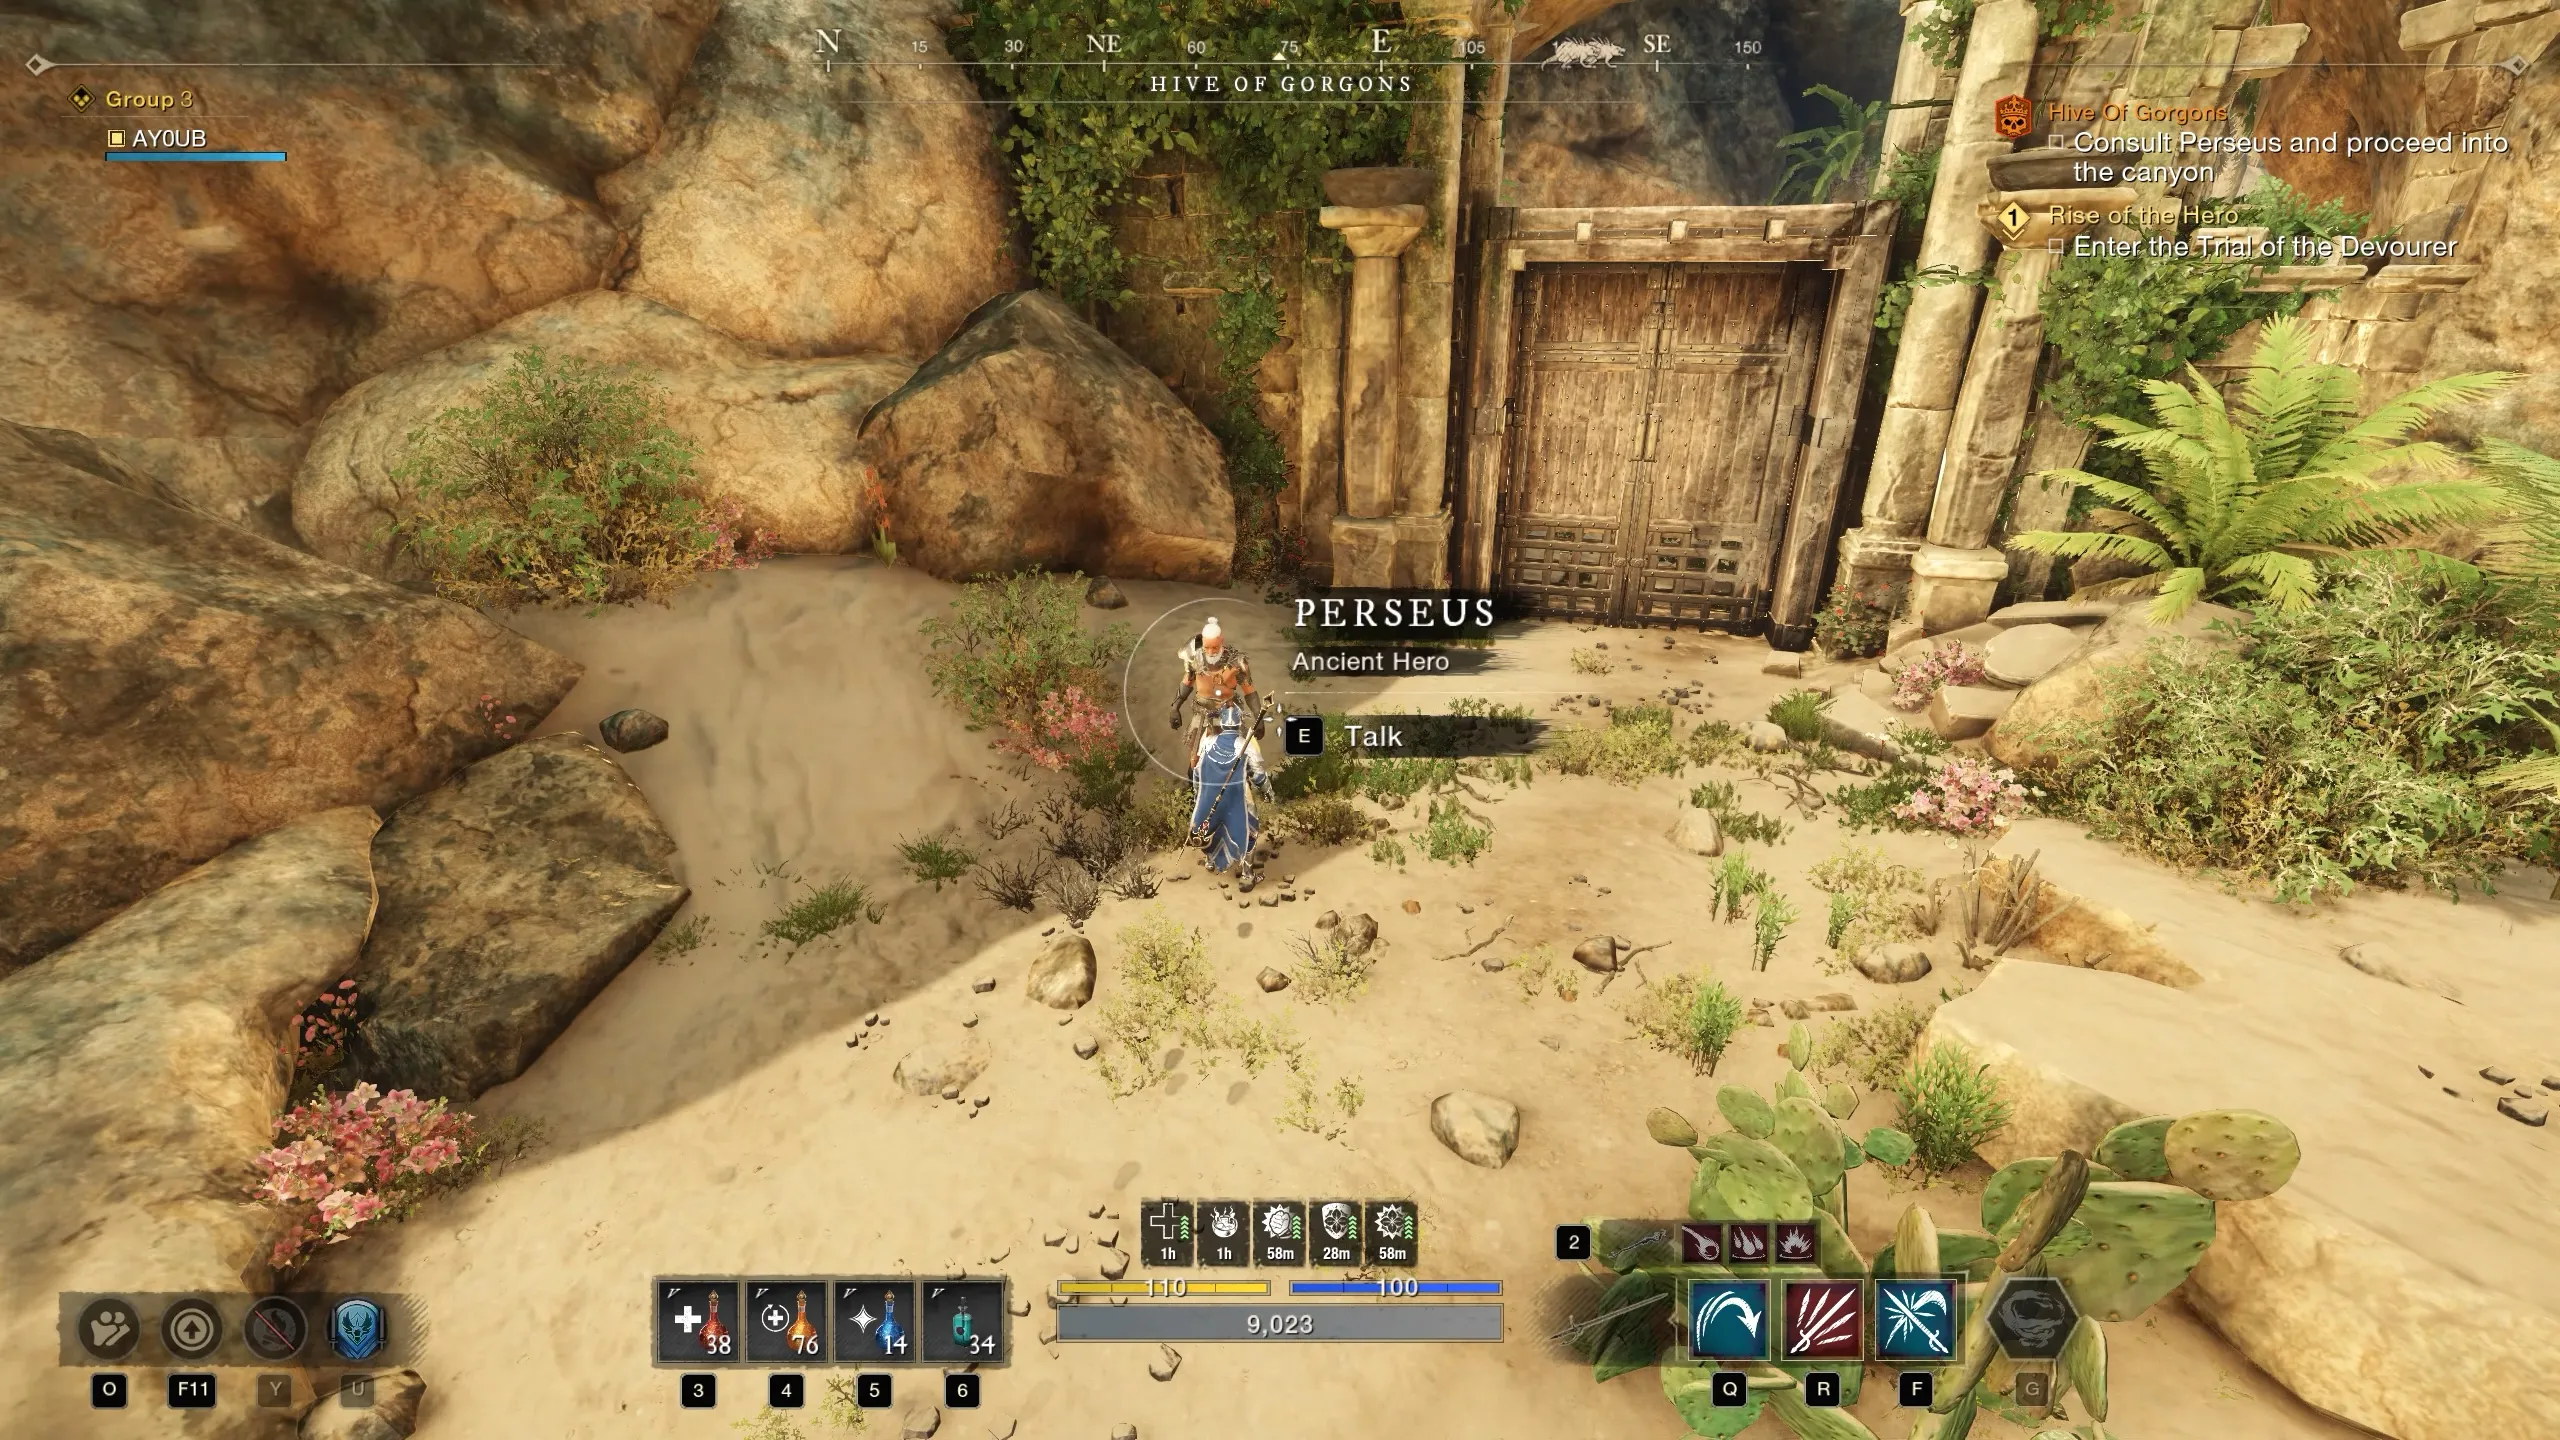
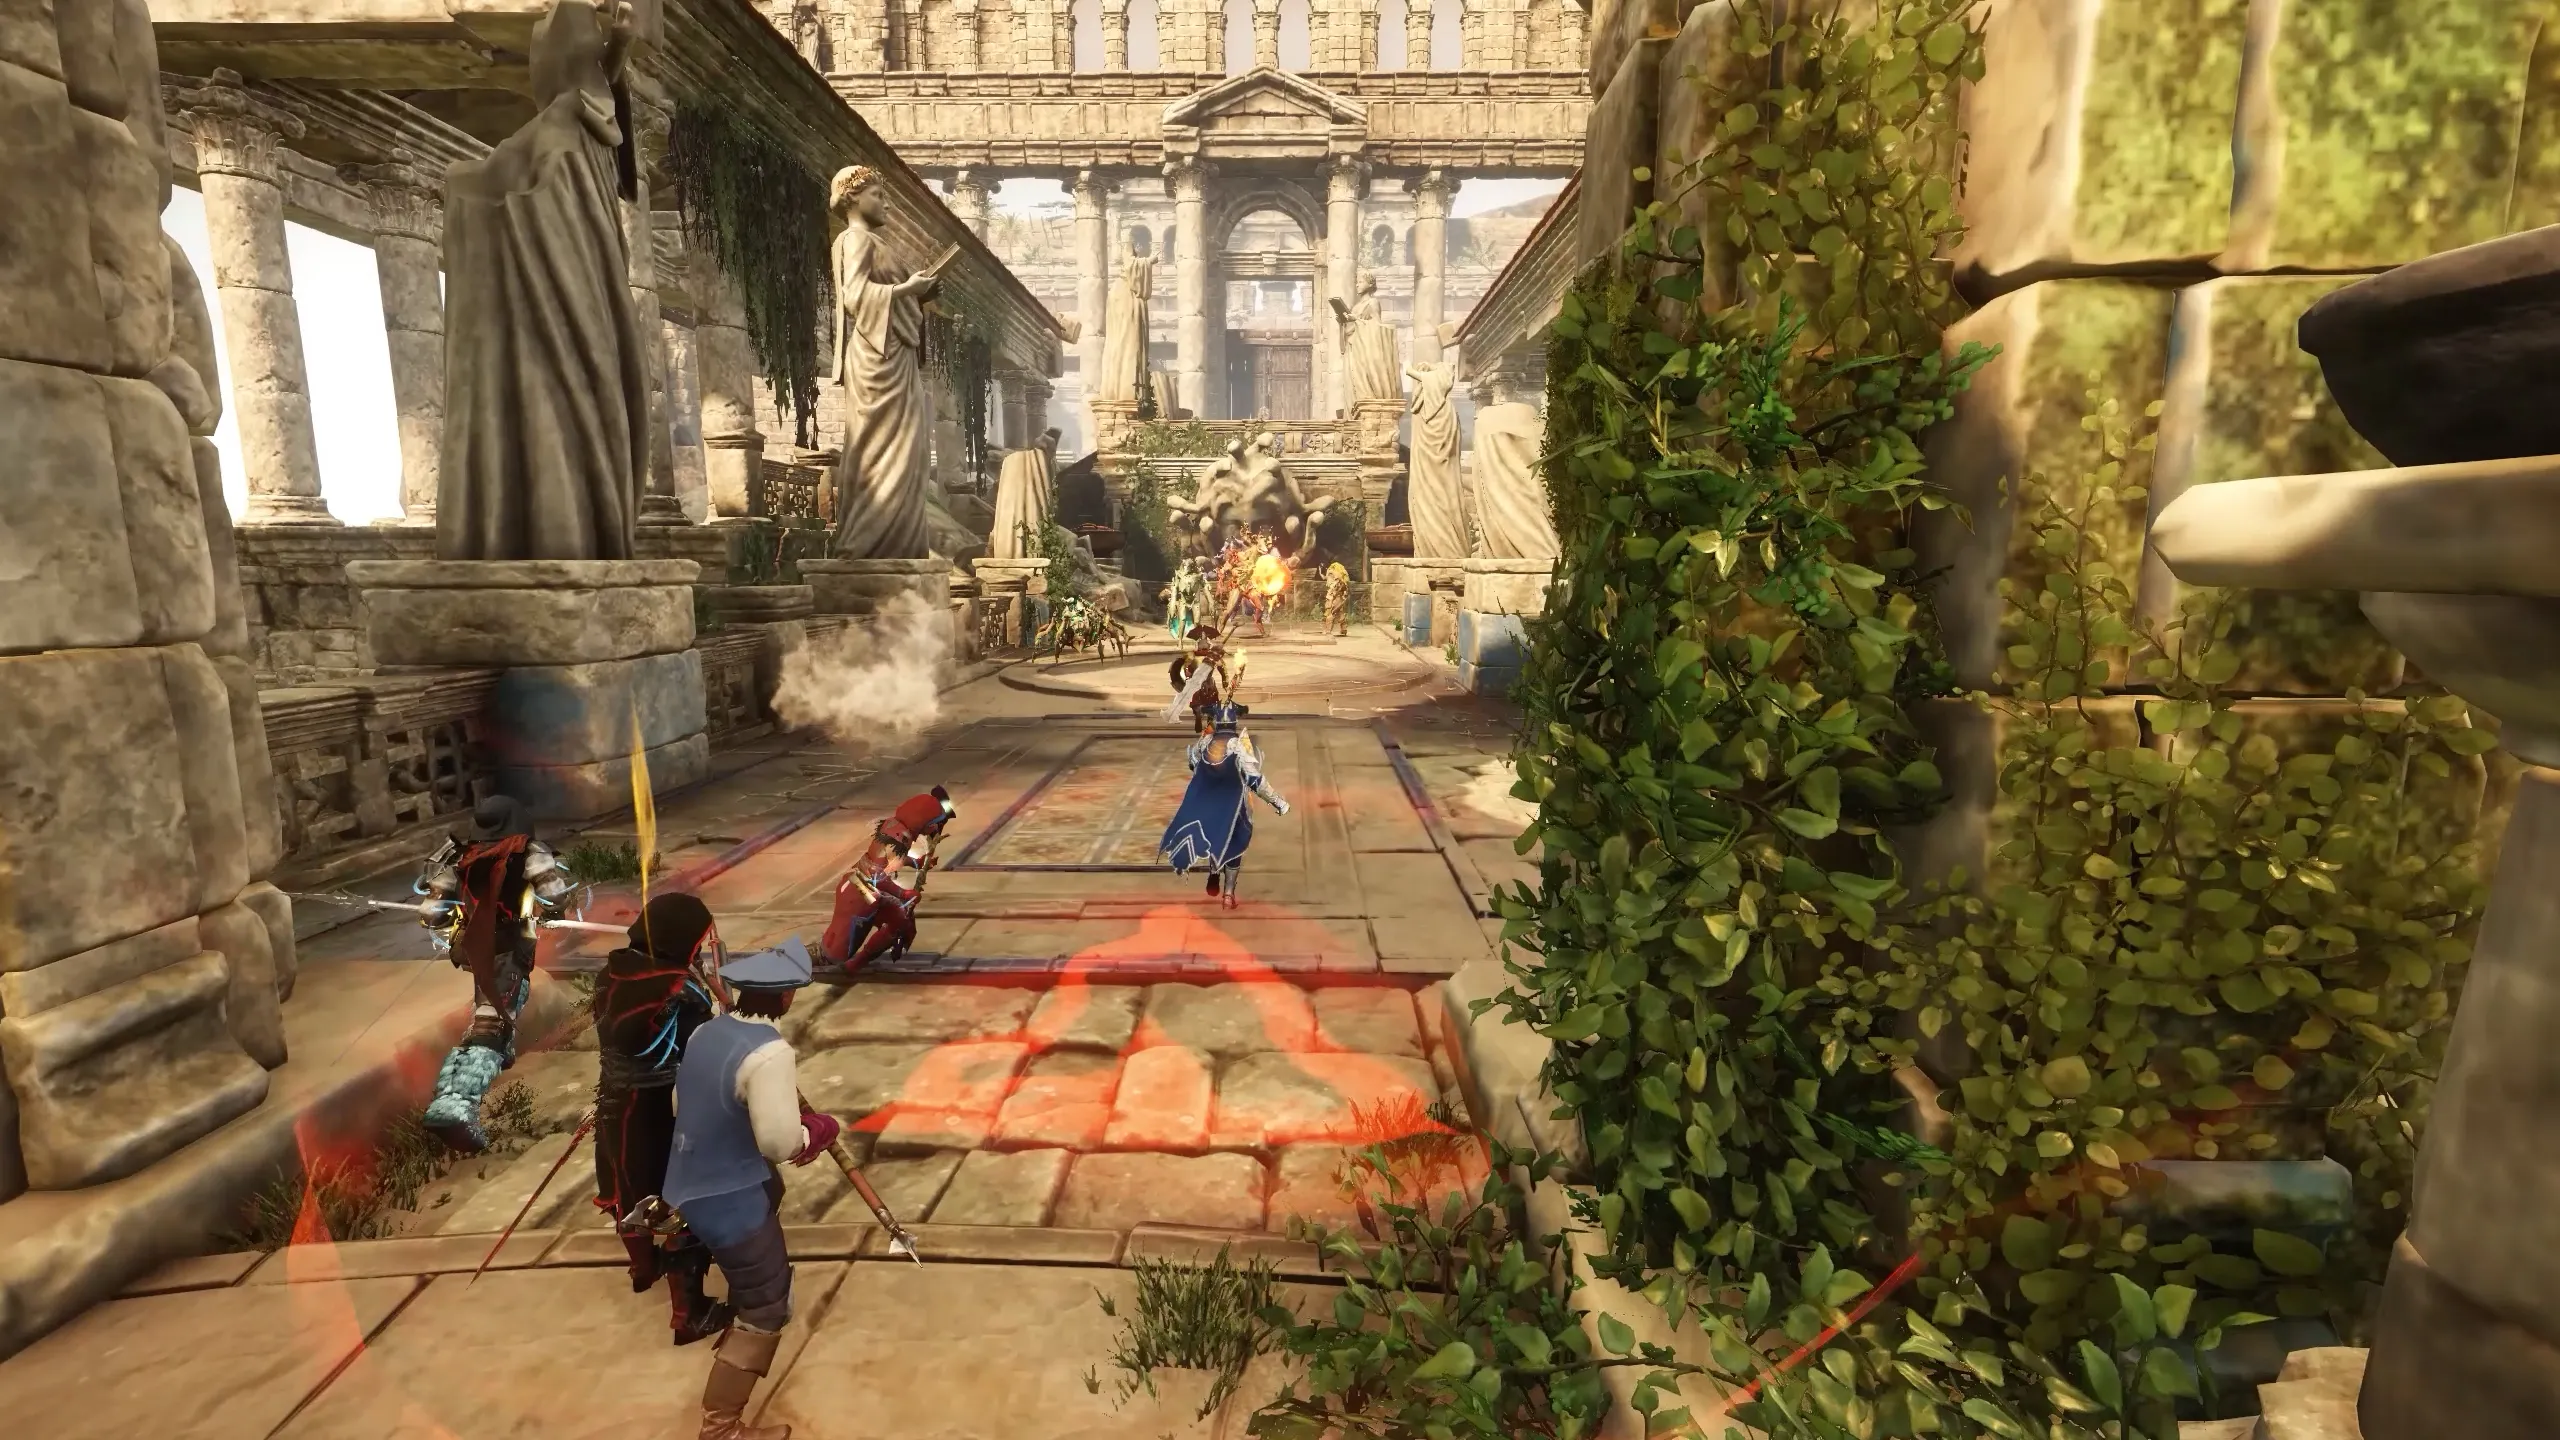
Raid Start & Early Mobs
You start in a safe zone. Use this opportunity to sort out roles, buffs, and plan here. The raid begins when someone crosses the main barrier after talking to Perseus.
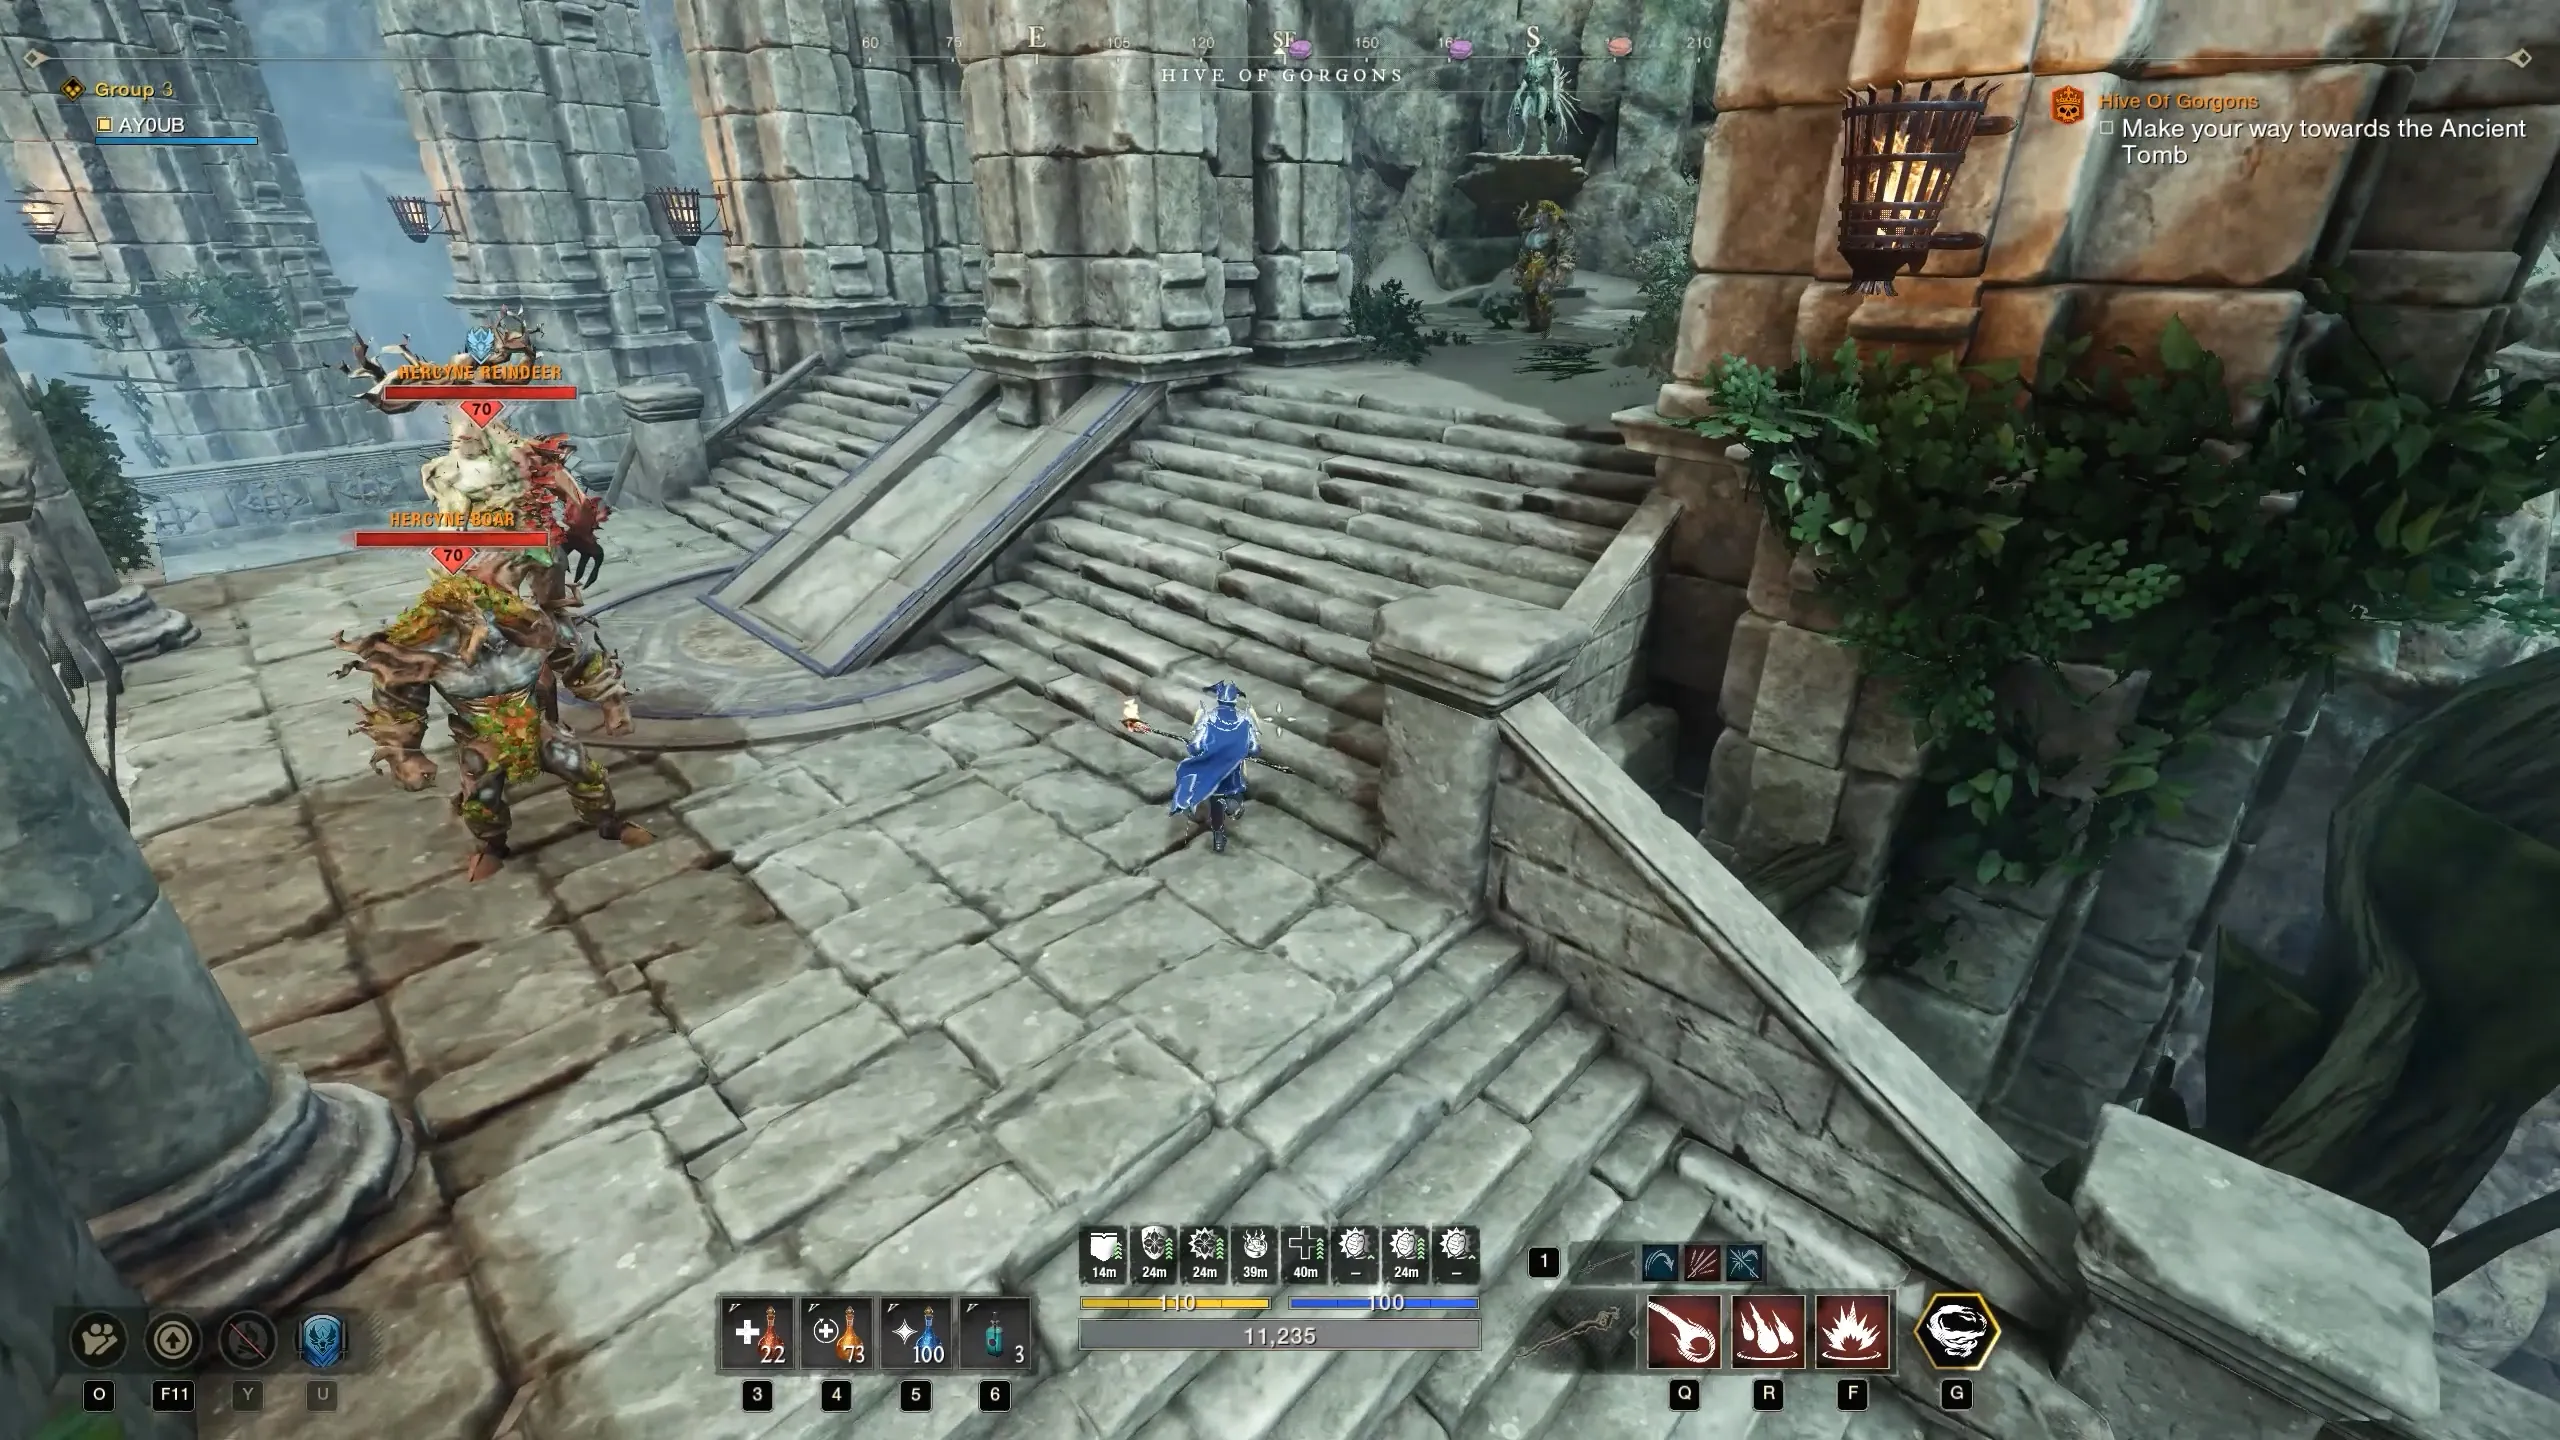
You’ll run into boars, rats, corvids, and spiders.
Some packs have named variants. They have the same attack patterns but are a bit tankier and hit harder.
Clearing these mobs will unlock the path forward
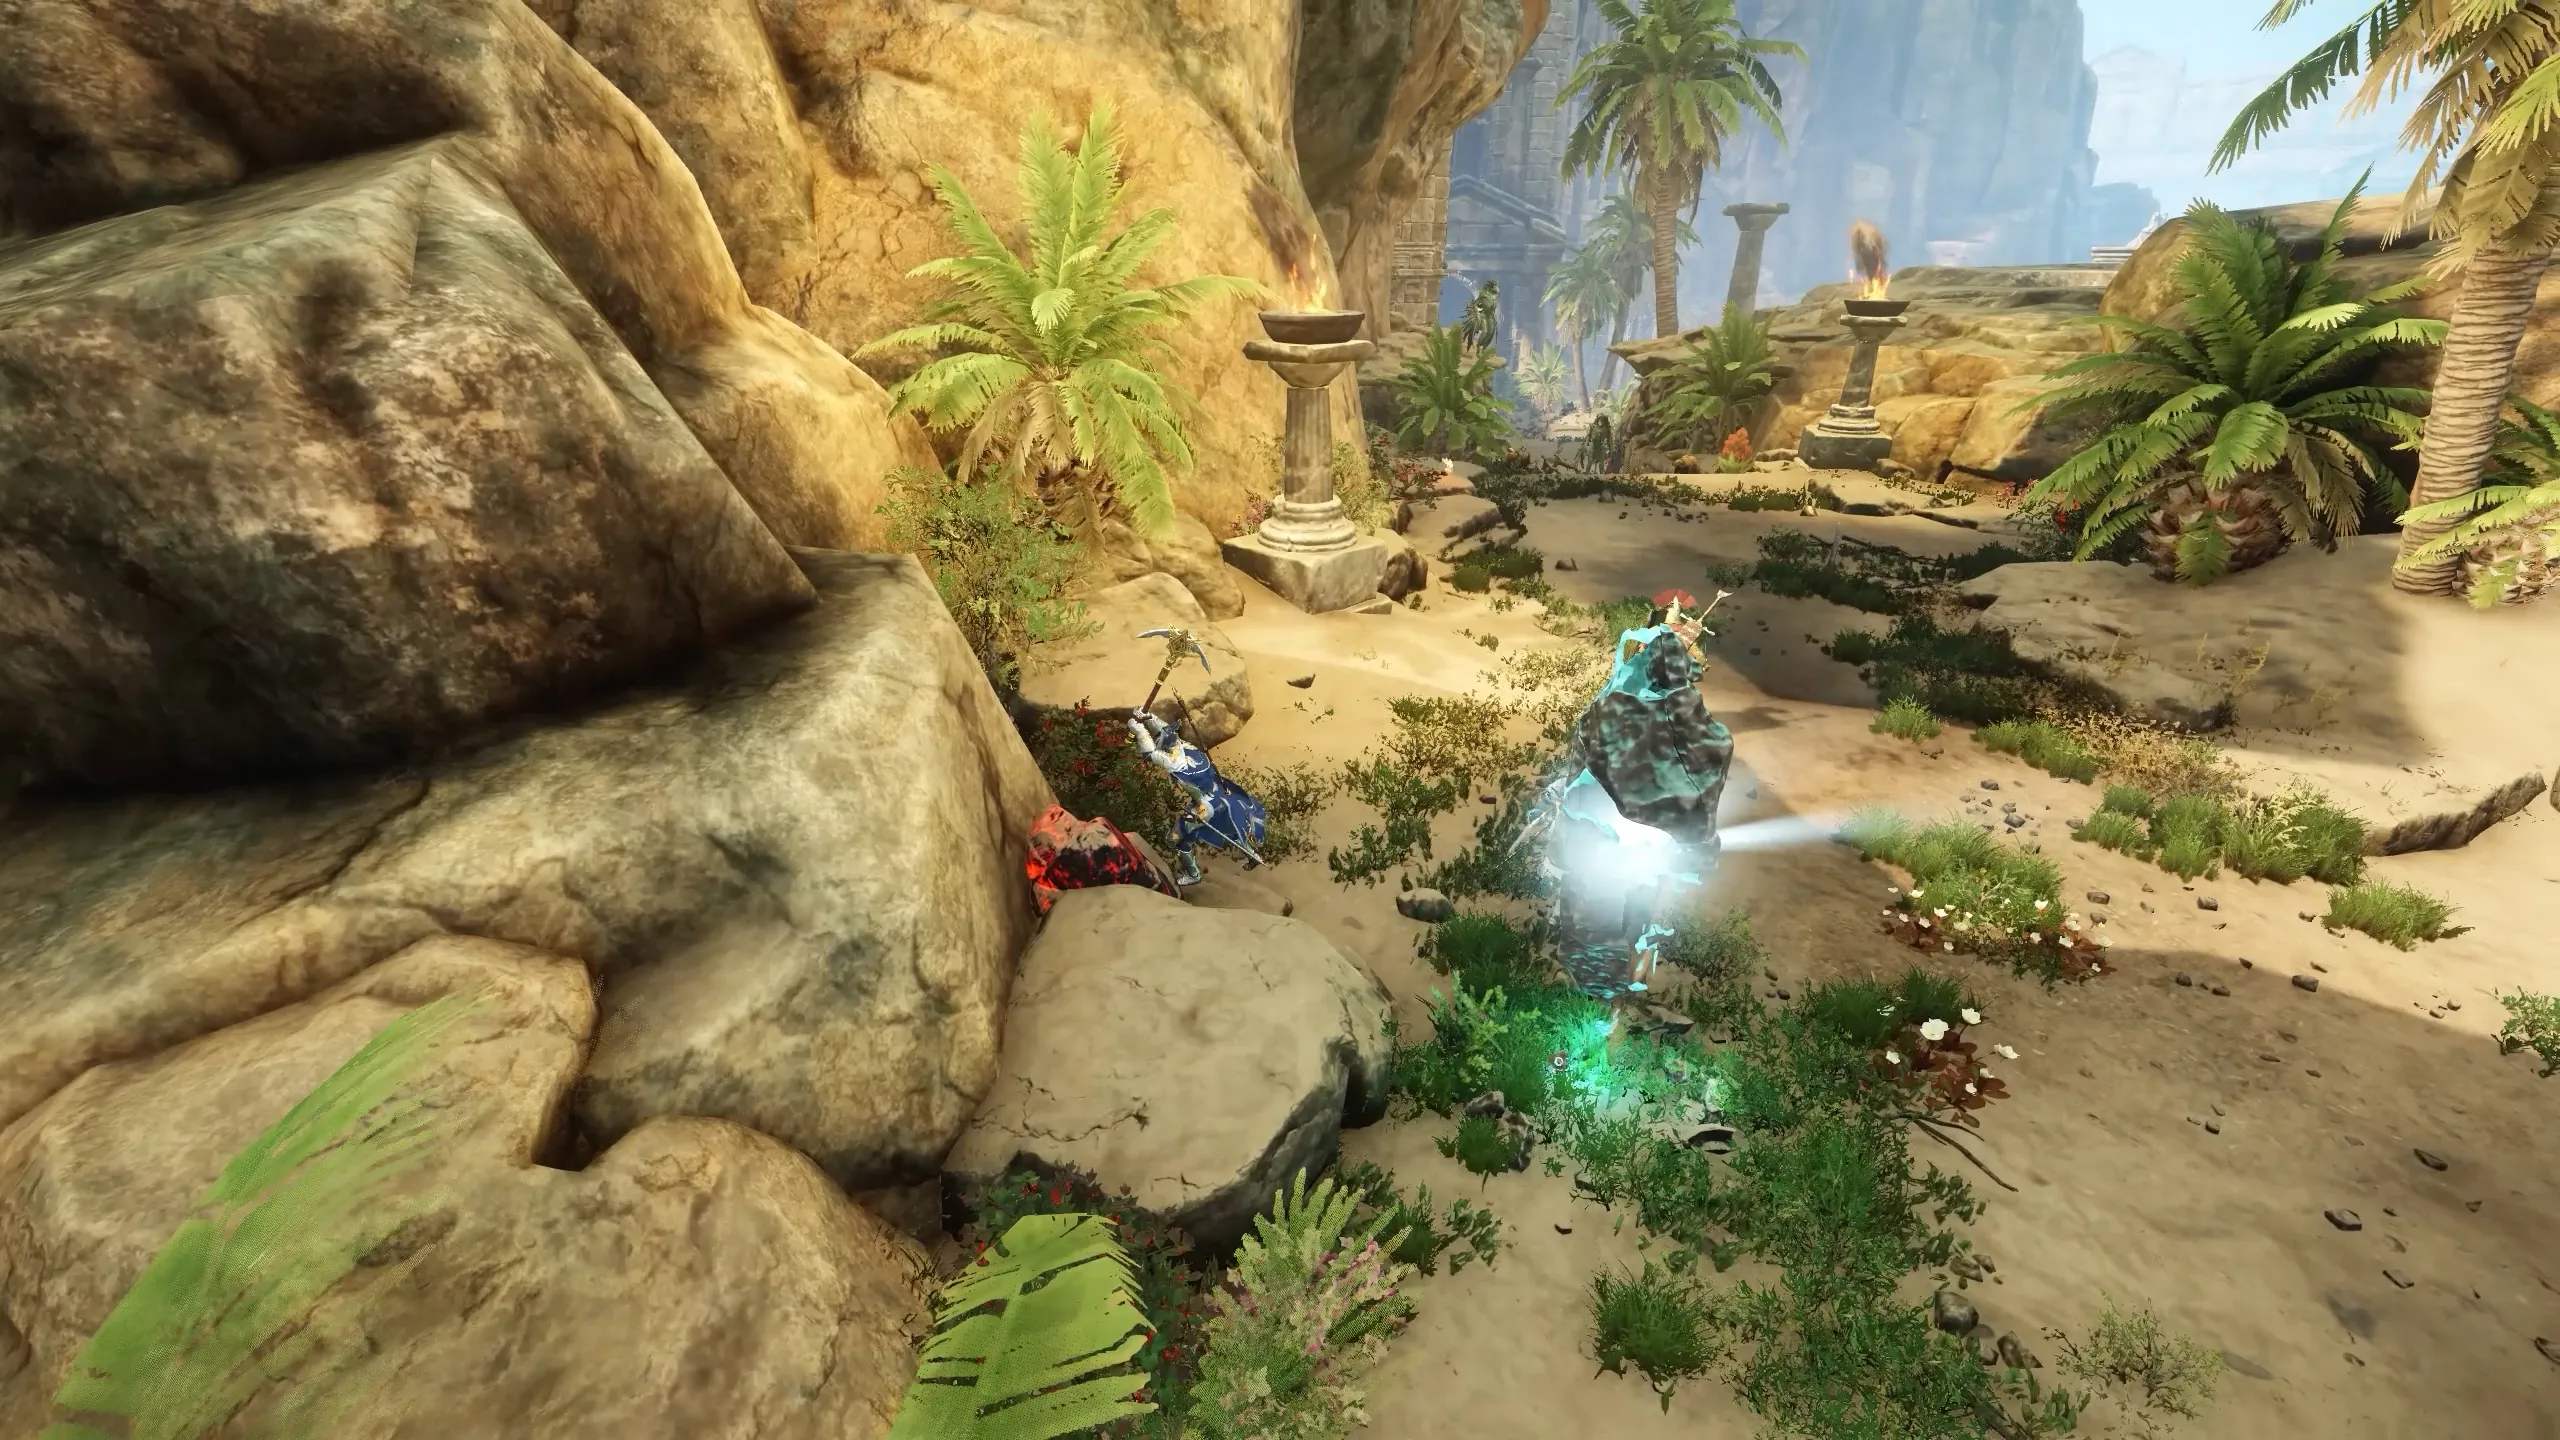
Gatherables (like water motes and orichalcum nodes) show up, but they’re purely cosmetic and have no impact on the raid at all.
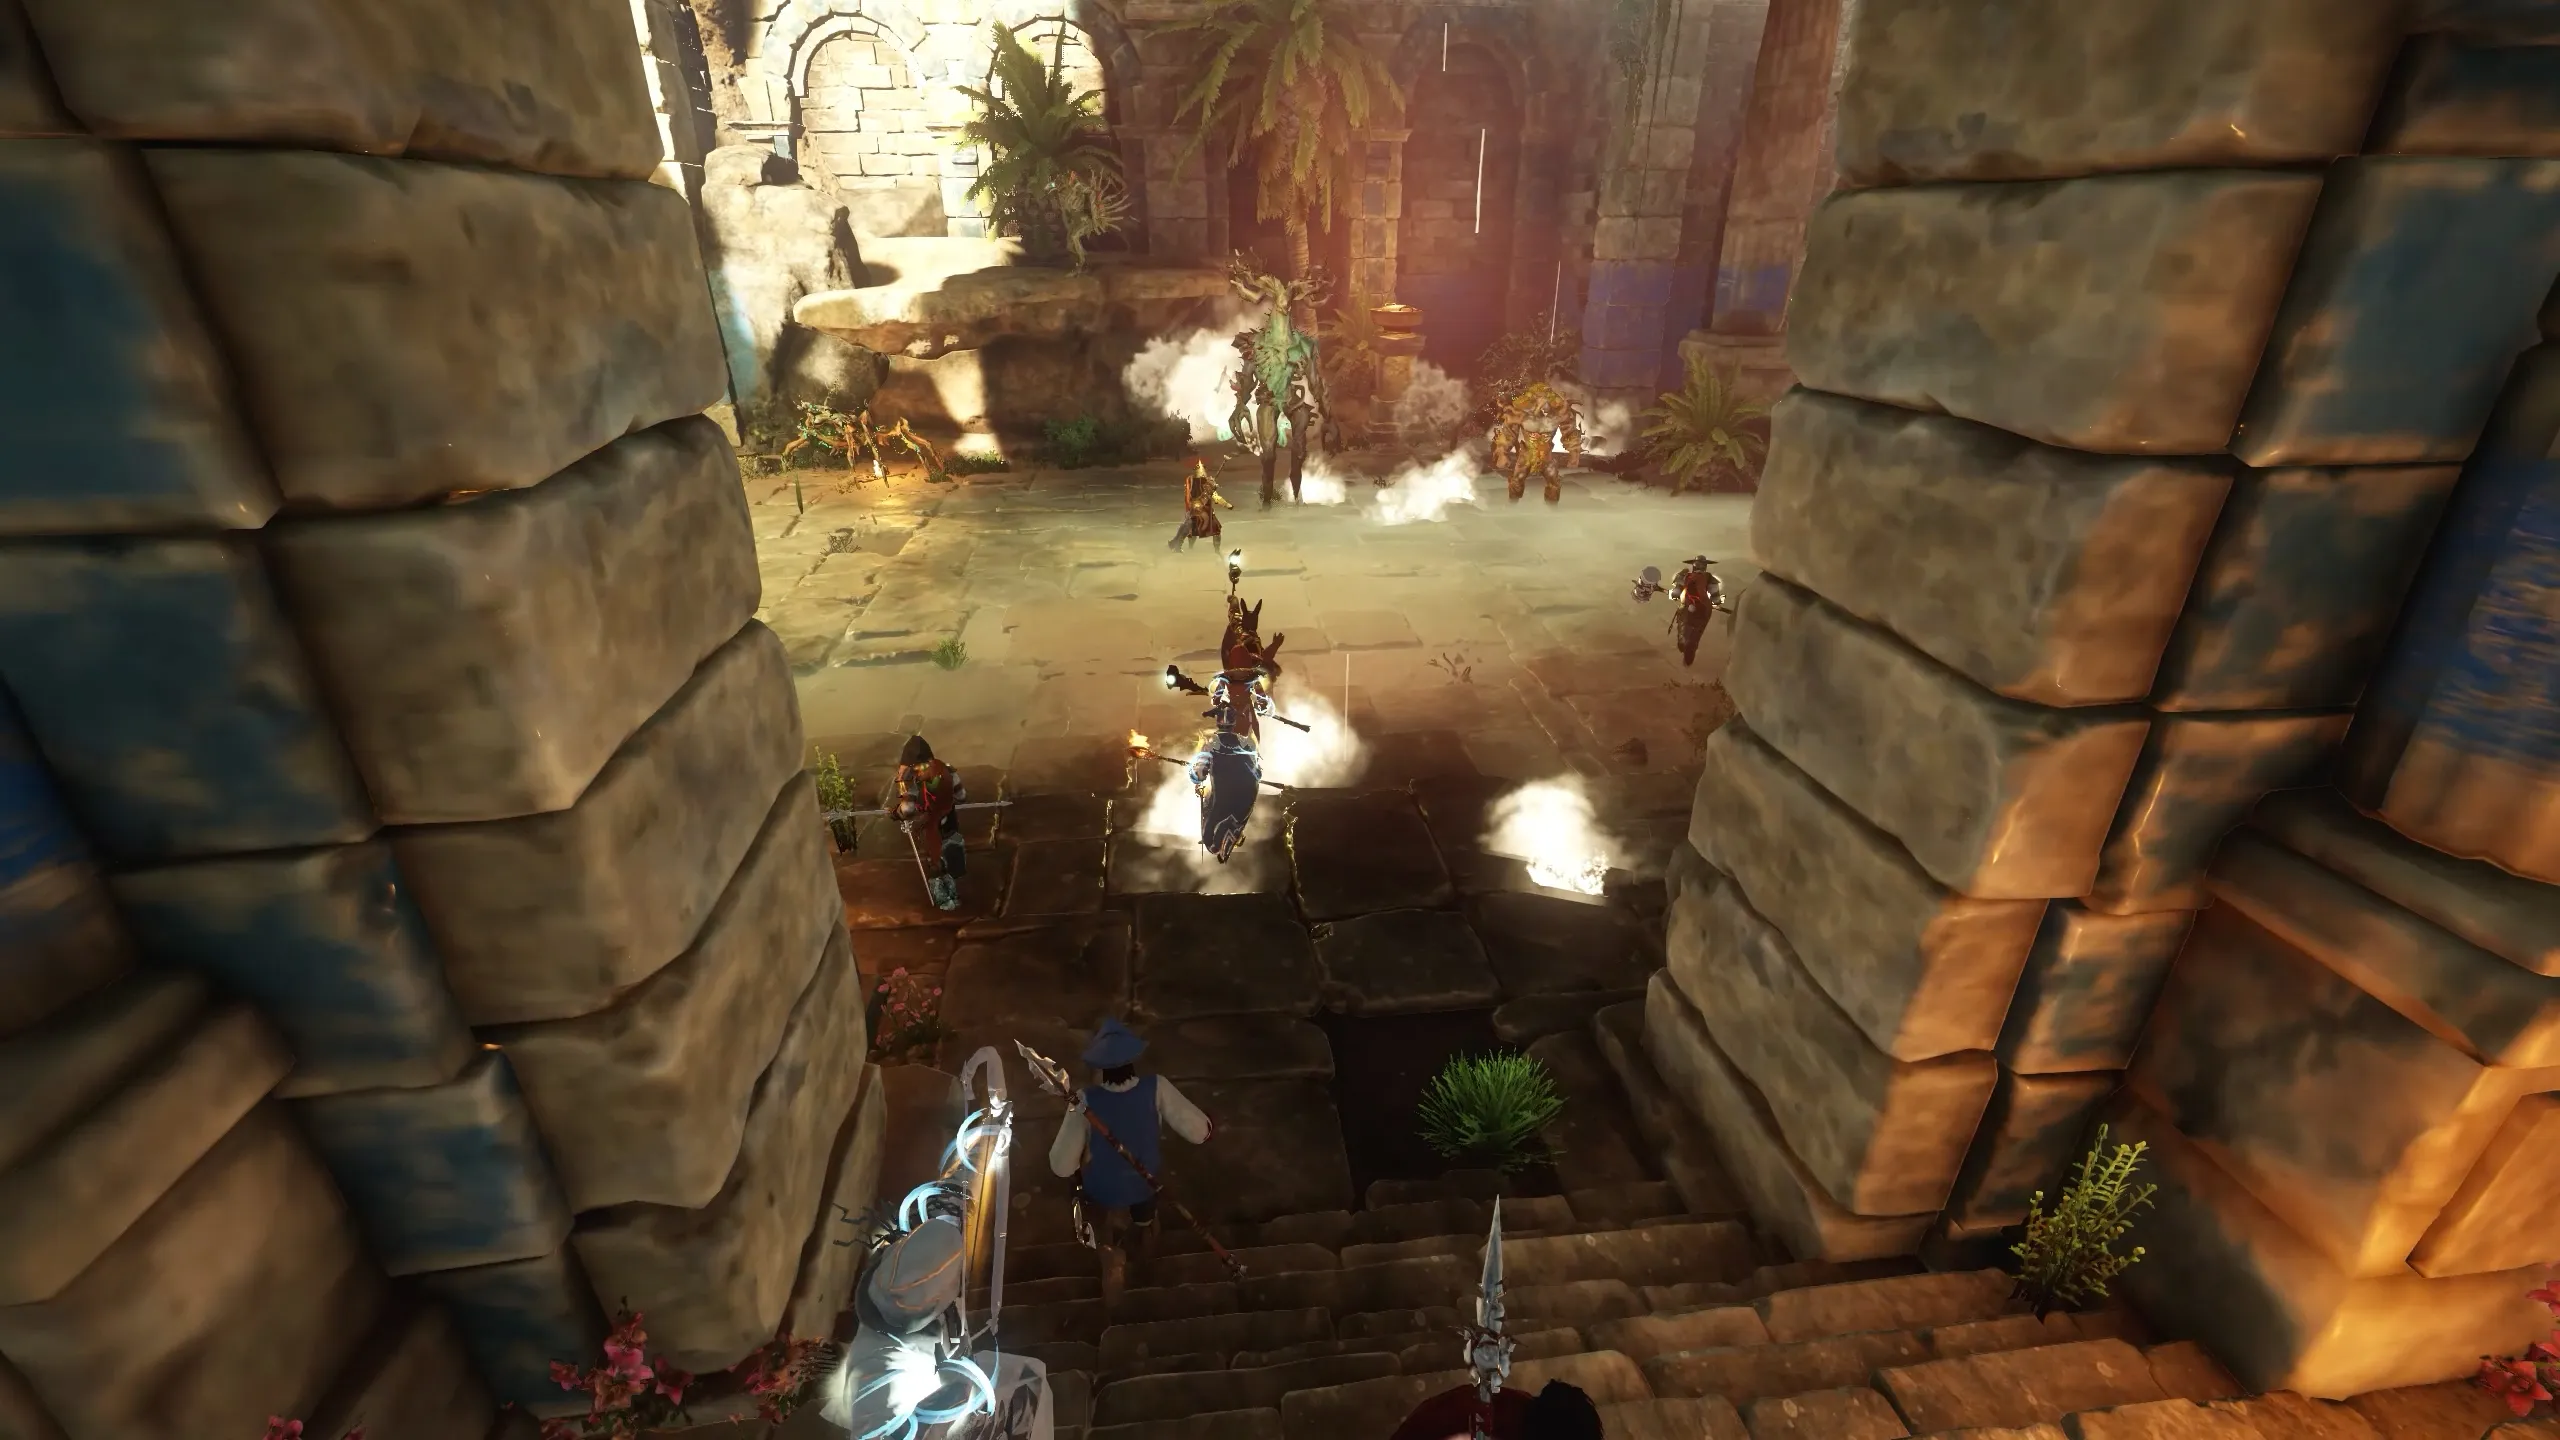
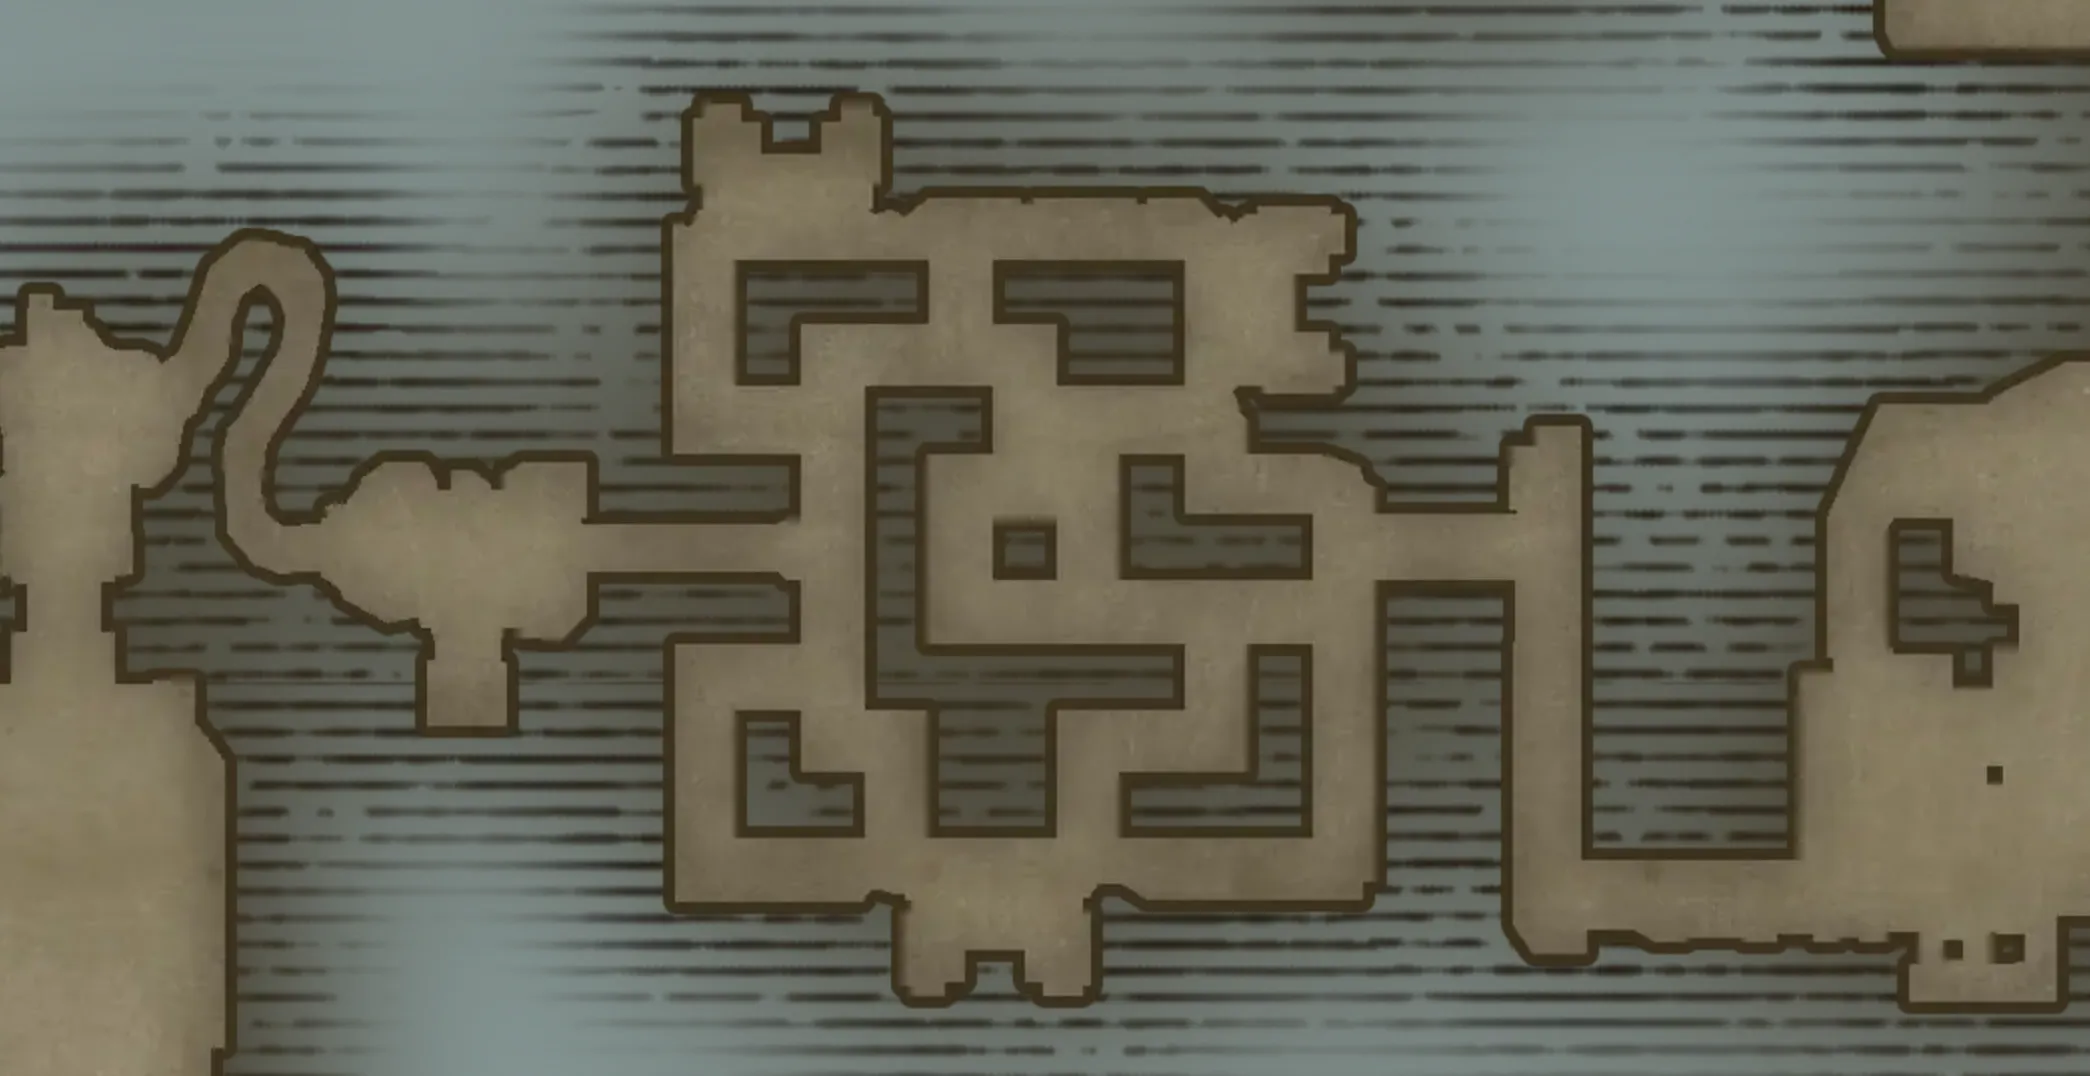
Temple Orbs Puzzle
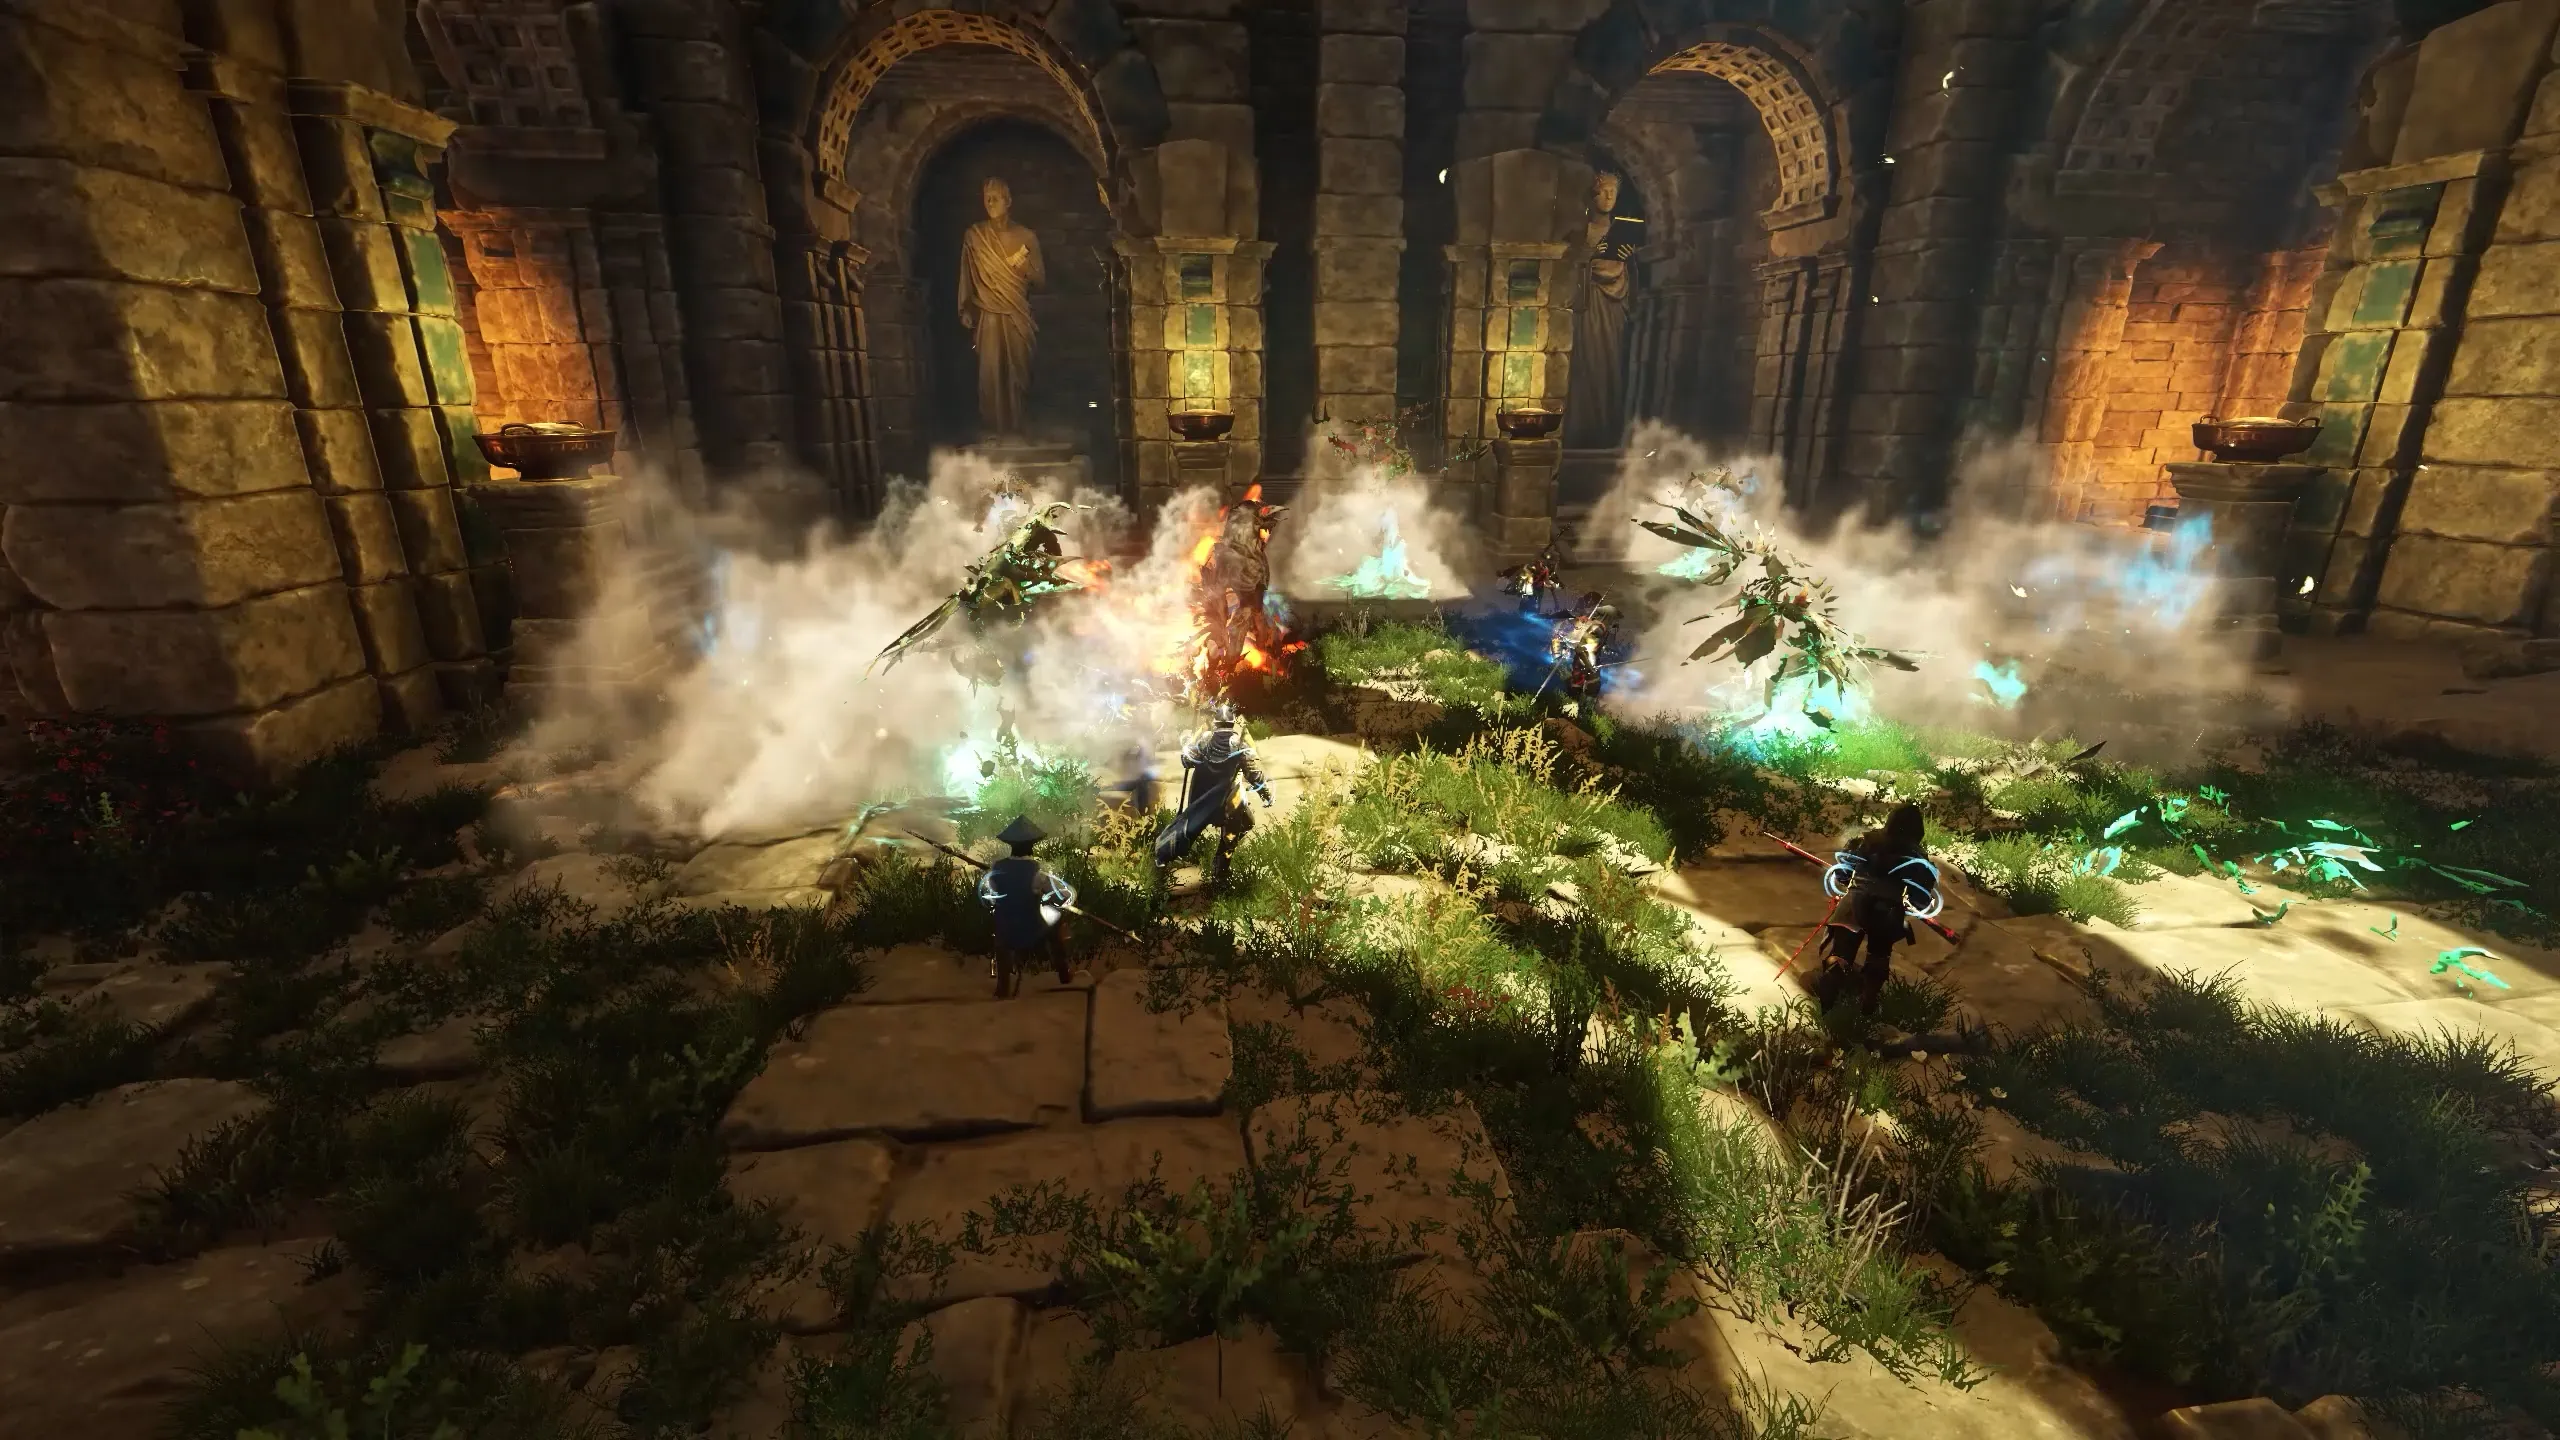
When you reach the temple you’ll fight two named mobs (a boar and a corvid) supported by 2 normal corvids, 2 spiders, and another boar.
After they die, a third named reindeer spawns with a boar and a corvid on each side. Clear this set to unlock the puzzle room.
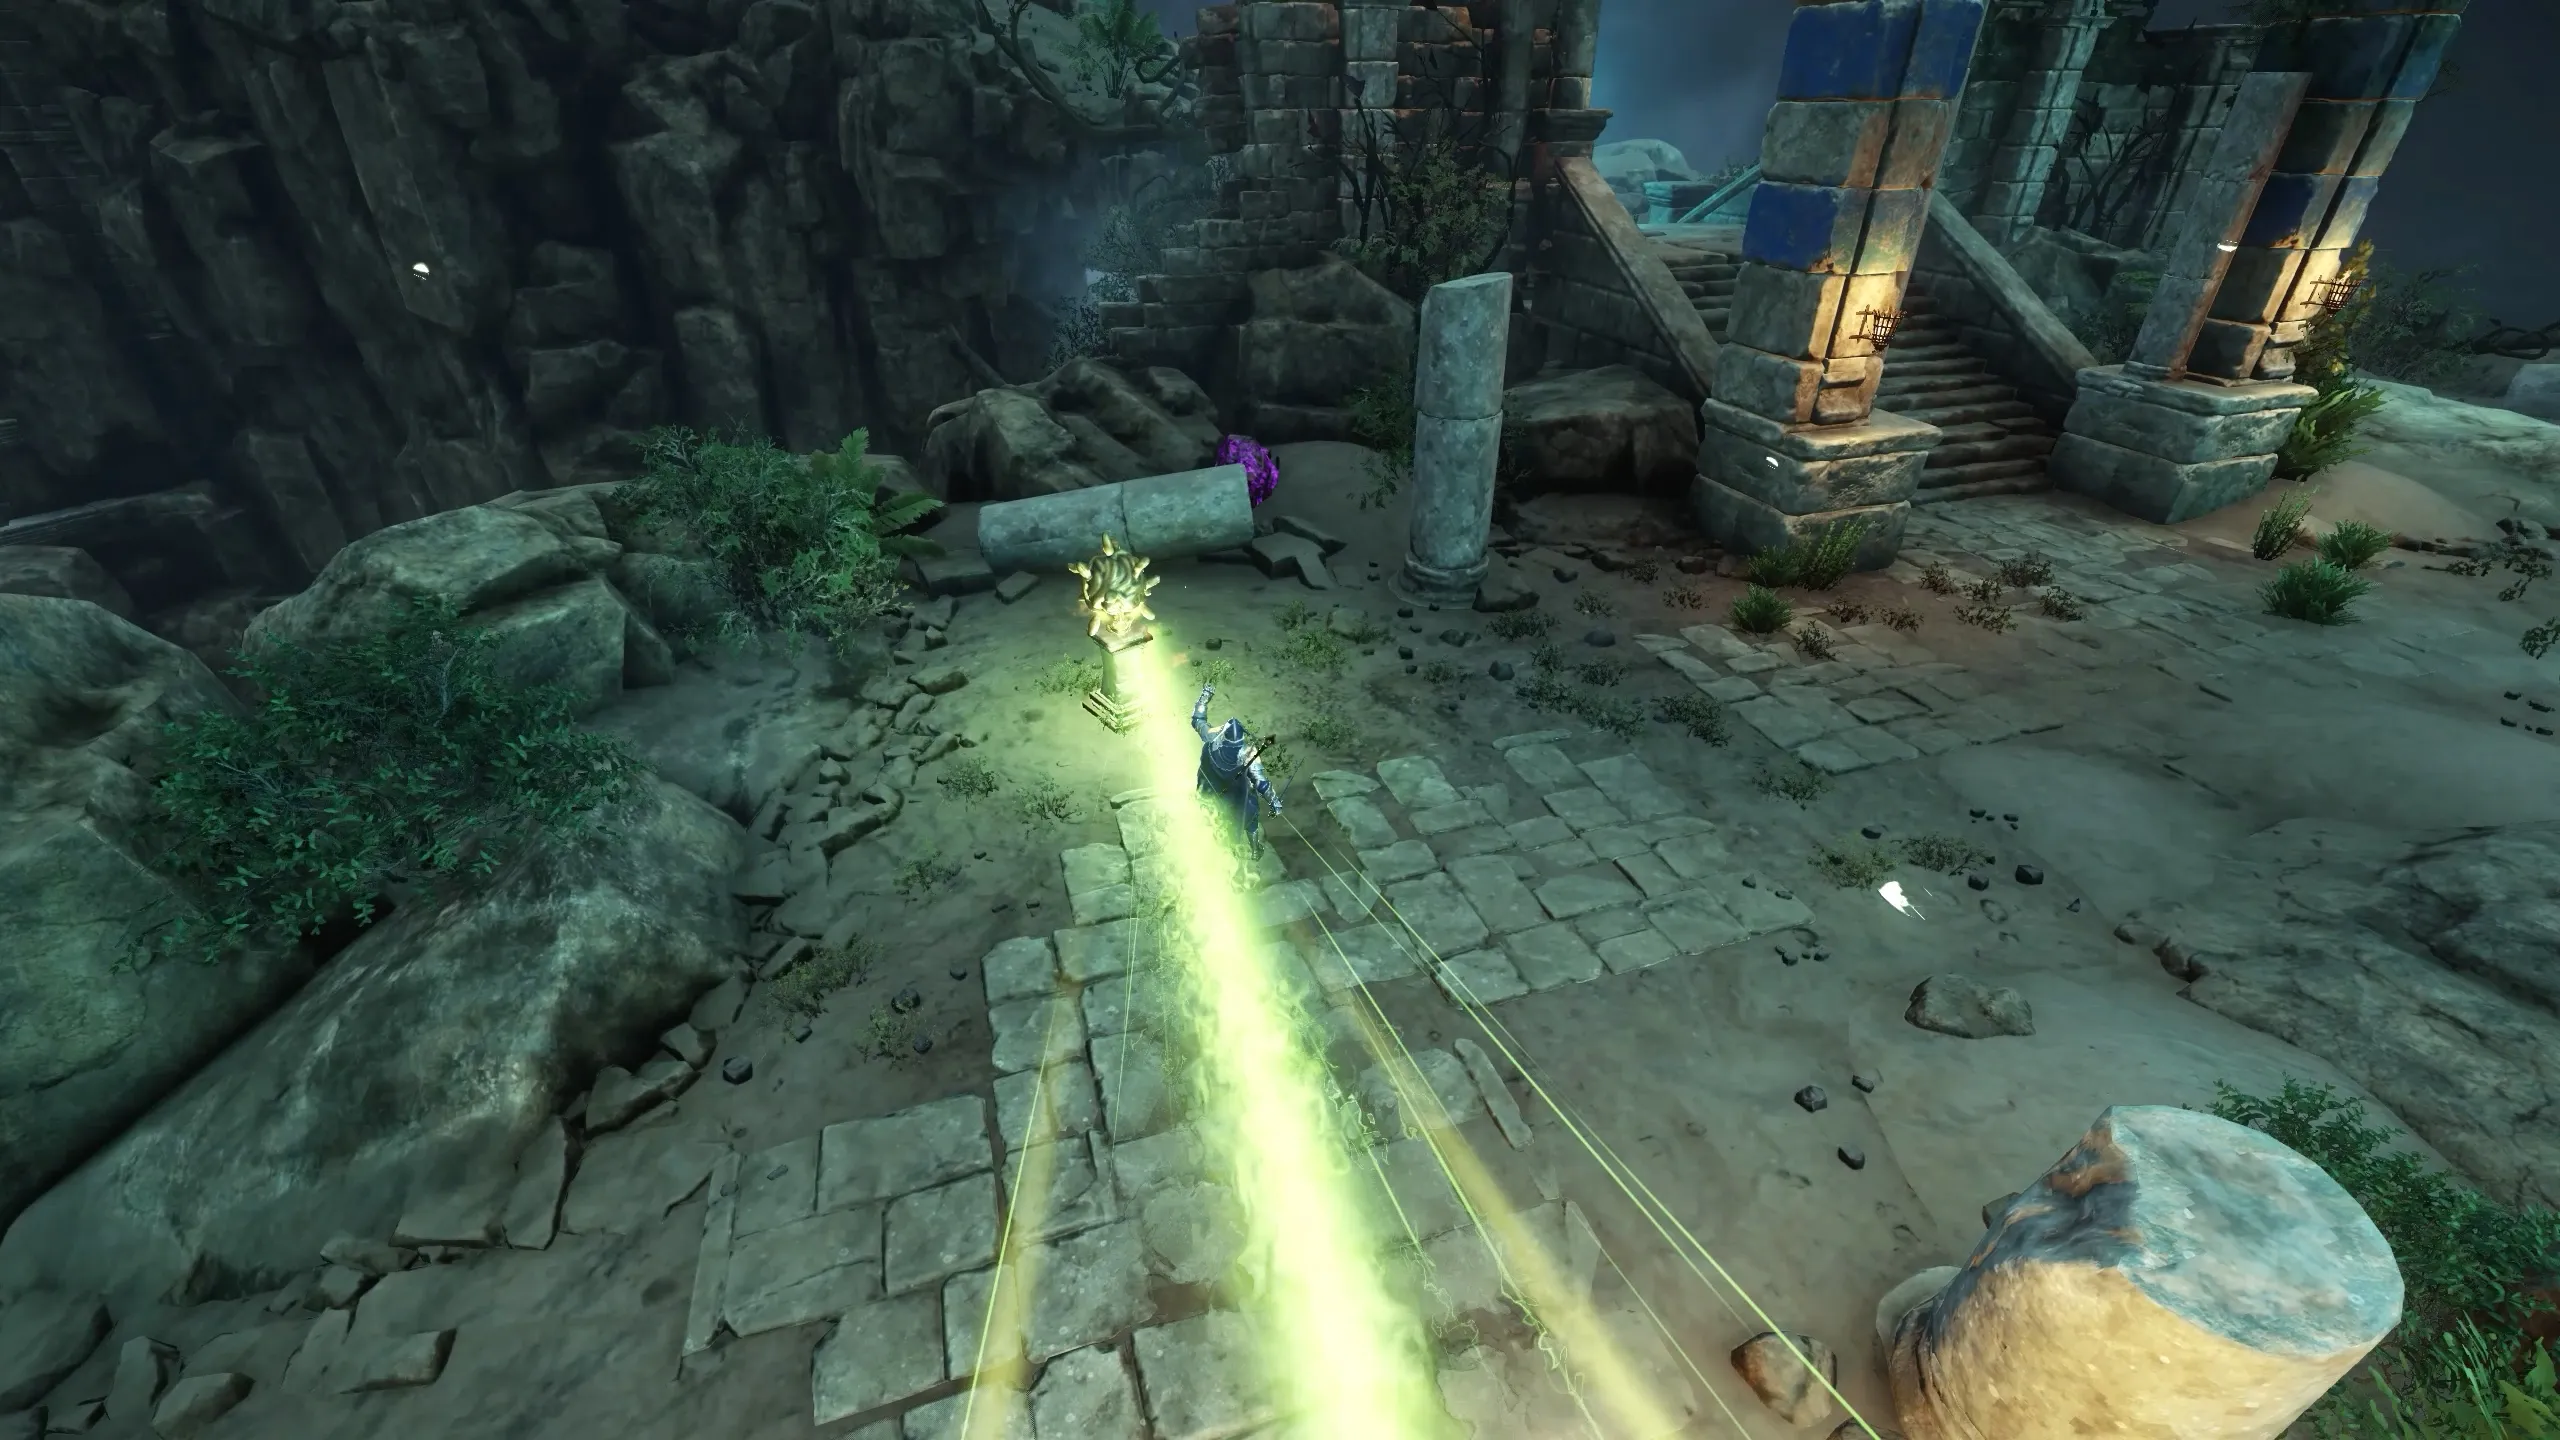
You’ll face a locked door with red orbs on each side, and two pressure plates behind you.
- One plate pressed: spawns 2 spiders on that side and rotates that side’s orbs.
- Both plates pressed together: all orbs rotate, but only one orb is targetable at a time.
- Add flow: spiders keep spawning as long as someone is standing on the plates.
Let the tank hold aggro while the rest of the team works the orbs.
Goal: shoot every orb until they all turn green → door opens and the spiders despawn.
Echidna Boss Fight

As soon as you enter the arena, Echidna will leap down, the way behind is sealed and your first boss fight starts. This fight has some interesting mechanics with a lot of strike damage going around. If you want a full breakdown check this Echidna Guide.
Mid Raid Enemies
Post Boss Enemies
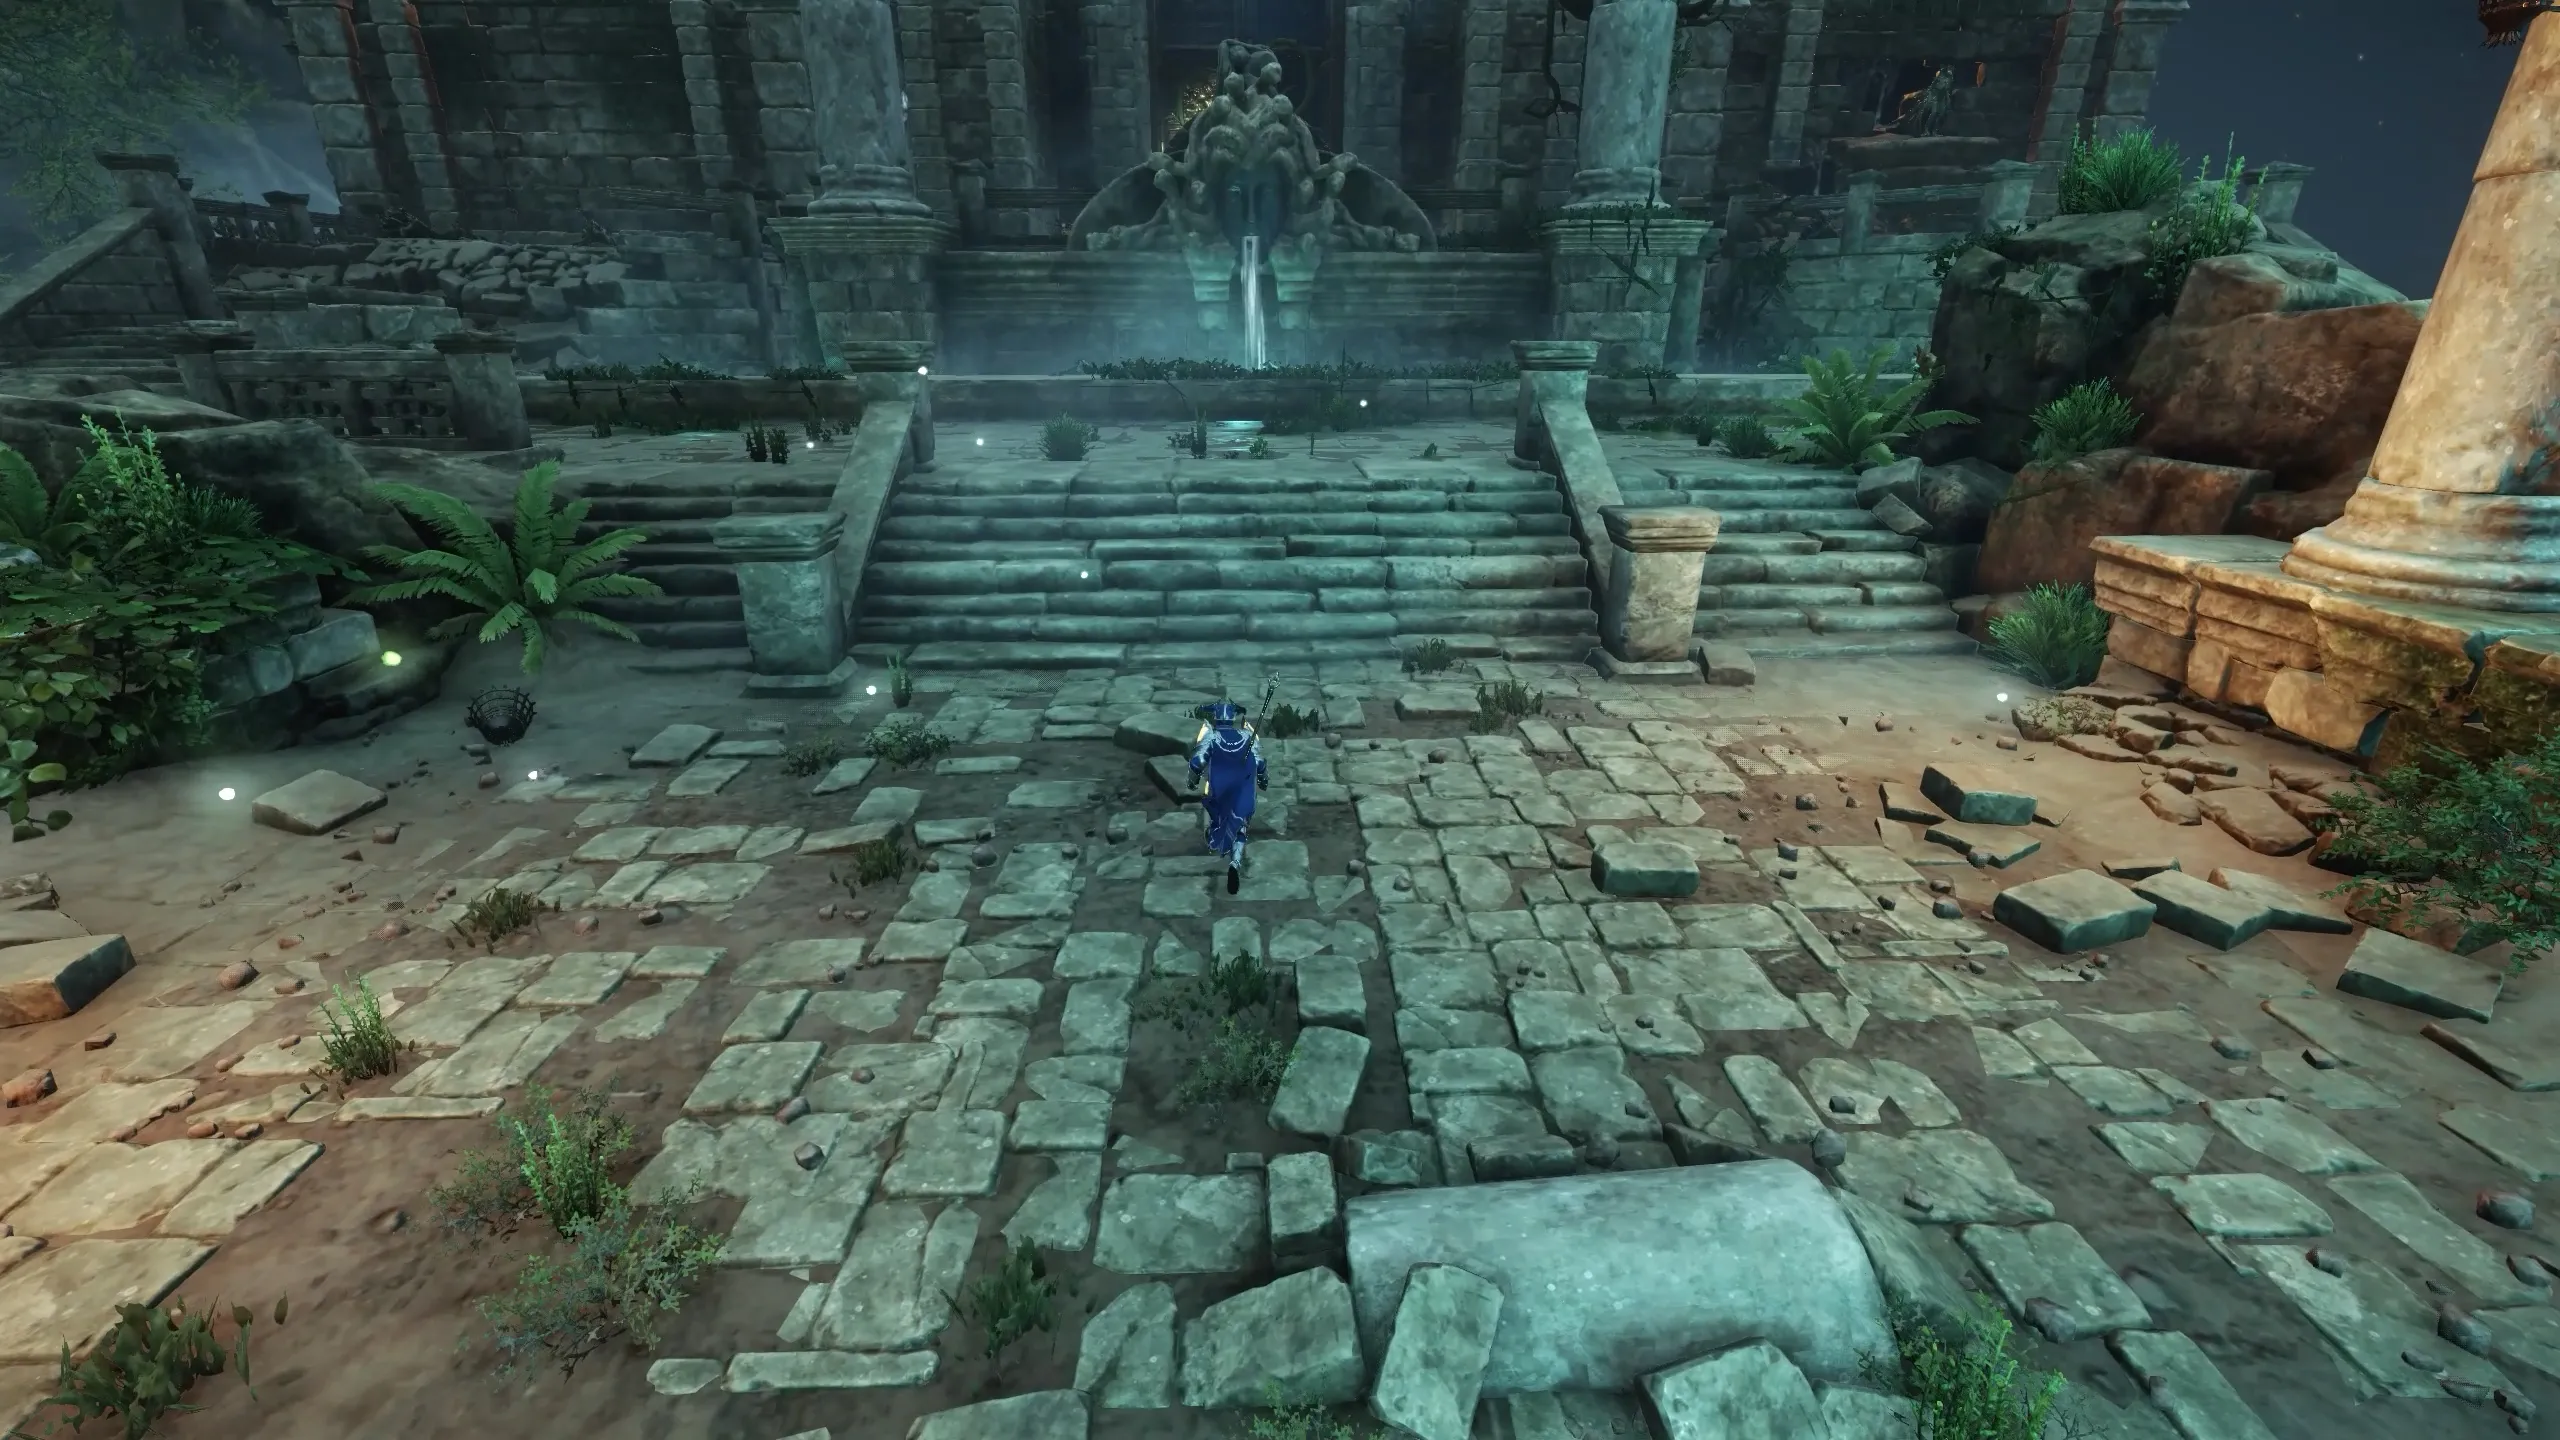
Once Echidna is defeated, the path opens. Continue forward to the next checkpoint and into a narrow corridor.
- On entry, one of each enemy type spawns withthe wolf being the named elite.
- Clear them, then head upstairs to more mobs.
- Door won’t open until all enemies are cleared.
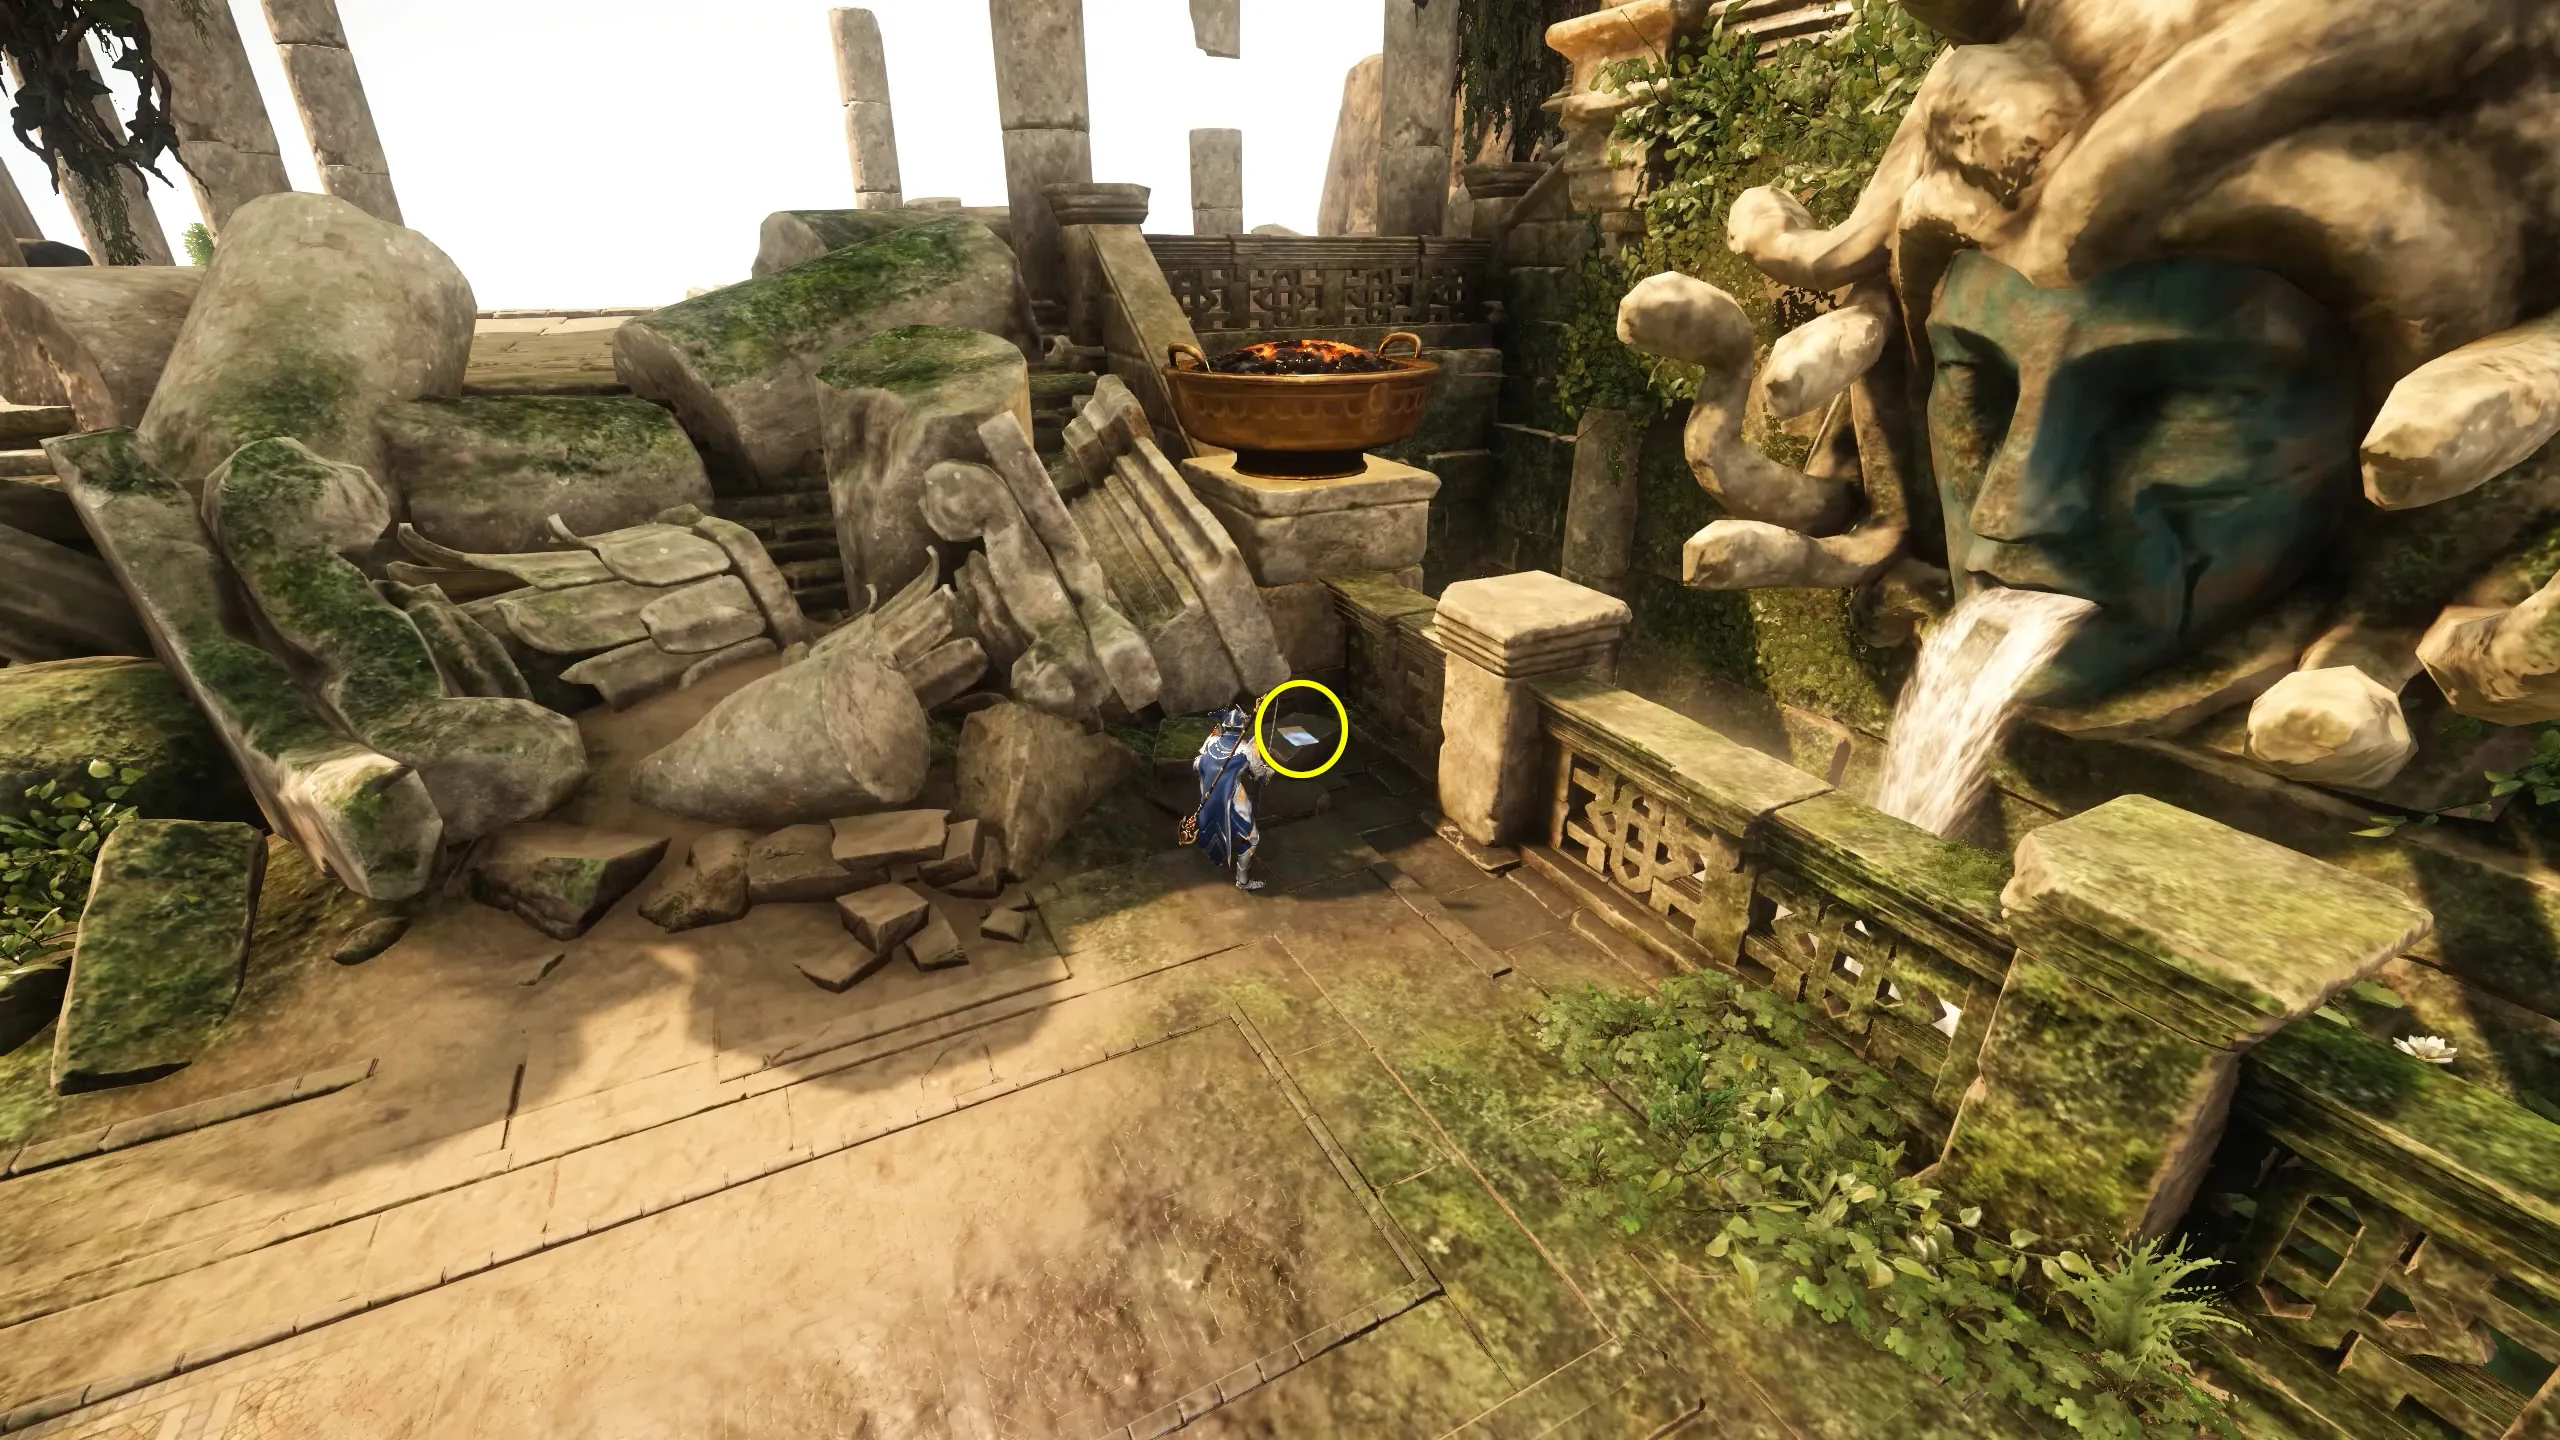
📘Journal Page #1: A journal page is hidden in the corner here (first of three in the raid).
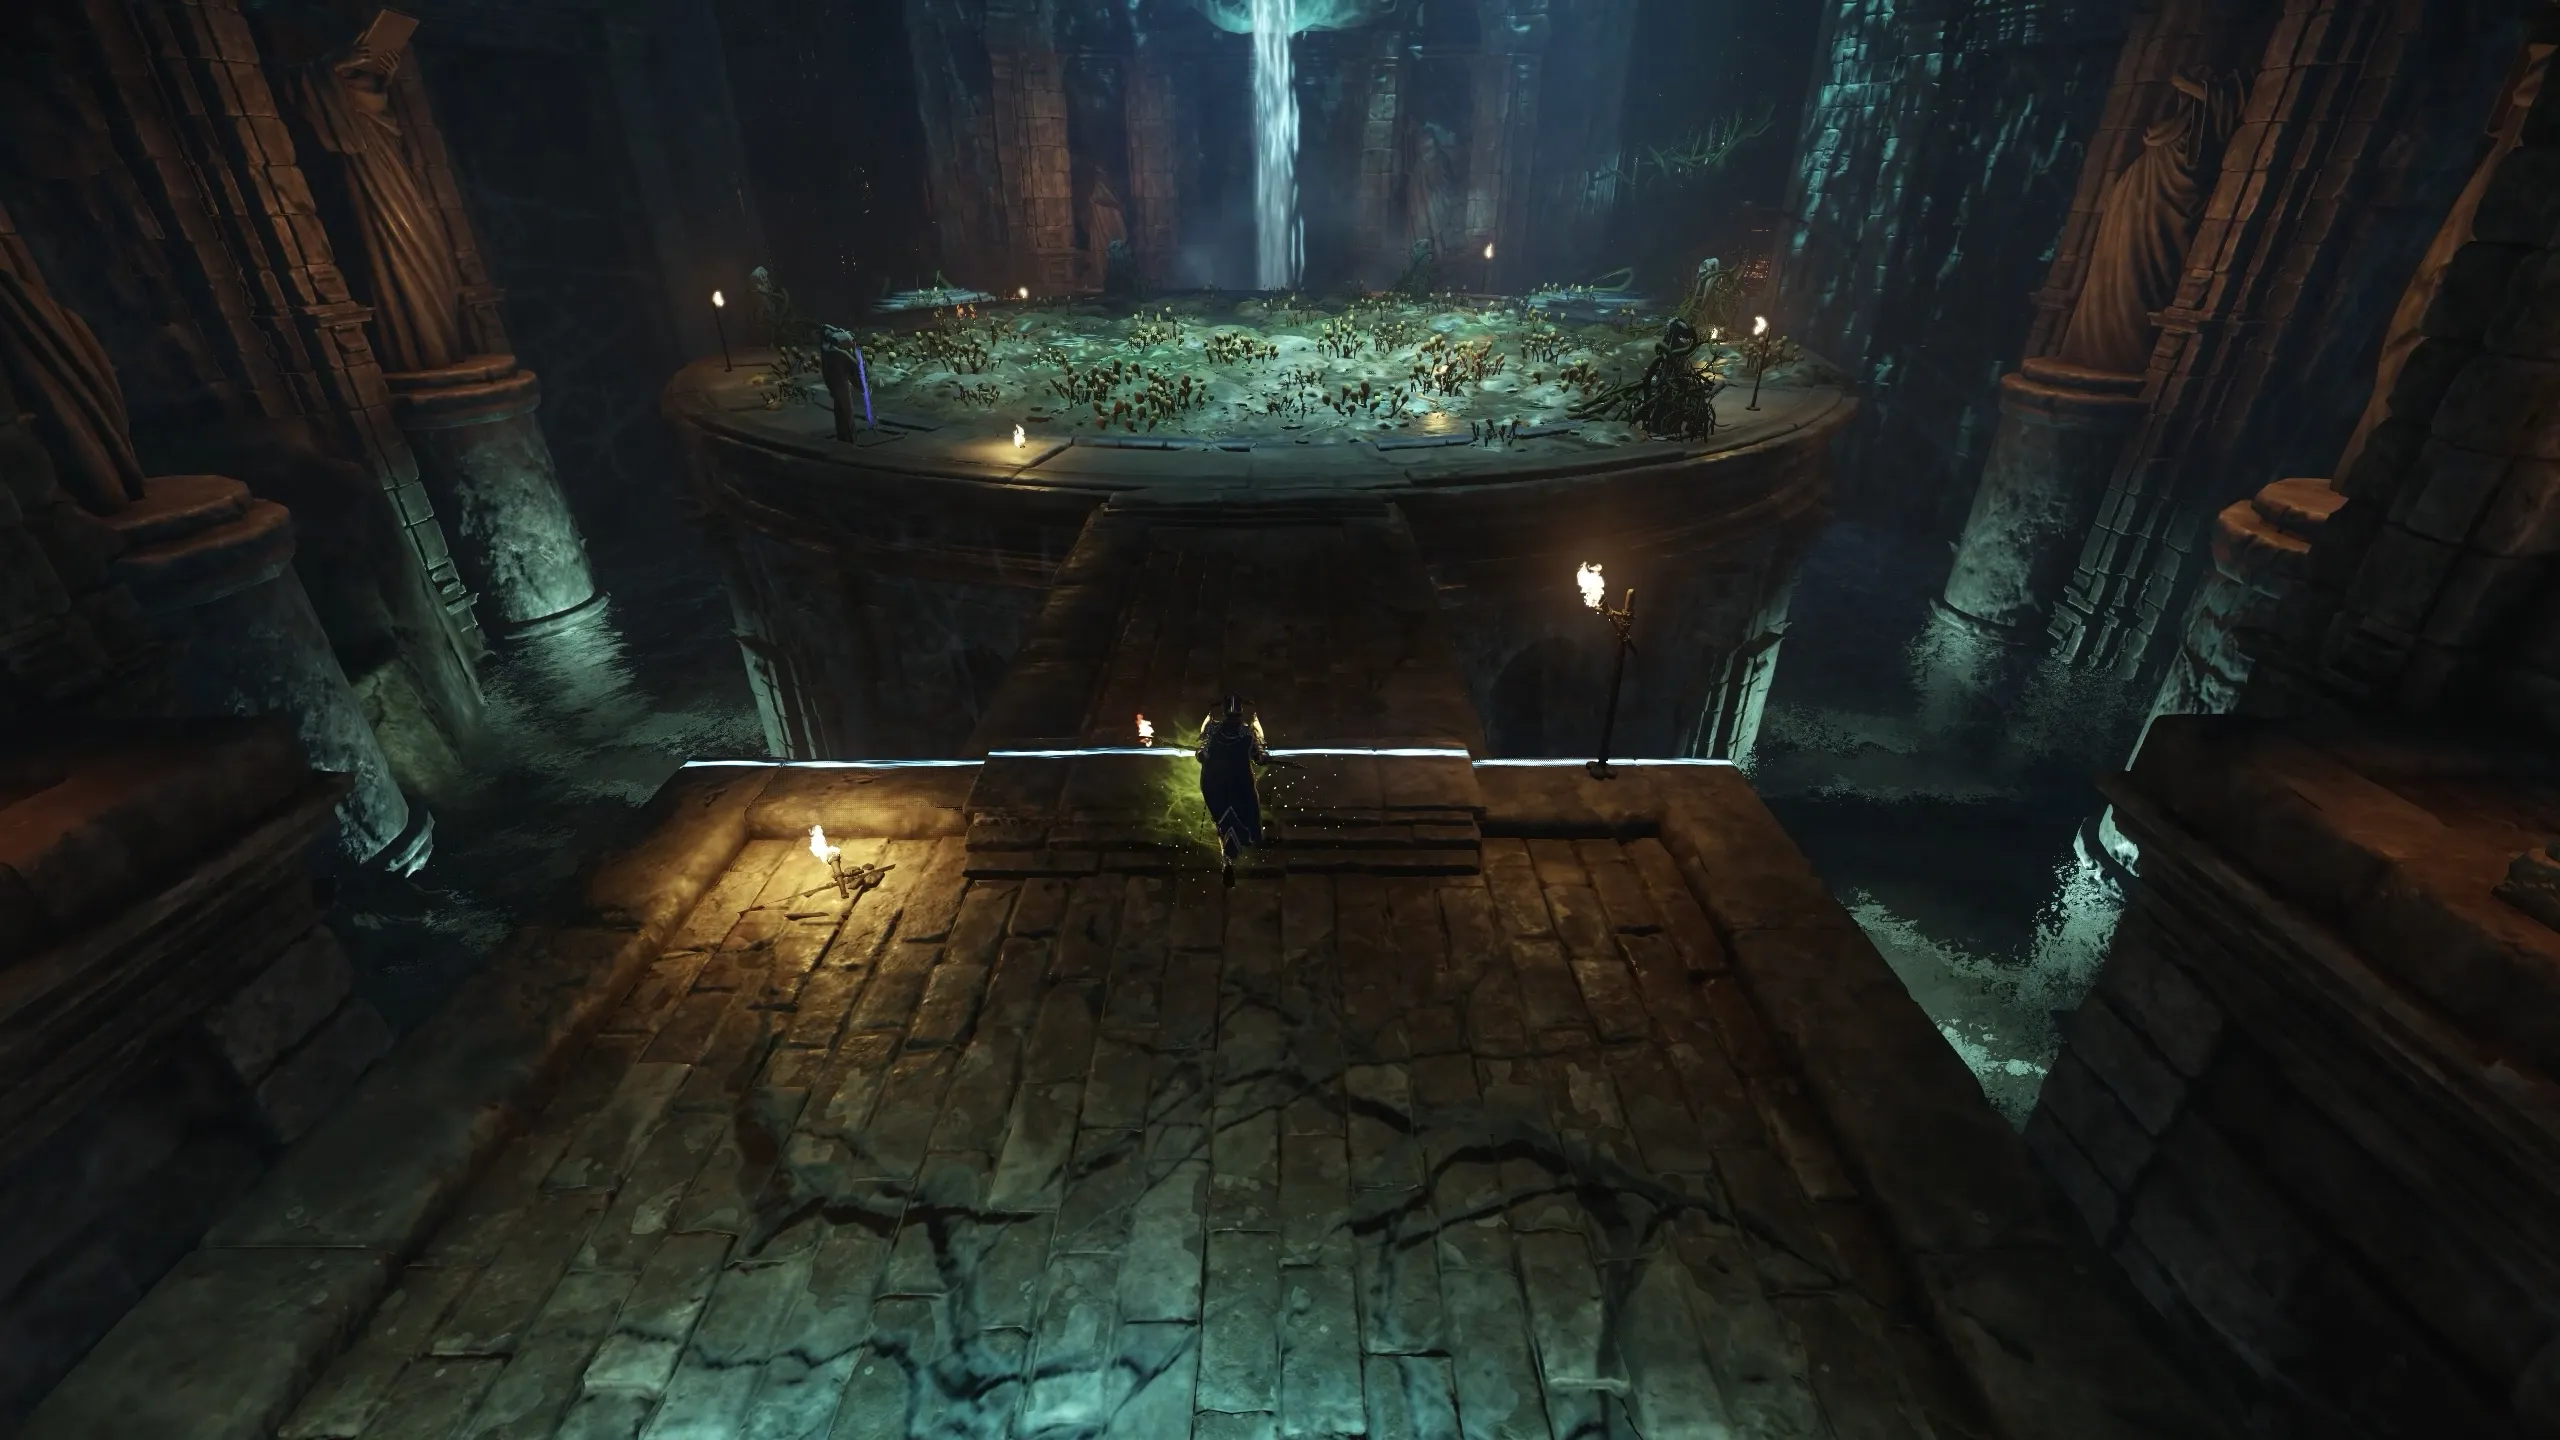
Lake Area
After the checkpoint, a massive door opens into a large outdoor zone:
- Left: named wolf
- Across the lake: named boar
- Near far stairs: named reindeer
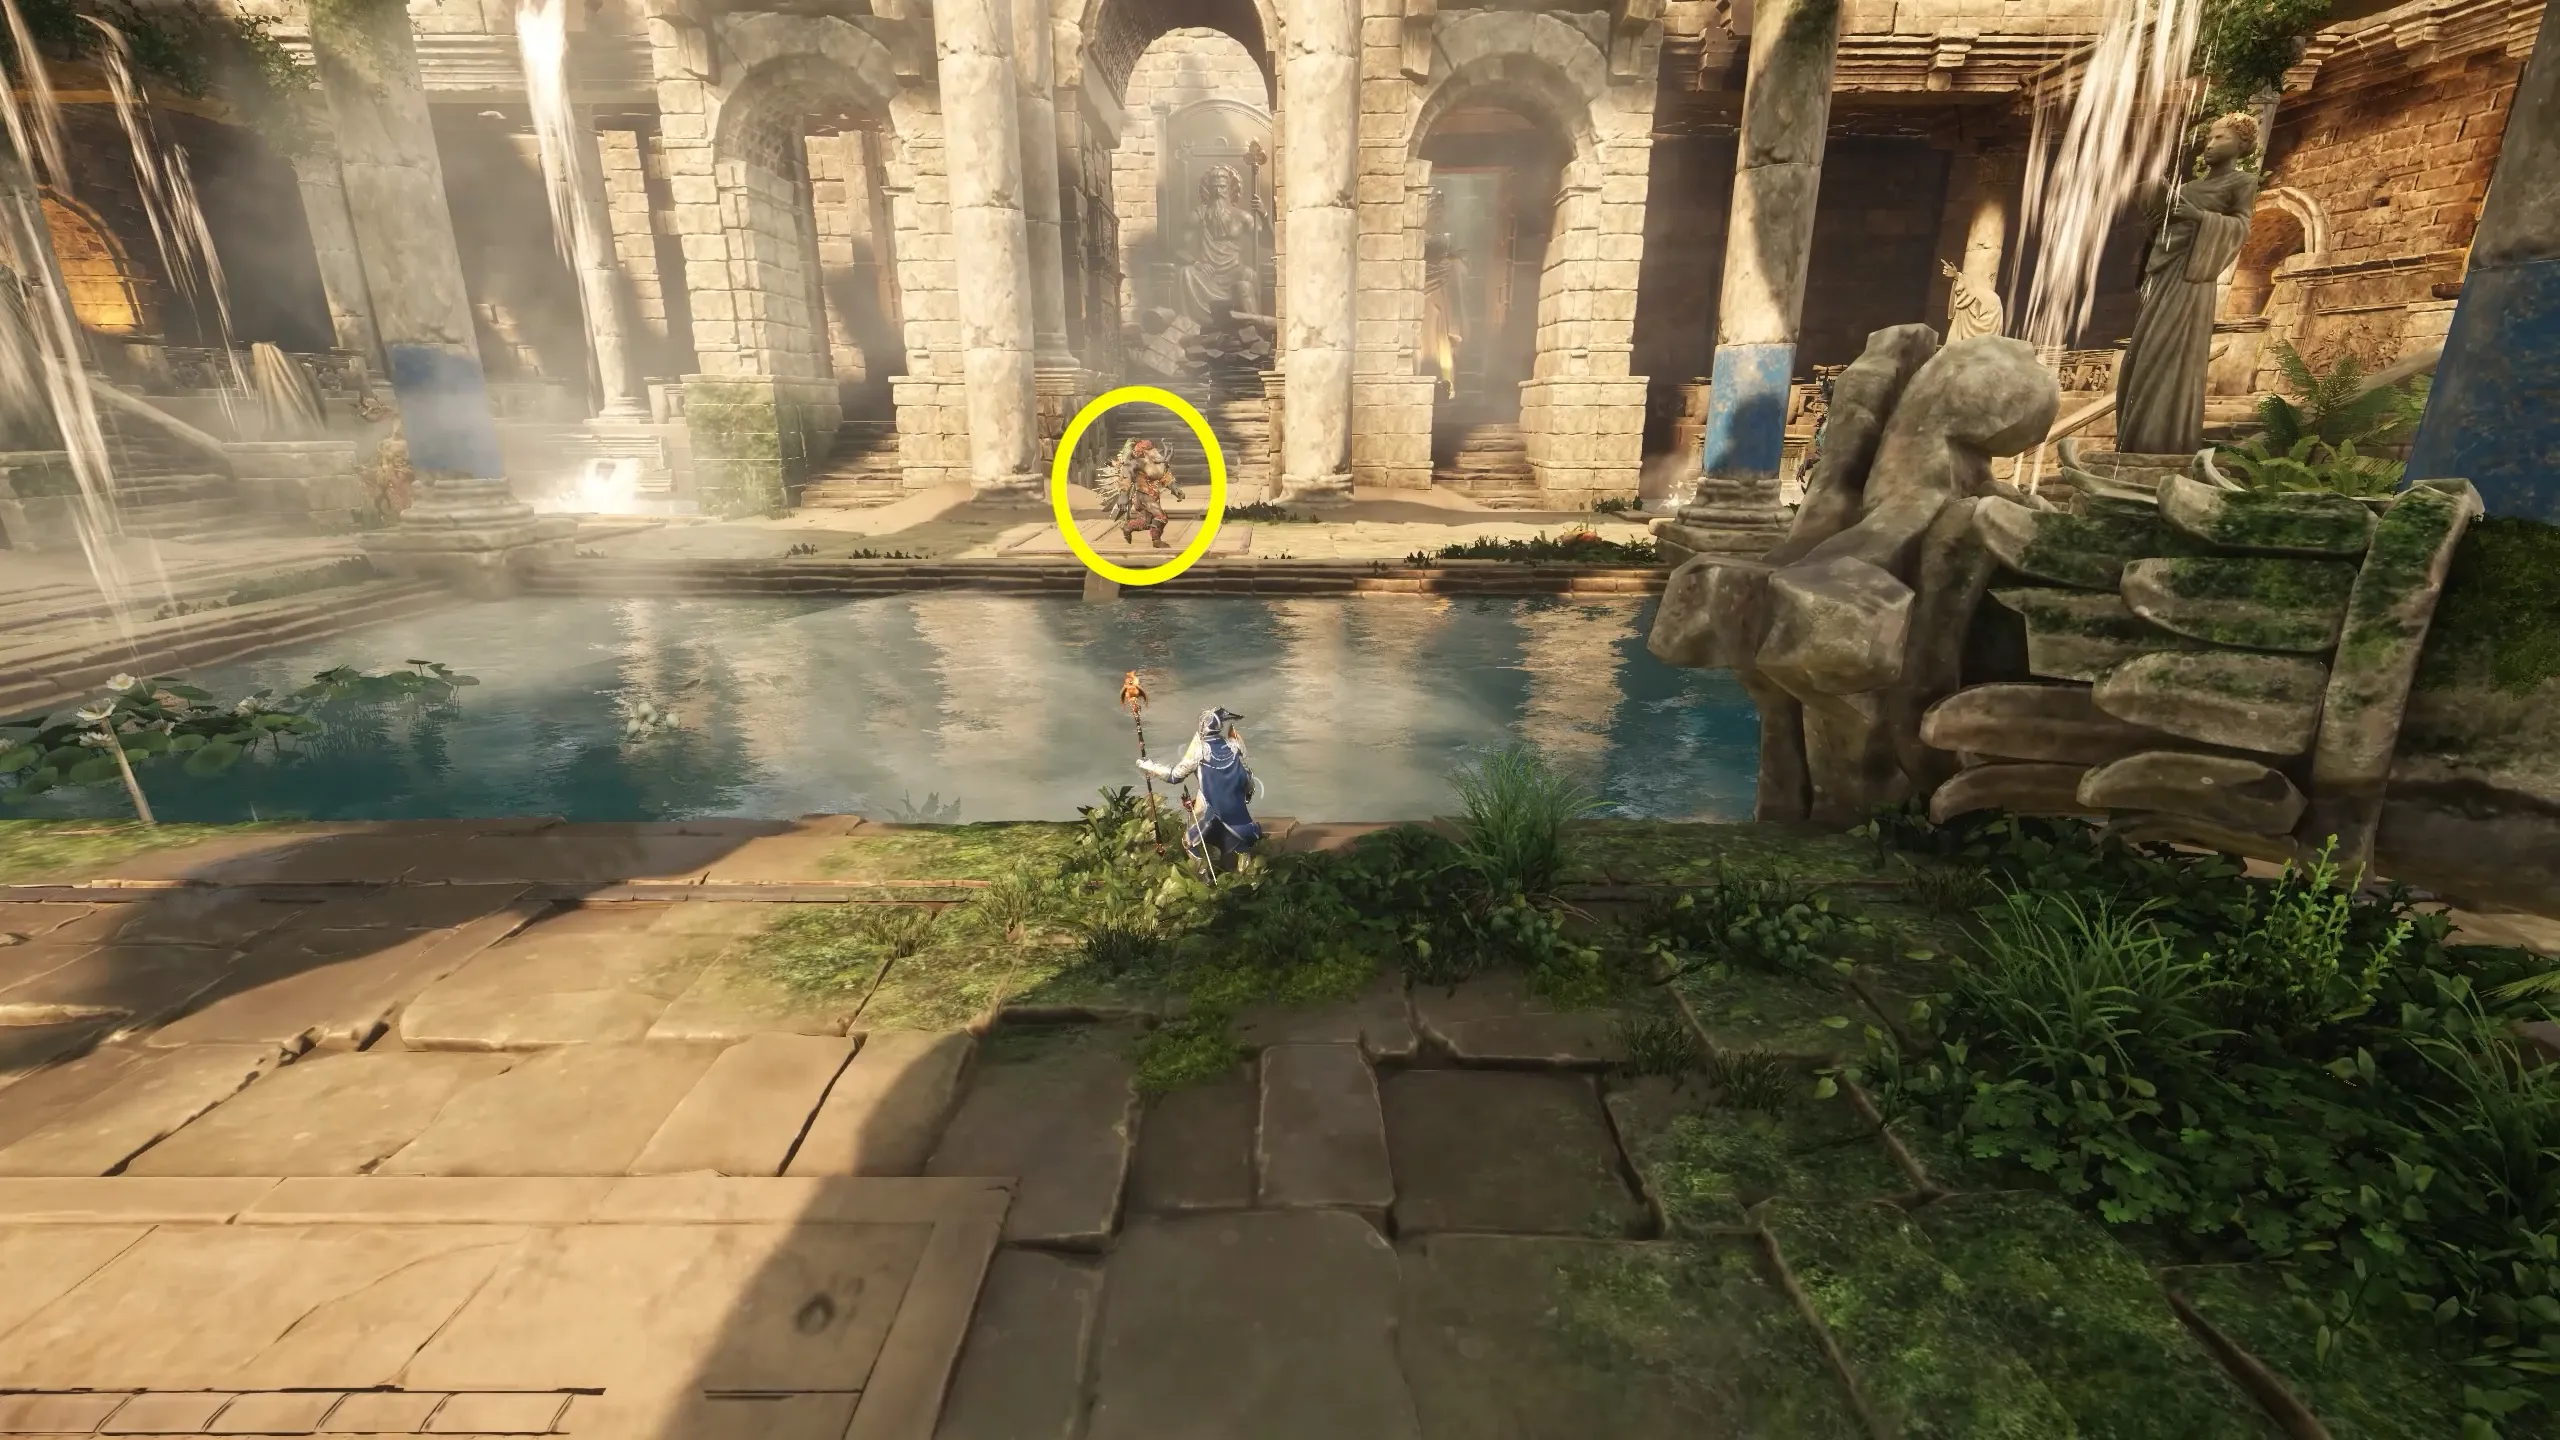
You are free to fight everything in this area, but to proceed you only need to defeat the named boar and the corvid near him. Once they are down, the gate at the top of the stairs will open. Any skipped enemies will not follow you past the gate.
Moving on, you’ll face a rat by the pool, a spider under the stairs, and a pack with two wolves plus a named wolf in the far distance. Across the lake are spiders, rats, a reindeer, a corvid, and several other enemies scattered around. All of them are optional, and you can simply run past to the next door.
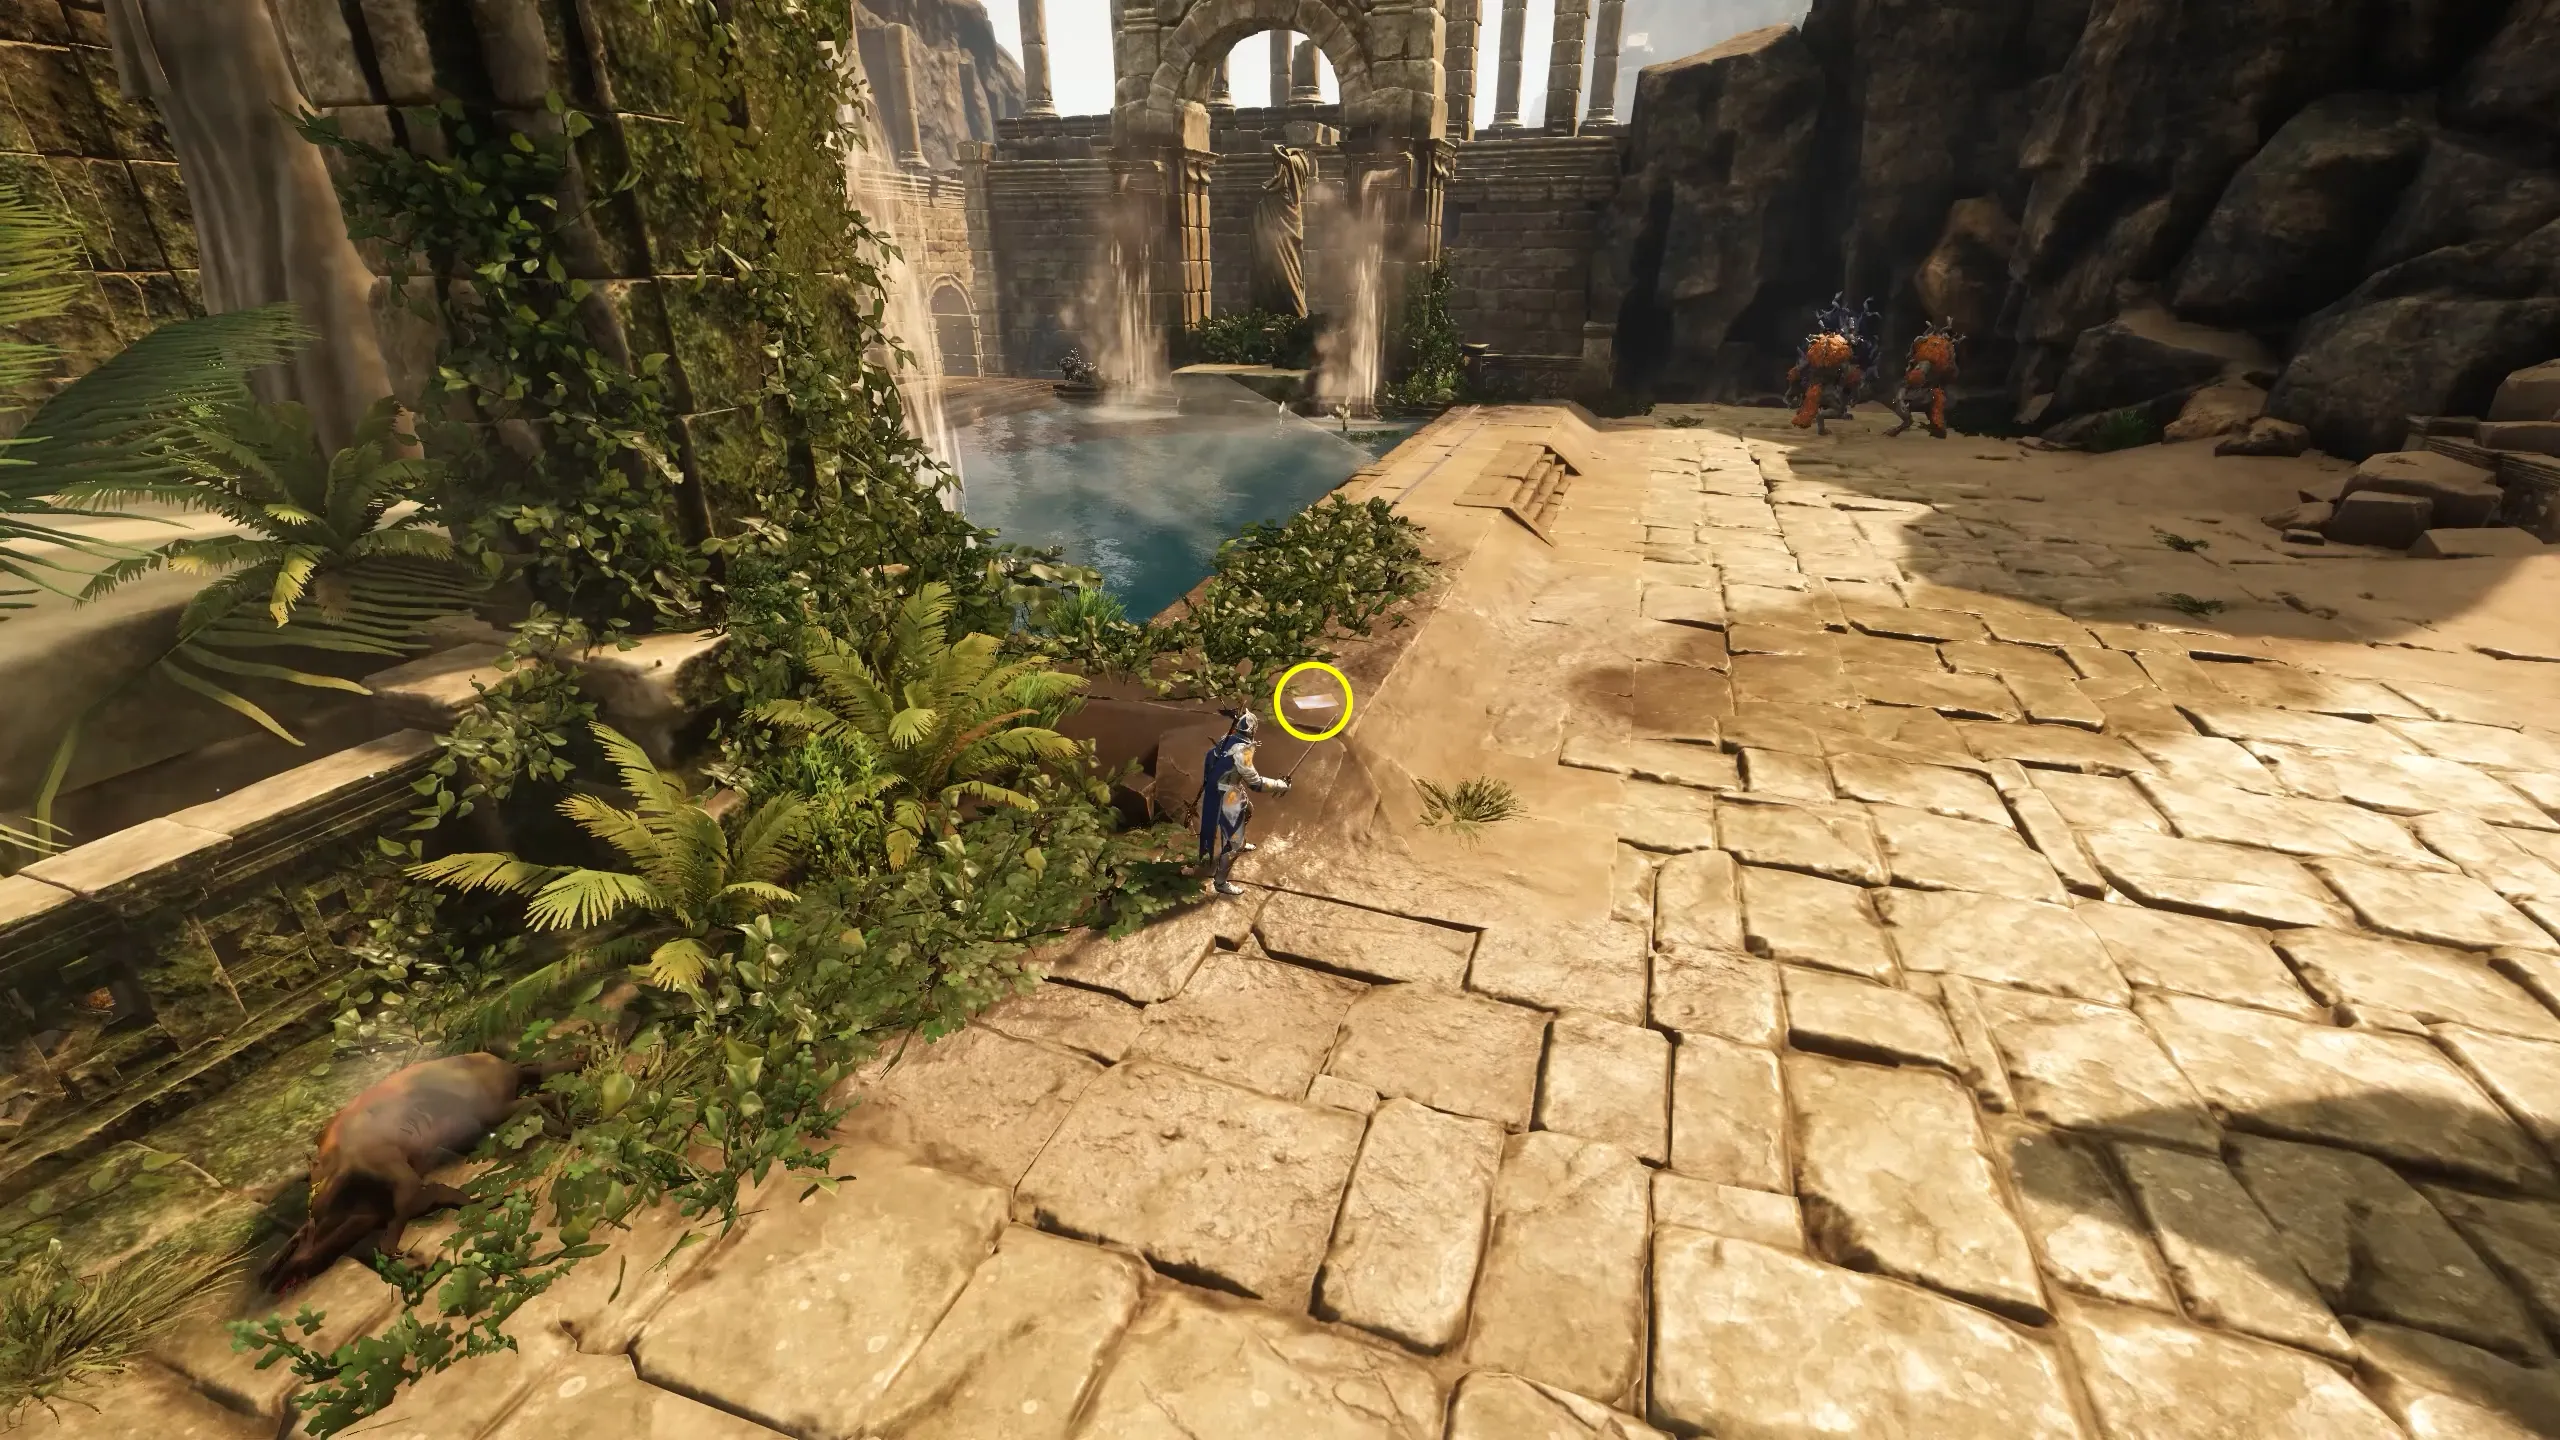
📘 Journal Page #2 is next to the rat by the pool.
Medusa’s Maze
Mechanics
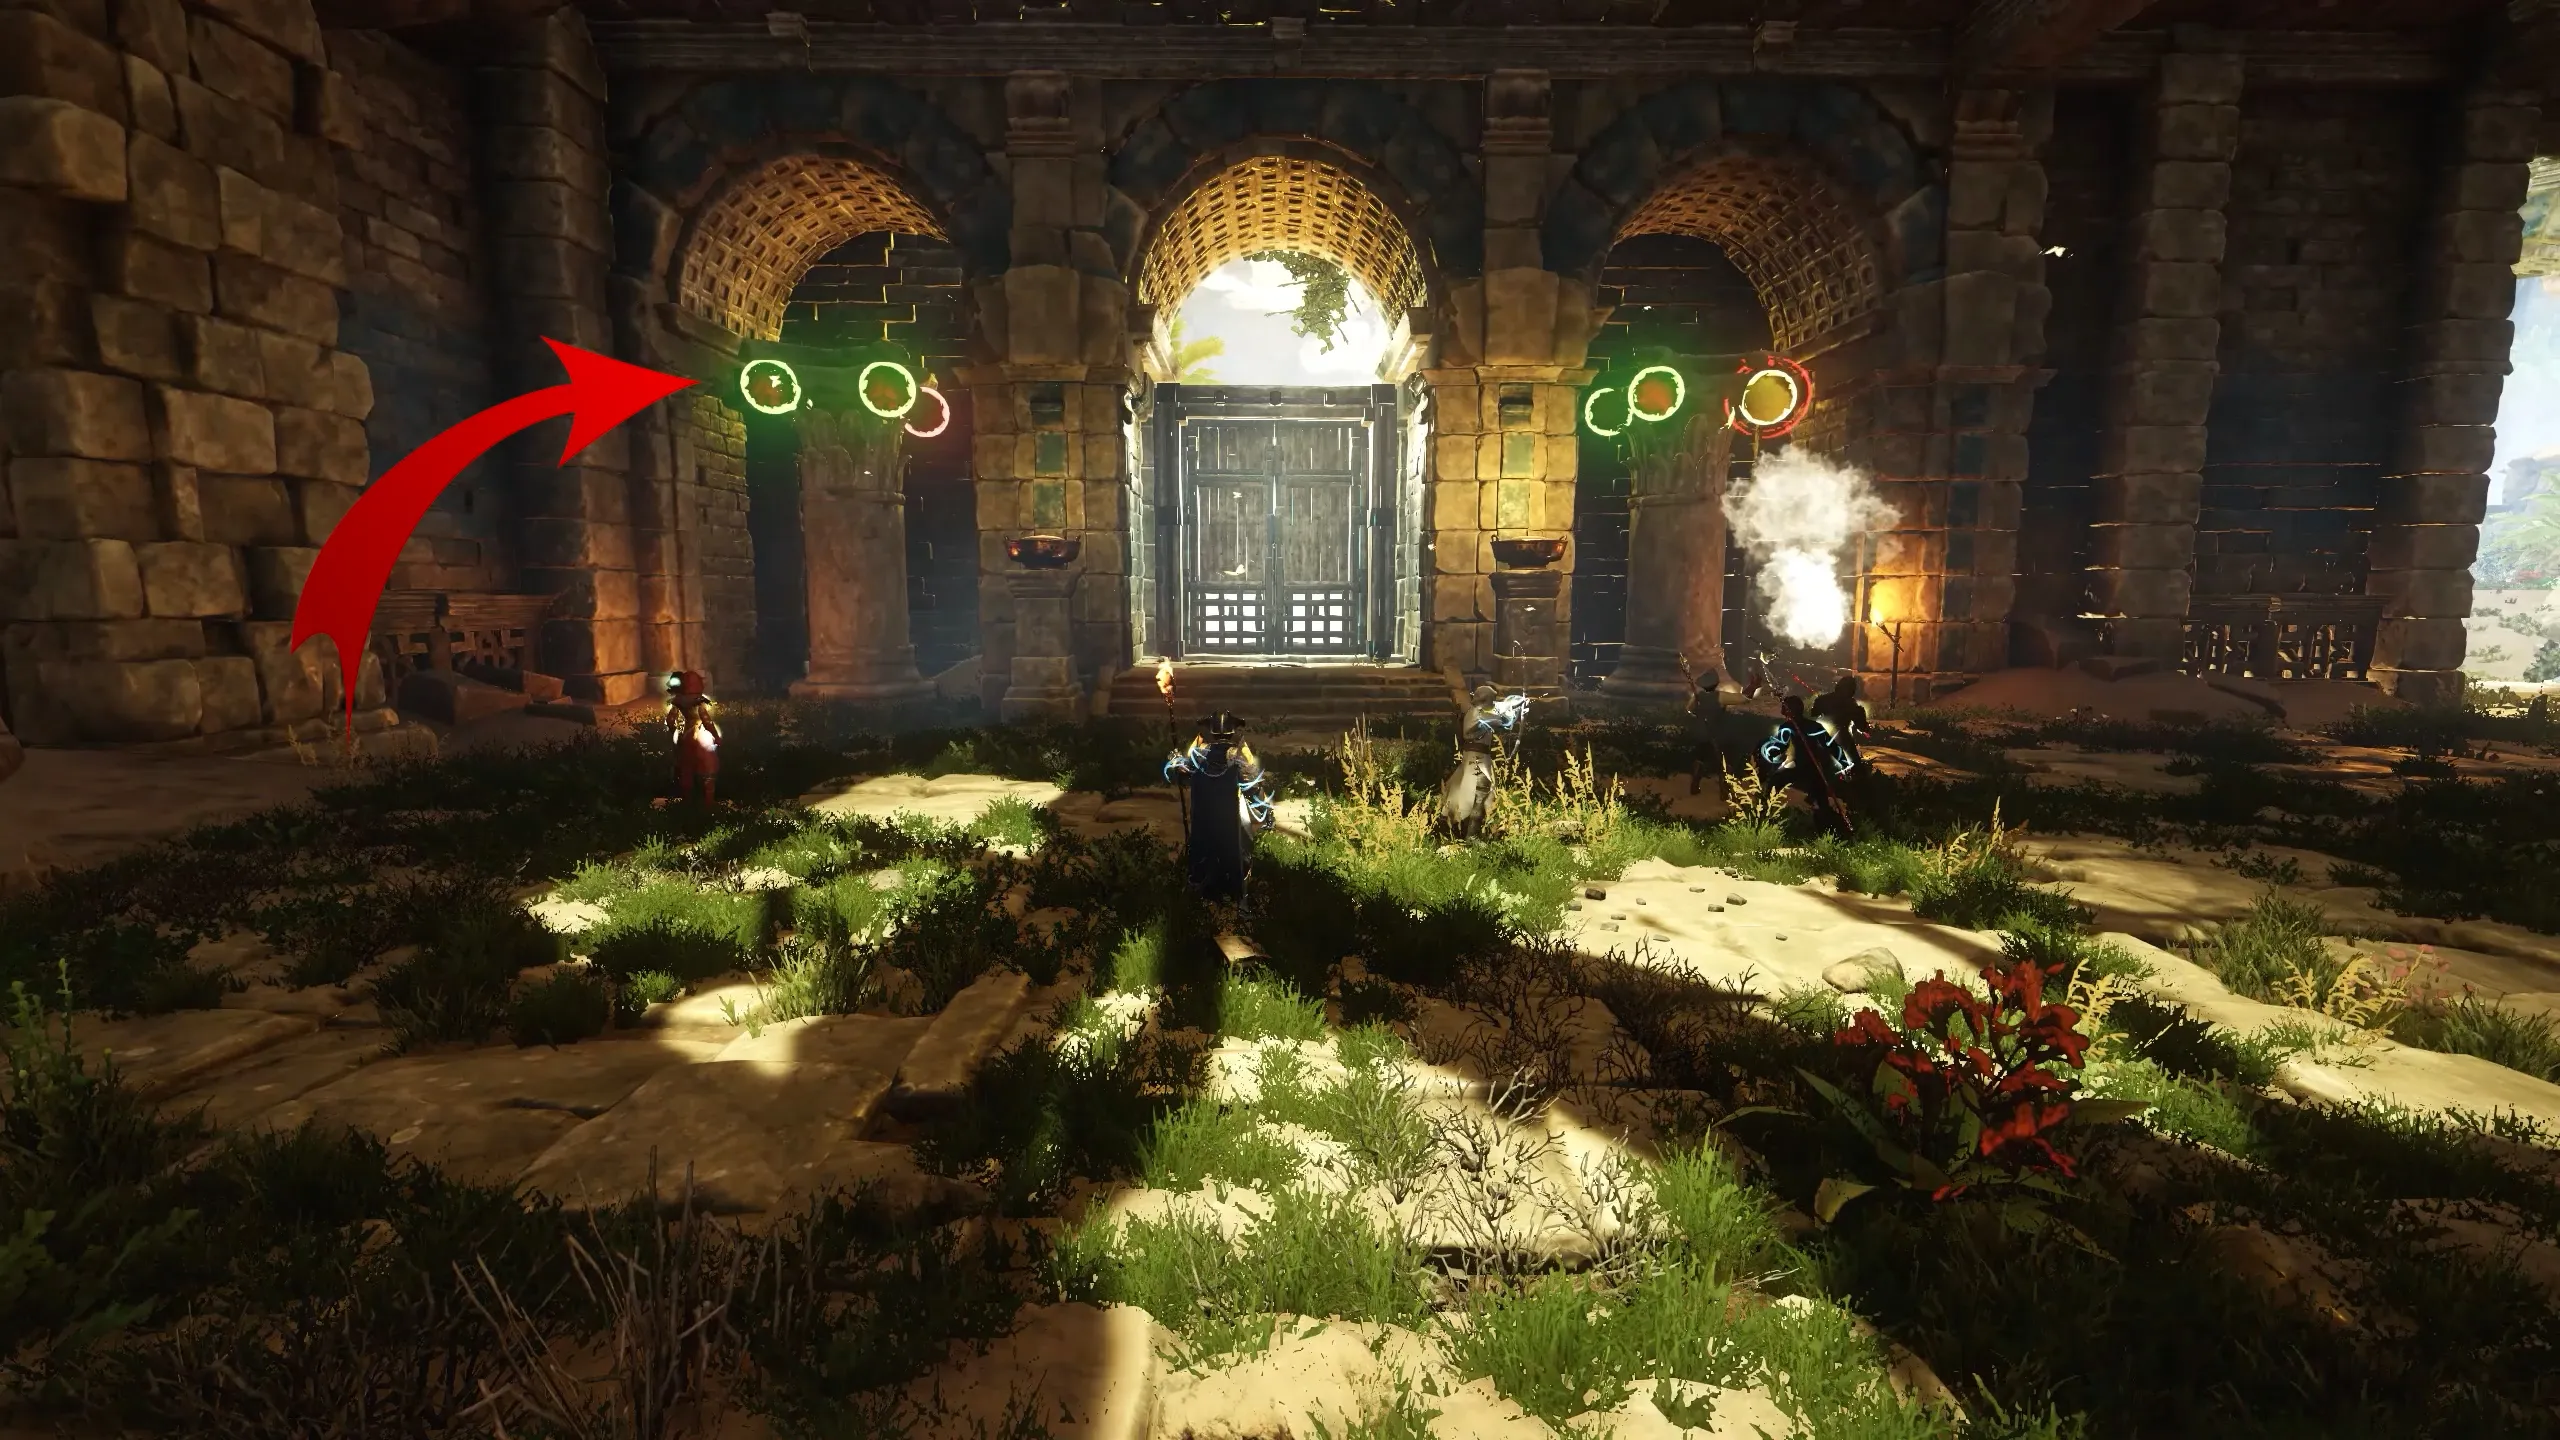
Your path leads back to Perseus. Speak to him to open the next door and enter Medusa’s Maze.
Inside, you’ll see a statue of Medusa above three unlit orbs. Your goal is to turn all three orbs green at the same time.
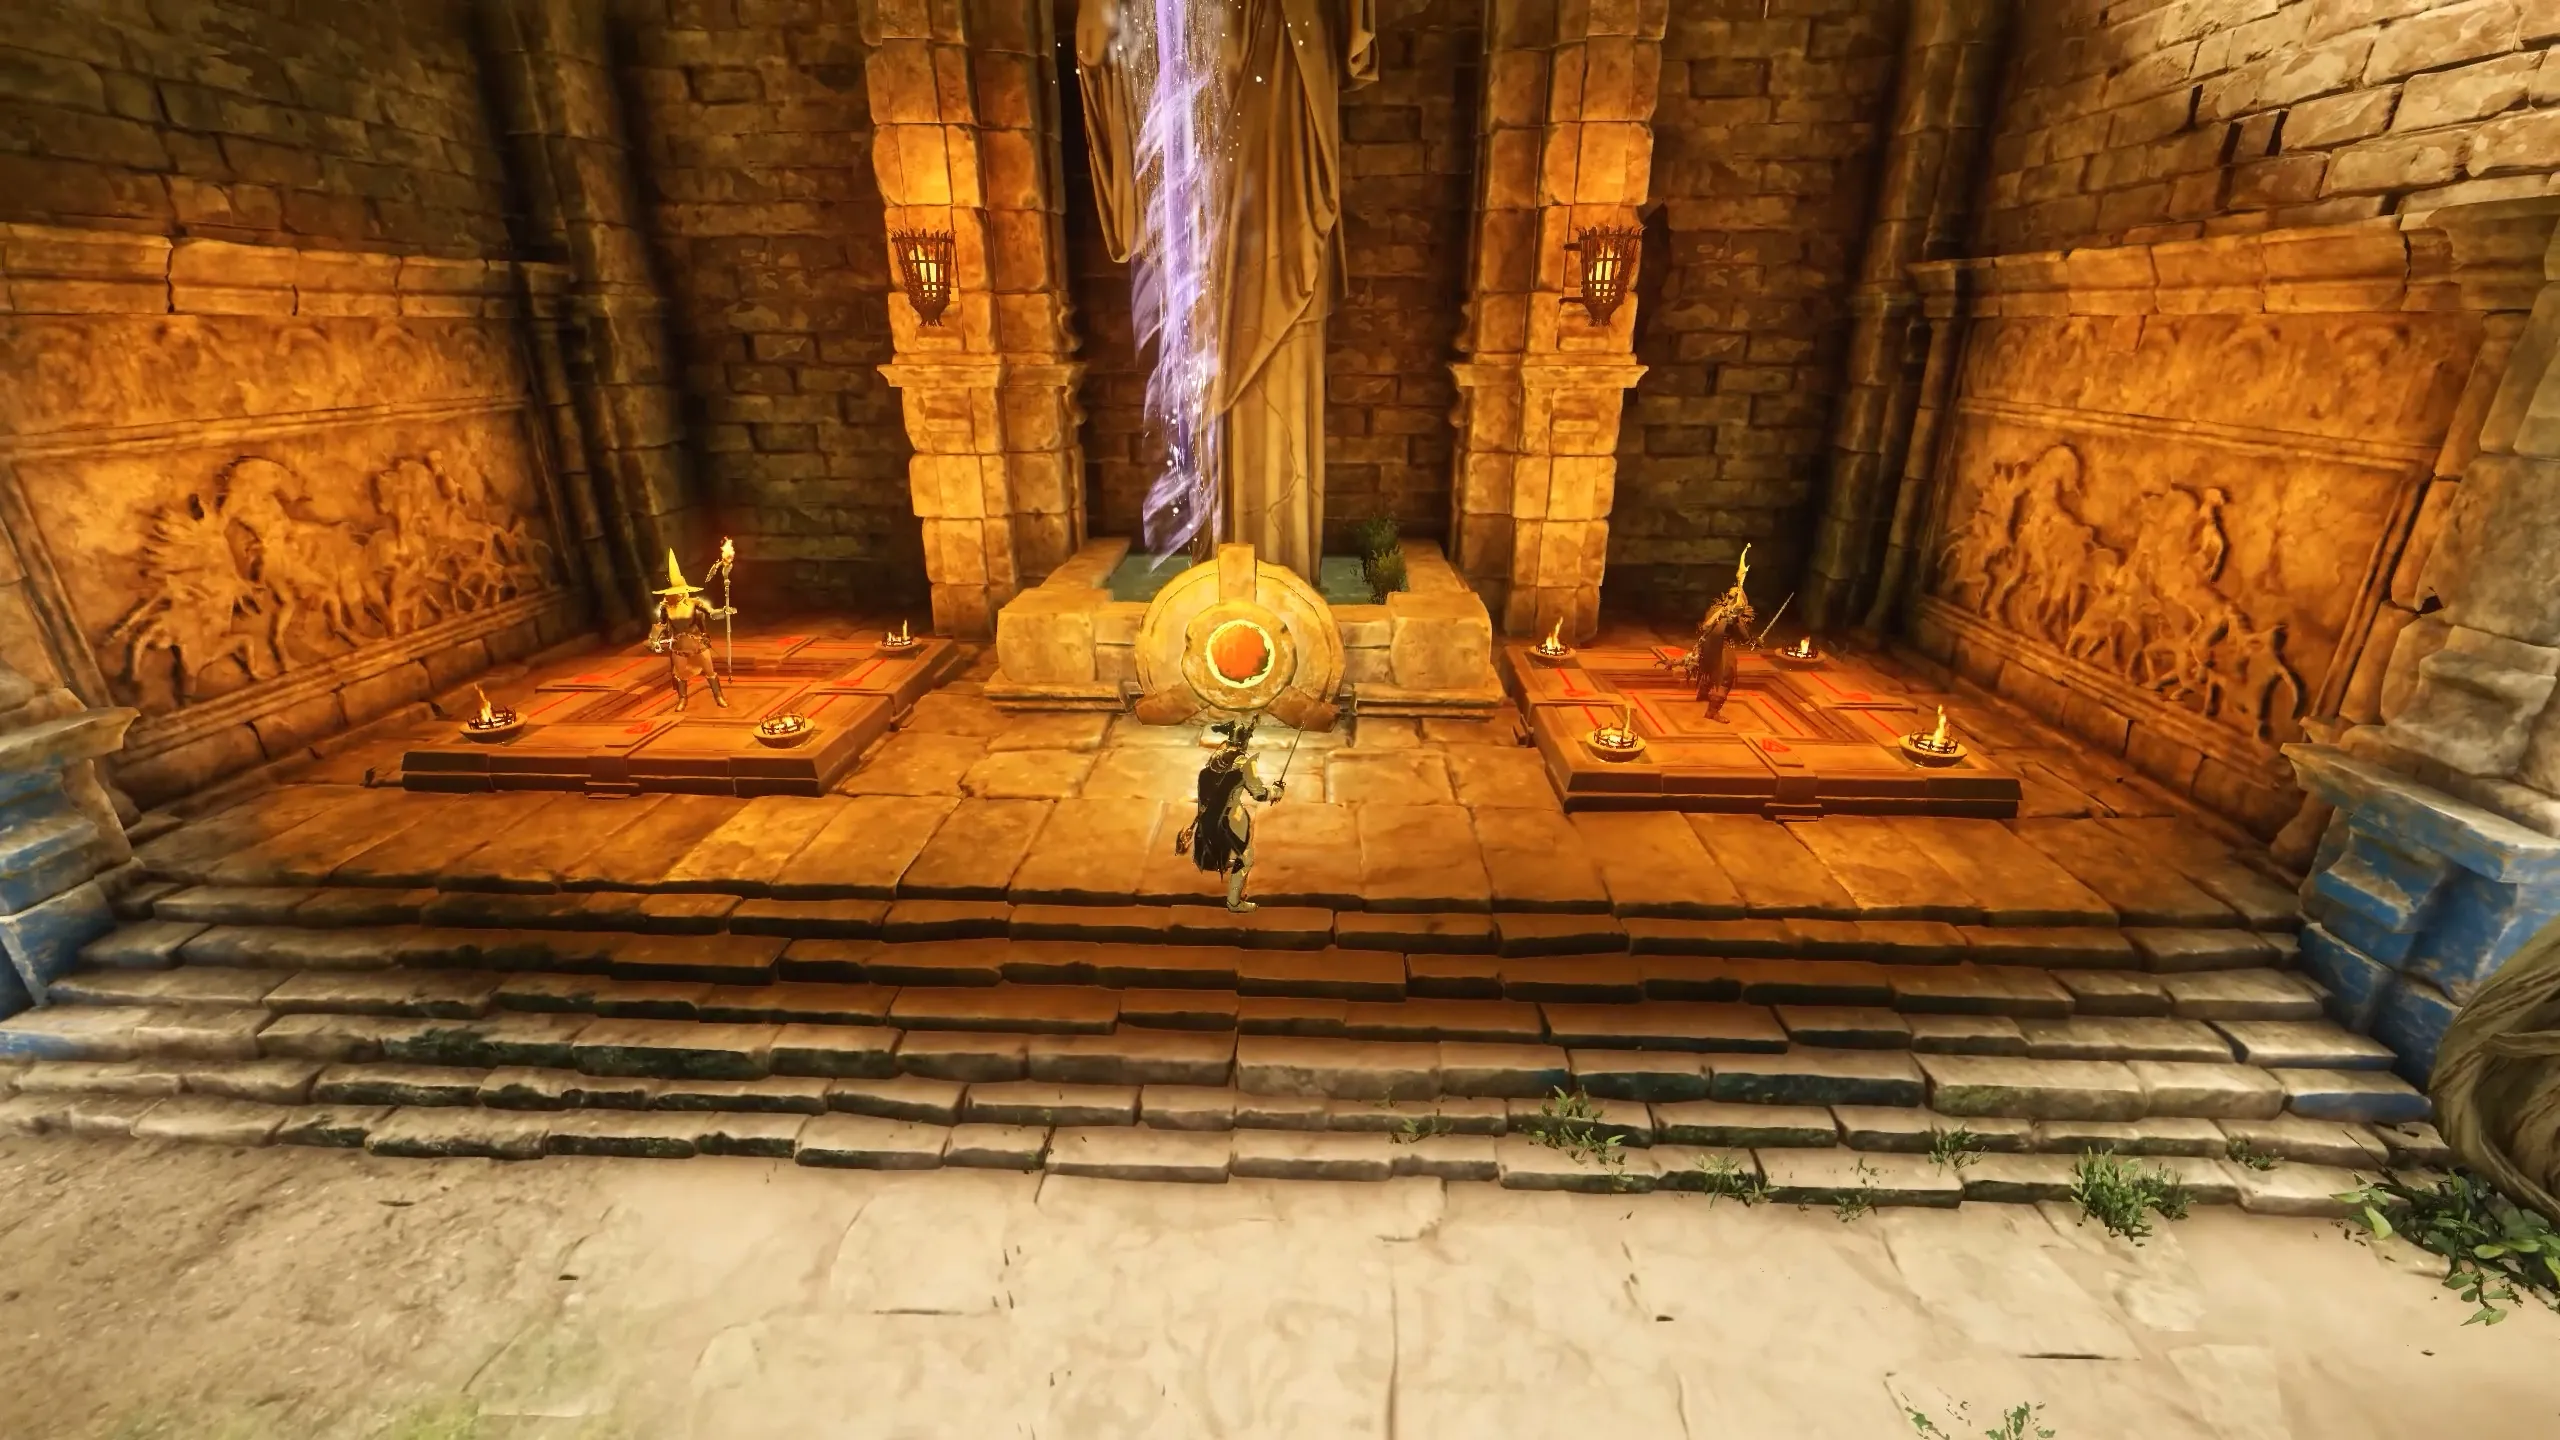
Each section of the maze contains two spiders and locked platforms. Defeating the spiders unlocks the platforms, and it takes two players standing on them to activate a single orb. All six platforms across the maze must be pressed together simultaneously to open the gate and proceed.
Roaming Medusa
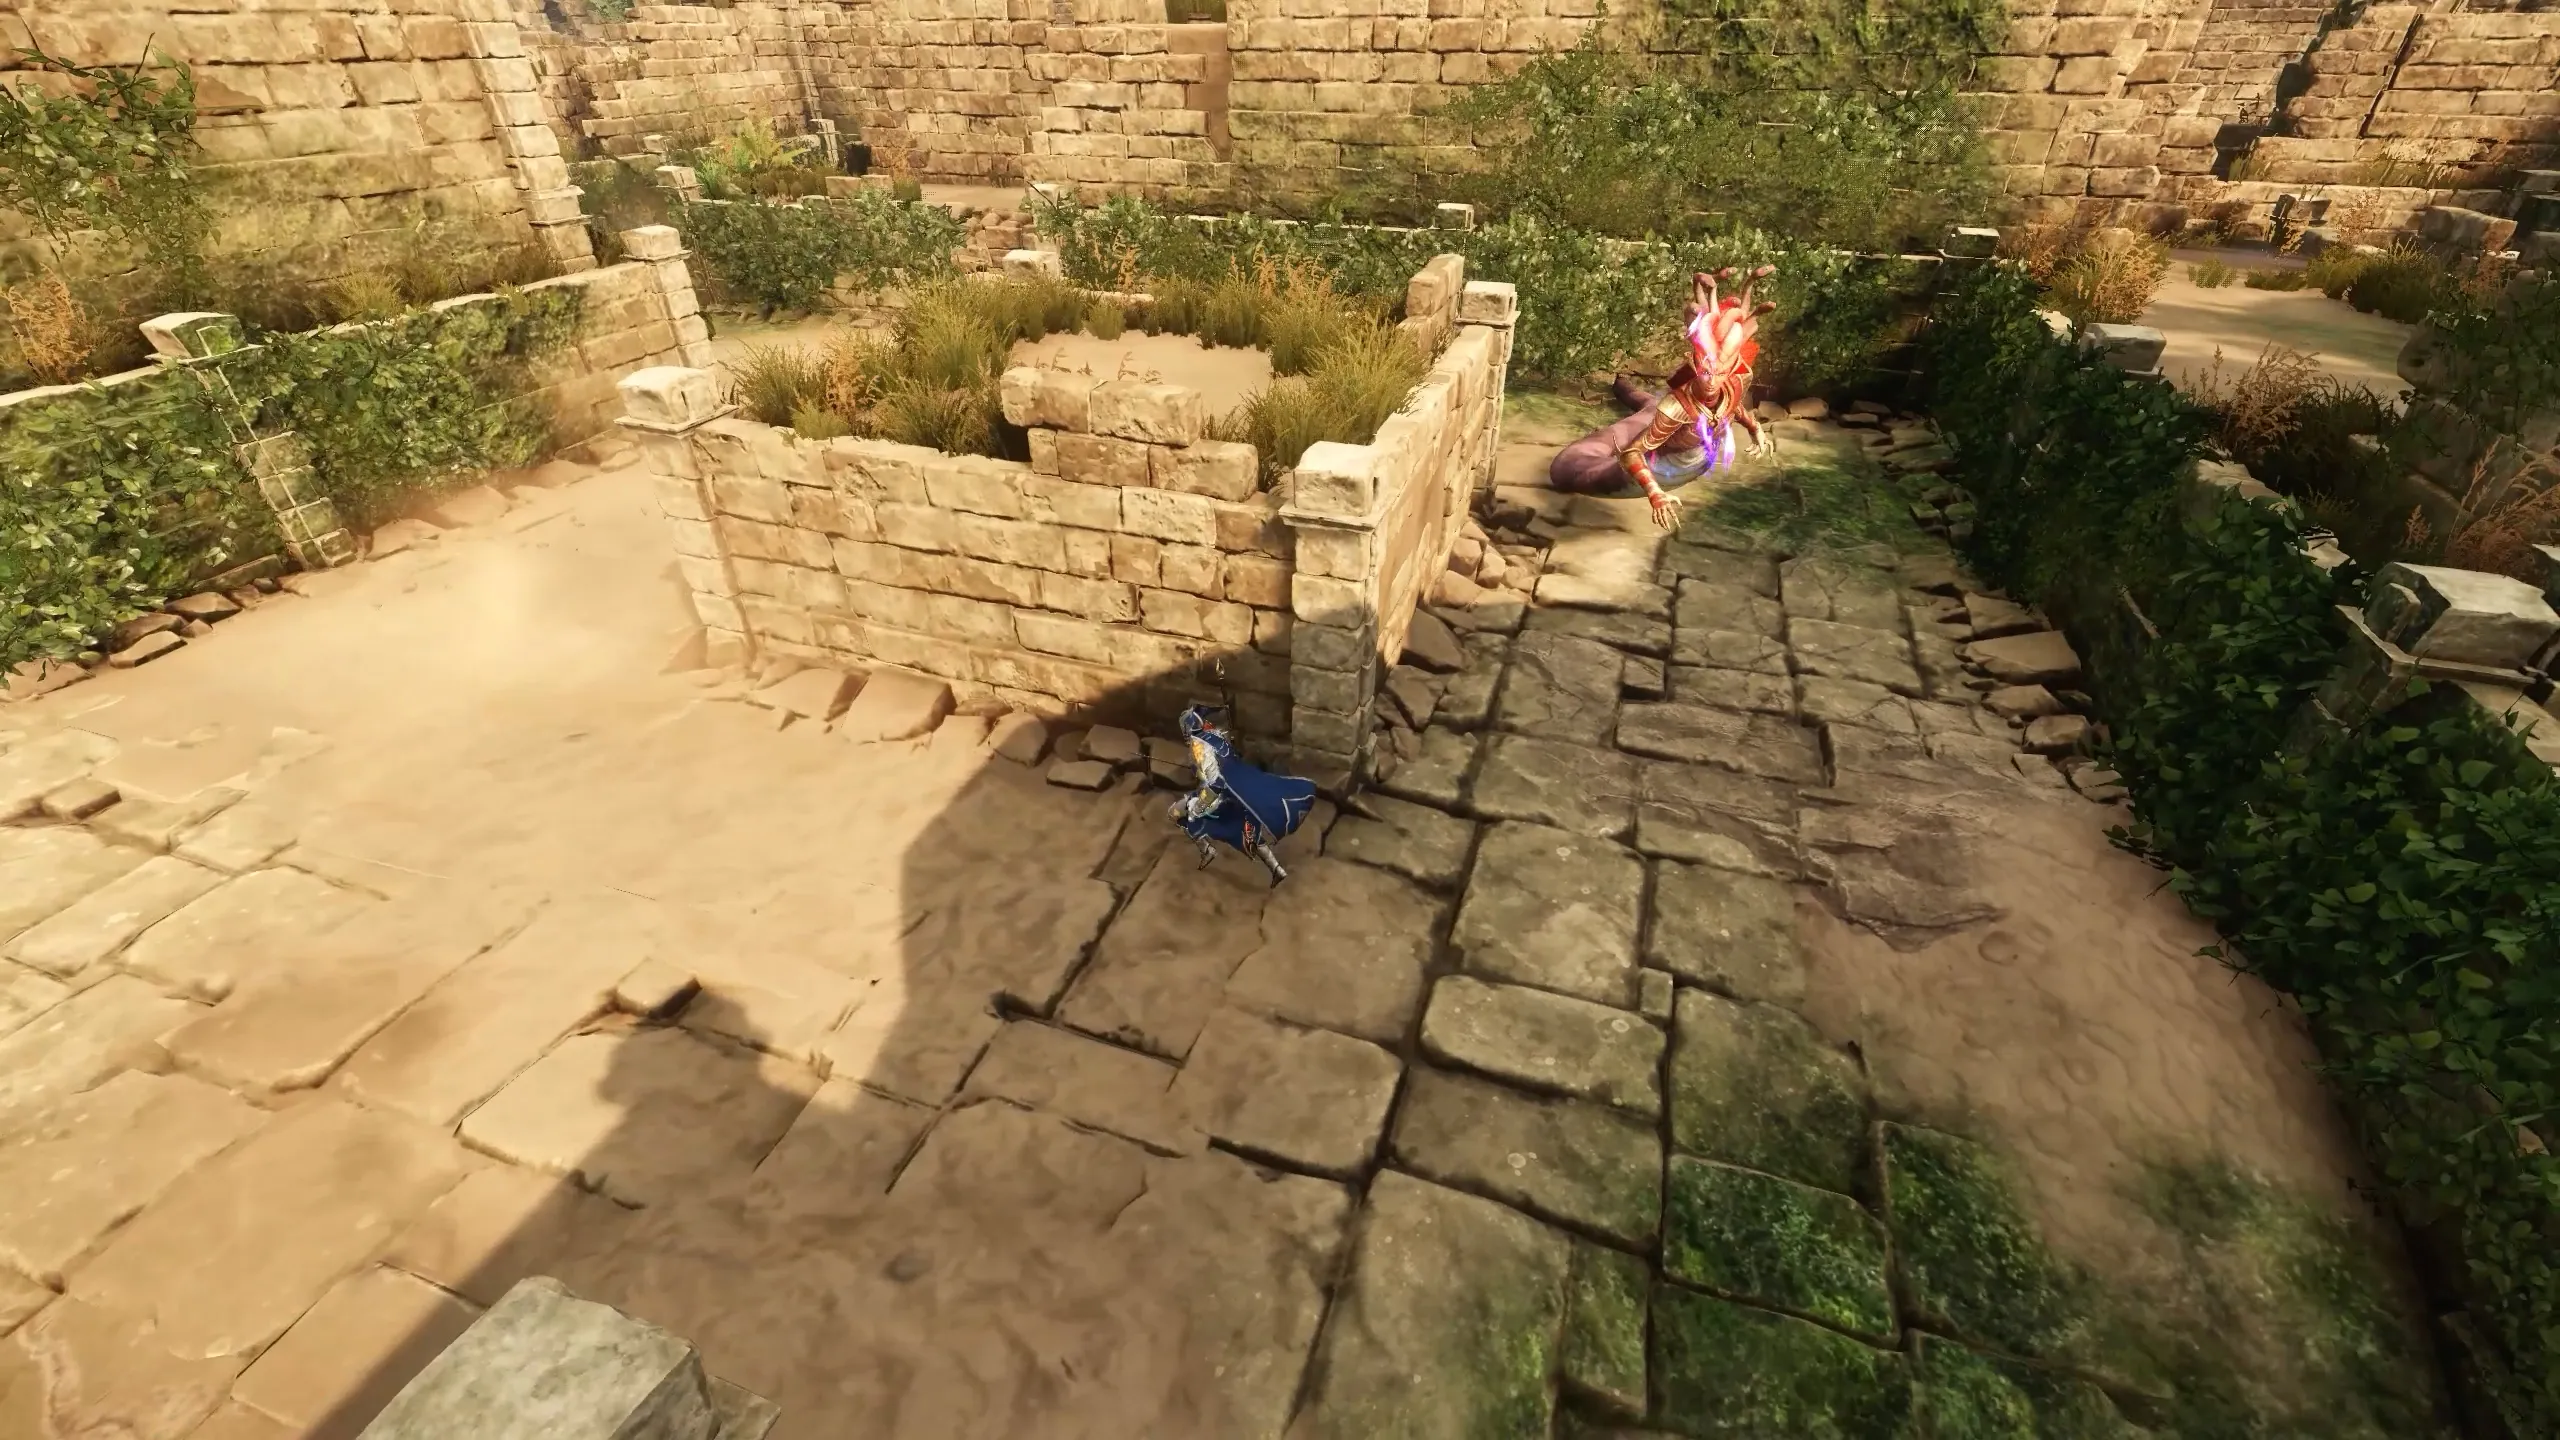
Two roaming Medusas patrol the maze. They cannot be killed, and their attacks include a lethal line-of-sight gaze beam and a rush claw strike. To survive, use walls and corners to break line of sight and avoid the gaze. Most groups assign one or two players to kite the Medusas while the others clear spiders and prepare the platforms. The central square room is a reliable spot for kiting one of them.
Once all platforms are activated simultaneously, the gate opens and the Medusa clones cannot go beyond the door.
Typhon Boss Fight
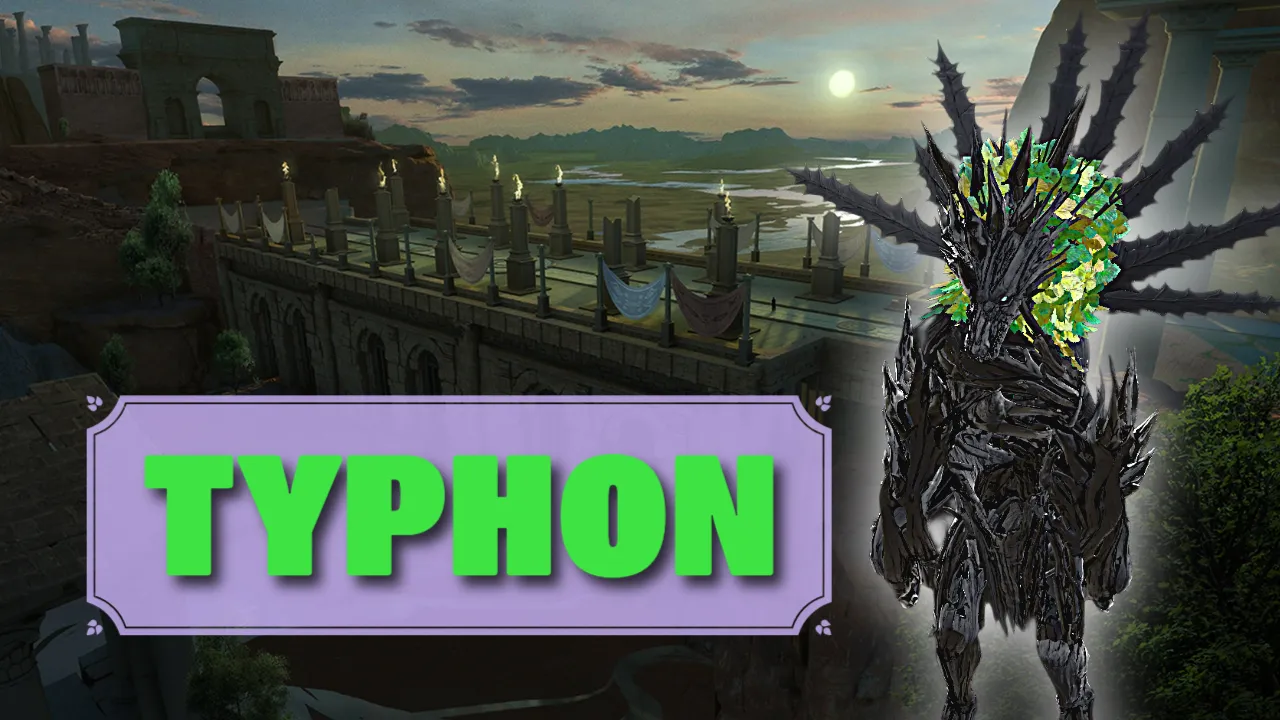
Continue up the path to the next checkpoint. Beyond, a circular arena of stone pillars awaits.
At the center: a strange flower-like creature.
That “flower” is none other than Typhon, your second boss.
If you want a full breakdown check this Typhon Guide.
Road to Medusa
Post Boss Enemies
With Typhon defeated, the path ahead splits into two possible routes. Both lead uphill through groups of trash mobs, and you can either clear them or skip them entirely.
A common trick is to pull enemies back into the boss arena. Once they enter, they automatically die. This makes skipping much easier if you want to conserve time and resources.
Medusa Statue
As you progress, you’ll encounter new mechanics in the form of Medusa statues. These rotating heads scan the area, and when they detect a player they unleash Medusa’s gaze, petrifying you and dealing continuous damage. Without healing, this will kill you before the effect ends. The safest approach is to move behind the statues and stay out of their line of sight.
At this point, two new enemy types are introduced:
- Gorillas that roll across the arena and smash into players.
- Elephants with heavy AOE attacks and knockbacks.
⚠️ Elephants are especially dangerous and should always be prioritized first.
Continue uphill and you’ll find a named wolf, additional trash mobs, and another elephant. A Medusa statue overlooks this area, so the safest strategy is to pull enemies downhill, away from the statue’s range, and deal with them there. Focus on the elephant first, then clean up the rest.
Eventually, you’ll reach a fork in the road. The left path leads to a dead end, so you must go right. This route features two more Medusa statues along with packs of corvids and spiders. You can either snipe the corvids from below to lure them down, or push through to the top and fight everything together.
At the top awaits a named boar, another elephant, and several gorillas, along with any leftover enemies you pulled along the way. Defeat them to unlock the next gate.
Cleansing Fountains
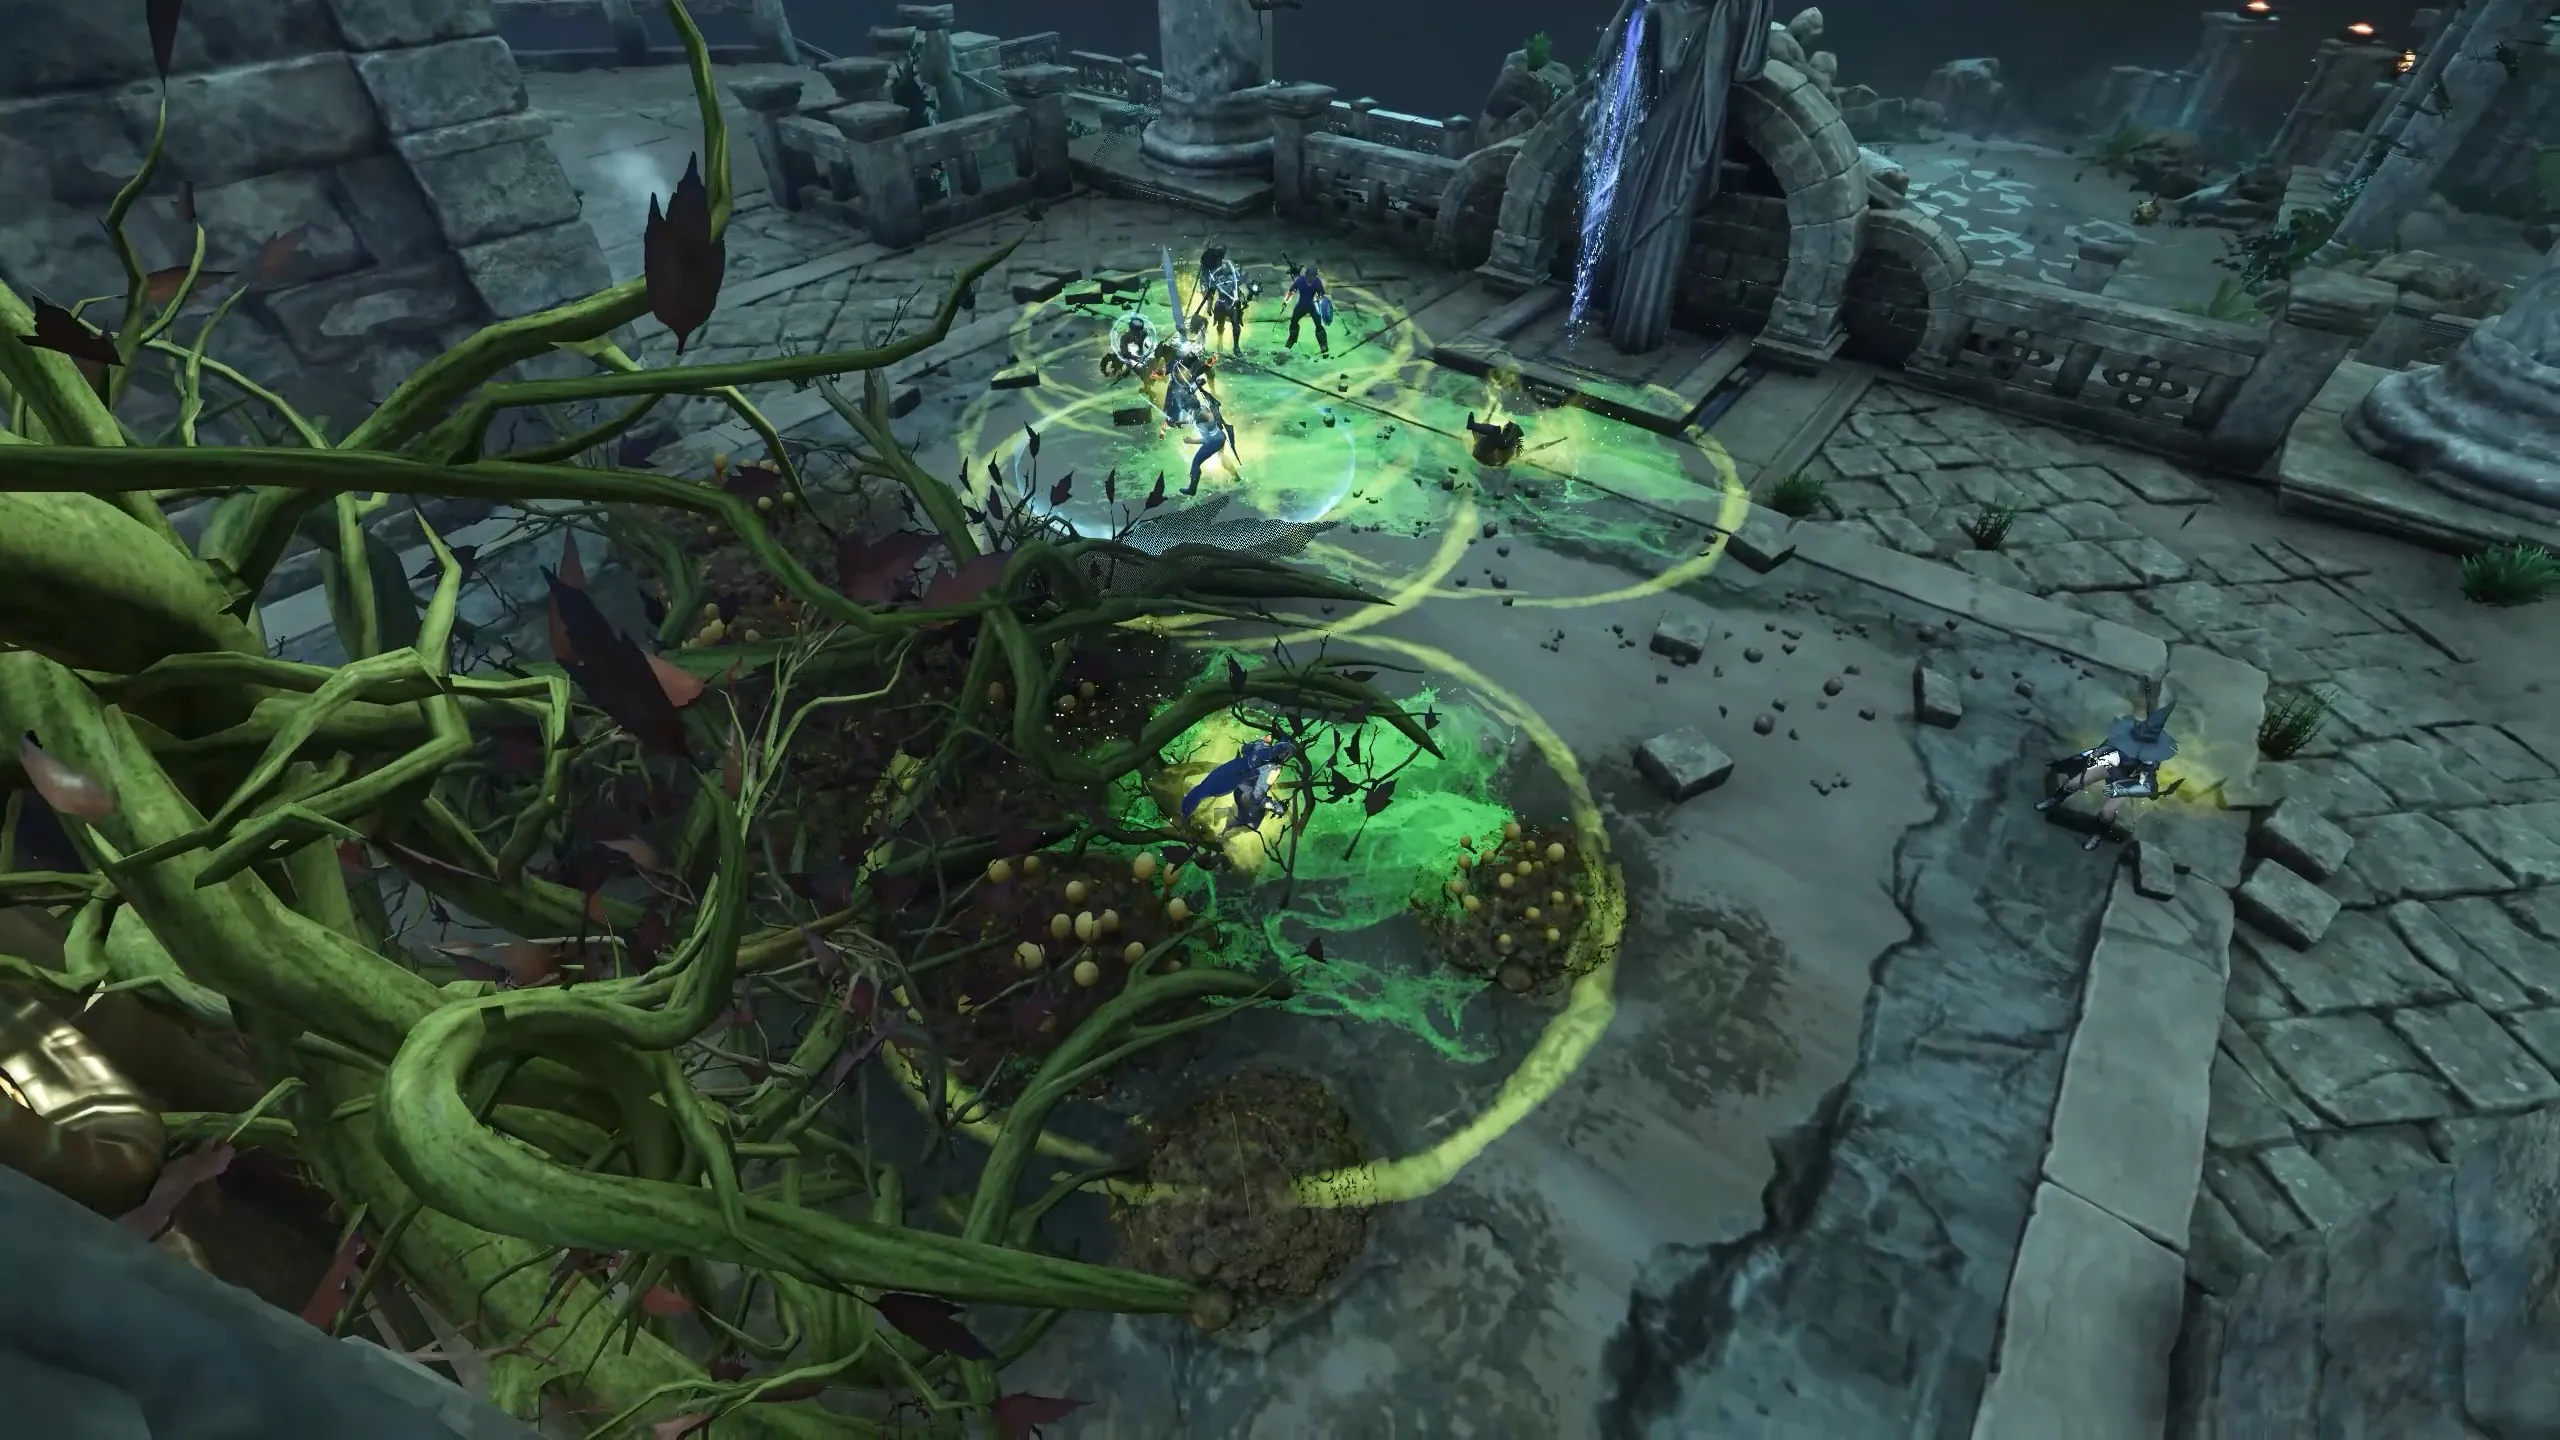
Ahead is a gate covered in thick vines. Standing inside them causes nature build-up and applies a poison debuff that spreads to nearby teammates. This same mechanic will appear again in the final boss fight, so it’s important to understand it now.
Nearby is a fountain filled with blue cleansing water. Interacting with it gives you a ball of cleansing energy that can be thrown on the ground. This creates a small cleansing circle that removes poison and build-up. Use this to clear the vines and cleanse your group.
Mushroom Arena
Proceed forward and you’ll enter a circular arena filled with poisonous mushrooms and surrounded by fountains. Once you step inside, the entrance closes and you must use the fountains to manage the poison while fighting waves of enemies.
- Wave 1: A named corvid, an elephant, and supporting mobs.
- Wave 2: A named wolf, a reindeer, and a boar.
To progress, you must cleanse the arena fully and clear vines from both gates. Each fountain has a cooldown, so coordinate their use carefully.
Pro Tip: You can use the cleansing fountain behind you before the fight starts to pre-cleanse the arena and unlock the fountains early, making the battle easier.
Split Path
Once the arena is clear, you’re presented with two paths that must both be completed. Divide your team into two groups of five. At the start of each path are sealed gates with platforms. Three players must stand on the platforms simultaneously to open both gates.
Each path contains levers and gates that are linked to the opposite side. Pulling a lever on one path will open a gate for the other group. Progression requires constant cooperation between both sides.
- Left Path: Begins with two spiders and requires the right side to pull levers to open your gates. Inside are more spiders, a corvid, and a wolf.
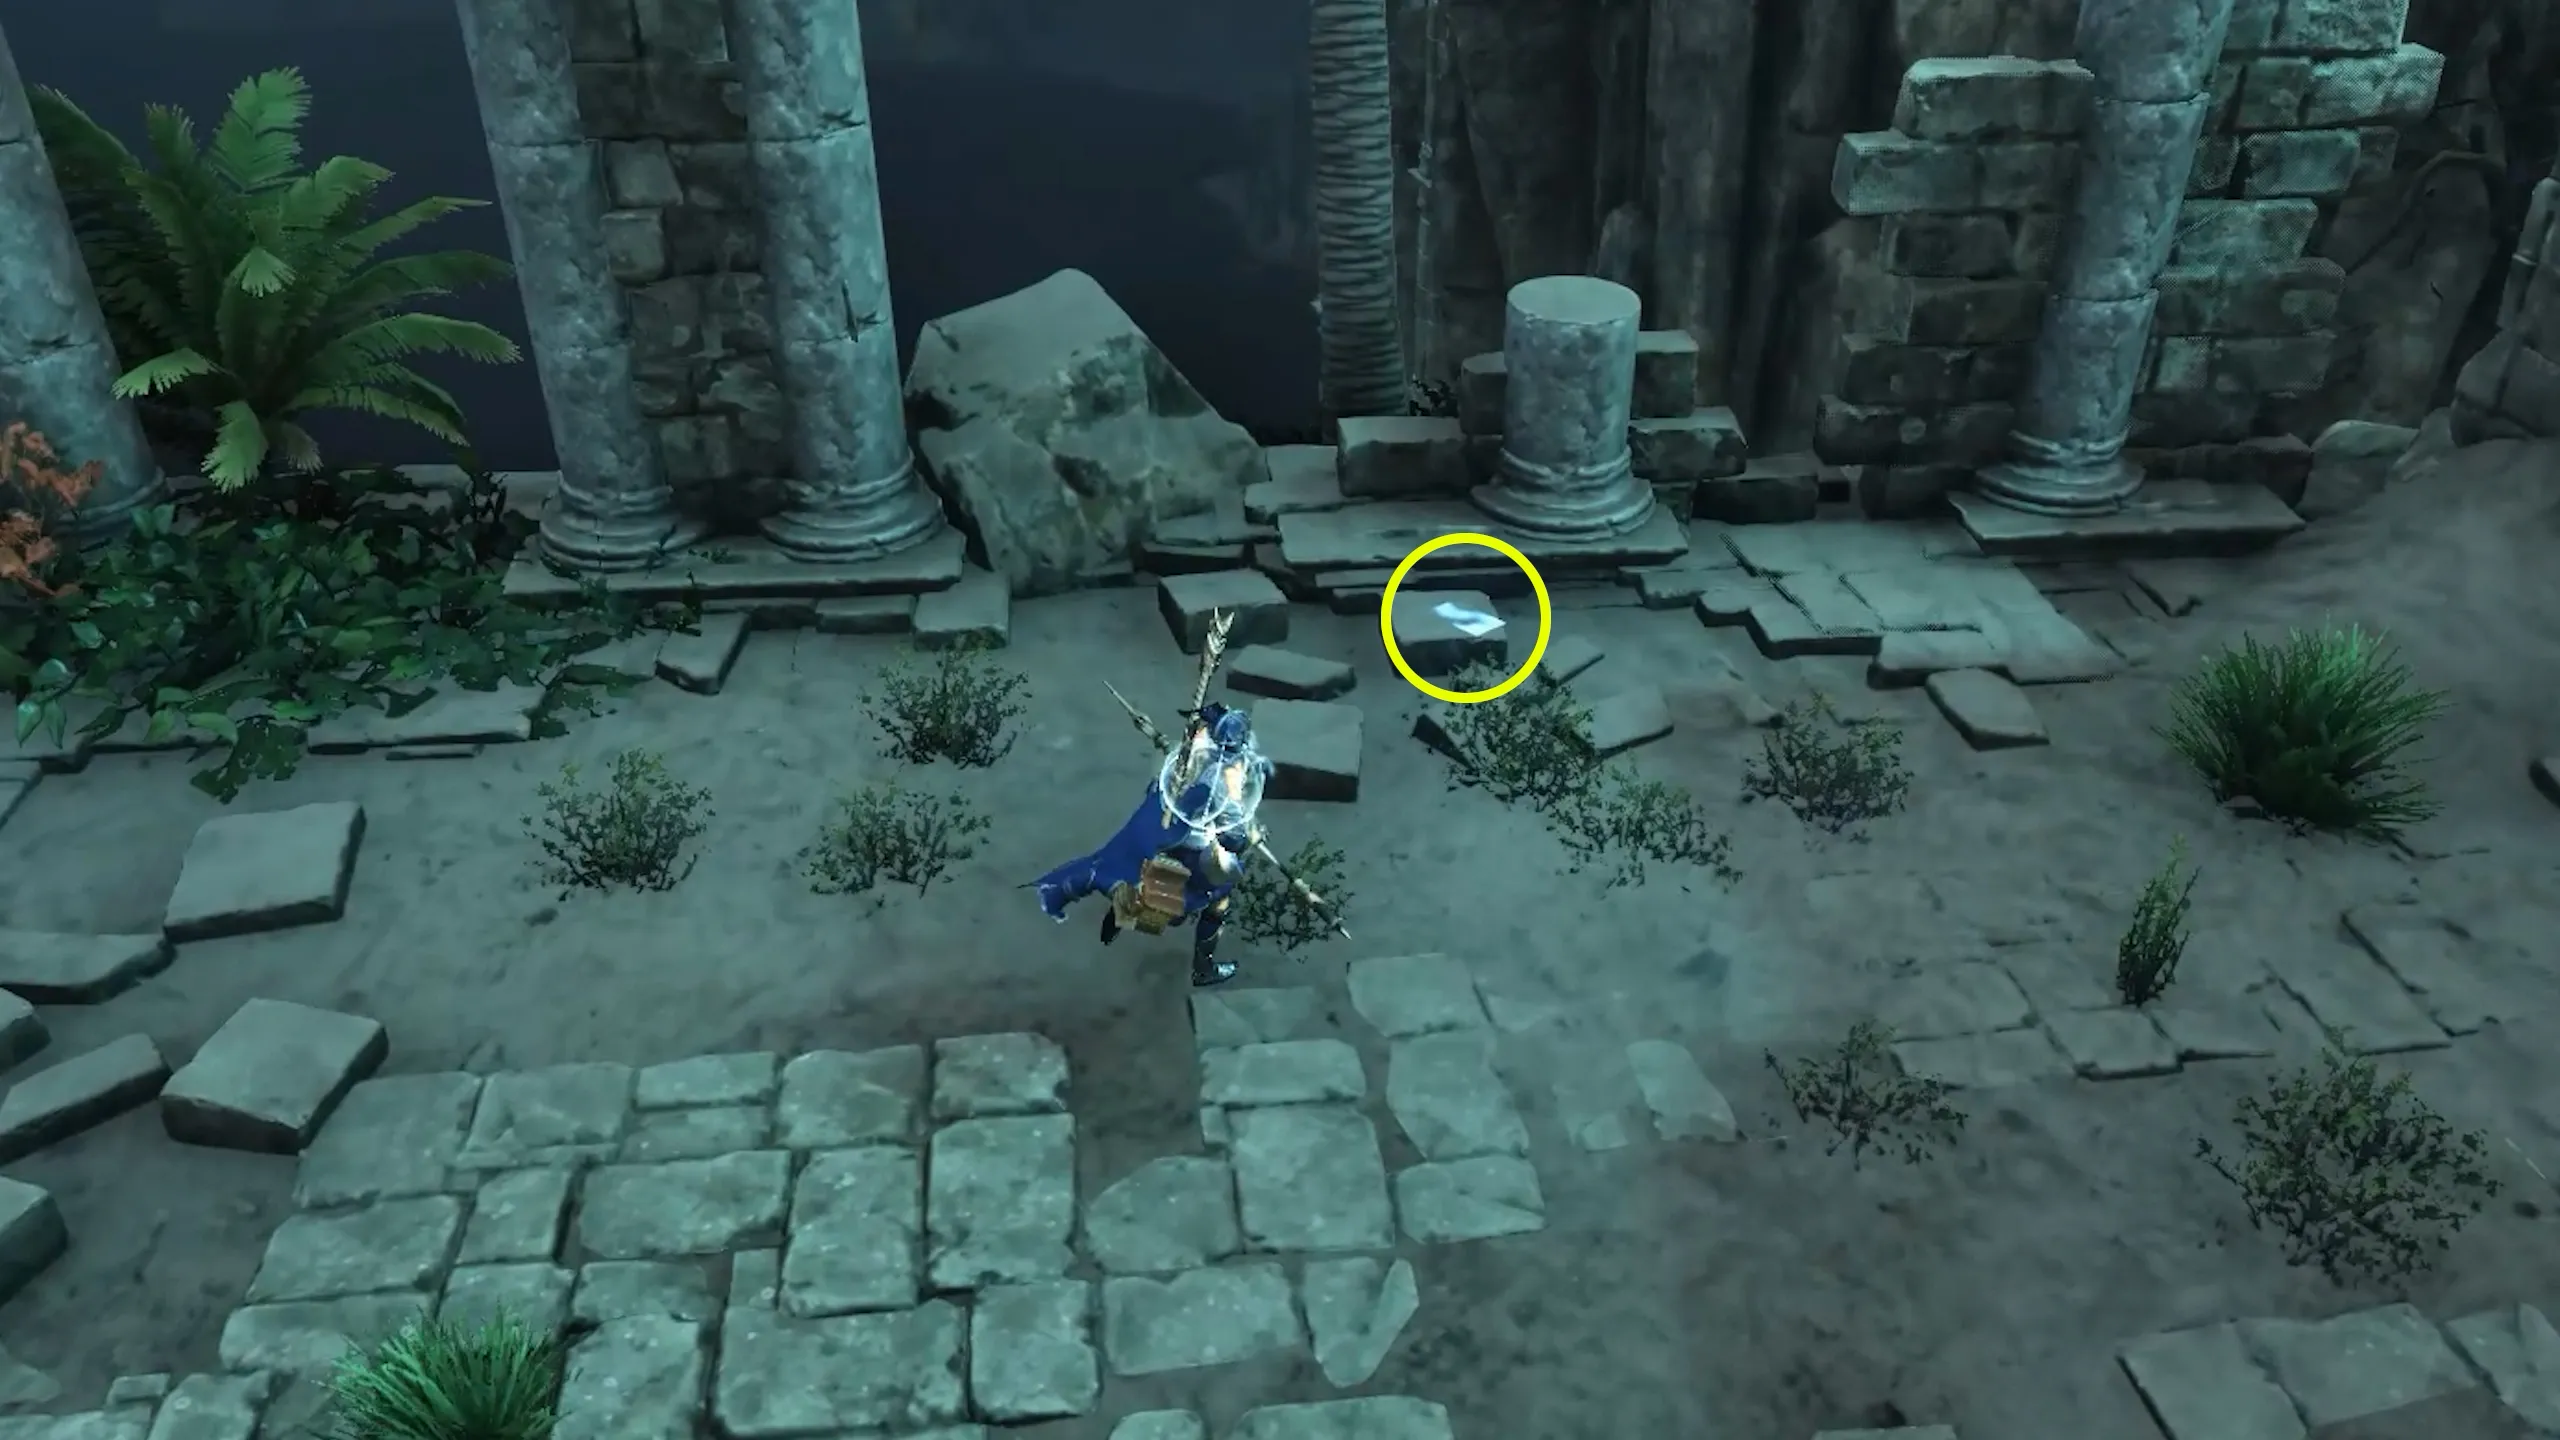
📘 Journal Page #3 is located here on the left path, near the corvid.
- Right Path: Starts by pulling a lever that opens the first gate for the left side. From there, you’ll fight spiders, a boar, a corvid, rats, and vines. Later sections add a wolf, a gorilla, and multiple Medusa statues to navigate.
Both sides eventually converge at a large central gate guarded by Perseus. Once both groups finish their routes and activate the twin levers, the gate opens — revealing the final arena.
Medusa Boss Fight
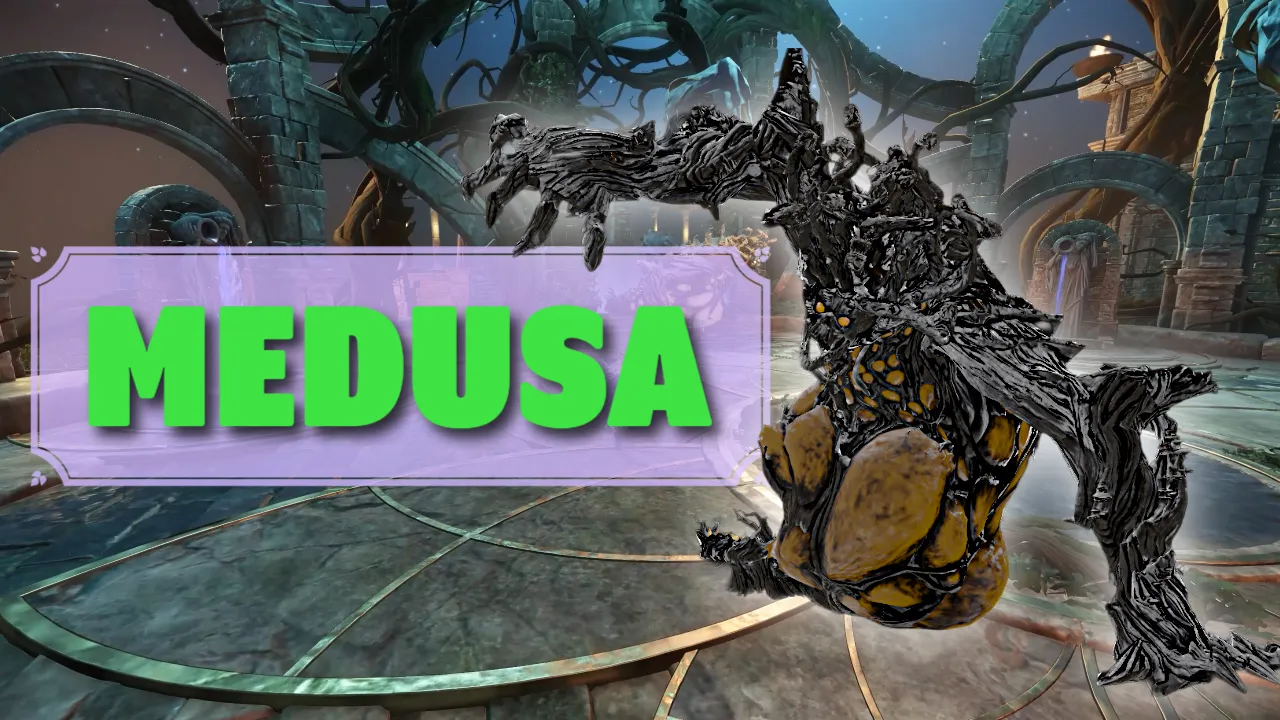
Behind the gate lies the domain of Broodmother Medusa, the final boss of the Hive of the Gorgons raid.
This fight combines everything you’ve learned so far into the ultimate challenge. From poison management and cleansing to add control and challenging mechanics.
If you want a full breakdown check this Medusa Guide.
Rewards
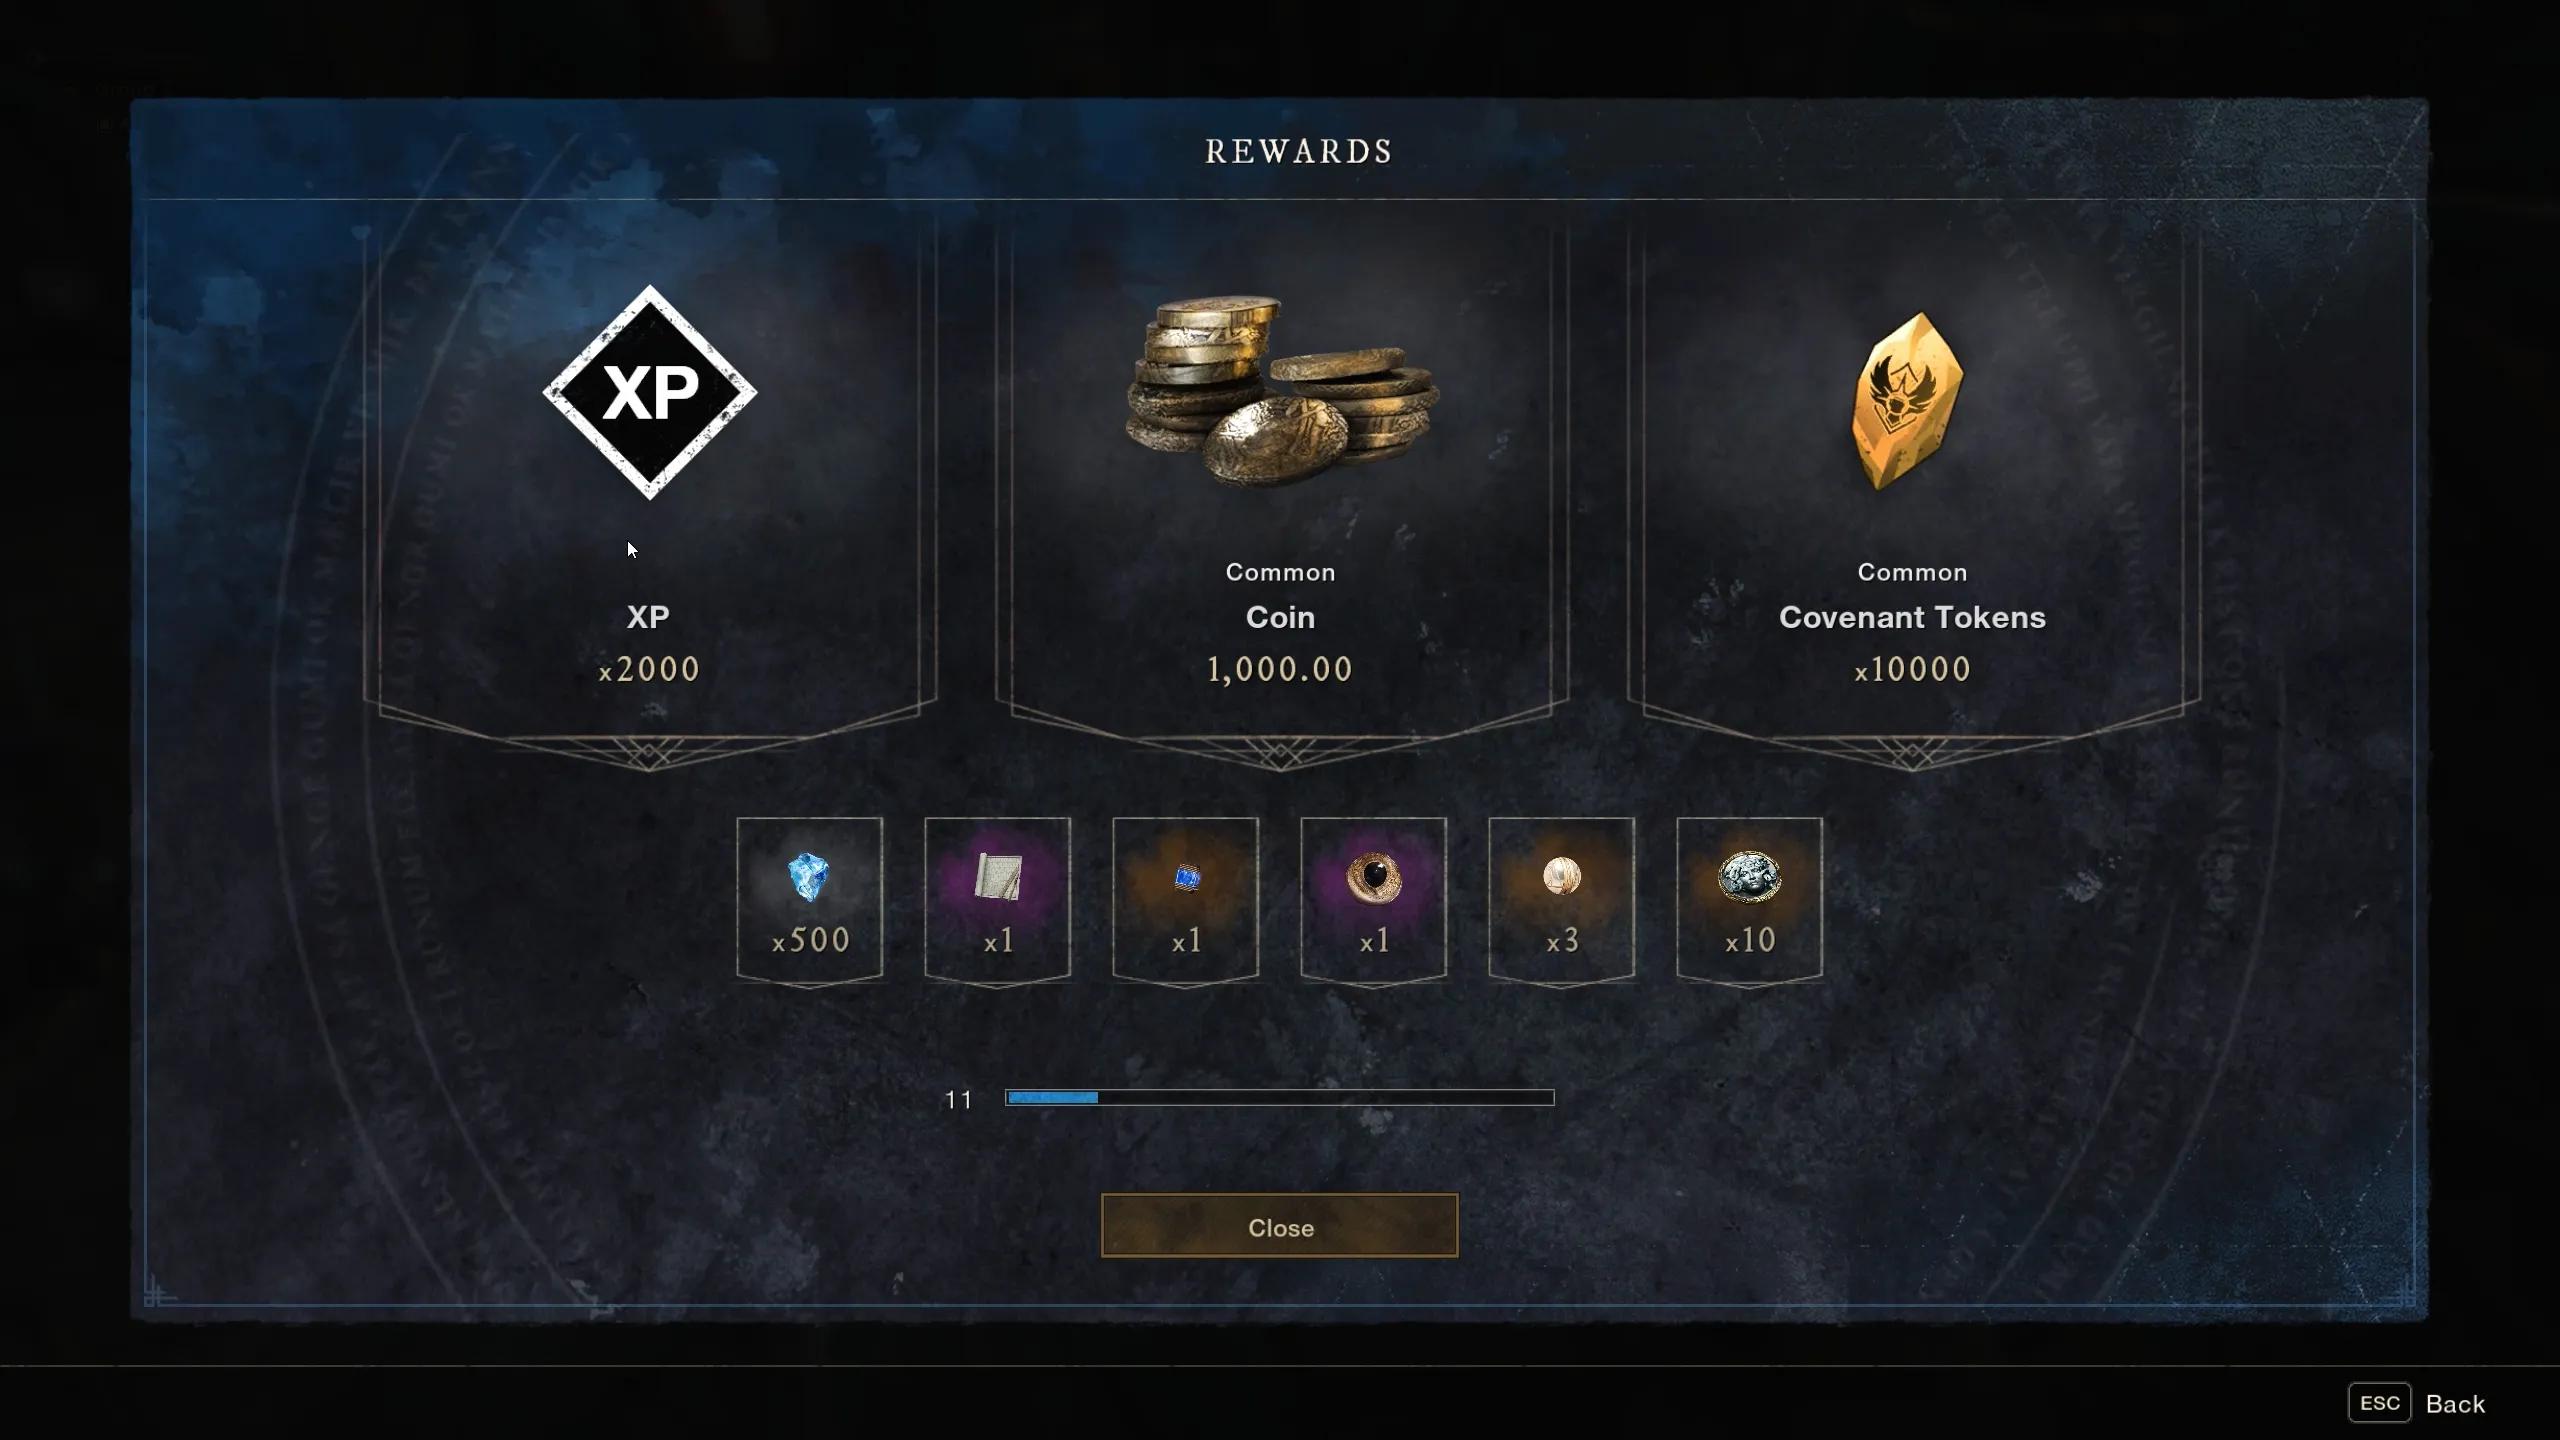
Weekly Raid Completion Rewards
- 1000 gold
- 10,000 faction tokens
- 500 azoth
- 1 extra Gorgon Eye
- 1 Azoth Conductor
- 3 Chromatic Seals
- 10 Gorgon Tokens
- Chance at a Gorgonite Schematic (for GS 725 items, 1 locked perk, no crafting level needed)
One-Time Quest Reward
- Available in Cutlass Keys for your first clear.
- Collect 3 items inside the raid → reward is a Coconut and 2000 Doubloons.
That concludes the Hive of the Gorgons raid. From the early enemies and puzzles to the three major boss encounters: Echidna, Typhon, and Broodmother Medusa. This raid tests every part of your group’s coordination and preparation.
I hope this guide helped you understand each step of the journey and made your clears smoother.