Echidna Guide
Echidna: Boss Fight 1 - Full guide explaining mechanics and attack patterns
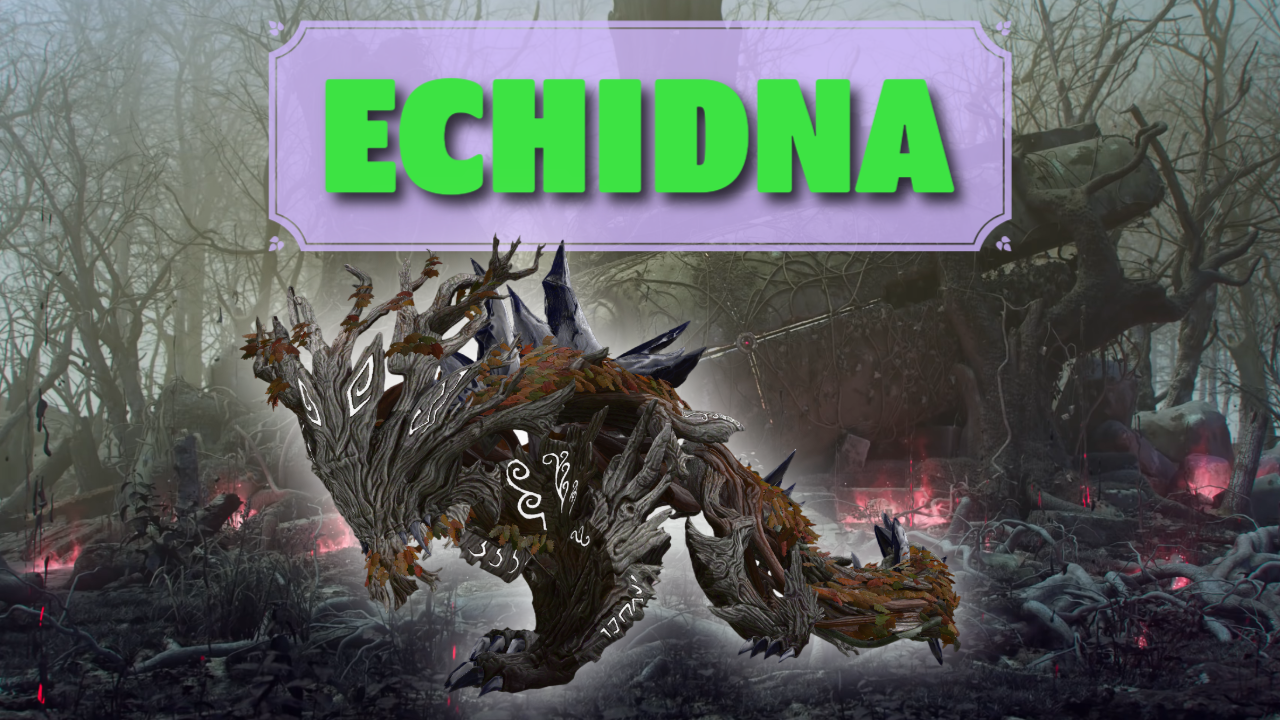
Echidna is the first boss in hive of the gorgons. The fight has a lot of strike damaging mechanics with a wipe mechanic every few rotations.
Echidna Boss Fight
This guide will cover all the attack attack patterns of Echidna with a full breakdown of the fight mechanics and phases.
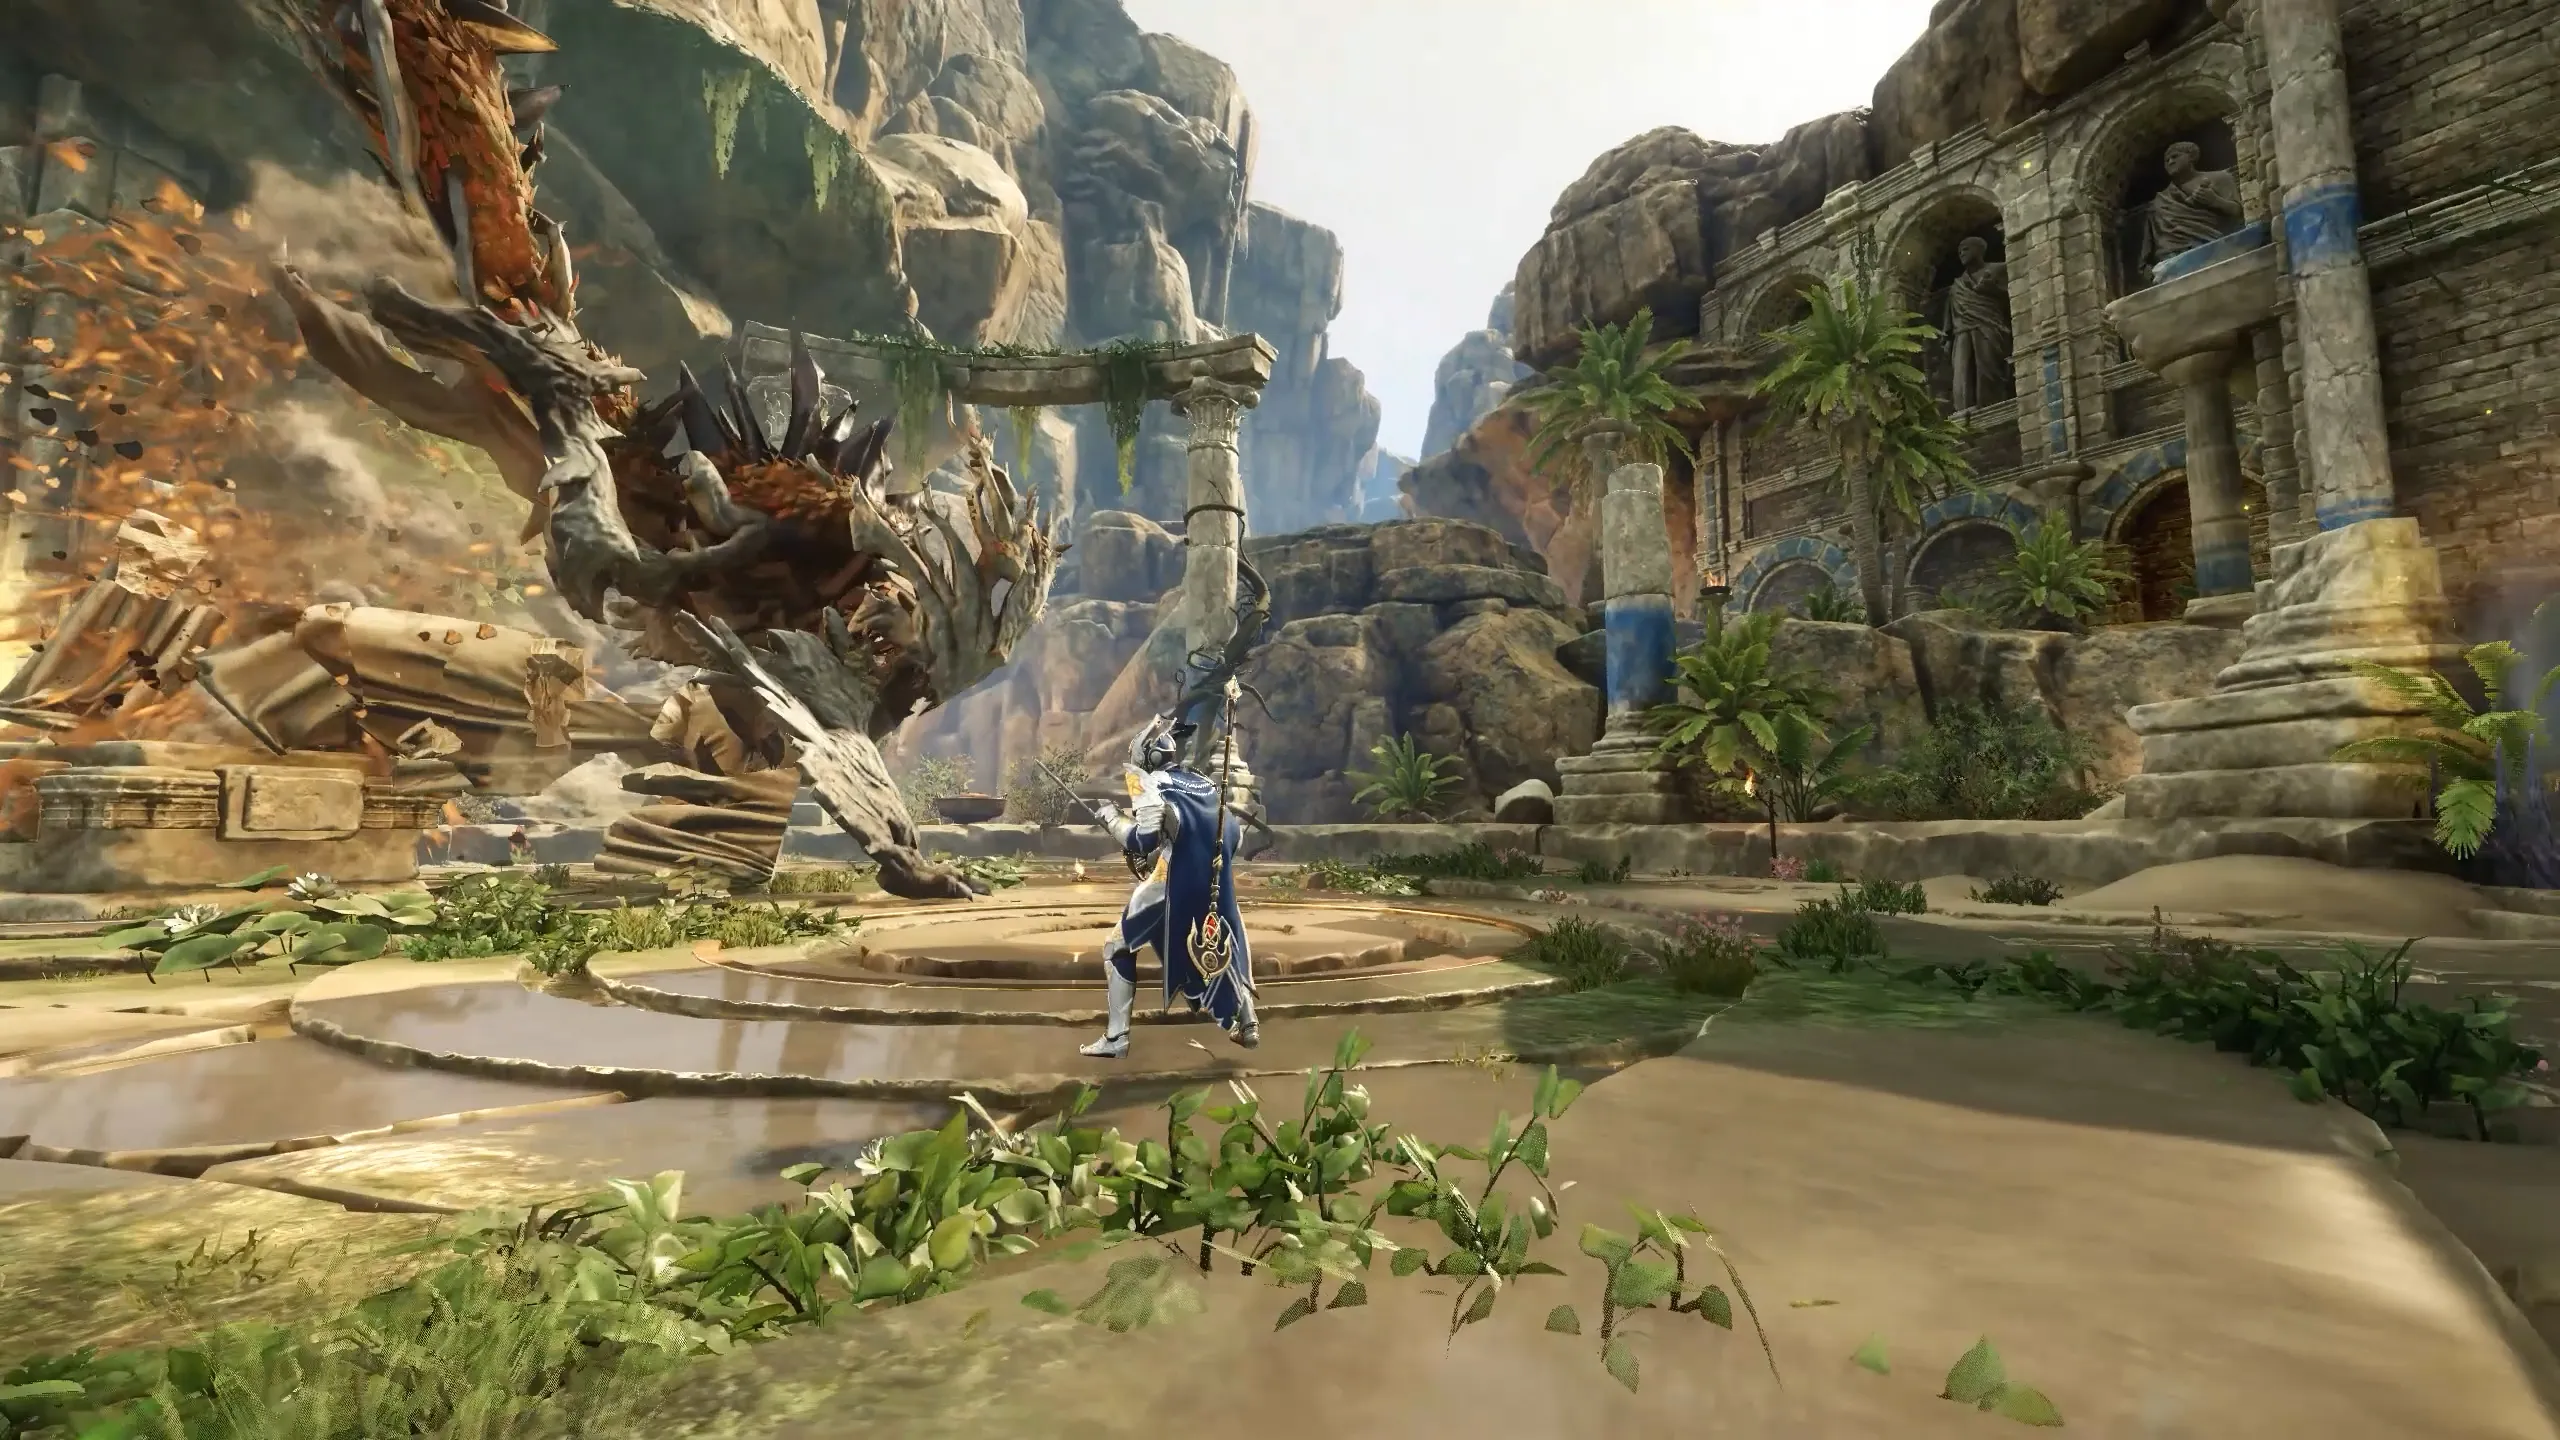
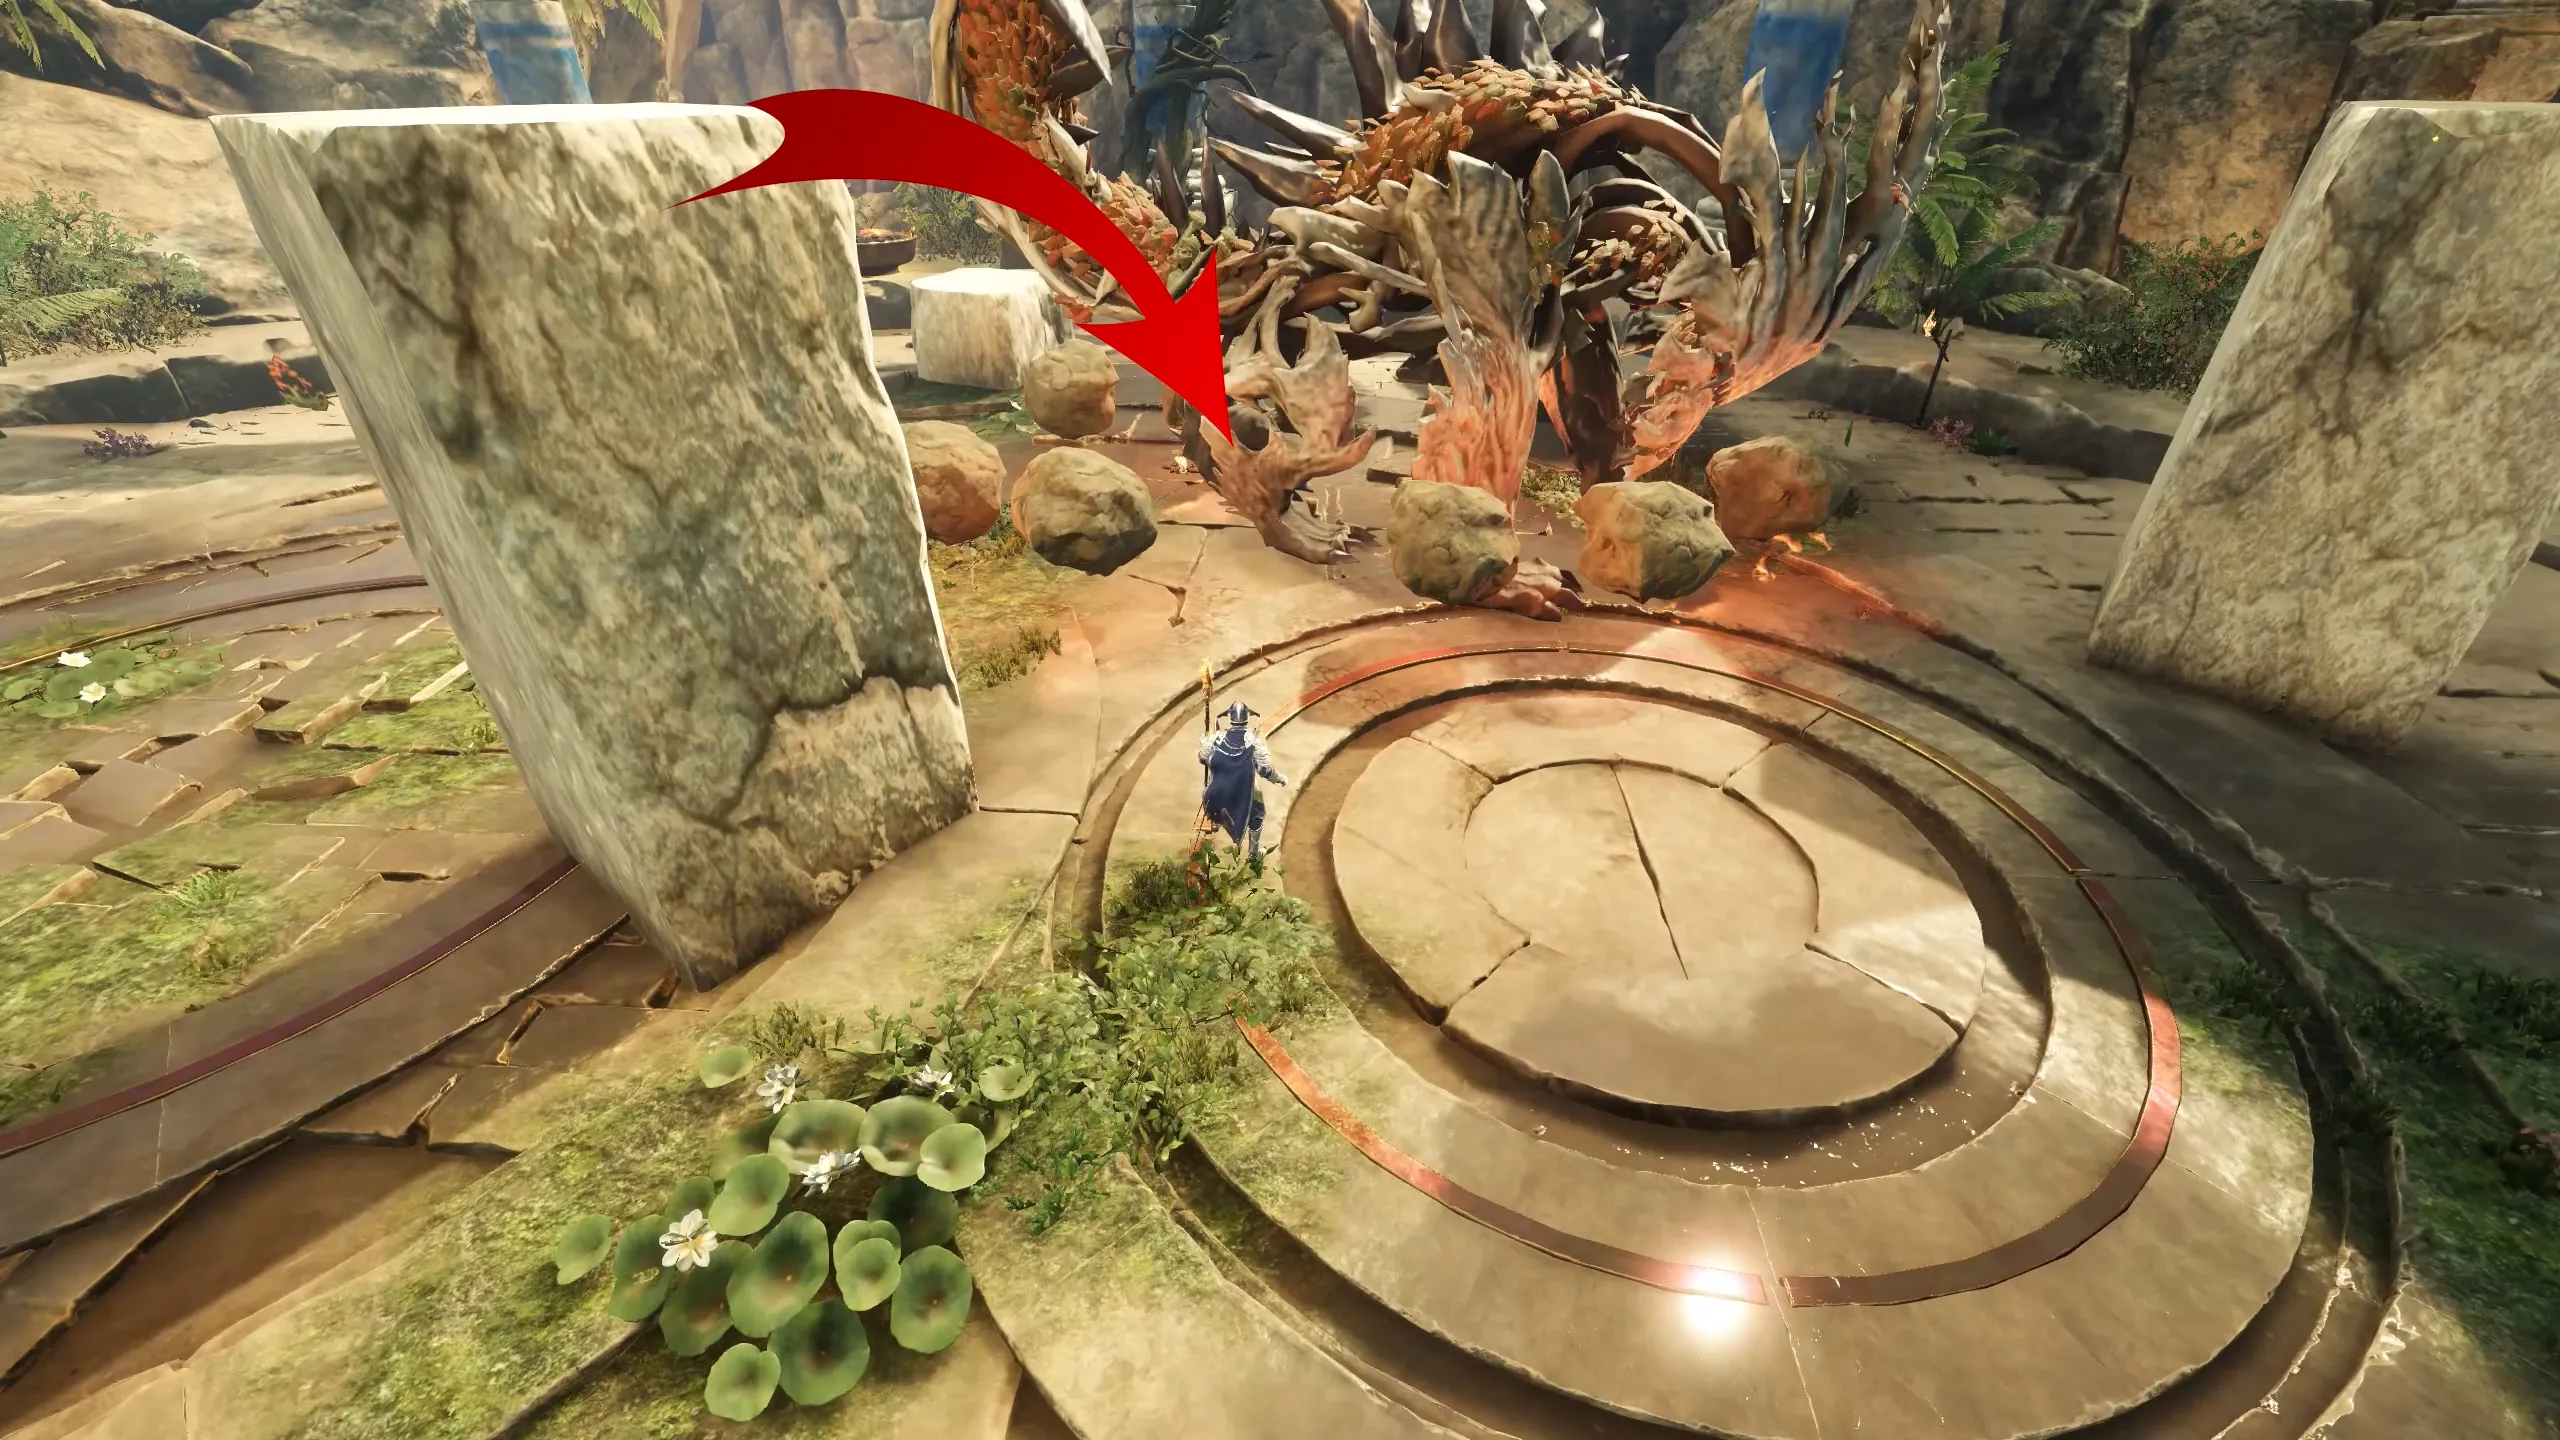
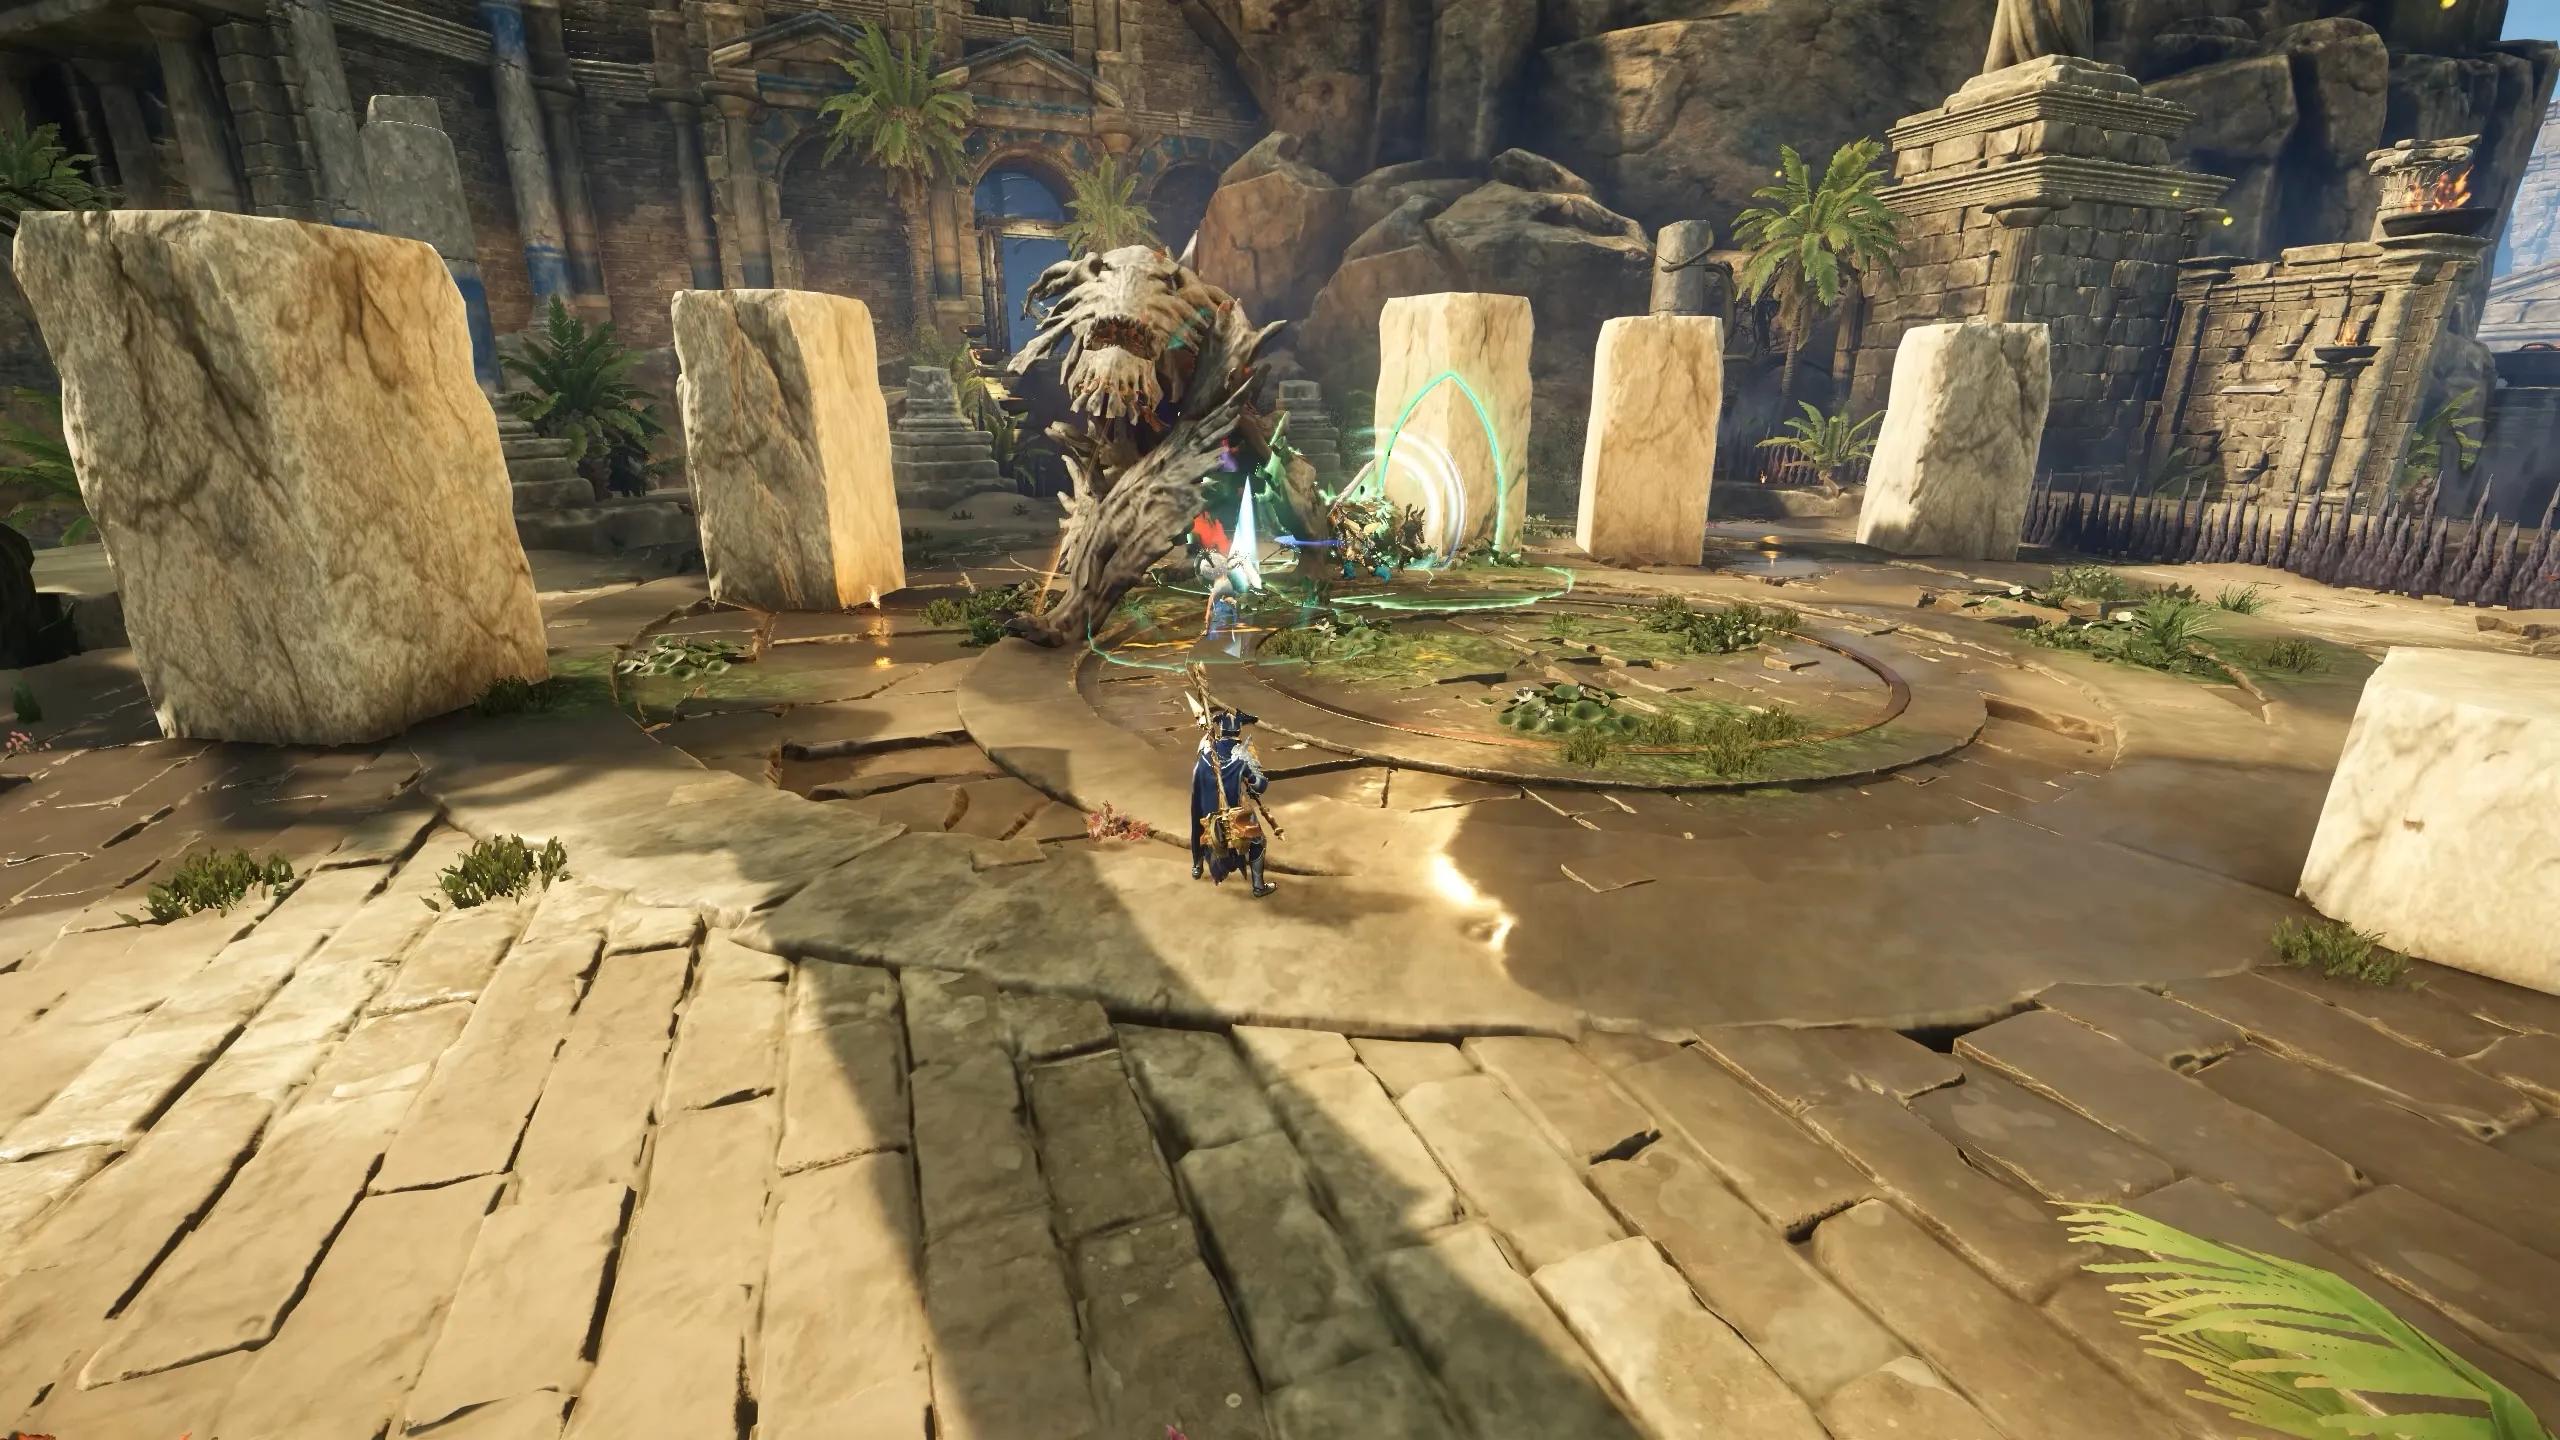
As soon as you pass the puzzle door, you enter a large arena, Echidna leaps down and the way behind seals.
- Recommended protections:
- Strike Protection (main)
- Slash Protection (secondary)
Ground Slam
- Opening Slam: Echidna begins with a ground slam (damage hits slightly before the hand touches down).
- Dodge early or block to mitigate.
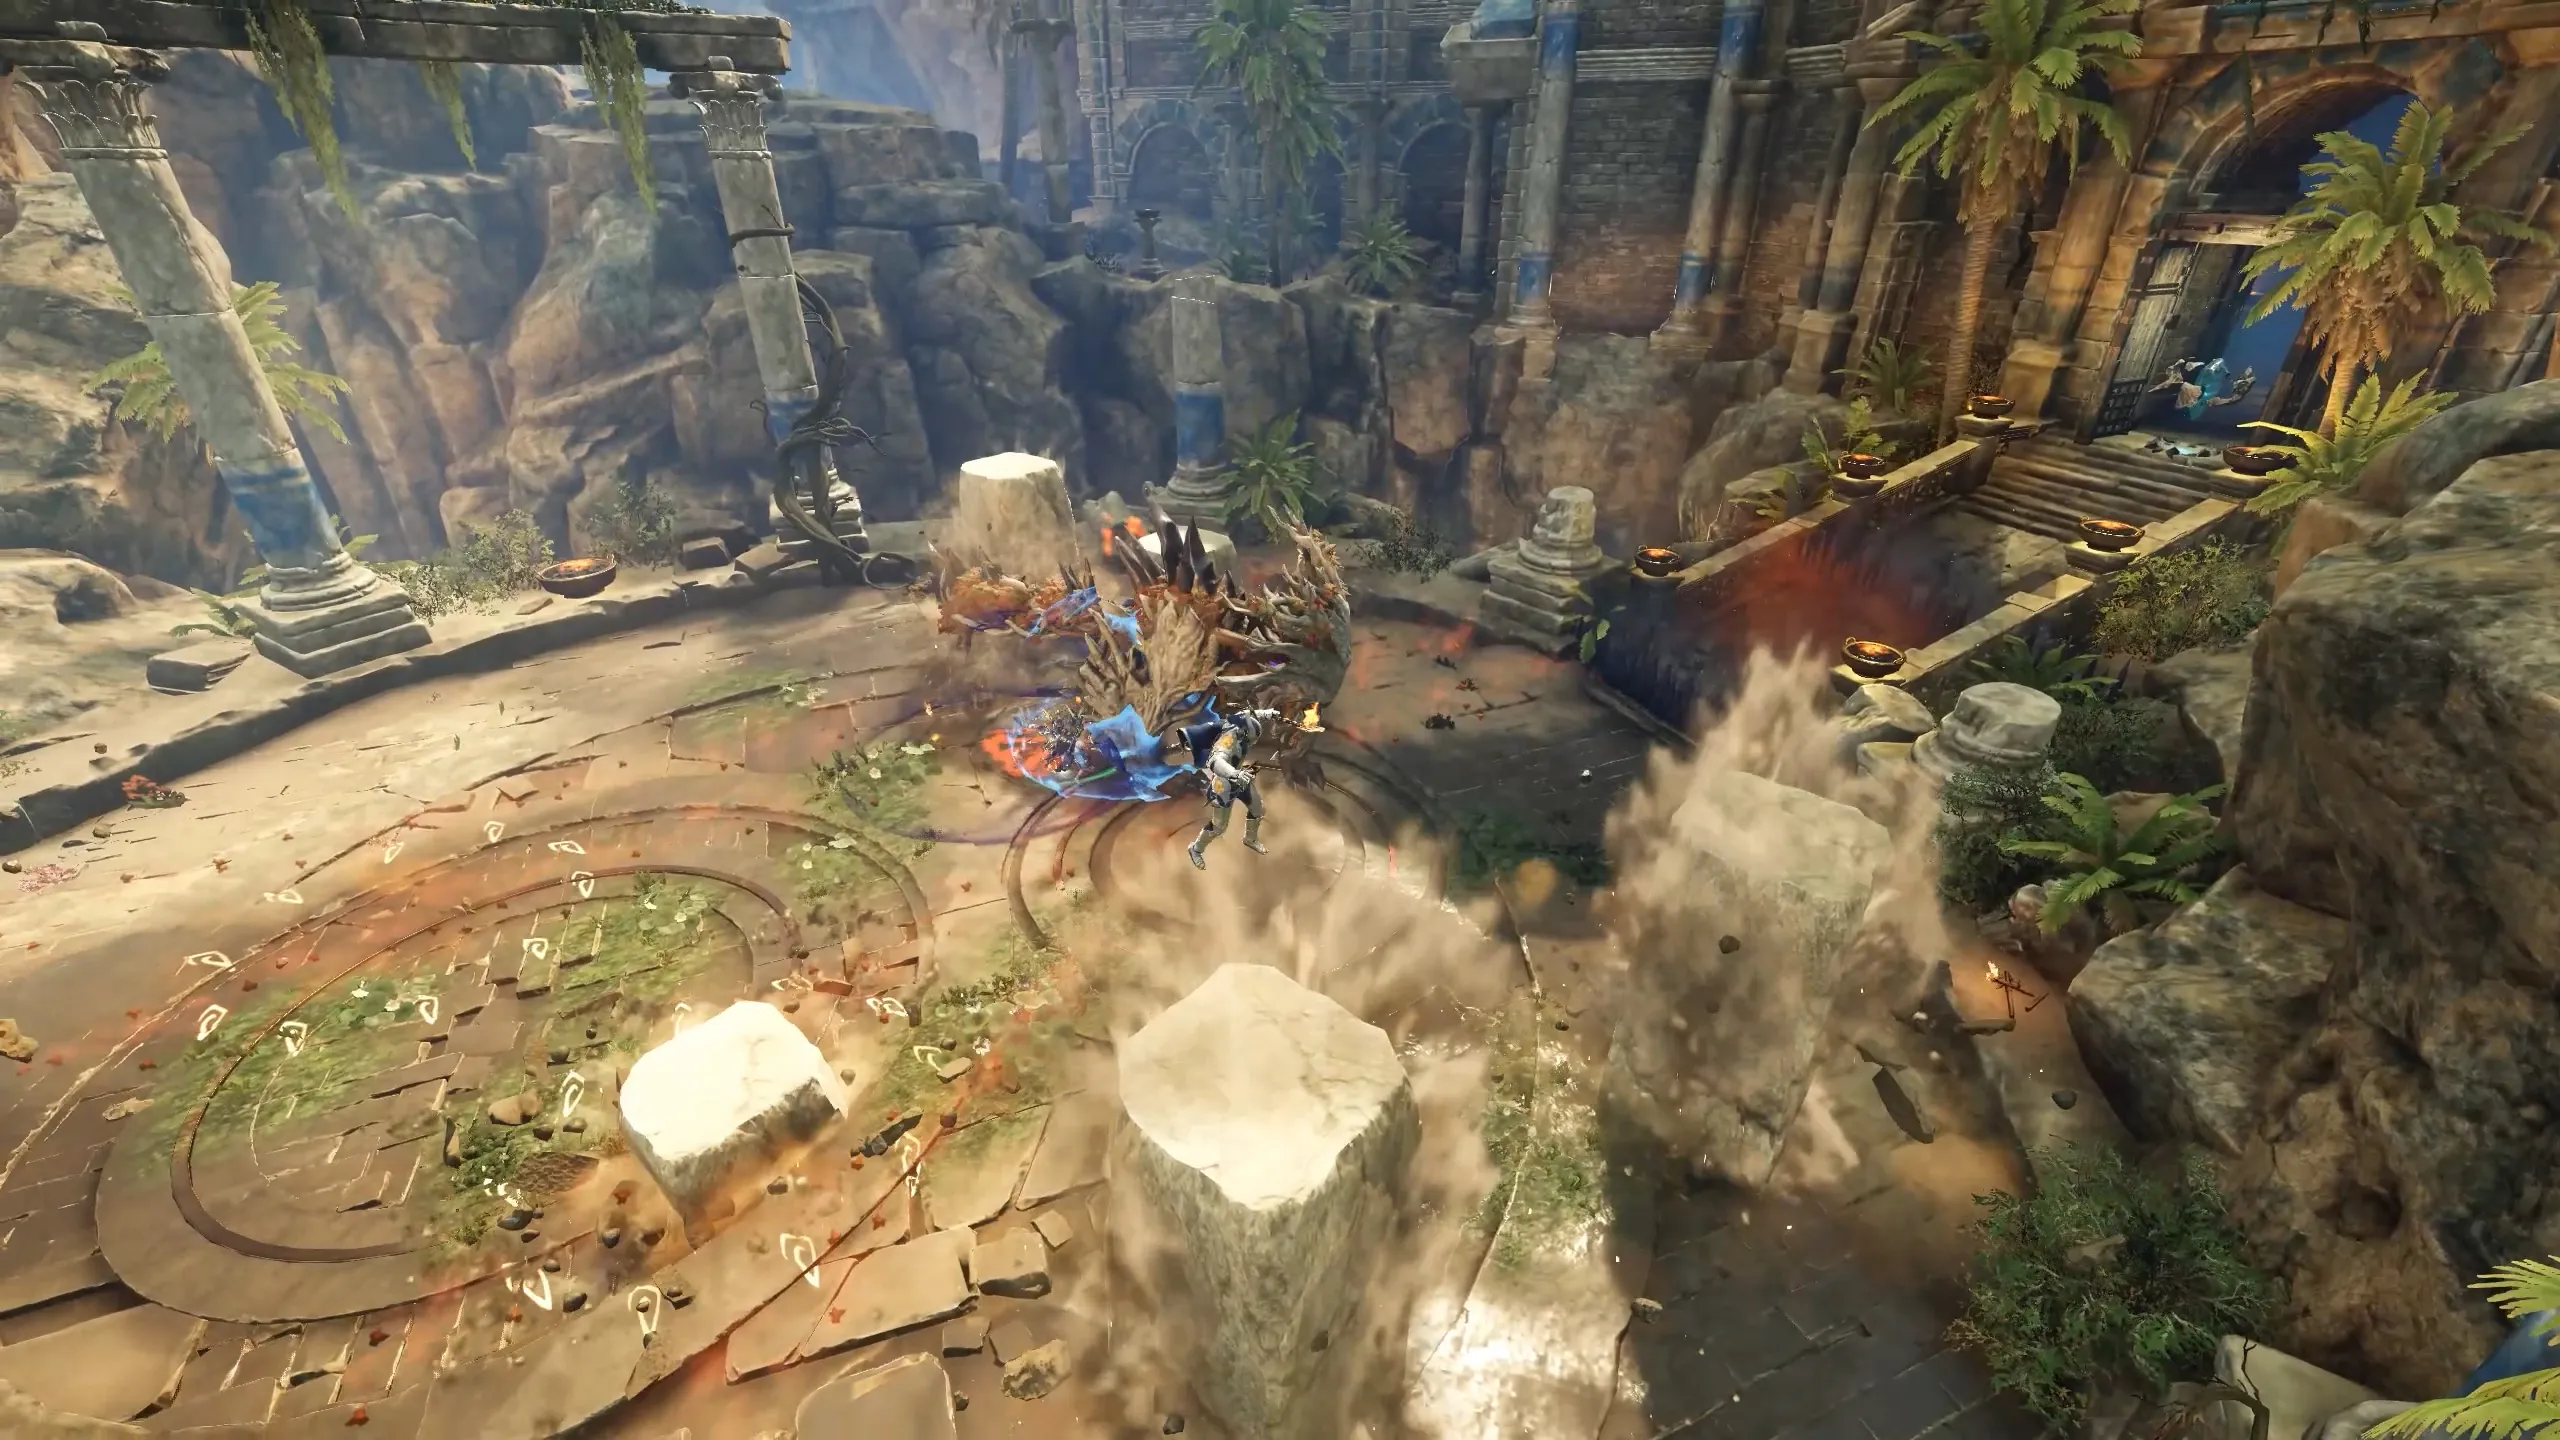
- Stone Rubble → Pillars: rubble spawns → seconds later white stone pillars rise.
- Standing on rubble = launched onto the pillar (damages you).
- Echidna destroys pillars if lured into them.
- Pillar heights: short, medium, tall.
- Mining makes tall ones shorter to climb them.
Damage Buffs & Debuffs
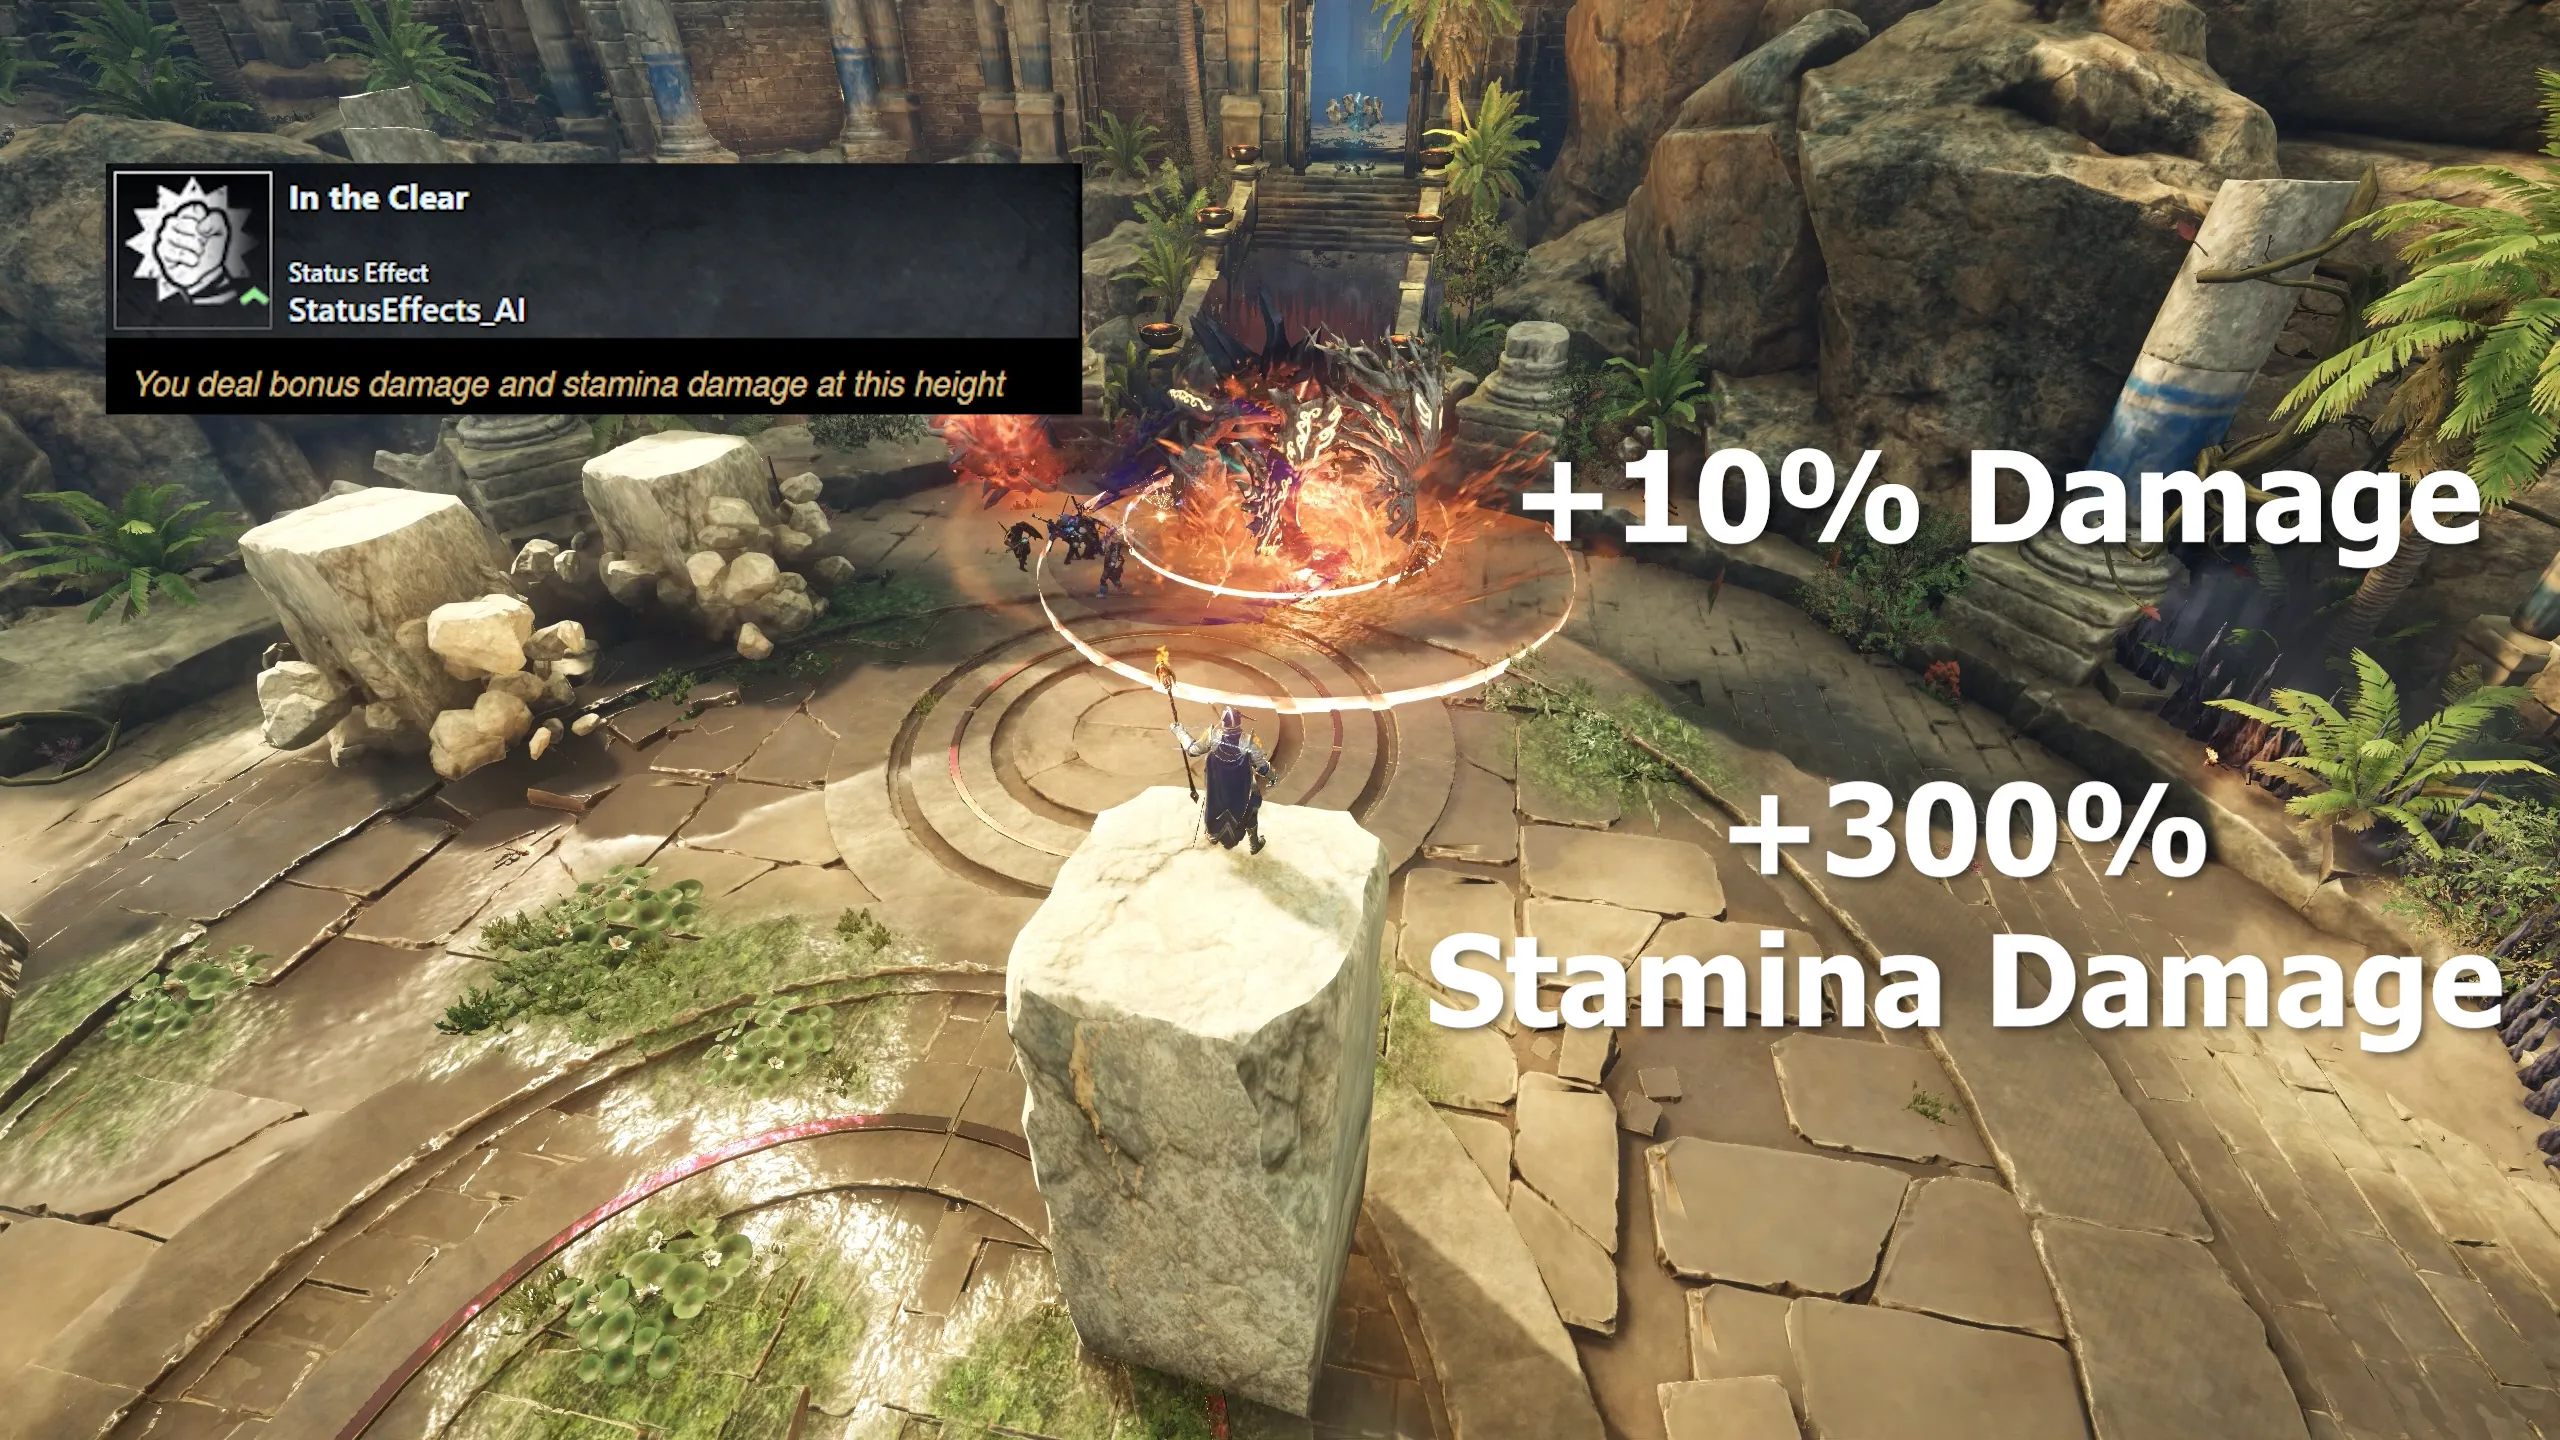
- Ground level = “Threat Detected” (–70% damage).
- Low pillars = “Threat Still Detected” (–60%).
- Mid pillars = “Threat Barely Detected” (–40%).
- Tall pillars = “In the Clear” (+10% dmg, +300% stamina dmg).
Despite the highest pillar buff, melee DPS on ground is more efficient overall.
Rock Projectiles
- Echidna will roar and raise her tail, causing rocks to form around her before slamming it down and launching them outward across the arena.
These projectiles deal strike damage and must be dodged, as blocking still results in damage taken. - There is usually a safe zone where the rocks first spawned, so careful positioning can help you avoid being hit.
- Be mindful of the tail itself during this sequence as well, since standing directly behind her can be just as lethal as the projectiles.
Tail Swipe
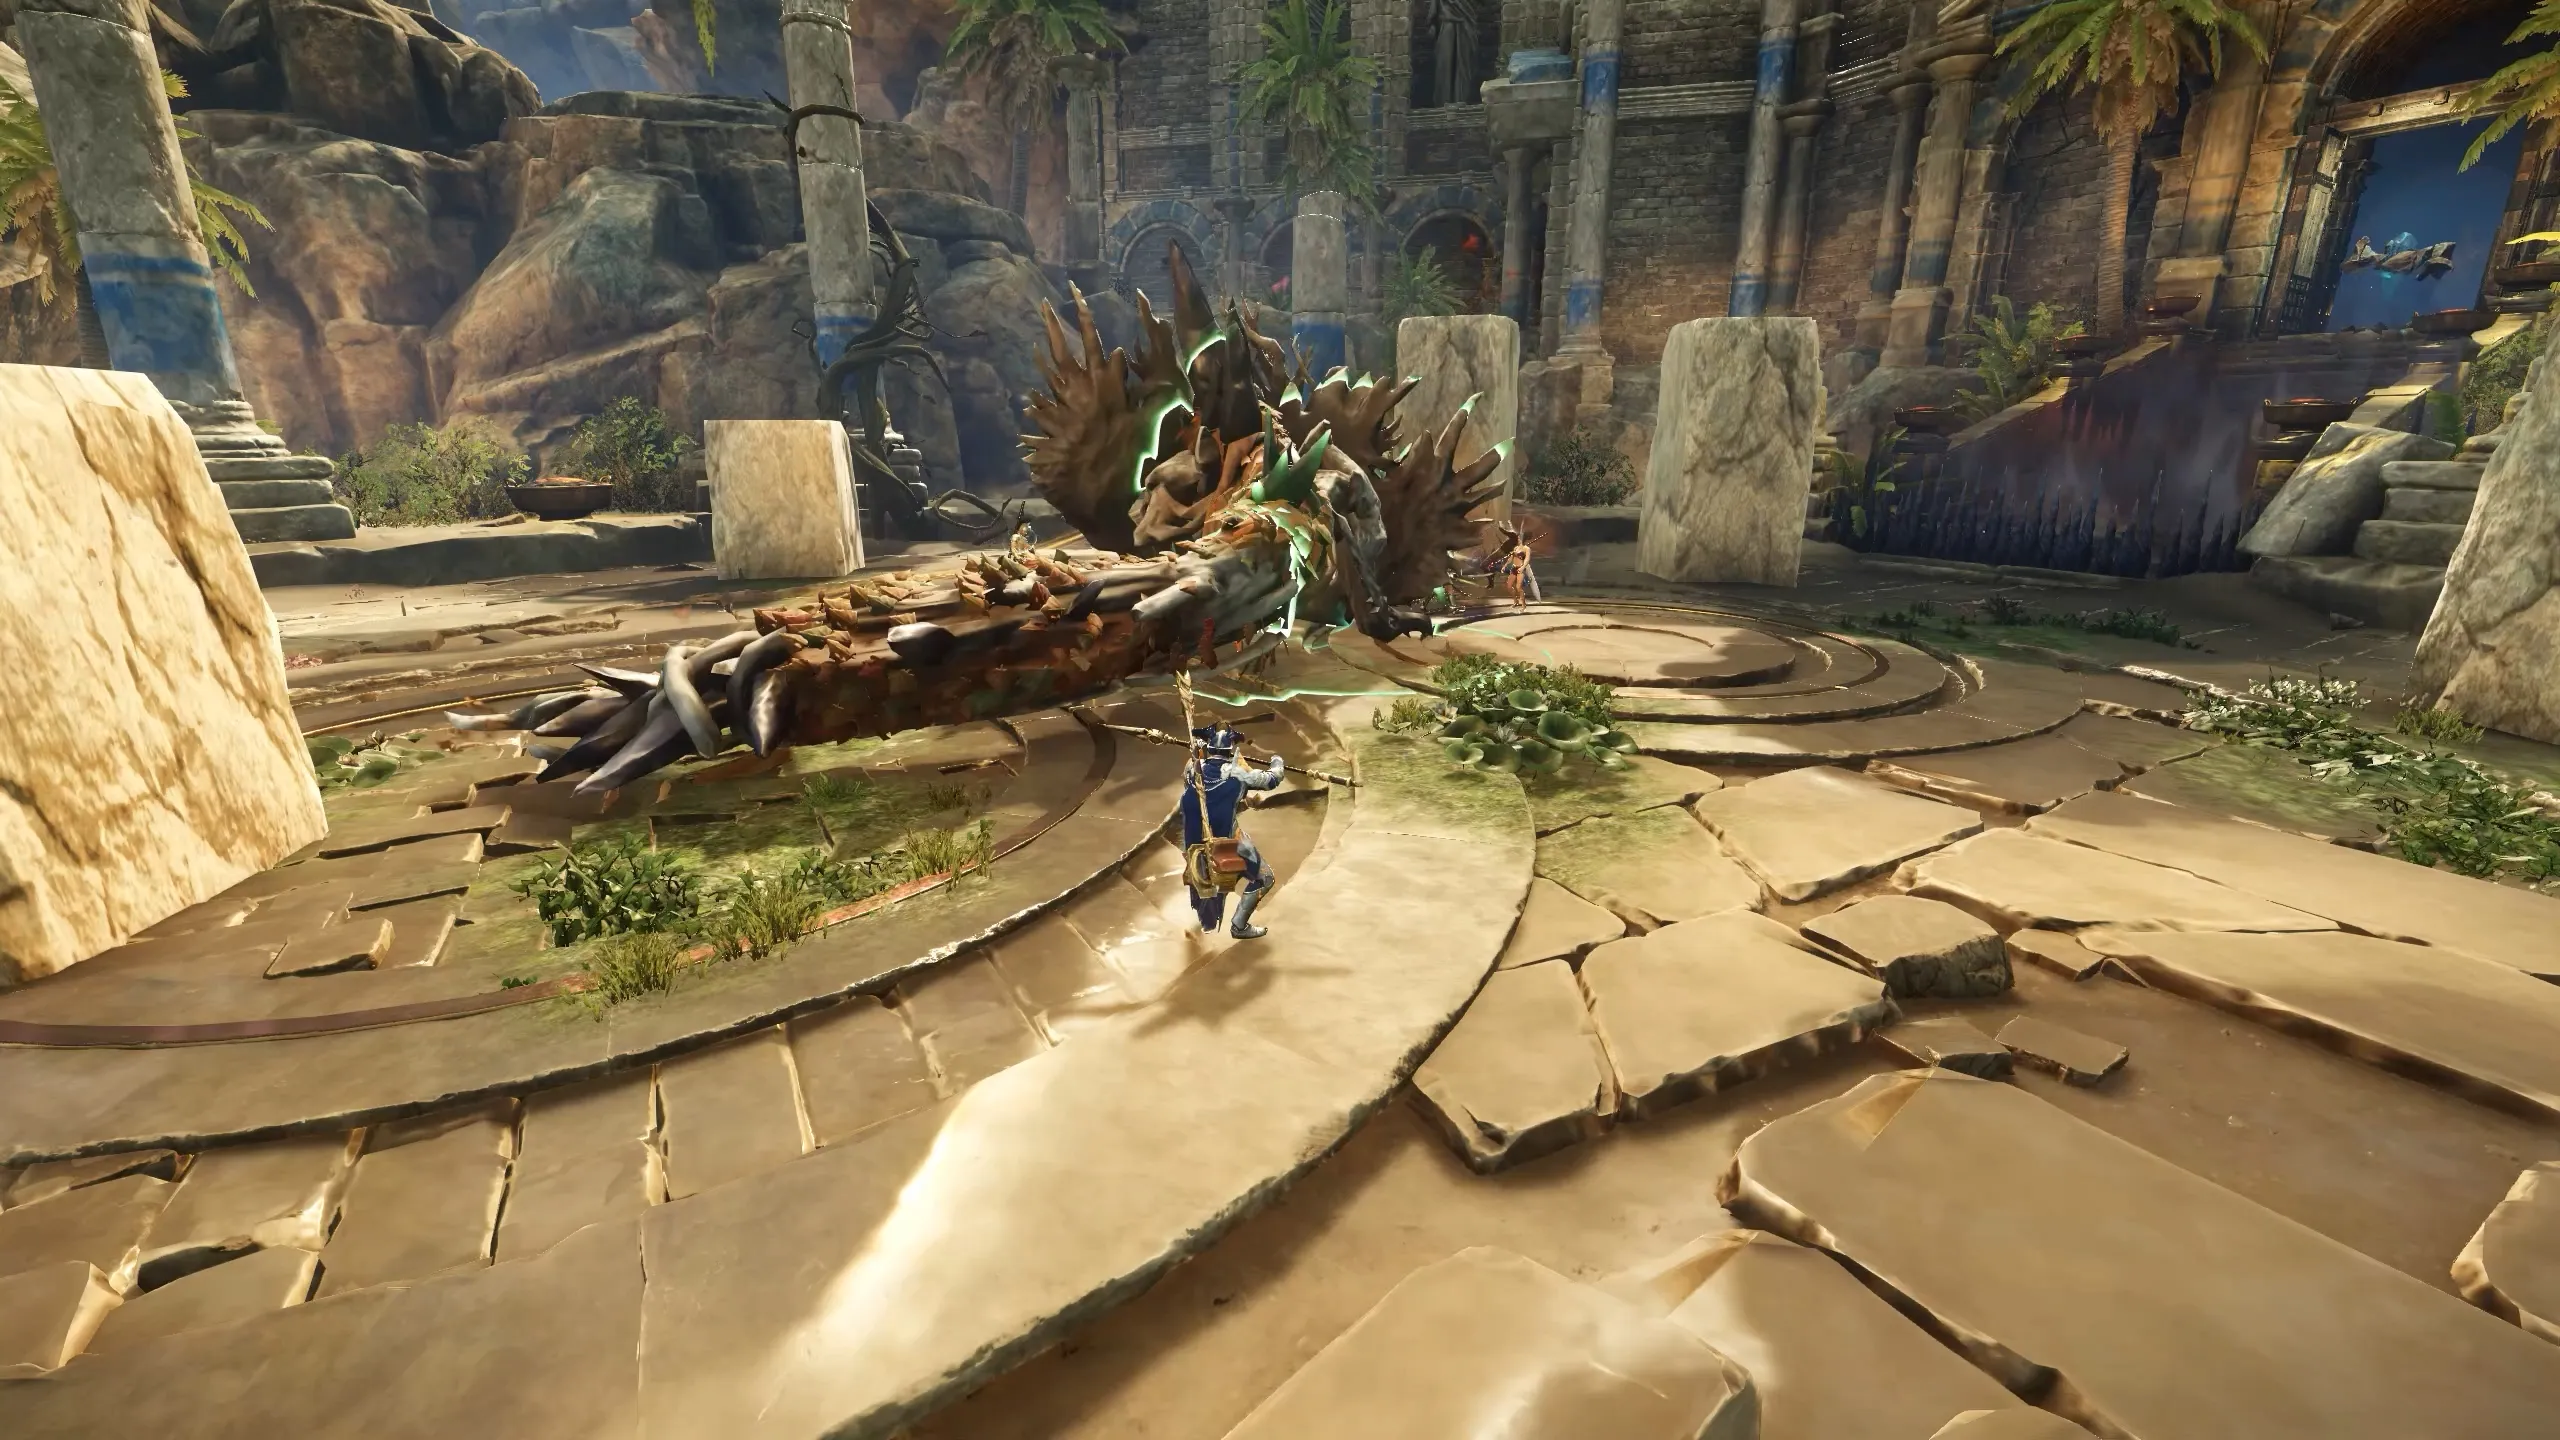
- Echidna performs a wide, sweeping swing of her tail.
- This attack cannot be dodged, so the only safe option is to block it.
- Proper positioning helps: staying at Echidna’s sides instead of directly behind her minimizes the chance of triggering or being caught by the swipe.
Claw Swipes
- Echidna uses Claw Swipes that primarily target the tank but can also hit nearby players.
- These swipes often chain into a Head Stomp, which causes heavy stamina damage. It’s best to dodge or grit through this move.
Head Stomp
- Echidna may perform a Single Head Stomp, slamming her head into the ground.
- This attack sends a shockwave across the arena, damaging all players.
Claw Stomp & Scrape
- Echidna may use a Claw Stomp, where she slams both hands forward and scrapes the ground.
- A variation of this is the Claw Scrape, in which she strikes to one side and then scrapes across the ground.
- These moves can be performed with either hand and deal significant melee damage in their path.
Melee Bite
- Echidna performs a close-range lunge where she pulls her heads inward before snapping forward to bite the tank.
- This attack has two variations:
- An immediate lunge that strikes quickly.
- A slight delay before lunging, meant to bait dodges.
- This attack has two variations:
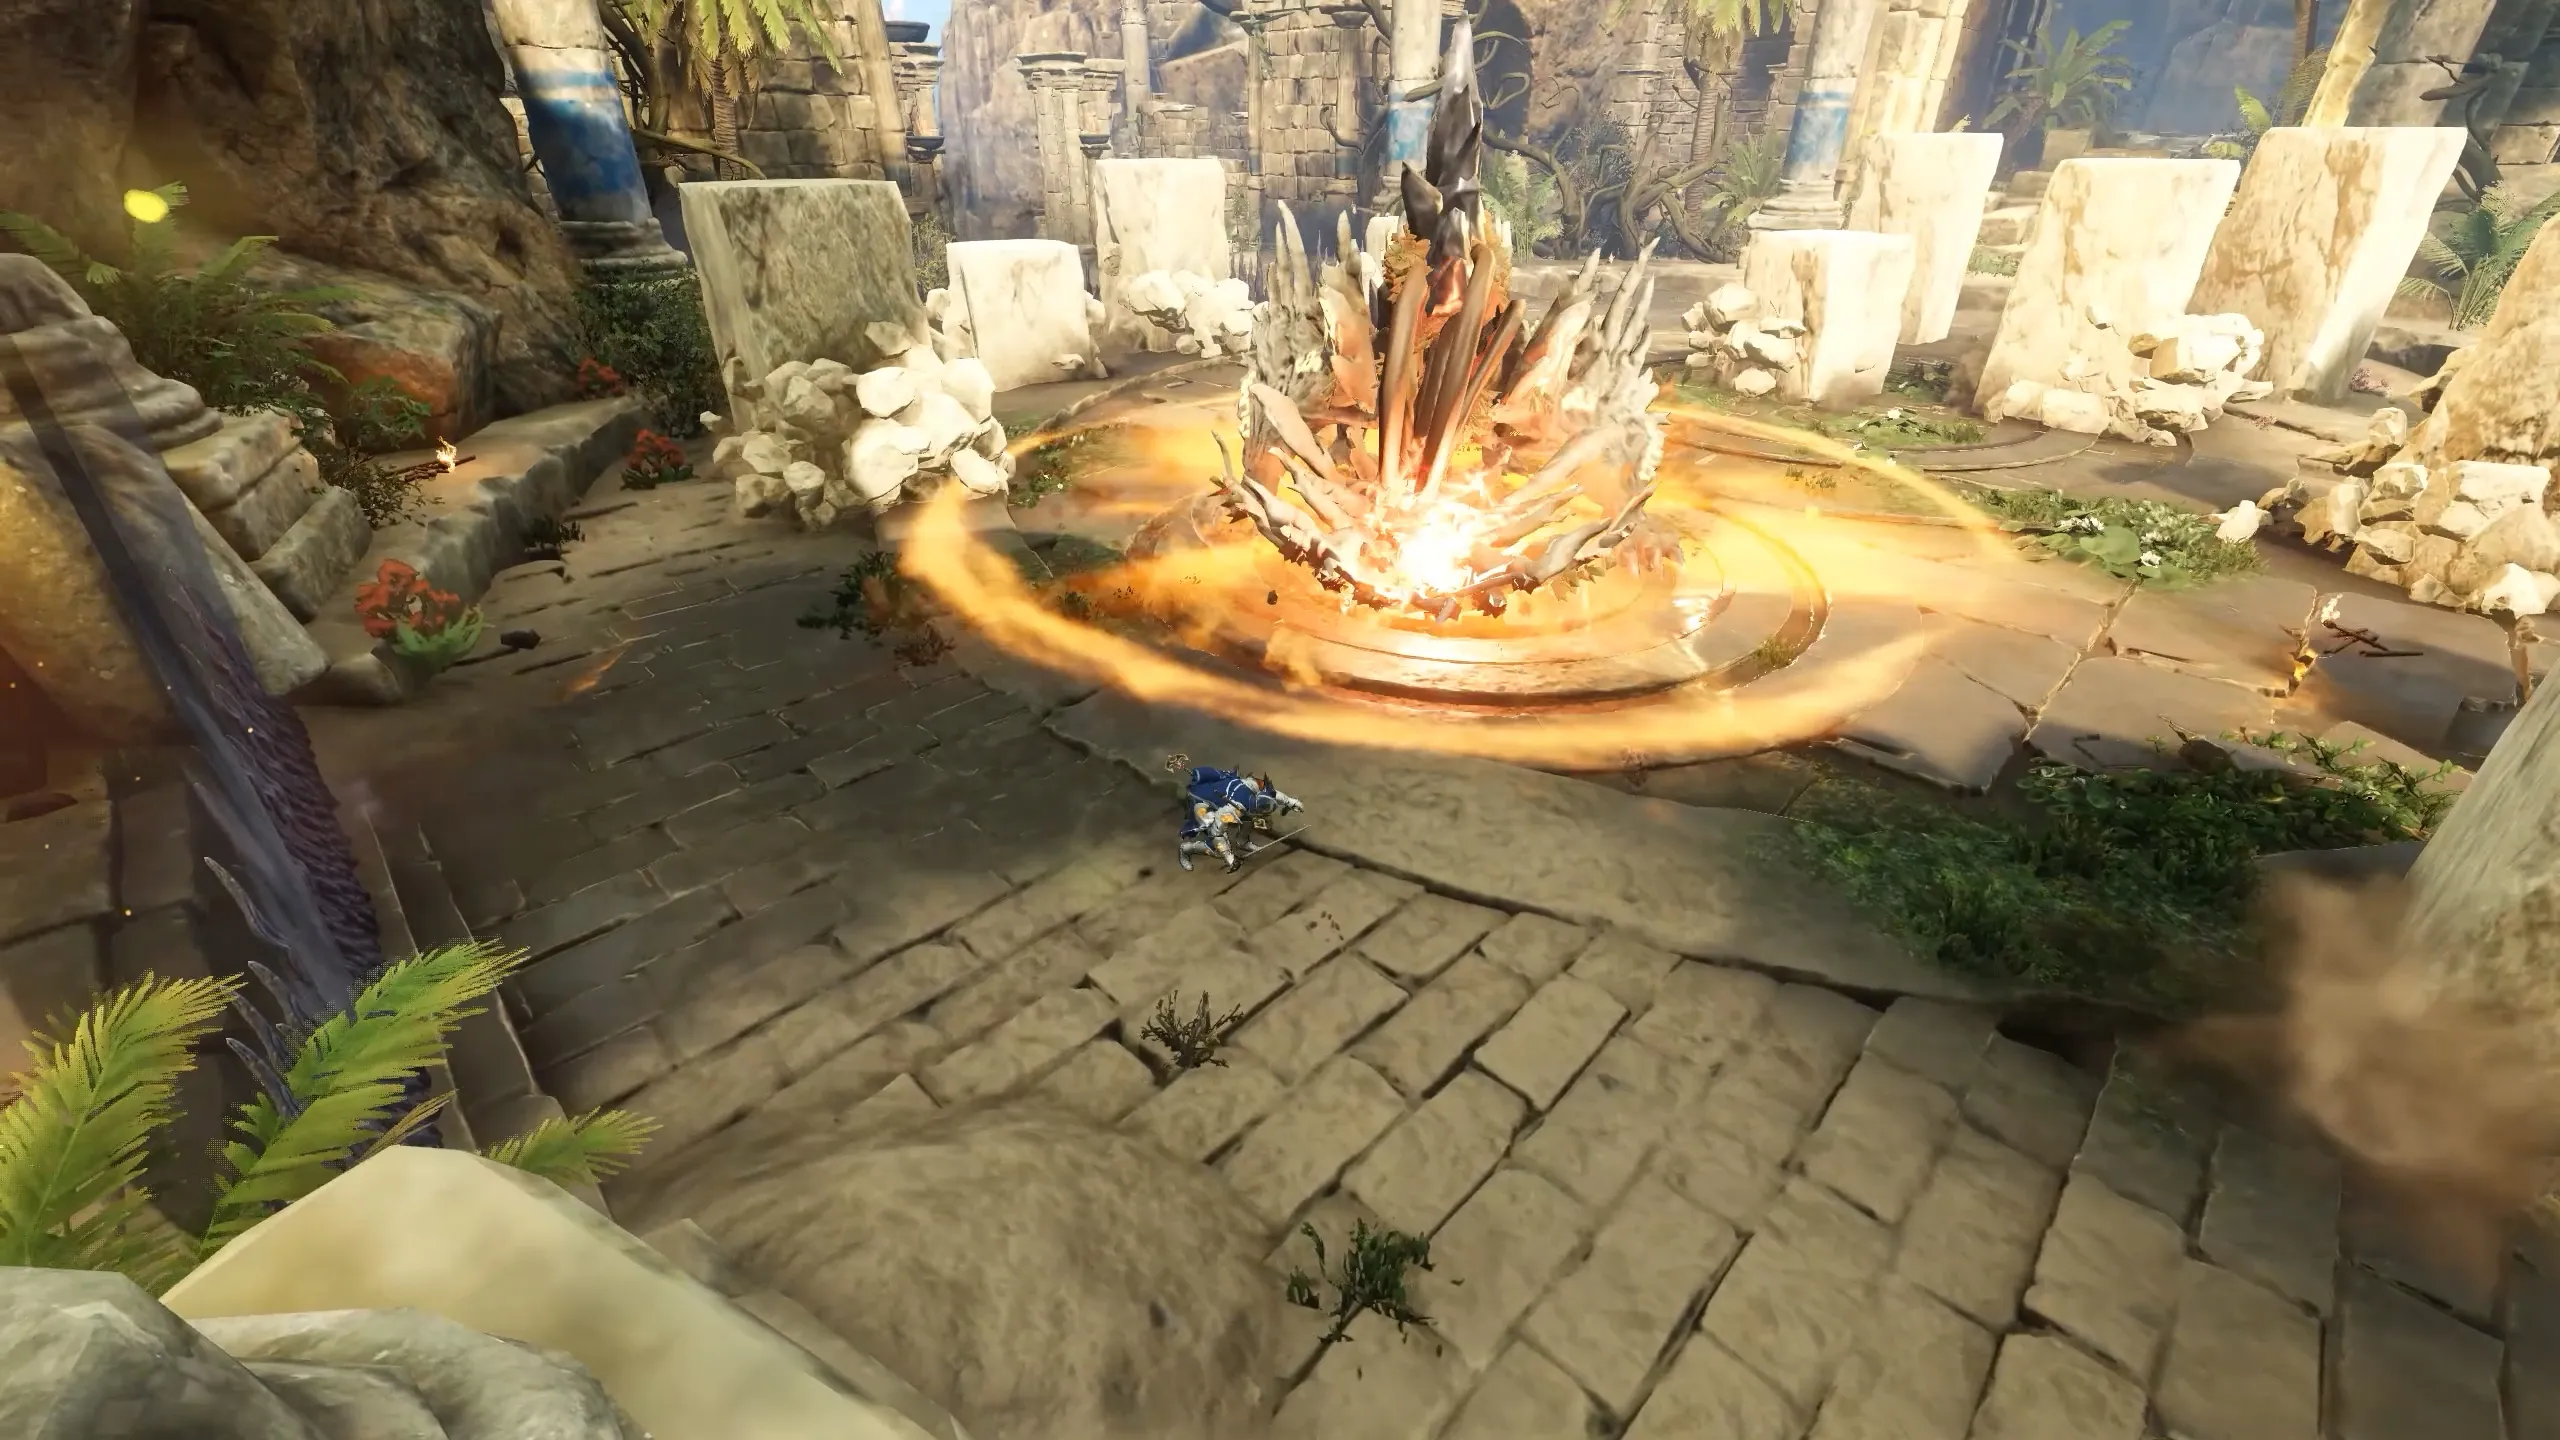
Obsidian Crystals
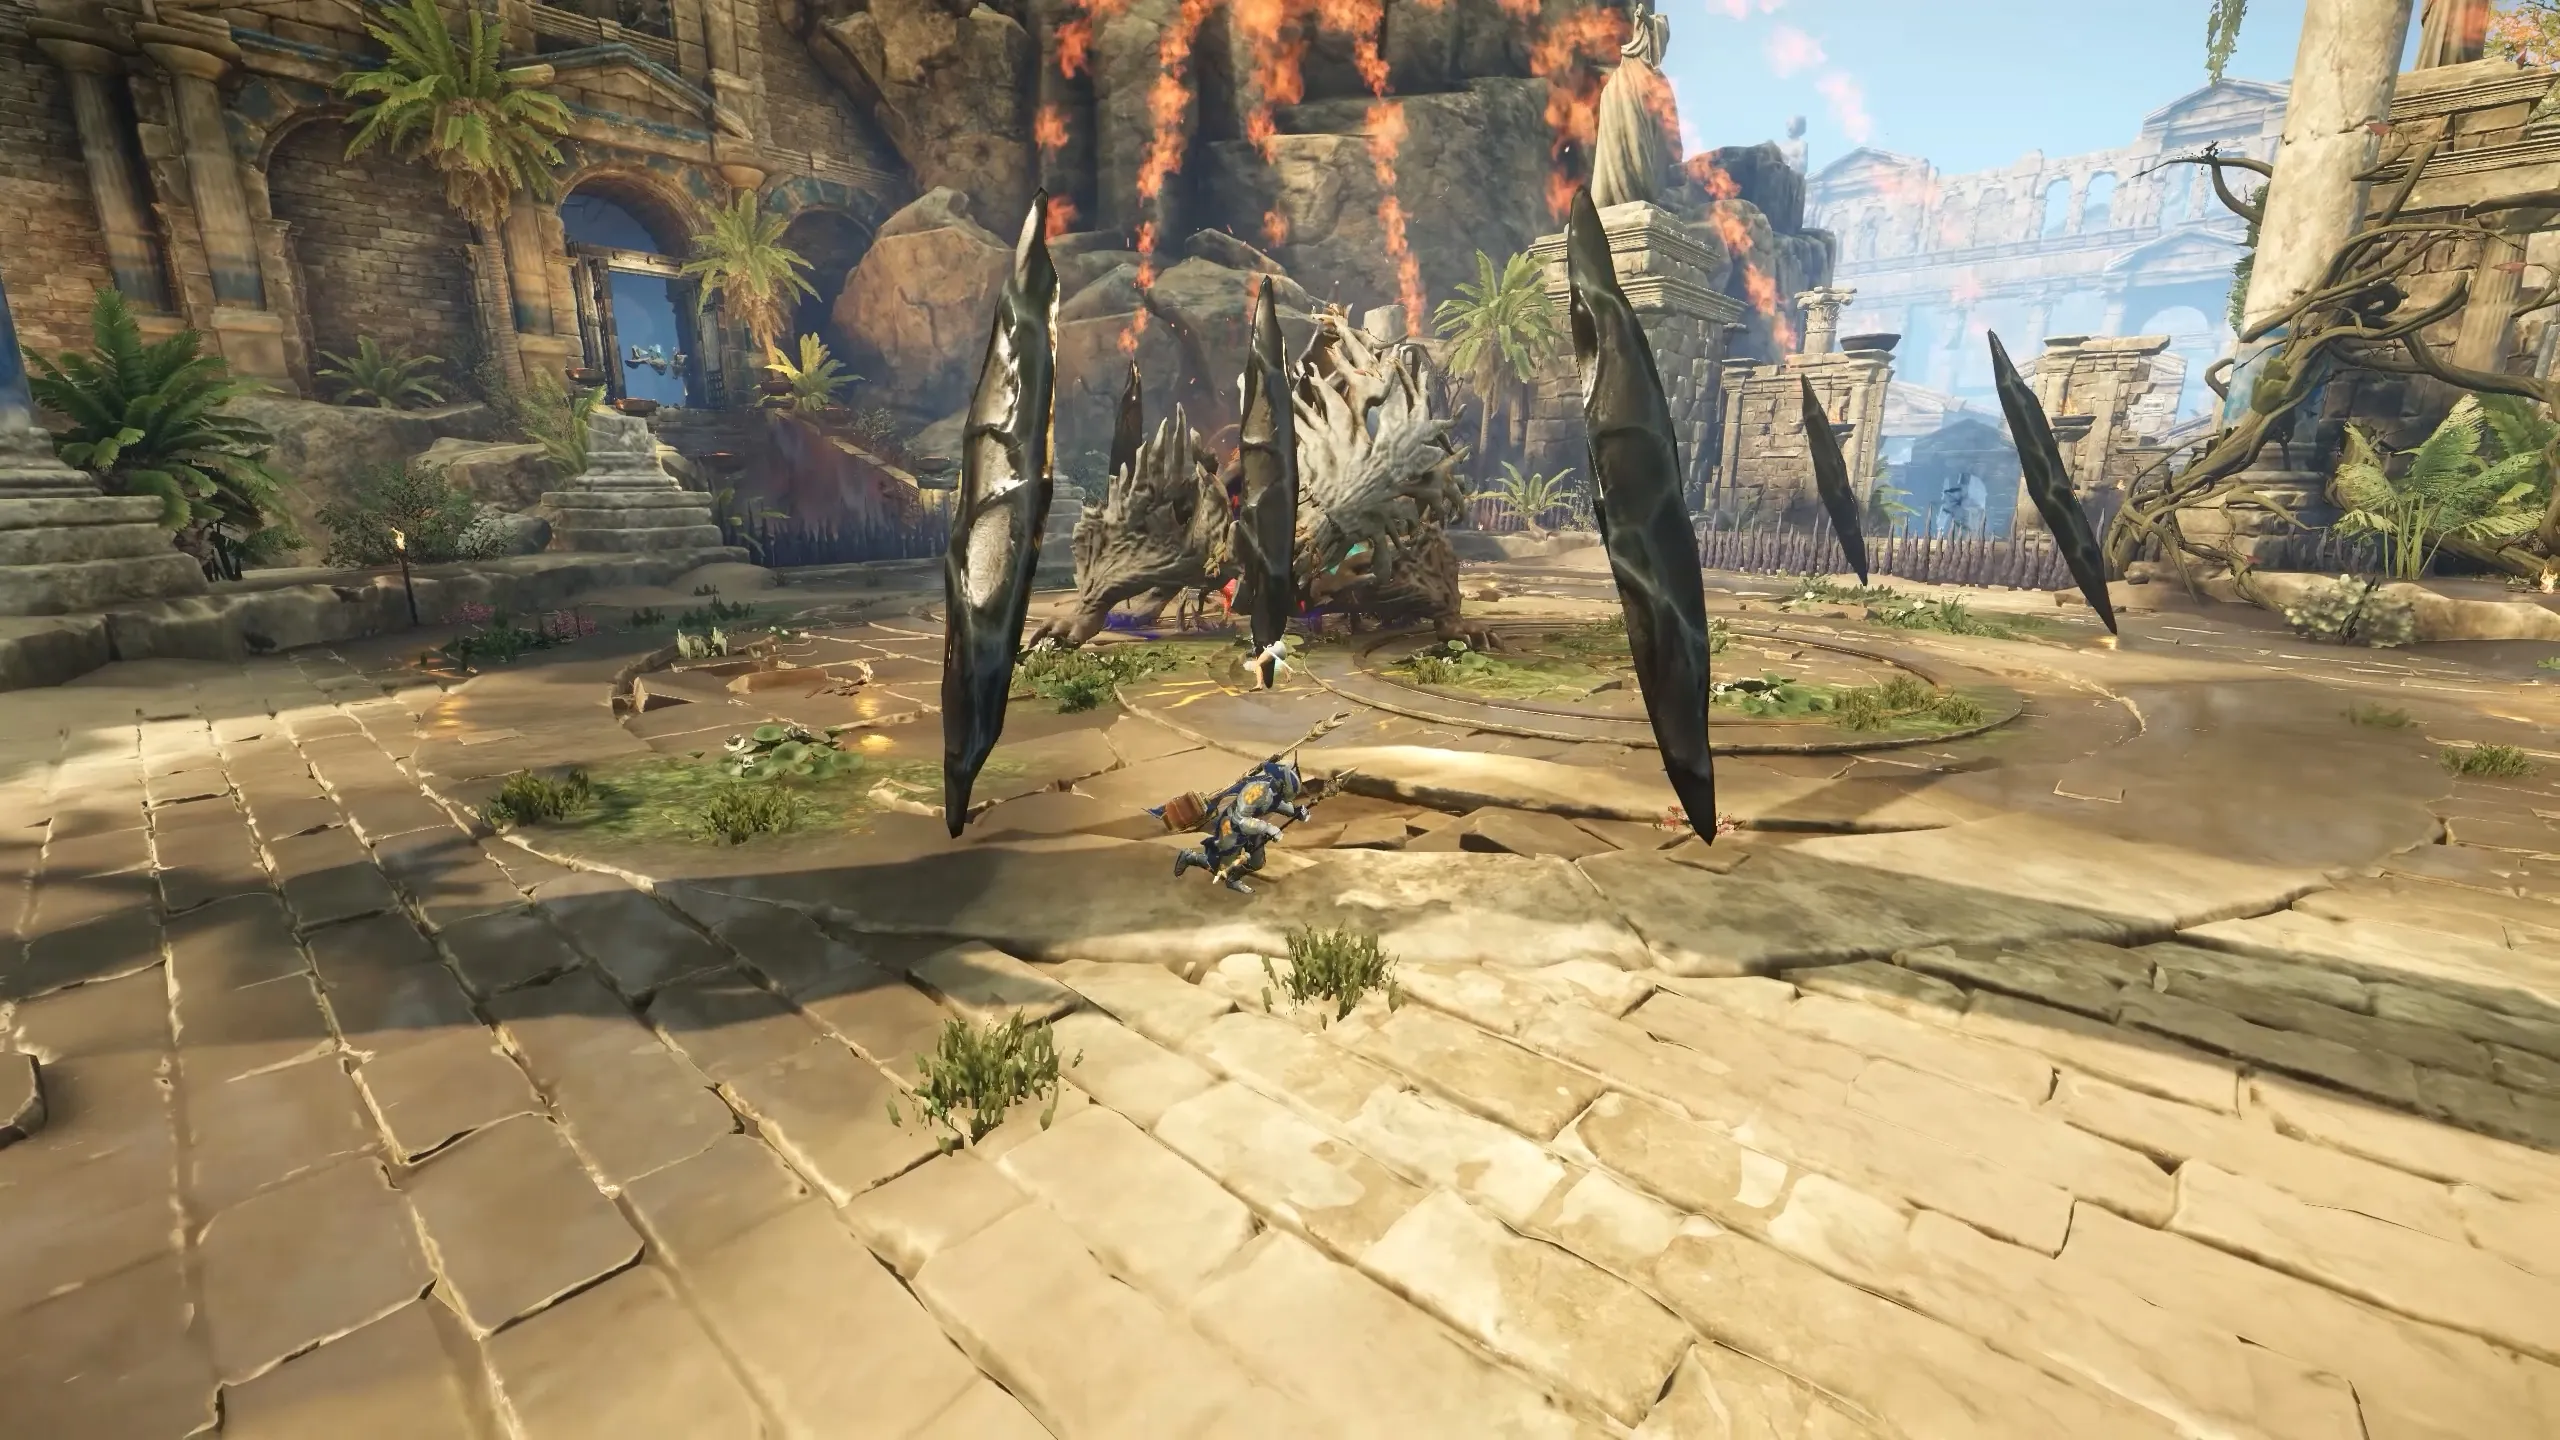
- After some ground slams, Echidna launches Obsidian spikes across the arena.
- Standing near a spike applies the Obsidian Weakness debuff, which increases all damage taken by 40%.
- These spikes must be destroyed quickly, as leaving them up is extremely dangerous.
- If a spike lands on a pillar, that pillar begins to glow white before exploding.
- The explosion deals heavy damage to anyone touching it.
- The spike itself is destroyed in the process, so glowing pillars don’t require manual cleanup.
- If spikes are ignored, Echidna’s tremors can trigger a Thrust Attack, causing vines with purple effects to erupt from the crystals, heavily damaging nearby players.
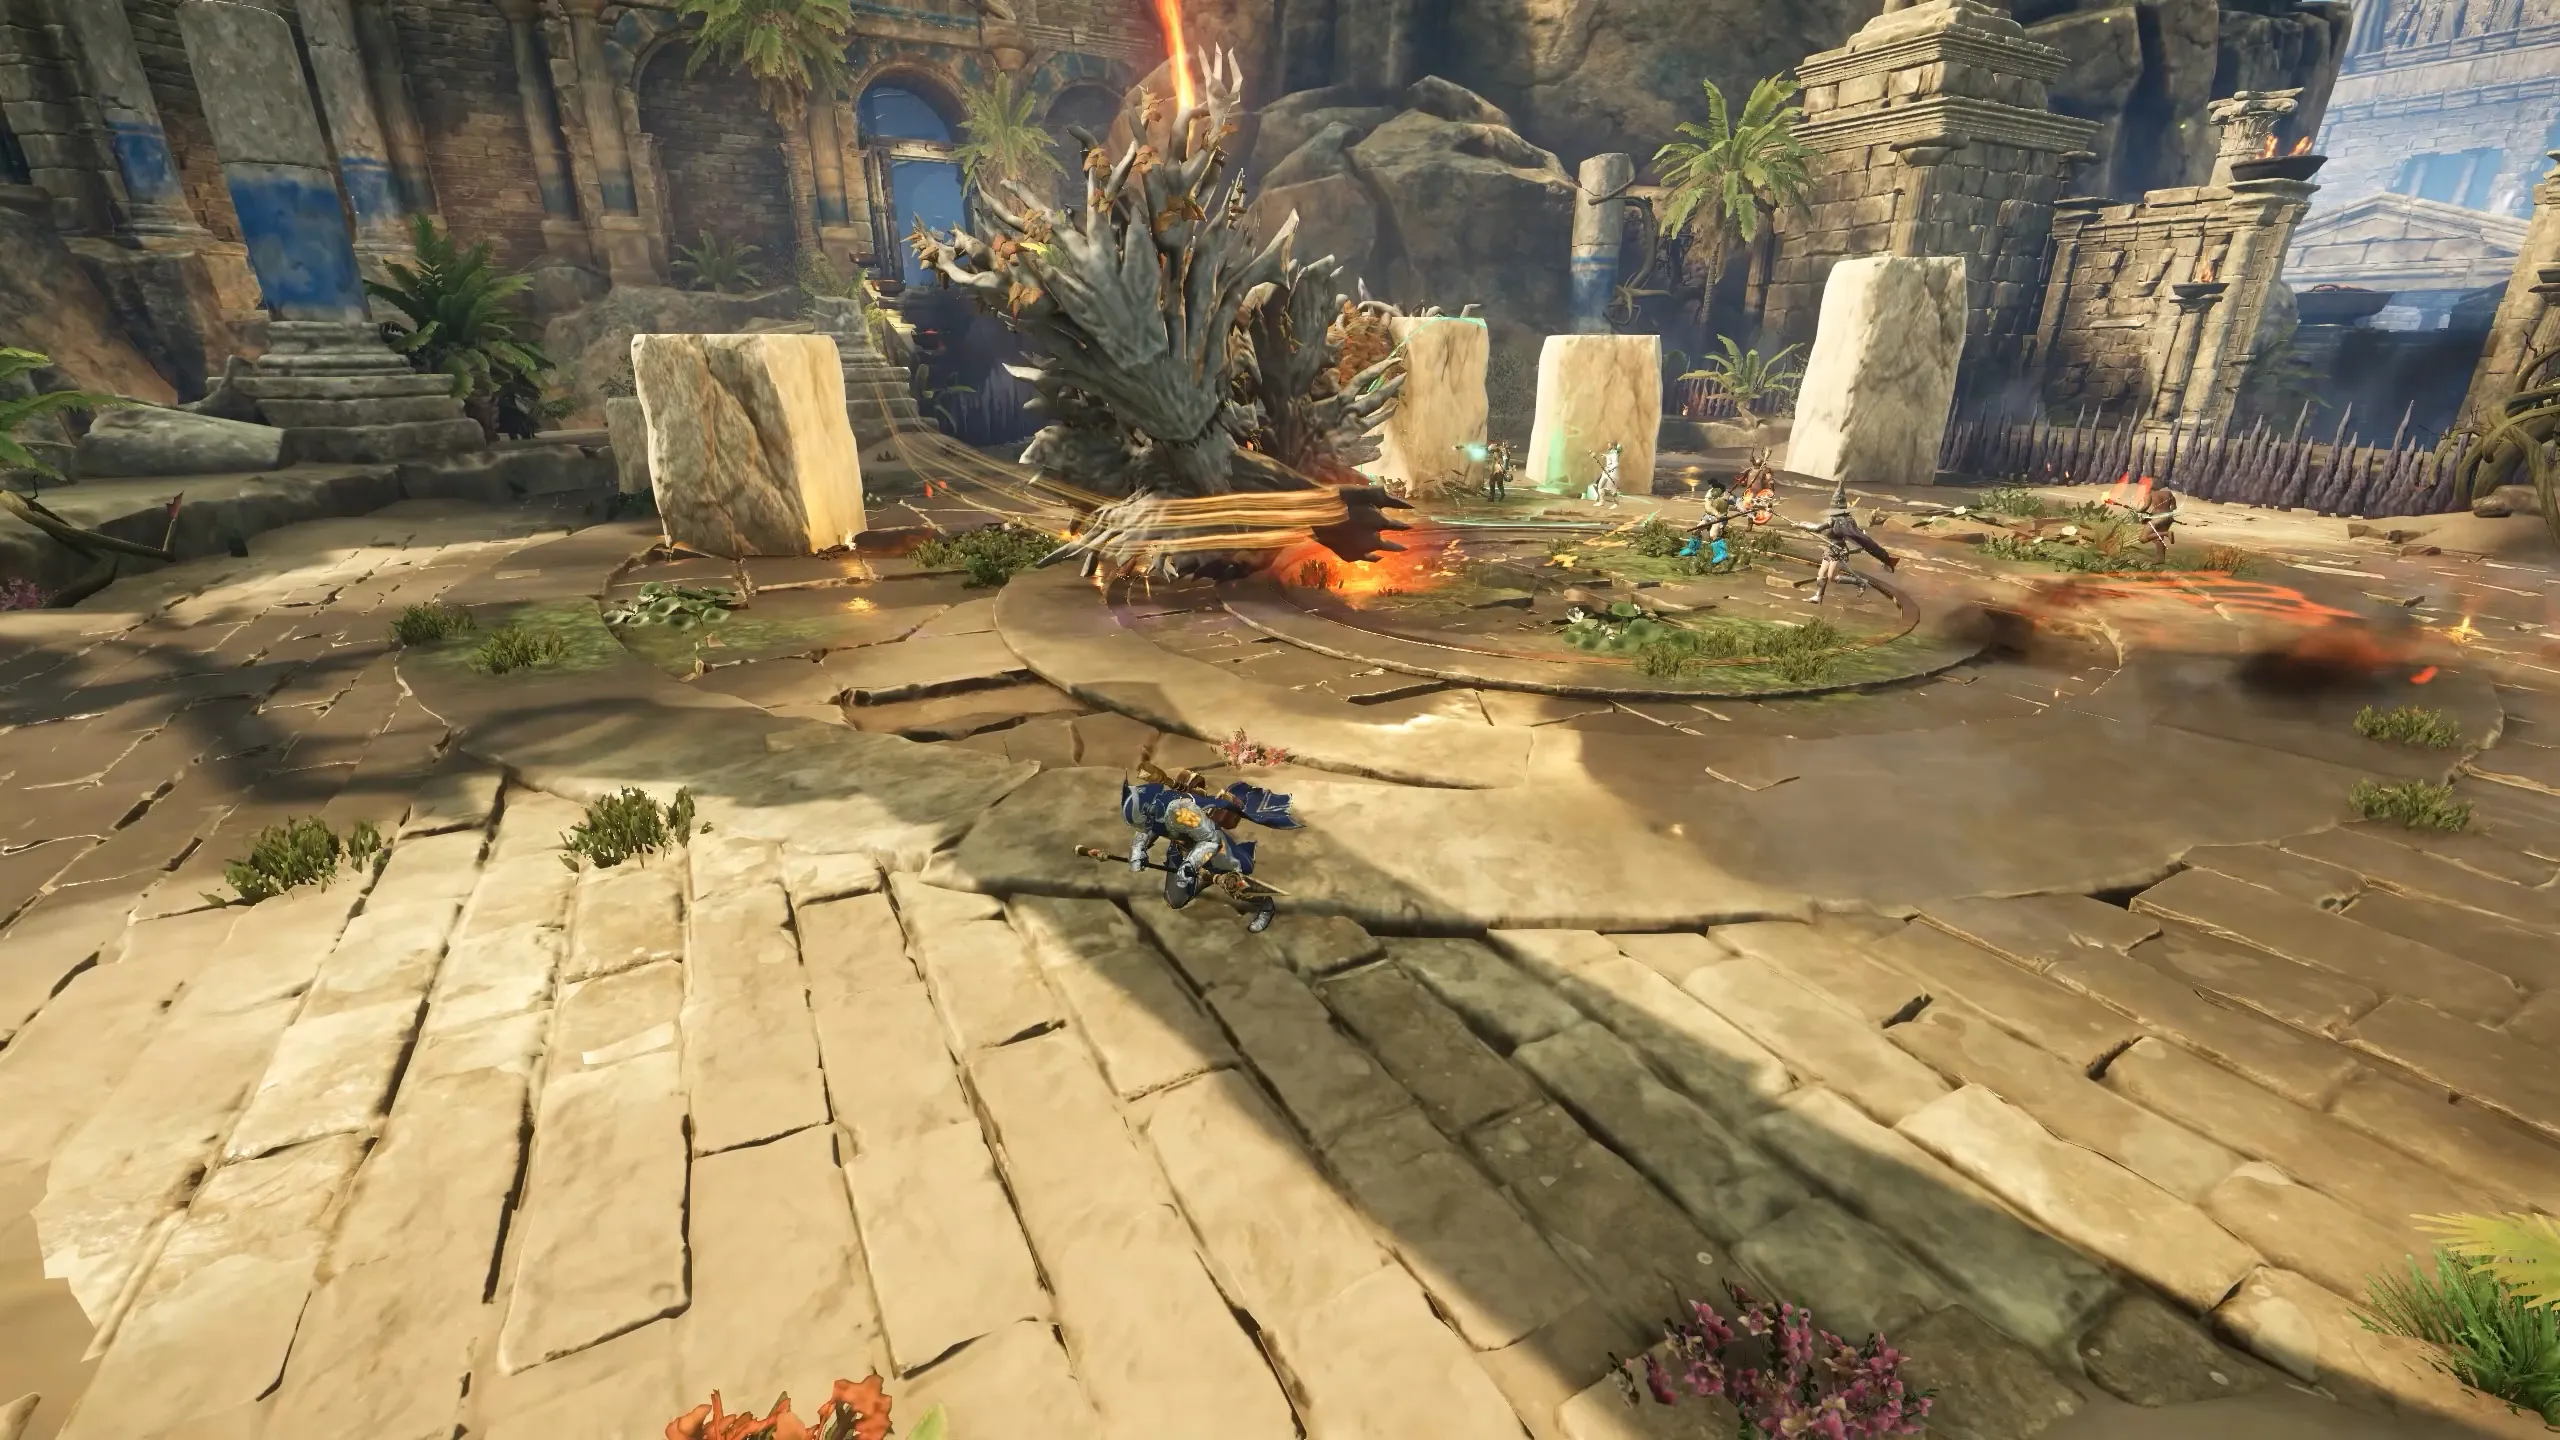
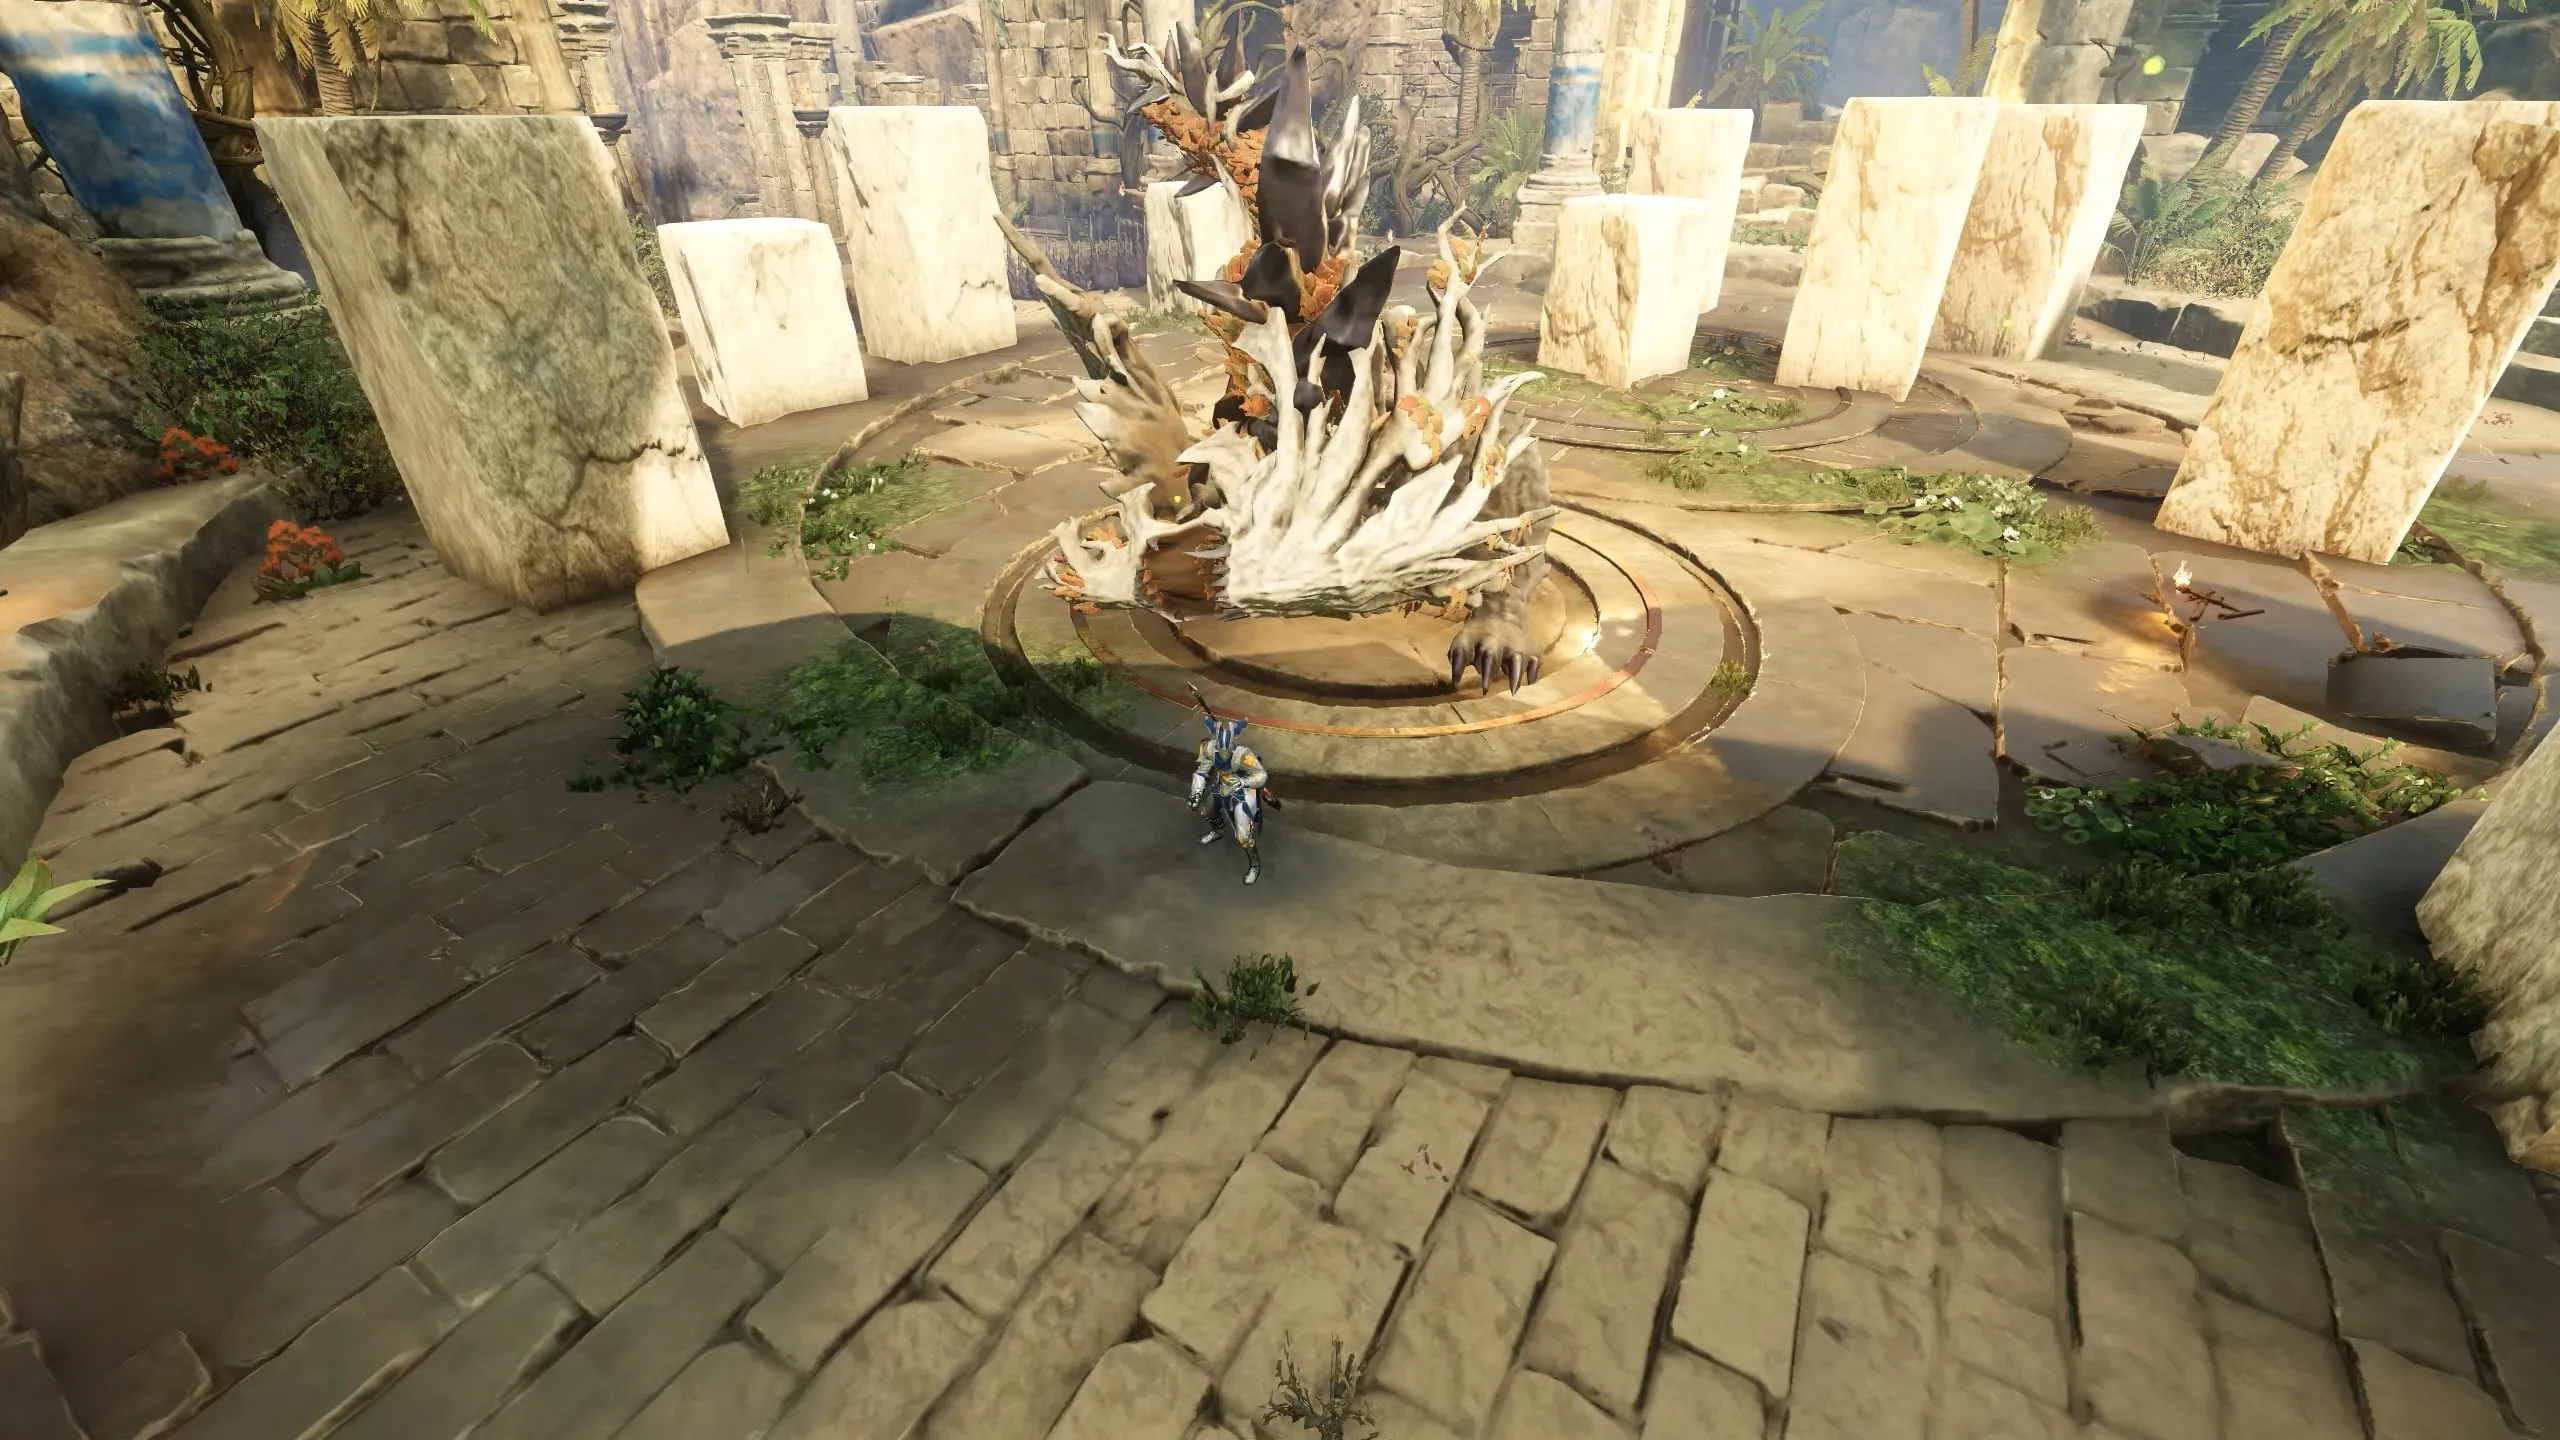
Wipe Mechanic (50% HP)

- When Echidna’s HP drops to 50%, she will move to the center of the arena and perform a ground slam.
- This triggers the wipe mechanic:
- All pillars glow white and then explode, instantly killing anyone standing on them.
- Any remaining Obsidian spikes also detonate during this phase. A single spike left standing can wipe the entire raid.
- Surviving players are still inflicted with a damage-over-time effect, so it’s critical to enter this phase with the arena fully cleared.
- During the wipe animation, the fight turns into a free DPS window:
- No spikes or pillars spawn.
- The whole raid should stack on Echidna and unleash everything.
Always destroy spikes before pushing Echidna past 50%. This ensures your group survives the wipe mechanic and maximizes the damage during the phase.
Pounce Attack
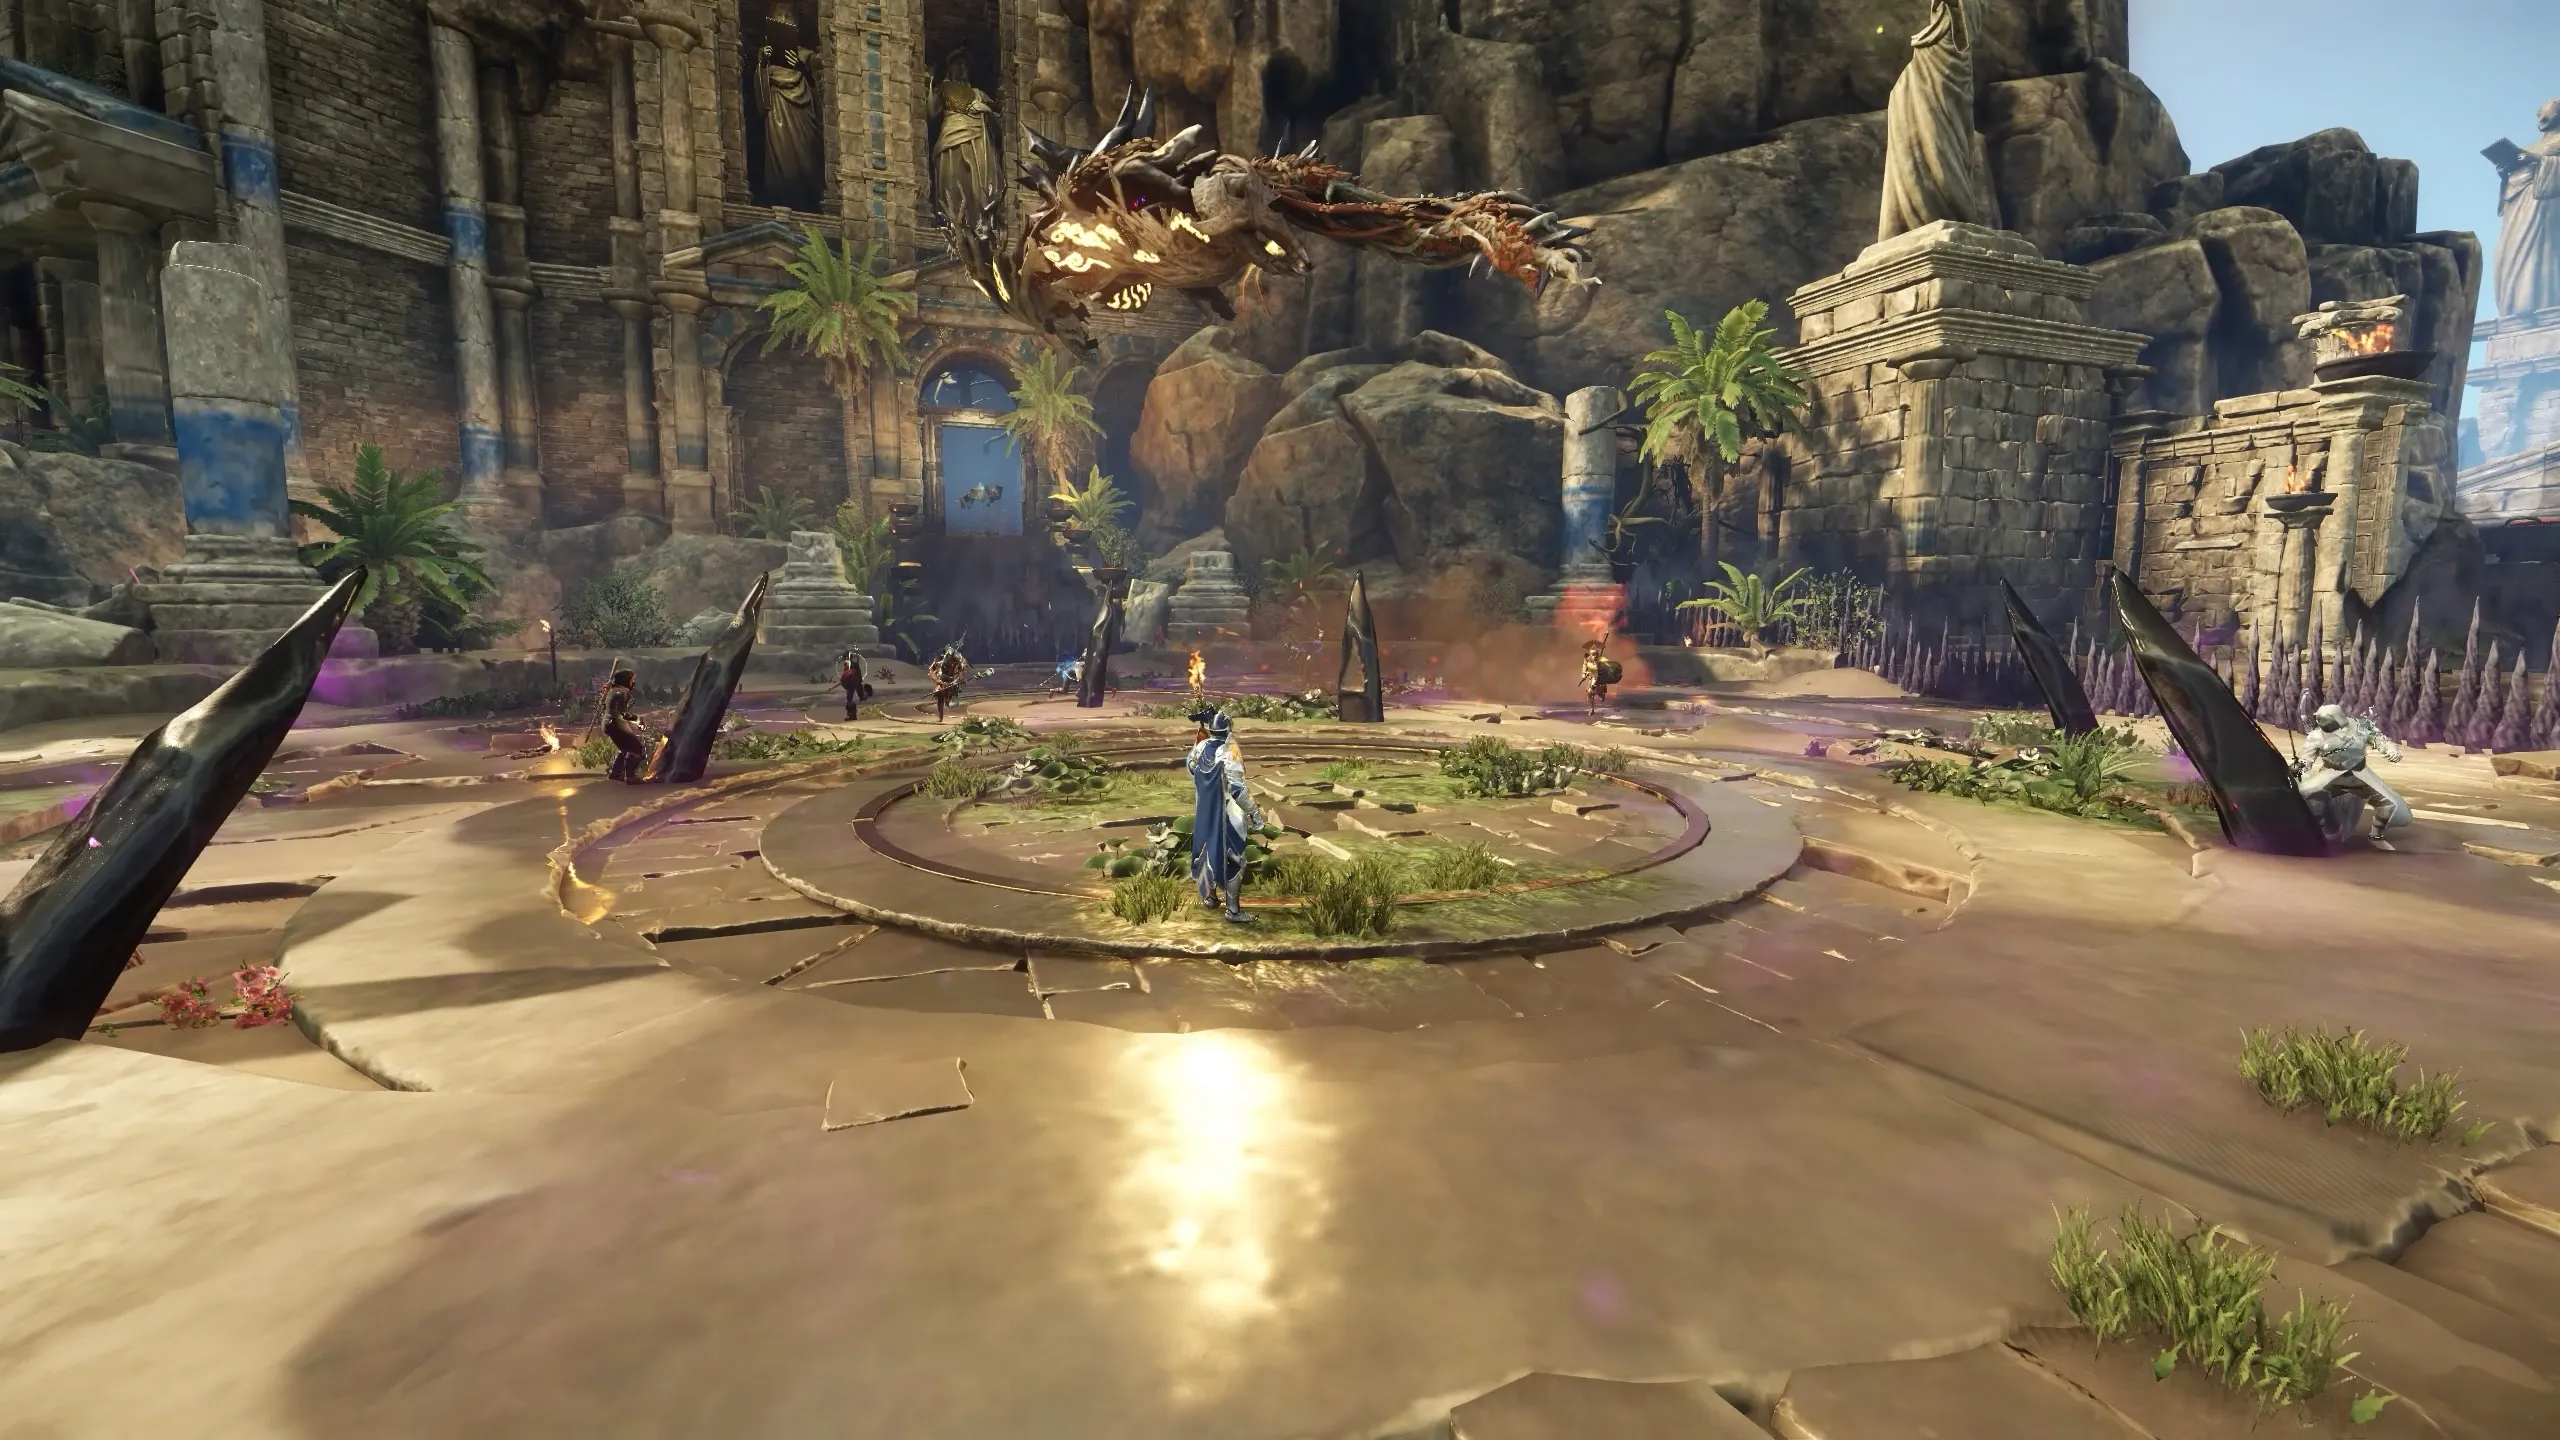
- At the start of Phase Two, Echidna introduces the Pounce mechanic.
- One random player will see a white marker above their head → they are the target.
- Echidna rears back and then leaps across the arena, landing with a heavy slam.
- The impact deals massive strike damage.
- The landing tremor also damages everyone in the arena.
- She repeats this 3–4 leaps in a row, with the final pounce always targeting the tank (or whoever holds aggro).
- Best response:
- Targeted player should dodge roll at the last moment to avoid the impact.
- Blocking reduces damage but is risky. You sstill take damage and drains stamina quickly.
⚠️ Important: Echidna can still pounce players on pillars. If she lands directly on you, you’ll take full damage.
Upgraded Attacks
- Two upgrades are now active:
- Rock Projectiles (Upgrade): there is no safe zone; everyone must time their dodges.
- Claw Scrape (Upgrade): the scrape launches rocks while scraping, adding extra danger to the move.
Rotation Changes
-
After a few attacks, Echidna will prep another wipe phase and then summon spikes again.
- This time she does not pounce immediately.
- Destroy the spikes first, then prepare.
-
From this point forward, the Pounce Attack happens at the end of the phase rather than the beginning.
Stamina Break
-
Throughout the fight, Echidna has a stamina bar displayed beneath her health.
-
When the stamina bar is fully depleted:
- Echidna collapses onto her side (often the opposite side from where most players are).
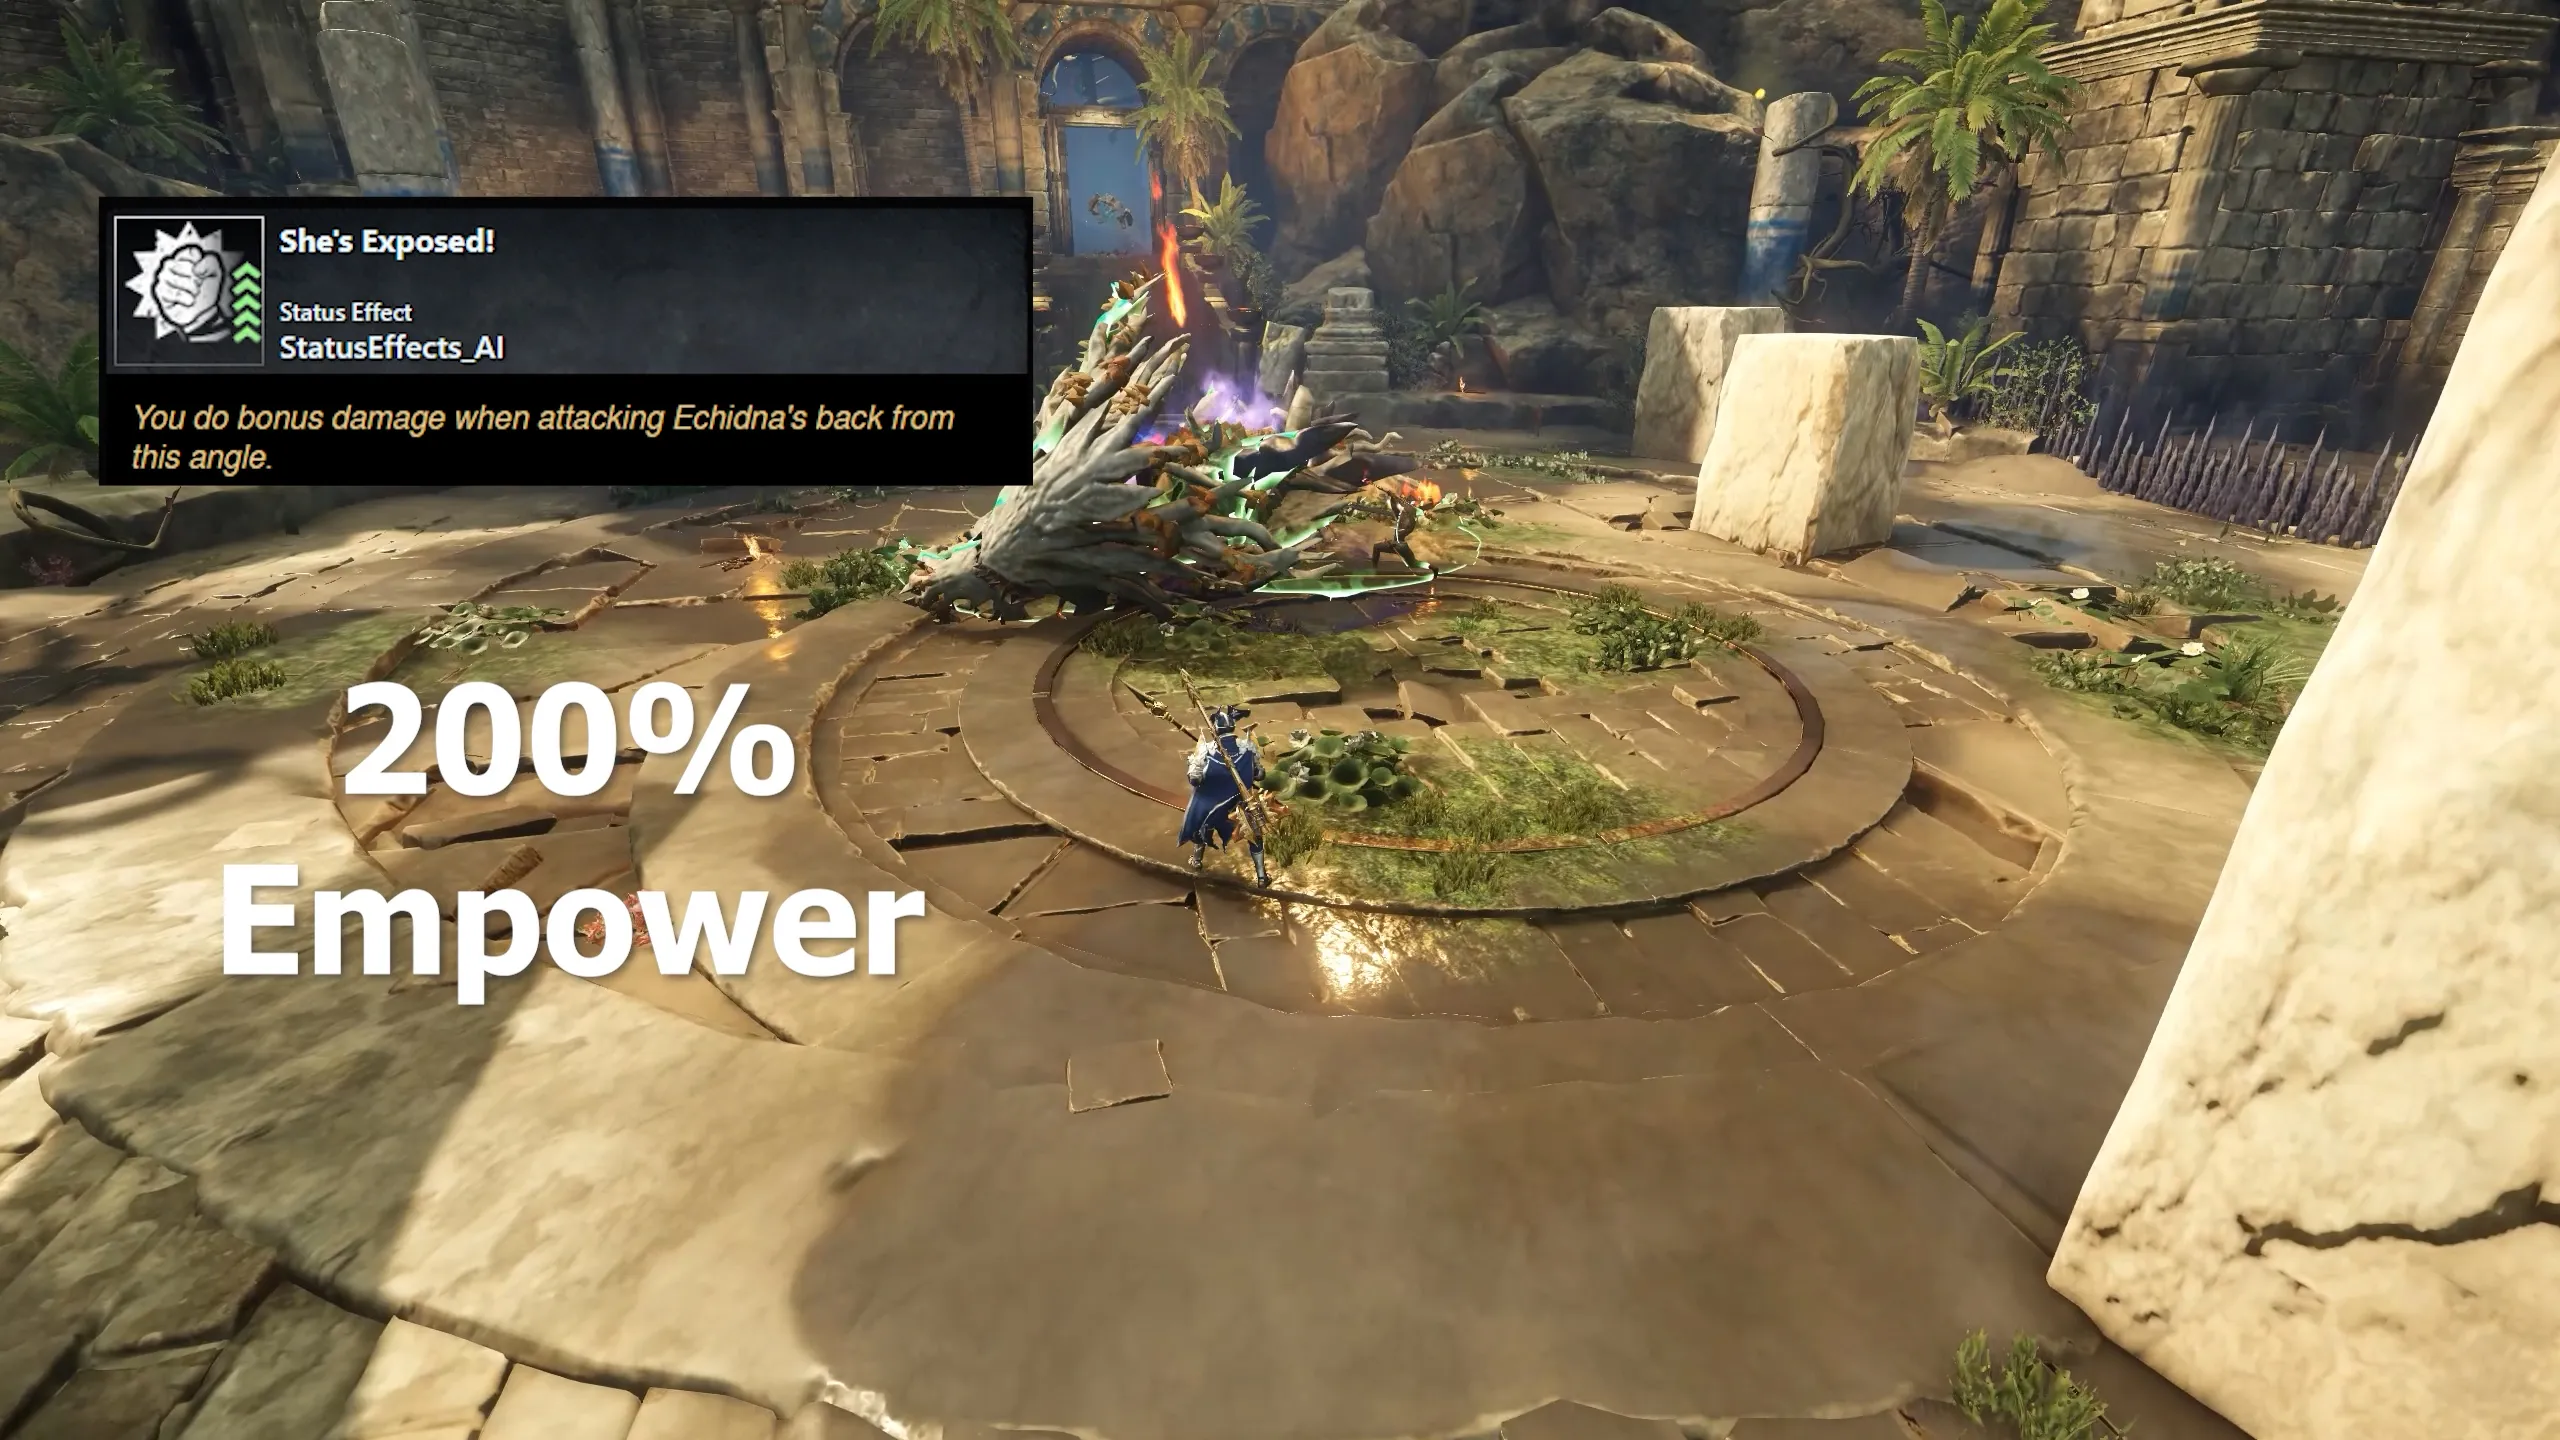
- This exposes her back, which becomes the prime weak point.
- All players must immediately move to her exposed side and burst with everything.
-
During this collapse phase, melee players gain the buff “She’s Exposed”, granting +200% Empower (unclamped); a massive increase in damage potential.
-
This phase can occur multiple times during the fight, making it the biggest DPS window available. Call it out when the stamina bar is close to breaking.
Rewards
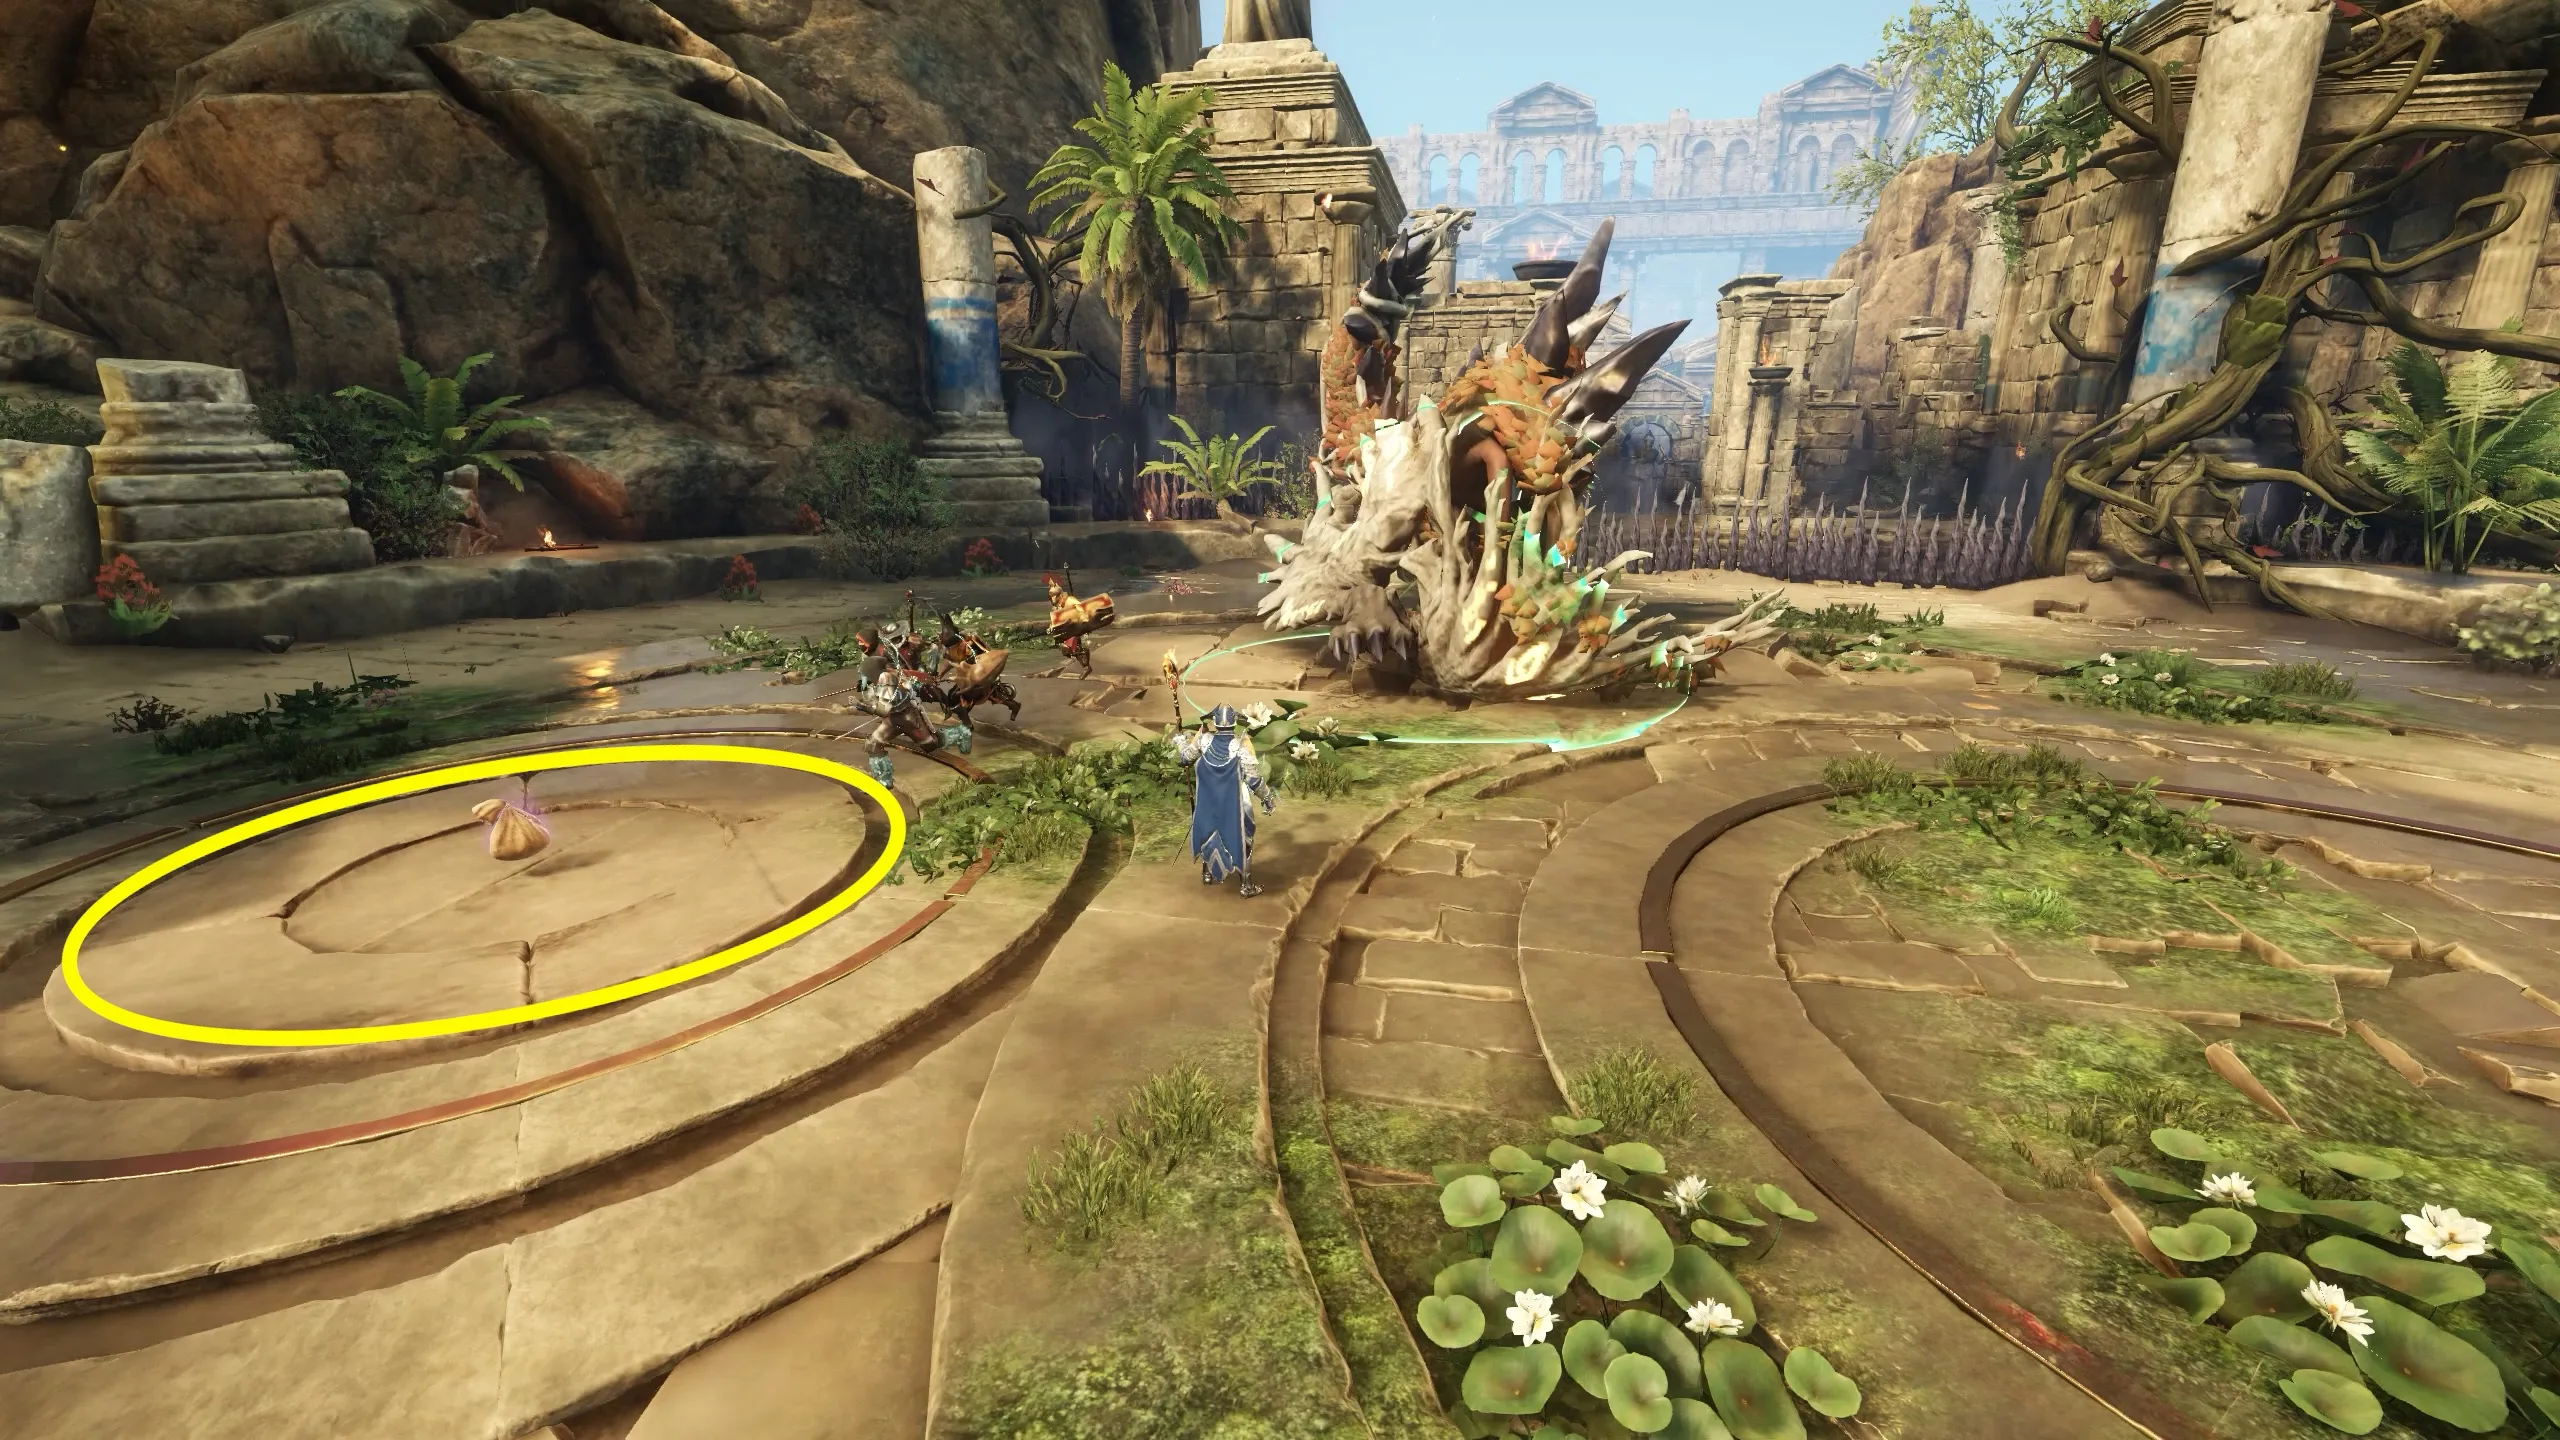
- When Echidna is defeated, she collapses and drops loot near the entrance of the arena.
- Rewards are weekly-capped and include both guaranteed items and conditional extras.
- Echidna drops the Azoth Conductors artifact. They are not tied to the weekly loot and you can farm them. (Guaranteed on the 5th kill)
| Reward Type | Details |
|---|---|
| Named Jewelry (Upgradable) | One piece of unique hoplite jewelry that can be upgraded. |
| Non-Named Jewelry (Non-Upgradable) | A secondary jewelry drop with fixed stats. |
| Gorgon Eye | Guaranteed 1 drop per kill. |
| Damaged Gorgon Eyes | Extra 10 if you are still under the weekly cap. |
These rewards are part of your weekly Gorgon raid loot. If you’ve already hit your cap, you’ll won’t receive anything.
This concludes Echidna’s full battle. It’s a lot to take in but you’ll get to know the fight more with practice and experience.